NENKO 29010085 User manual

1. Name of the product
Nenko Interactive –Wallpanel Infinty
2. Product code
29010085
3. Short description
Let this sparkling panel passively amaze you with numerous effects and rainbow
colours and control intensity, volume, speed simply to taste.
Actively use the panel through the user buttons such as the play/pause button to, for example, stop
the pattern of a certain colour (action-reaction, colour recognition, visual tracking). Or use the
directional button to allow the supervisor/user to select counterclockwise or counterclockwise
patterns to do L-R tracking exercises.
Press the pattern button to see a series of enchanting seemingly infinite patterns/ Sound effects
accompany each pattern with which this panel provides both visual and auditory sensory
stimulation.
Panel is Nenko Interactive compatible and therefore also responds to controllers such as
microphone, 6-button switch, cube and the Nenko Sense System.
Comes with wall bracket with instructions. Including fixation system for the panel. The fixation
screws for the wall are not included.
Size: 50 x 90 x 10 cm
5. Sensory stimulations
See, hear and feel
6. Installation
You can place this on the back wall and then drill the screws in the designated places.
7. Commissioning
The panel is immediately ready for use:
Simply plug the panel into the wall outlet and turn on the power.
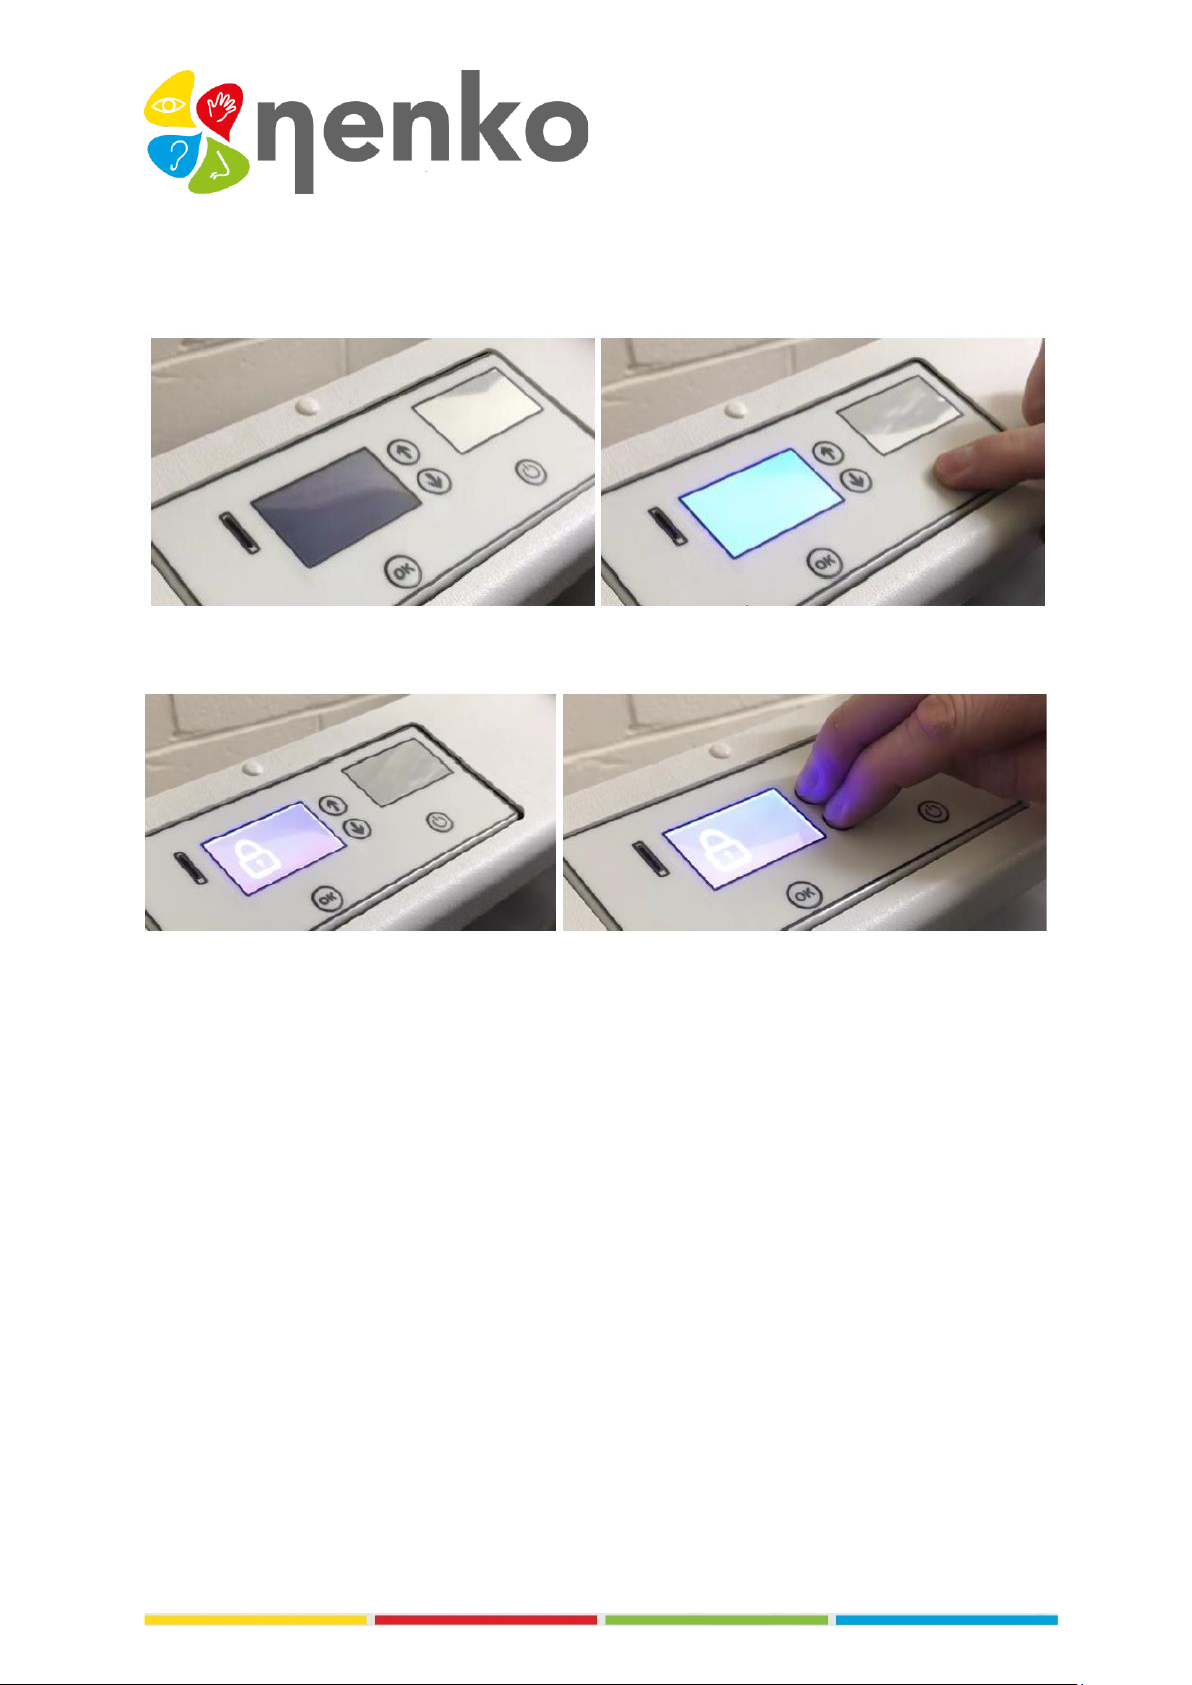
To turn on the panel, press the power button:
The LCD screen lights up and displays a locking symbol. The panel starts in the last used mode. To
unlock the panel, press and hold the up and down arrow keys for 3 seconds:
The menu is now accessible.
Settings are as follows:
•Volume
•Brightness
•Speed
•Micro sensibility
•Wireless connection
•Pairing
Use the arrow buttons to select the setting you want to change, e.g. starting from the volume
screen, press down to reach the brightness settings and down again to access speed settings, and so
on.

Volume
Select the volume from the menu and press OK to change the volume:
The volume can then be changed using the up and down arrow keys. Select the desired volume level,
and then press OK again to save this setting.
Brightness
To change the brightness, select brightness from the menu, and then press OK:
The brightness can then be changed using the up and down arrow keys. Select the desired
brightness level, and then press OK again to save this setting.
Speed
To change the speed, select speed from the menu, and then press OK:
The speed can then be changed using the up and down arrow keys. Select the desired speed level,
and then press OK again to save this setting. The panel responds more quickly to sounds when the
speed setting is higher. Speed is stored per pattern, allowing for individual requirements.
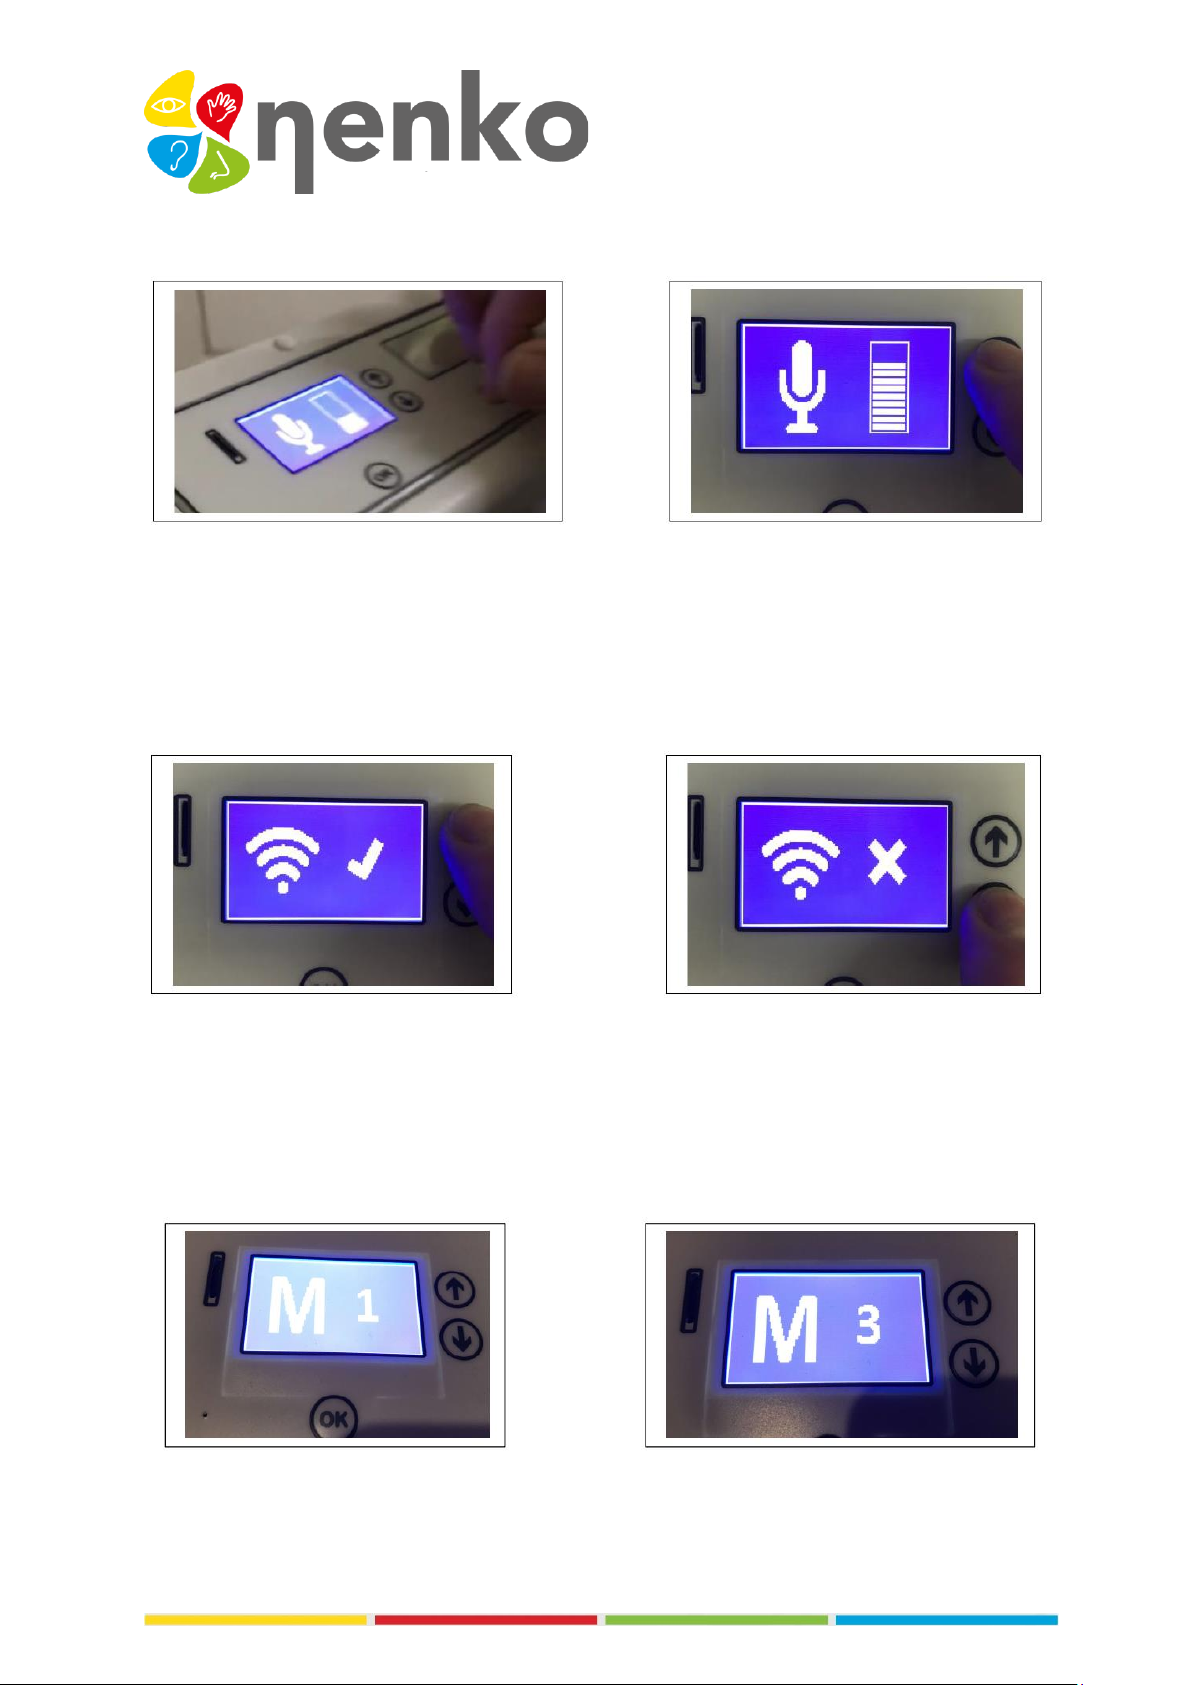
Microphone Sensitivity
To change microphone sensitivity, select it from the menu, and then press OK:
The sensitivity can then be changed using the up and down arrow buttons. Select the desired
sensitivity level, and then press OK again to save this setting. When used in rooms with a lot of
background noise, set the sensitivity level to a lower setting. Sensitivity level is stored per pattern,
allowing for individual requirements.
Wireless connection
Wireless connectivity can be customized with this setting. Connectivity can be turned on or off:
When connectivity is enabled, the panel responds to other interactive products in the room, such as
a Nenko Interactive –Cube.
Turn connectivity on or off using the up and down arrow buttons. Select the desired setting, and
then press OK again to save it.
Mode To change the mode, select it from the menu and press OK:
The mode can then be changed using the up arrow and down arrow buttons. Select the desired
mode and press OK again to save this setting.

Pairing
There are 5 pairing channels. Channel 0 is the default factory setting. When the panel is set to
Channel 0, all compatible interactive switches in the room will operate the panel, e.g. wireless
controller, Nenko Interactive –Cube etc.
Select the desired pairing channel using the up and down arrow buttons. Select the desired setting,
and then press OK again to save it.
The panel does not need to be connected, this is already set when you plug it in.
Channel 1 is the green button on the switch panel
Channel 2 is the blue button
Channel 3 is the orange button
Channel 4 is the purple button
Channel 5 is the yellow button
Example: If you want to link the panel with the green button on the switch panel, select Channel 1
on the button panel. Then press and hold the pairing button on the control panel, and then press the
green button. Now release the clutch button. The control panel now operates the panel on Channel
1.
Use the same procedure to pair the panel with the blue button on the oval remote control: to do
this, select Channel 2 on the panel, etc.
If you want to reset the switch panel to Channel 0, press and hold the link on the side of the switch
panel, then press the middle button before releasing both buttons.
Channel 0: Factory reset Channel 1: Green at wireless controller
Depth mirror panel buttons
The Depth mirror panel has 4 robust buttons at the base for easy access:
Table of contents


