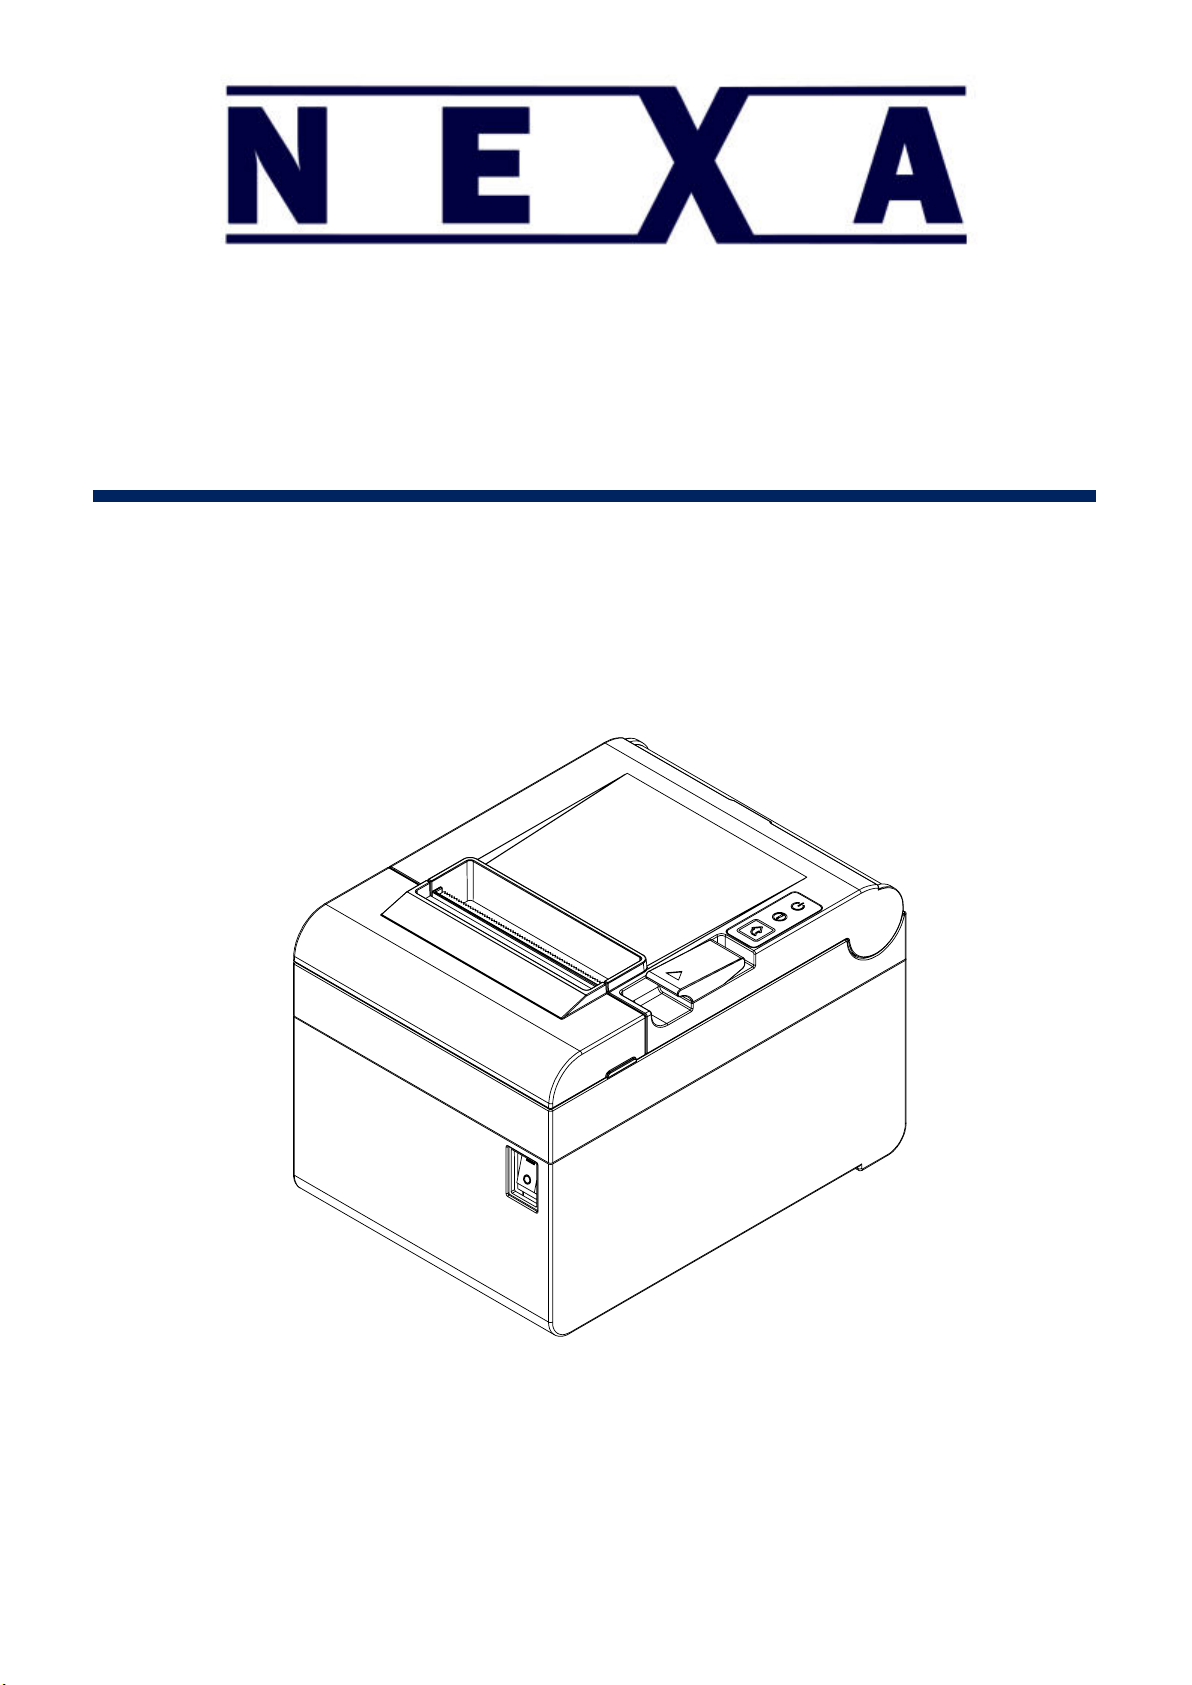
PX-700IV
5-1 Cleaning Printer
..............................................................................................................22
5. Appendix
.............................................................................................................................22
4. Specifications
.....................................................................................................................21
3. Hexadecimal Dumping
.......................................................................................................20
2.
Self-Test
..............................................................................................................................18
1-9 Using Printer Functions
...................................................................................................17
1-8 Removing Paper Jam......................................................................................................16
1-7 Recommended Papers
...................................................................................................16
1-6 Installing & Replacing Paper
...........................................................................................13
1-5 Reconfiguration of Printer................................................................................................12
1-4 Connecting Power Supply
...............................................................................................10
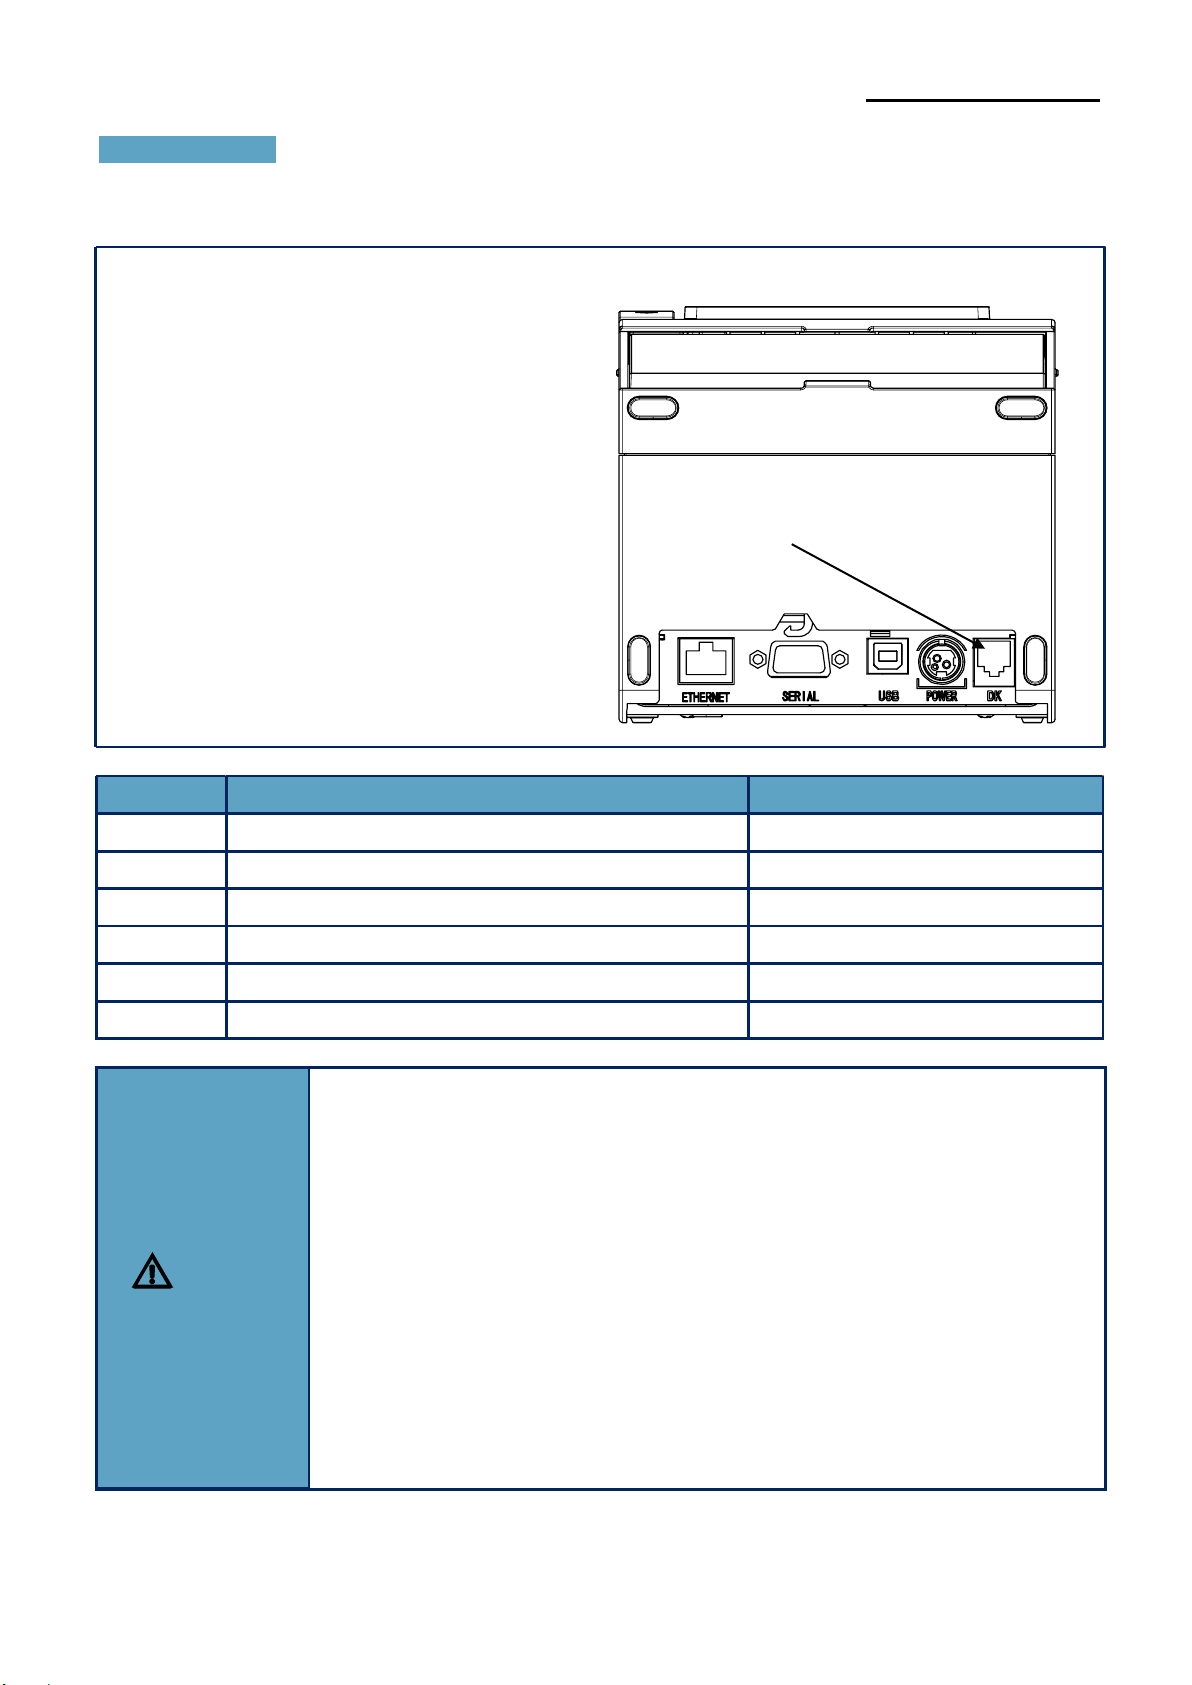
1-3 Drawer Port
.......................................................................................................................9
1-2-3 Serial Interface
......................................................................................................8
1-2-2 Ethernet Interface..................................................................................................7
1-2-1 USB Interface........................................................................................................6
1-2 Interface
............................................................................................................................6
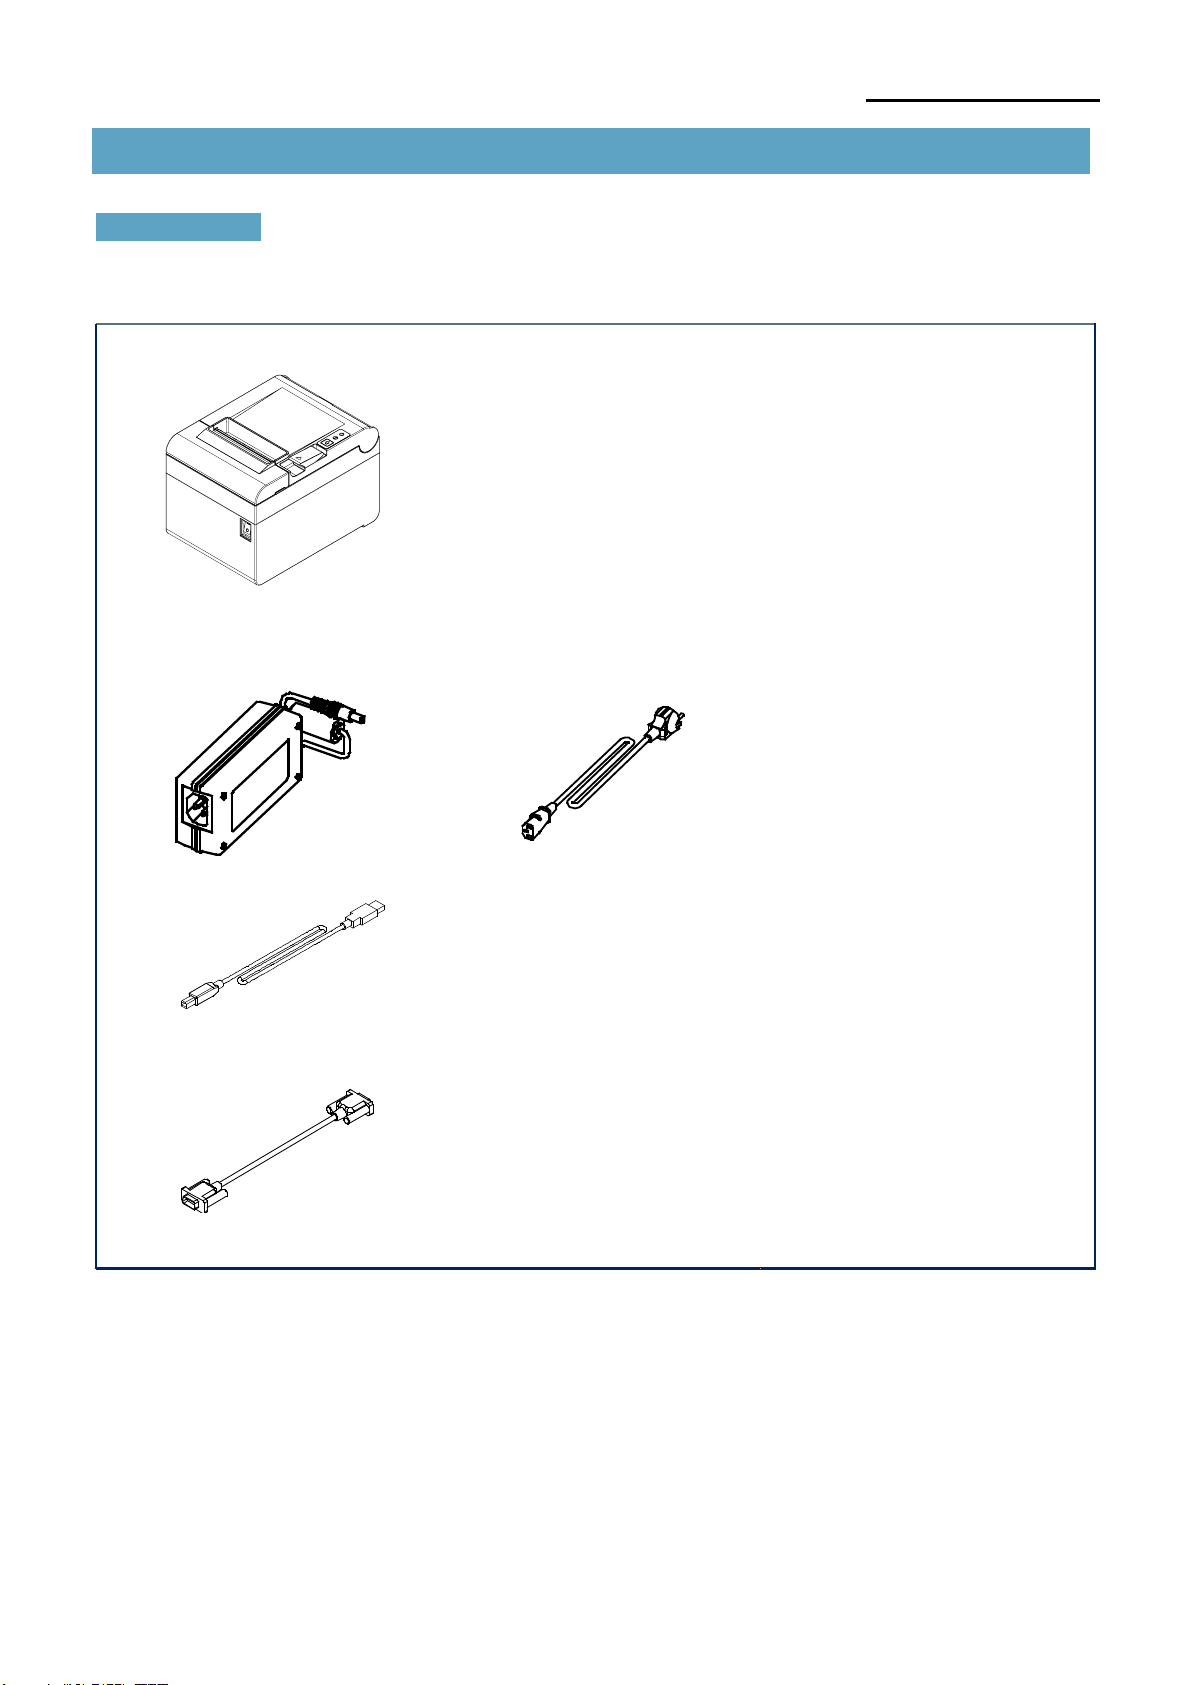
1-1 Unpacking
.........................................................................................................................5
1. Installing Printer and Getting Started
.................................................................................5
Table of Contents