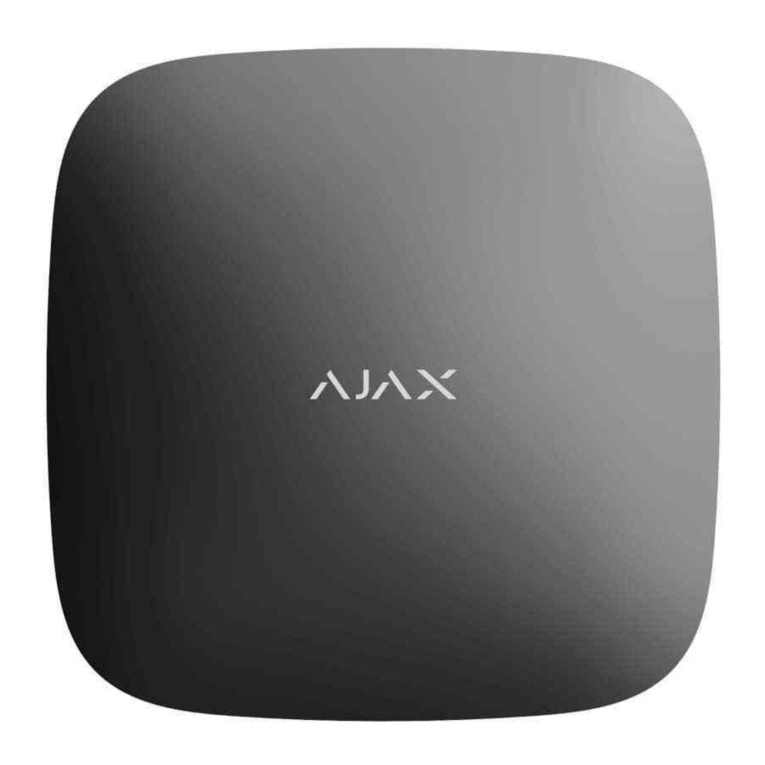
Follow the procedure below:
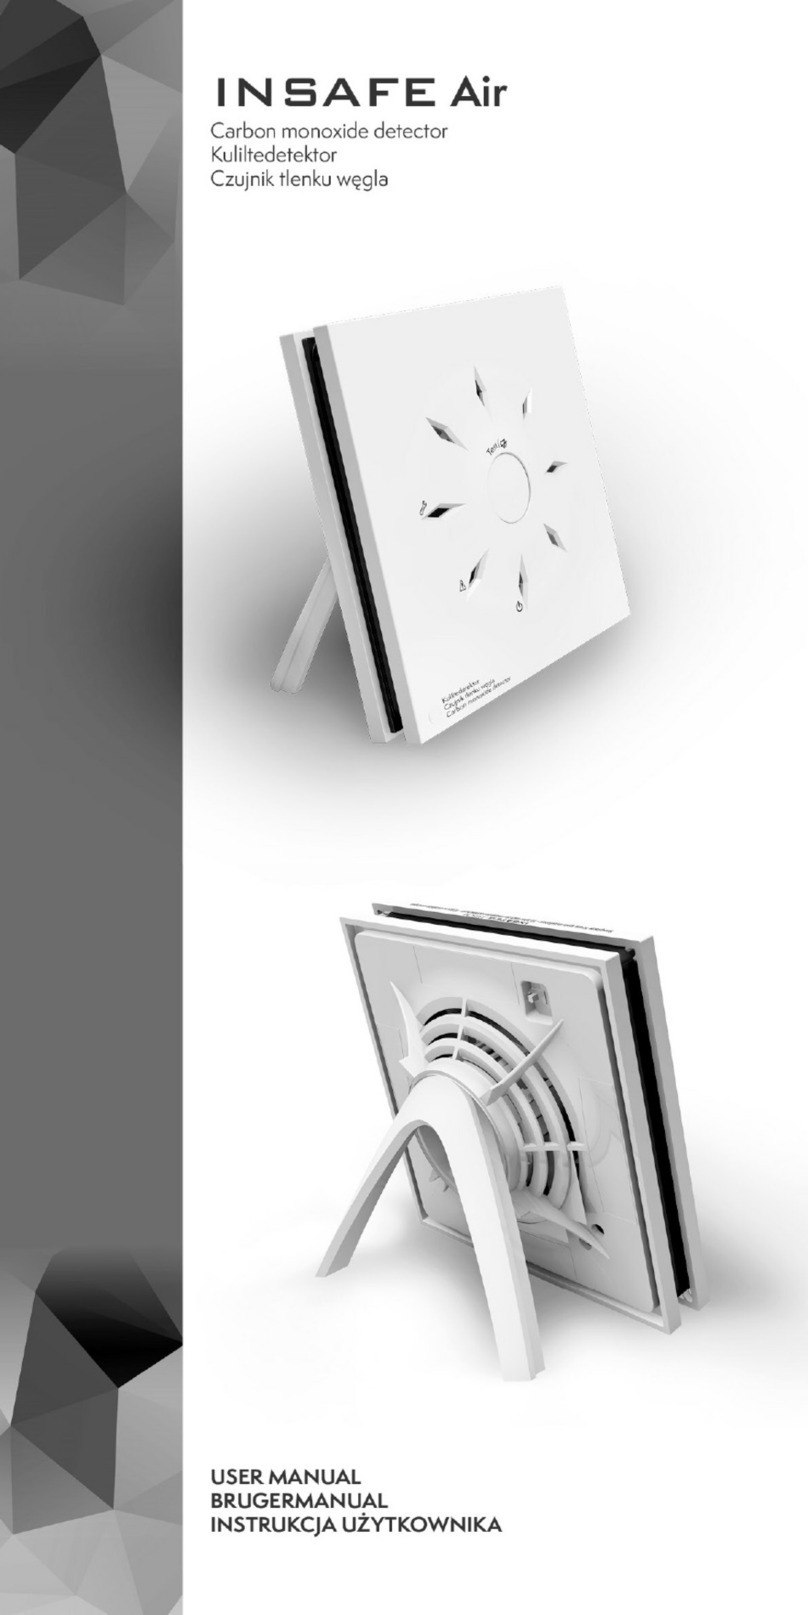
Place the detector on a piece of furniture or a shelf within one meter of the floor to prevent damage if
the detector is accidentally dropped.
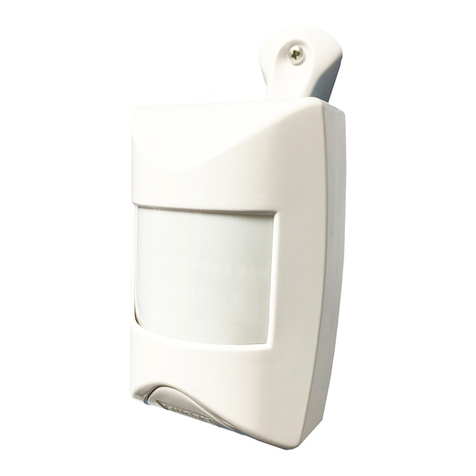
Place your mobile mounting cradle on the back of the detector, then
turn it a quarter turn to the right to secure it. You should hear a "click"
sound, indicating that your detector is secured in its mobile mounting
base.
How to start the product
Activation
To start your product, power it via USB.
The product will initialize for 2 minutes (blue LED flashing).
Connection to LoRa network (optional)
During the initialization phase, the blue LED flashes during the network connection process. The blue LED
will remain on during the initialization period if the process was successful, otherwise it will be pink.
If the initial connection attempt failed, the product will automatically retry. If unsuccessful, the product
will automatically attempt to rejoin the network within a few minutes.
Turn off or reset the product
The detector has been designed for continuous use. If for any reason you need to turn off or reset your
product, unplug your product. Then wait at least 1 minute before plugging the product back in.
Initial calibration of the CO2 sensor (optional)
Why calibrate the product?
The CO2 level measurement is performed using infrared sensor technology (NDIR: non-dispersive
infrared). This optical technology has a drift that the product automatically compensates for using an
ABS (Automatic Baseline Correction) method, which eliminates the need for manual maintenance and
maintains performance throughout the product's lifetime.
This method is effective and reliable in a usual environment, where the CO2 level reaches its minimum
(400ppm) during a few hours (night and weekend for the premises, day in a room).
This calibration is performed automatically by the product, on average every 7 days.
How to calibrate the product?
You can also perform a manual calibration. To do so, please use the following procedure:
Place your product near an open window.
Press the central button of the product 6 times quickly
The blue LED will be on throughout the product calibration process (approximately 2 minutes). Once the
blue LED goes out, the recalibration is complete.
