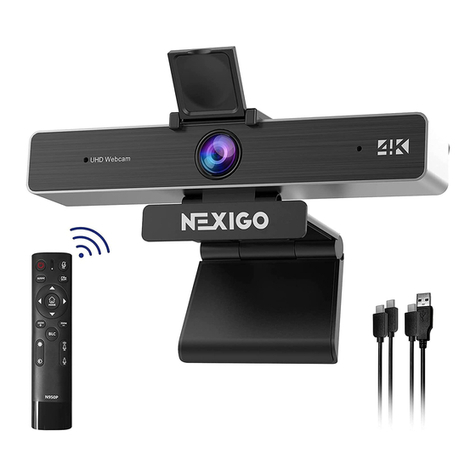
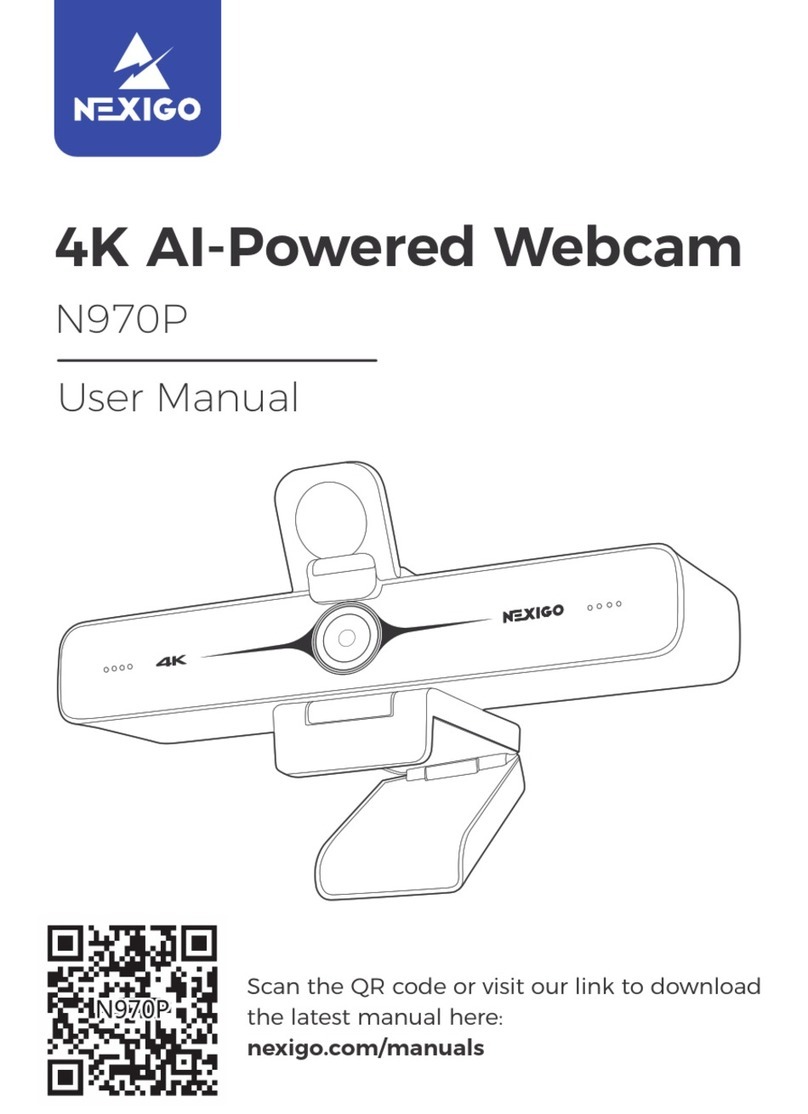
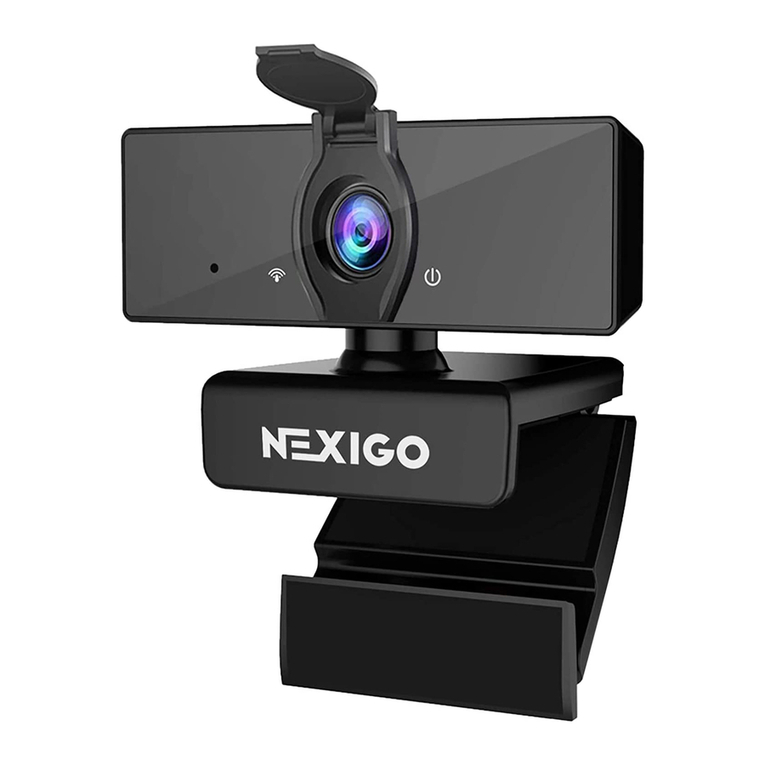
Nexigo N970P User manual

Thanks for Choosing NexiGo!
Welcome to the NexiGo Family!
Thank you for choosing the NexiGo N970P 4K AI-Powered Webcam! You are now part
of an exclusive club: the NexiGo family! It's our job to make sure you enjoy your
membership. If you have any problems please contact us at cs@nexigo.com at any
time for further assistance. This product is covered by our industry leading 1-year
manufacturers warranty. Make sure to register your purchase at
nexigo.com/warranty within 14 days of the delivery date to extend your warranty
coverage to TWO Years!
From all of us here at NexiGo, we want to welcome you again to the family. We thank
you deeply for your trust and for your business. We know you'll love it here. We look
forward to serving you again in the near future.
Yours Sincerely,
The NexiGo Team
Contact Information
Website: www.nexigo.com
Manufacturer: Nexight INC
Email: [email protected]om
Tel: +1(458) 215-6088
Address: 11075 SW 11th St, Beaverton, OR, 97005, US
NexiGo Webcam Settings Software
NexiGo is proud to introduce the new NexiGo Webcam Settings software! Free of
charge to all our loyal NexiGo customers, use it to enhance your experience with
your webcam. Just head on over to nexigo.com/software to download it. The NexiGo
Webcam Settings software allows you to change almost every setting for your
webcam. From brightness to focus, from saturation to hue, find the look that
highlights the best you!
Download the NexiGo Webcam Setting Software from

Safety Notes
This manual contains detailed instructions on the operation and installation of the
NexiGo N970P. Please read the manual in its entirety before installation and use.
Avoid damage to products caused by heavy pressure, strong vibration or
immersion during transportation, storage and installation.
Do not expose it to any liquid, gas or solids which may corrode the shell.
Do not expose this product to rain, moisture, high humidity, or any adverse
weather conditions. This item is intended to be used at room temperature and in
a controlled environment.
Do not exceed the power requirements of this product.
Clean the camera lens with a dry, soft microfiber cloth only. Use only a mild
detergent if necessary. Avoid any strong or corrosive detergents to avoid
damaging the lens.
Do not charge the light using a frayed or damaged USB cable.
Do not touch the device, power adaptor, or USB cable with wet hands. Keep this
product dry.
Do not attempt to repair, disassemble, or modify the light under any
circumstance.
Only use the remote to move the camera head. Attempting to physically move
the camera may lead to damage and mechanical failure.
Ensure that there are no obstacles to block or hamper the rotational range of the
camera.
Do not power the camera before completing the installation. This may cause
unintended damage.

Content
1.Product Installation.......................................................................................................1
1.1 Product Diagram..................................................................................................... 1
1.2 Installing Your Webcam.......................................................................................... 1
1.3 Connect the Webcam to Your Computer............................................................... 1
2.Product Overview......................................................................................................... 2
2.1 Dimension............................................................................................................... 2
2.2 What’s in the Box?..................................................................................................2
2.3 Main Features......................................................................................................... 2
2.4 Specifications.......................................................................................................... 3
3.Remot Control Instruction............................................................................................4
3.1 Keys Introduction....................................................................................................4
3.2 Applications.............................................................................................................5
3.3 Main Menu..............................................................................................................7
4. FAQ............................................................................................................................. 12

1
1.Product Installation
1.1 Product Diagram
1.UHD Lens
3.Noise Reduction Microphones
5.Flexible Clip/Base
2.Activity Indicator
4.1/4" Tripod Screw Hole
6.USB-B 3.0 Port
1.2 Installing Your Webcam
Option 1: Place on a flat surface
Option 2: Mount on a laptop or monitor
Option 3: Install with a ¼" thread tripod
1.3 Connect the Webcam to Your Computer
Windows Setup
1) Go to Settings > Privacy > Camera and turn on "Let apps use my camera".
2) Select the apps on the list where you want the camera to be used. When the app
is open, ensure that you have selected the NexiGo N970P 4K Webcam as the active
camera and microphone from the list of available options.
MacOS Setup
1) Go to the Apple menu > System Preferences > Security & Privacy, select the
Privacy tab. Select Camera from the list of options on the left side of the page.
2) Locate the apps you want to enable camera access for. Click the box next to the
app's name to enable camera access for that application.

2
2.Product Overview
2.1 Dimension
2.2 What’s in the Box?
1 x 4K ePTZ Camera
1 x USB-B to USB-A Cable
1 x User Manual
1 x Remote (Requires 2 AAA batteries, not included)
2.3 Main Features
N970P is a 4K ultra-high-definition ePTZ camera with AI intelligence. It will
intelligently and automatically frame individuals in the center of its image. The
N970P uses advanced ISP processing algorithms to produce vivid images with clear,
even brightness, high resolution, and strong colors.
UHD 4K Resolution: Displays resolutions up to 4K at 30fps (MJPG) or 30fps
(H.264). Compatible at 1080P and 720P.
Auto Framing: Employs superior detection algorithms to intelligently capture and
frame speakers in the center of the image.
ePTZ: Electronic Pan-Tilt-Zoom, with up to 10X zooming, allows for easy
adjustments from a distance.
Built-in Mics: Two built-in omni-directional microphones equipped with noise
suppression technology to reduce background noise but remain highly effective
up to 6 meters (19.7 ft).
Multiple Installation Options: Can be installed in multiple ways. Comes equipped
with a standard mount clamp for use on laptops, computers, and larger screens.

3
Can also be installed on tripods.
Easy to Use: Plug-and-play with no additional drivers or installation required.
2.4 Specifications
Model
N970P
Camera Parameter
Sensor
1/2.8-inch SONY low illumination 8.28MP sensor
Effective Pixels
8.28MP, 16: 9
Video Interface
1 x USB Type-B 3.0 port; Supports audio signal output
Audio input
2 x Built-in microphones pickup
Video Format
MJPG: 3840*2160@30/2560*1440@30/1920*1080@30 etc.
H264: 3840*2160@30 /2560*1440@30/1920*1080@30 etc.
YUY2: 1920*1080@30/1280*720@30/800*448@30 etc.
NV12: 1920*1080@15/1280*720@30/800*448@30 etc.
Field of View
D=91°/H=83°/V=54°
Focal Length
F=3.24mm
Aperture
F2.1
Digital Zoom
10X
Minimum
Illumination
0.1Lux (F1.8, AGC ON)
White Balance
Auto/Manual
Focus
Fixed focus
Exposure
Auto/Manual
BLC
On/Off
SNR
≥50dB
USB Feature
Operation Systems
Windows 7 (1080p or lower), Windows 8.1, Windows 10; macOS 10.10 or higher; Android; Linux (UVC
support)
Video Compression
Format
MJPG, H264, YUY2, NV12
USB Audio
Supported
USB Communication
Protocol
UVC, UAC
PTZ Control
Supported ePTZ
Hardware
Requirement
2.4 GHz Intel@ Core 2 Duo or higher, 2GB or higher, USB 3.0 port (USB 3.0 for 4K)
Other Parameter
Input Voltage
5V
Input Current
1A (max)
Power Consumption
5W (max)
Stored Temperature
-10℃~+60℃
Stored Humidity
20%~90%
Working
Temperature
-10℃~+50℃
Working Humidity
20%~80%
Dimension
7.09 × 1.6 × 4.82 inches
Weight
~ 0.66 lb
Working
Environment
Indoor

4
3.Remote Control Instruction
3.1 Keys Introduction
1.Power Key
Press to turn on/off the camera. The indicator
light will not lit when powering off.
2.Number Keys
Set and/or switch to the preset position.
3.【*】,【#】Keys
4.Focus Control
【Auto】: None 【Manual】: None
Designed for autofocus webcam to adjust
the focus. N970P is a fixed focus webcam,
so these buttonshave no function.
5.Zoom Control
Note: Please ensure that you have disabled
the auto framing function and closed the
OSD menu before using the zoom function.
ZOOM +: Press【ZOOM +】key to zoom in
ZOOM -: Press【ZOOM -】key to zoom out
6.Set and Clear Presets
Set Preset: Press【SET PRESET】key,
and then press the number key 0-9 to set
preset positions.
Clear Preset: Press【CLEAR PRESET】key,
and then press the number key 0-9
to clear preset positions.
7.Pan/Tilt Control
Up: Press Down: Press
Left: Press Right: Press
Press and hold the up/down/left/right
key to adjust the pan/tilt movement faster.
Home Key: Reset the video capture
view to the default position. While on
the OSD menu, this serves as the OK key.
8.Backlight Compensation (BLC) Key: Press
to add BLC. Press again to restore default settings.

5
9.Menu Key: Press to enter/exit the On Screen Display (OSD) menu or return to the
previous menu.
10.Key Combination
Note: When pressing key combinations for any of the commands below, please
perform them in sequence. As an example, 【*】>【#】>【3】would mean you press
【*】first, then press【#】, then press【3】.
3.2 Applications
1)Camera Selection
These buttons do not currently have any
necessary function. Can be used to set the
webcam to a different channel, but as of
now this function is not supported.
2)Pan/Tilt Control
Up: Press Down: Press
Left: Press Right: Press
Back to Default: Press【HOME】
Press and hold the up/down/left/right key
to adjust the pan/tilt movement faster;
stop as soon as the key is released.
3)Zoom Control
ZOOM +: Press【ZOOM +】key to zoom in
ZOOM -: Press 【ZOOM -】key to zoom out
Press and hold the keys to adjust zoom
in/out faster.
【#】>【#】>【#】: Remove all preset
settings.
【*】>【#】>【6】: Restore factory
defaults.
【*】>【#】>【9】: Flip the image vertically.
【*】>【#】>【4】: Set the OSD menu
language to English.

6
4)Set and Clear Presets
Save Preset: Press 【SET PRESET】button,
and then press the number key 0-9 to set
preset positions.
Note: 10 presets via remote control.
Call Preset: Press a number key 0-9 directly
to call a preset position.
Note: The number keys will serve no
function until a preset has been
programmed.
Clear Preset: Press【CLEAR PRESET】
button, and then press the number key 0-9
to clear preset positions.
Note: Press the # button three times in
quick succession to clear all presets.
5)Focus Control
Designed for autofocus webcam to adjust
the focus. N970P is a fixed focus webcam,
so these buttons have no function.
6)Camera Remote Control Address Setting
These buttons do not currently have any
function.

7
3.3 Main Menu
Press MENU to display the OSD menu. Use the arrows on your remote to navigate
the menu. Your selection will be displayed with an ">" arrow. Use the HOME button
to select the highlighted item.
MENU
=================
>(Setup)
(Exposure)
(Color)
(Image)
(Noise Reduction)
(Version)
(Restore Default)
[↑↓]Select [← →]Change Value
1.System Setting
Move the pointer to the (Setup) in the Main menu, click the【HOME】key and enter
into the (Setup menu) as shown below:
Setup
=================
(Auto Framing)
Image Style Default
USB Mode BULK
[↑↓]Select [← →]Change Value
Auto Framing: Enable/disable the auto framing feature. You can also adjust the
auto framing sensitivity.
Image Style: Switch to Default, Normal, Clarity, Bright, and Soft modes.
USB Mode: Switch to BULK, and ISOC modes.

8
2.Exposure Setting
Move the pointer to (EXPOSURE) in the Main menu, click the【HOME】and enter the
(EXPOSURE menu) as shown below:
EXPOSURE
===============
Mode Auto
EV OFF
BLC OFF
Flicker 50Hz
Gain Limit 4
DRC Close
[↑↓]Select [← →]Change Value
Mode: Switch to Auto, Manual, SAE and Bright modes.
EV: Toggle to On/Off (only available in Auto mode).
BLC: Toggle to On/Off (only available in Auto mode).
Flicker: Switch to Off/50Hz/60Hz for (only available in Auto/Manual/SAE modes).
Gain Limit: Adjust from 0~15(only available in Auto/Bright modes).
DRC: Adjust the Dynamic Range Control between 1-8 or disable it (only available in
Auto/Bright mode).
Shutter: Switch to 1/30, 1/50, 1/60, 1/90, 1/100, 1/120, 1/180, 1/250, 1/350,
1/500, 1/1000, 1/2000, 1/3000, 1/4000, 1/6000, 1/10000 (only available in
Manual/SAE mode).
Again: Switch to 0-15 for (only available in Manual/SAE modes).
Bright: Switch the brightness from 0-23 (only available in Bright mode).
3.Color
Move the pointer to the (COLOR) in the Main menu, click the【HOME】and enter the
(COLOR menu) as shown below:

9
COLOR
================
WB Mode Auto
RG Turning 0
BG Turning 0
Saturation 36
Hue 4
AWB Sensitivity High
[↑↓]Select [← →]Change Value
WB Mode: Switches to Auto, Manual, OnePush, VAR modes.
RG Tuning: Adjust from -10~10 (only available when in Auto/Manual mode).
BG Tuning: Adjust from -10~10 (only available when in Auto/Manual mode).
Saturation: Adjust from 0~50.
Hue: Adjust from 0~8.
AWB Sensitivity: Switch among High, Middle, and Low (only available when in Auto
mode).
Color Temp: Switch from 2400K~7100K (only available when in VAR mode).
4.Image
Move the pointer to the (IMAGE) in the Main menu, click the【HOME】and enter into
the (IMAGE menu) as shown below:
IMAGE
================
Brightness 50
Contrast 50
Sharpness 5
Flip-H OFF
Flip-V OFF
B&W-Mode Color
Gamma Default
Low-Light Mode Close
[↑↓]Select [← →]Change Value

10
Brightness: Adjust from 0~100.
Contrast: Adjust from 0~100.
Sharpness: Adjust from 0~15.
Flip-H: Switch to On to flip the image horizontally, switch to Off to restore to normal
Flip-V: Switch to On to flip the image vertically, switch to Off to restore to normal.
B&W Mode: Switch to Color, Black, White Mode.
Gamma: Switch to Default, 0.34, 0.39, 0.47, 0.5.
Low-Light Mode: Switch to On/Off.
5.Noise Reduction
Move the pointer to the (NOISE REDUCTION) in the Main menu, click the【HOME】
and enter the (NOISE REDUCTION menu) as shown below:
NOISE REDUCTION
=================
NR-2D OFF
NR-3D 4
[↑↓]Select [← →]Change Value
NR-2D: Toggle the 2D Noise Reduction On/Off or adjust it between 1-7.
NR-3D: Toggle the 3D Noise Reduction On/Off or adjust it between 1-8.

11
6.Version
Move the pointer to the (VERSION) in the Main menu, click the【HOME】and enter
the (VERSION menu) as shown below to check the current firmware version.
VERSION
==================
Camcra Version 1.0.4 2021-09-22
7.Restore Default
Move the pointer to the (RESTORE DEFAULT) in the Main menu, click the【HOME】and
enter the (RESTORE DEFAULT menu) as shown below:
RESTORE DEFAULT
=================
Restore Default? NO
[↑↓]Select [← →]Change Value
Restore Factory Settings: Restore the camera to its default factory settings.
Note: Color style and video format cannot be restored to factory default.

12
4.FAQ
Q1: How do I know if my camera is being recognized by the system?
A: Connect the camera to any USB 2.0 or USB 3.0 port. It will take a few seconds for
the camera to be recognized after it is connected to the system. To ensure the
camera has installed correctly on a Windows computer; check under Control
Panel>System and Security>Device Manager.
To verify the webcam is connected on a Mac computer, click the Apple Menu (in the
top left corner of your screen) and then click About this Mac. Click on System Report
from the pop-up window that appears. The System Information window for your Mac
will appear. Navigate to the USB section and check if the webcam is listed as a
connected device (like the photo below):

13
Q2: What can I do if the images or video are an abnormal color? How to adjust image
parameters such as brightness or contrast?
A: Please ensure that the light in your environment is free of unique tones or intense
light sources. Things such as walls/floors/other large-area non-standard light sources,
including areas with colored or intense light.
In such environments photographed pictures are subjected to color cast due to the
lighting impact of these light sources.
For Windows & Mac:
Using the NexiGo Webcam Settings Software, you can adjust the image parameter
you want according to your needs.
Note: Dowload the NexiGo Webcam Settings Software from nexigo.com/software.

14
Q3: Why does my screen go blank or black while trying to preview images?
A: There are several reasons this could happen:
1. There is something wrong with the USB port. Please use a different USB port or
another PC and test the
camera again.
2. The PC does not recognize the camera device. Please follow the steps from
question seven to see if this helps
fix the issue.
3. The operating system and computer configuration do not satisfy the requirements
of the camera. Please
check your system specifications.
4. The video preview feature of the application is not turned on, or the application
has a privacy feature that prohibits access to the camera. Please try with a different
application.
Q4: How do I use the preset function?
A: Preset Settings:
Step 1. Adjust the camera view to fit your needs. You can zoom in/out using the
zoom buttons or pan and tilt the camera using the arrow buttons.
Step 2. Press the Set Preset button. This will cause the camera to enter Preset Setting
Mode.
Step 3. Press any Preset Position Number buttons (0 to 9) to save your preset. It will
be saved to this slot and will override any previously saved preset. After the setting is
completed, a "Set preset: #" will be shown in the upper left hand corner of the image
with the number of the preset that was selected. Example: Set preset: 1.
Remove Preset Settings:
Step 1. Press the Clear Preset button. This will cause the camera to enter Remove
Preset Setting Mode.
Step 2. Press any Preset Position Number buttons (0 to 9) to clear the settings saved
in the corresponding button. After this is done, the message "Clean preset: #" will be
shown in the upper left hand corner of the image to indicate that the preset has
been removed.

Get in touch with
Free online services
facebook.com/nexigo1
Register to get EXTRA ONE year
warranty. Only valid in registering
within 14 days of product delivery.
nexigo.com/warranty
Other manuals for N970P
1
Table of contents
Other Nexigo Webcam manuals
Popular Webcam manuals by other brands
Defender
Defender G-lens 321 installation manual
Logitech
Logitech 960-000313 - Quickcam Pro 9000 user guide
Bauhn
Bauhn ABTWPDQ-0223-W user guide
Logitech
Logitech 961144-0403 - Quickcam Cordless Web Camera Setup

NetworkTV
NetworkTV NTV73U user guide

Samsung Wisenet
Samsung Wisenet Smartcam SNH-V6431BN user manual


