manuals.online logo
Brands
  1. Home
  2. •
  3. Brands
  4. •
  5. Next
  6. •
  7. Indoor Furnishing
  8. •
  9. Next 738602 User manual

Next 738602 User manual

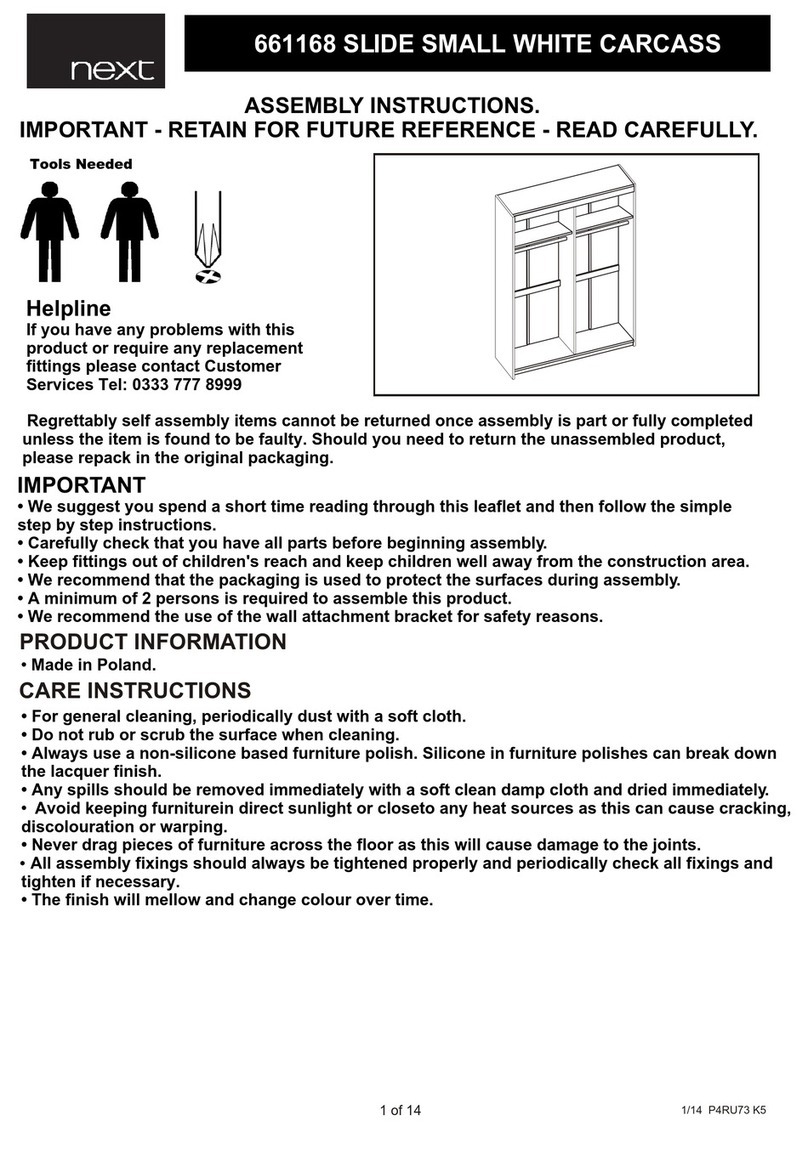
Tools Needed
Helpline
If you have any problems with this product or require
any replacement fittings please contact Customer
Services Tel: 0844 844 8999
ASSEMBLY INSTRUCTIONS.
IMPORTANT - RETAIN FOR FUTURE REFERENCE - READ CAREFULLY.
Regrettably self assembly items cannot be returned once assembly is part or fully completed unless the item is found
to be faulty. Should you need to return the unassembled product, please repack in the original packaging.
• Ensure the mats and coasters used do not have an abrasive surface underneath.
• A minimum of 2 persons is required to assemble this product.
PRODUCT INFORMATION
• Made from particleboard,MDF with a wood effect finish.
• Made in Indonesia.
IMPORTANT
• We suggest you spend a short time reading through this leaflet and then follow the simple step-by-step instructions.
• Carefully check that you have all parts before beginning assembly.
• Keep fittings out of children's reach and keep children well away from the construction area.
• We recommend that the packaging is used to protect the surfaces during assembly.
CARE INSTRUCTIONS
• Avoid keeping furniture in direct sunlight or close to any heat sources as this can cause cracking, discolouration or
warping.
• Never drag pieces of furniture across the floor as this will cause damage to the joints.
• Do not rub or scrub the surface when cleaning.
• Any spills should be removed immediately with a soft clean damp cloth and dried immediately.
• Ensure the product is protected with mats and coasters when items are placed on the surfaces, to prevent
scratching or damage.
• For general cleaning, periodically dust with a soft cloth.
• All assembly fixings should always be tightened properly and periodically check all fixings and tighten if necessary.
• Do not put hot dishes directly on the surfaces of the item.
3
3
1
7
2
6
4
5
4
5
GLUE
4
2
2
3
GLUE
3
5
6
5
4
GLUE
GLUE
GLUE
2
GLUE
7
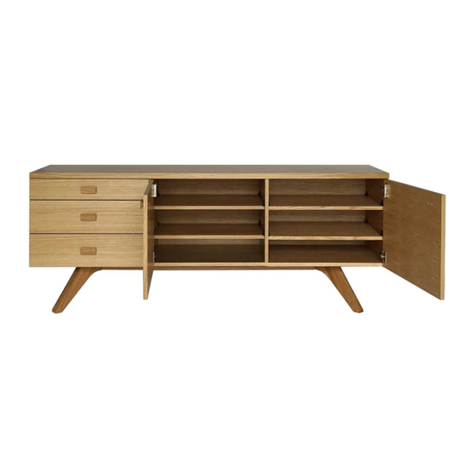
738602 HAVANA LOW SHELF
GLUE
1
7
1
2
2X
3
4
5
4
GLUE
GLUE
5
5
GLUE
4
4
5
5
2
3
3
3
2
64
45
5
GLUE
GLUE
GLUE
GLUE
GLUE
3
3
1
GLUE
GLUE
3
5
2
1
GLUE
5
4
6
GLUE
4
6
GLUE
5
4
1
5
3
3
1
5
2X
6
1 of 9
15x12 mm. 7.5X32 mm. 8x32 mm. F10x50 mm. 150 mm. P6x19 mm.
Ax22 Bx22 Cx30
Dx8 Ex2 Fx2
4 mm.
Gx2 Hx1
1X1 2x1
3x2 4x2 5x2
6x1 7x1
FITTINGS
PARTS
3
3
1
7
2
6
4
5
4
5
GLUE
4
2
2
3
GLUE
3
5
6
5
4
GLUE
GLUE
GLUE
2
GLUE
7
GLUE
1
7
1
2
2X
3
4
5
4
GLUE
GLUE
5
5
GLUE
4
4
5
5
2
3
3
3
2
64
45
5
GLUE
GLUE
GLUE
GLUE
GLUE
3
3
1
GLUE
GLUE
3
5
2
1
GLUE
5
4
6
GLUE
4
6
GLUE
5
4
1
5
3
3
1
5
2X
6
2 of 9
2. Insert 12x cambolts (B) into the holes of panels 3 (x2).
STEP THREE
1. Insert 4x camlocks (A) into the holes of panel 2 and ensure that arrow indicator is pointing towards the panel edge
before tightening with a screwdriver.
2. Glue and Insert 4x wooden dowels (C) into the end of panel 2.
1. Insert 4x camlocks (A) into the holes of panels 3 (x2) and ensure that arrow indicator is pointing towards the panel
edge before tightening with a screwdriver.
STEP TWO
STEP ONE
1. Insert 6x cambolts (B) into the holes of panel 1 and tighten with a screwdriver.
3. Glue and insert 4x wooden dowels ( C ) into the end of panels 3 (x2).
3
3
1
7
2
6
4
5
4
5
GLUE
4
2
2
3
GLUE
3
5
6
5
4
GLUE
GLUE
GLUE
2
GLUE
7
GLUE
1
7
1
2
2X
3
4
5
4
GLUE
GLUE
5
5
GLUE
4
4
5
5
2
3
3
3
2
64
45
5
GLUE
GLUE
GLUE
GLUE
GLUE
3
3
1
GLUE
GLUE
3
5
2
1
GLUE
5
4
6
GLUE
4
6
GLUE
5
4
1
5
3
3
1
5
2X
6
3 of 9
3. Insert 4x cambolts (B) into the holes of panels 4 (x2).
1. Glue 2x wooden dowels (C ) on panel 7.
2. Glue and Insert 8x wooden dowels (C) into the end of
panels 5 (x2).
STEP SIX
STEP SEVEN
1. Insert 2x camlocks (A) into the holes of panel 6 and
ensure that arrow indicator is pointing towards the panel
edge before tightening with a screwdriver.
2. Glue and Insert 4x wooden dowels (C) into the end of
panel 6.
STEP FOUR
1. Insert 4x camlocks (A) into the holes of panels 5 (x2) and
ensure that arrow indicator is pointing towards the panel
edge before tightening with a screwdriver.
STEP FIVE
1. Insert 8x camlocks (A) into the holes of panels 4 (x2) and ensure that arrow indicator is pointing towards the panel
edge before tightening with a screwdriver.
2. Glue and Insert 8x wooden dowels (C) into the end of panels 4 (x2).
3
3
1
7
2
6
4
5
4
5
GLUE
4
2
2
3
GLUE
3
5
6
5
4
GLUE
GLUE
GLUE
2
GLUE
7
GLUE
1
7
1
2
2X
3
4
5
4
GLUE
GLUE
5
5
GLUE
4
4
5
5
2
3
3
3
2
64
45
5
GLUE
GLUE
GLUE
GLUE
GLUE
3
3
1
GLUE
GLUE
3
5
2
1
GLUE
5
4
6
GLUE
4
6
GLUE
5
4
1
5
3
3
1
5
2X
6
4 of 9
1. Glue 2x wooden dowels (C ) on panel 7.
1. Glue 2x wooden dowels (C ) on panel 5.
1. Glue 2x wooden dowels (C ) on panels 5.
STEP EIGHT
2. Attach panels 5 to the assembled unit by using camlocks
(A), turn clockwise with a cross-head screwdriver to secure
the panel together.
STEP NINE
2. Attach panel 7 to the panel 2 by using 2x screws (D), turn
clockwise with a cross-head screwdriver until tight.
2. Attach panel 4 to the panel 5 by using 2x screws (D), turn
clockwise with a cross-head screwdriver until tight.
STEP TEN
3
3
1
7
2
6
4
5
4
5
GLUE
4
2
2
3
GLUE
3
5
6
5
4
GLUE
GLUE
GLUE
2
GLUE
7
GLUE
1
7
1
2
2X
3
4
5
4
GLUE
GLUE
5
5
GLUE
4
4
5
5
2
3
3
3
2
64
45
5
GLUE
GLUE
GLUE
GLUE
GLUE
3
3
1
GLUE
GLUE
3
5
2
1
GLUE
5
4
6
GLUE
4
6
GLUE
5
4
1
5
3
3
1
5
2X
6
5 of 9
1. Glue 2x wooden dowels (C ) on panel 5.
1. Glue 2x wooden dowels (C ) on panel 6.
1. Glue 2x wooden dowels (C ) on panels 6.
2. Attach panels 6 to the assembled unit by using camlocks
(A), turn clockwise with a cross-head screwdriver to secure
the panel together.
2. Attach panel 4 to the assembled unit by using 2x screws
(D), turn clockwise with a cross-head screwdriver until
tight.
STEP THIRTEEN
STEP ELEVEN
STEP TWELVE
2. Attach panel 2 to the assembled unit by using 2x screws
(D), turn clockwise with a cross-head screwdriver until
tight.
3
3
1
7
2
6
4
5
4
5
GLUE
4
2
2
3
GLUE
3
5
6
5
4
GLUE
GLUE
GLUE
2
GLUE
7
GLUE
1
7
1
2
2X
3
4
5
4
GLUE
GLUE
5
5
GLUE
4
4
5
5
2
3
3
3
2
64
45
5
GLUE
GLUE
GLUE
GLUE
GLUE
3
3
1
GLUE
GLUE
3
5
2
1
GLUE
5
4
6
GLUE
4
6
GLUE
5
4
1
5
3
3
1
5
2X
6
6 of 9
1. Glue 6x wooden dowels (C) on panels 2 and 4 (x2).
STEP FOURTEEN
2. Attach panel 3 to assembled unit by using camlocks (A), turn clockwise with a cross-head screwdriver to secure all
panels together.
STEP FIFTEEN
2. Attach panel 3 to assembled unit by using camlocks (A), turn clockwise with a cross-head screwdriver to secure all
panels together.
3
3
1
7
2
6
4
5
4
5
GLUE
4
2
2
3
GLUE
3
5
6
5
4
GLUE
GLUE
GLUE
2
GLUE
7
GLUE
1
7
1
2
2X
3
4
5
4
GLUE
GLUE
5
5
GLUE
4
4
5
5
2
3
3
3
2
64
45
5
GLUE
GLUE
GLUE
GLUE
GLUE
3
3
1
GLUE
GLUE
3
5
2
1
GLUE
5
4
6
GLUE
4
6
GLUE
5
4
1
5
3
3
1
5
2X
6
7 of 9
1. Turn the unit upright, lifted by 2 person.
2. Glue 6x wooden dowels (C) on panel 3 (x2) and 5.
3. Attach panel 1 to the assembled unit by using camlocks (A), turn clockwise with a cross-head screwdriver to secure
all panels together.
STEP SEVENTEEN
STEP EIGHTEEN
1. Attach 2x straps (E) to the predrilled holes of panel 1 using 2x washers (G) and 2x screws (F), turn clockwise with a
screwdriver until tight.
3
3
1
7
2
6
4
5
4
5
GLUE
4
2
2
3
GLUE
3
5
6
5
4
GLUE
GLUE
GLUE
2
GLUE
7
GLUE
1
7
1
2
2X
3
4
5
4
GLUE
GLUE
5
5
GLUE
4
4
5
5
2
3
3
3
2
64
45
5
GLUE
GLUE
GLUE
GLUE
GLUE
3
3
1
GLUE
GLUE
3
5
2
1
GLUE
5
4
6
GLUE
4
6
GLUE
5
4
1
5
3
3
1
5
2X
6
8 of 9
FOIL STICKERS
NOTE: Wall fixing are not included. Please source suitable
fixings for your wall type. If it doubt please consult a
qualified trade person.
1. Fix the other ends of the strap to the wall using
appropriate screw, washer and wall plug for your wall type.
WARNING: Always ensure the area to be drilled is free from
hidden electrical wires, water and gas pipes.
Next Retail Ltd, Desford Road, Leicester, LE19 4AT
Use the foil stickers to cover all visible camlock holes from construction. Ensure when placing the sticker
the grain of sticker follows the direction of the grain of the panel. This will give a better visual appearance.
STEP NINETEEN
HOW TO USE THE FOIL STICKER.
3
3
1
7
2
6
4
5
4
5
GLUE
4
2
2
3
GLUE
3
5
6
5
4
GLUE
GLUE
GLUE
2
GLUE
7
Dia. 20 mm.
I x 22
GLUE
Incorrect
Correct
1
7
1
2
2X
3
4
5
4
GLUE
GLUE
5
5
GLUE
4
4
5
5
2
3
3
3
2
64
45
5
GLUE
GLUE
GLUE
GLUE
GLUE
3
3
1
GLUE
GLUE
3
5
2
1
GLUE
5
4
6
GLUE
4
6
GLUE
5
4
1
5
3
3
1
5
2X
6
9 of 9

Other Next Indoor Furnishing manuals

Next BRONX U72186 User manual

Next

Next BRONX U72186 User manual

Next Miami Wide 967429 User manual

Next

Next Miami Wide 967429 User manual

Next BARLOW BOOKCASE 804833 User manual

Next

Next BARLOW BOOKCASE 804833 User manual

Next 460185 User manual

Next

Next 460185 User manual

Next 857808 User manual

Next

Next 857808 User manual

Next PARIS STORAGE BED 893451 User manual

Next

Next PARIS STORAGE BED 893451 User manual

Next 922900 User manual

Next

Next 922900 User manual

Next 645958 User manual

Next

Next 645958 User manual

Next DARCY 126284 User manual

Next

Next DARCY 126284 User manual

Next IBIZA 818552 User manual

Next

Next IBIZA 818552 User manual

Next 131023 User manual

Next

Next 131023 User manual

Next 858847 User manual

Next

Next 858847 User manual

Next 376327 User manual

Next

Next 376327 User manual

Next Juno 457104 User manual

Next

Next Juno 457104 User manual

Next Phoenix 21 78 47 User manual

Next

Next Phoenix 21 78 47 User manual

Next CLEAR 658132 User manual

Next

Next CLEAR 658132 User manual

Next HIGHBURY 872404 User manual

Next

Next HIGHBURY 872404 User manual

Next MALVERN DOVE A31561 User manual

Next

Next MALVERN DOVE A31561 User manual

Next MALVERN DOVE 881971 User manual

Next

Next MALVERN DOVE 881971 User manual

Next LOUIS SHELVING 917174 User manual

Next

Next LOUIS SHELVING 917174 User manual

Next ART PLINTH User manual

Next

Next ART PLINTH User manual

Next HOVE N 672820 User manual

Next

Next HOVE N 672820 User manual

Next 289884 User manual

Next

Next 289884 User manual

Next BRONX WALL MOUNTED VANITY 890910 User manual

Next

Next BRONX WALL MOUNTED VANITY 890910 User manual

Popular Indoor Furnishing manuals by other brands

Linon 86168DRIFTWD01U manual

Linon

Linon 86168DRIFTWD01U manual

agape NARCISO ANAR Series Assembly instructions

agape

agape NARCISO ANAR Series Assembly instructions

Southern Enterprises CM9163R Assembly instructions

Southern Enterprises

Southern Enterprises CM9163R Assembly instructions

Kesseböhmer TopFlex Assembly instructions

Kesseböhmer

Kesseböhmer TopFlex Assembly instructions

Hudson & Canal TV0569 Assembly instructions

Hudson & Canal

Hudson & Canal TV0569 Assembly instructions

Furniture of America Launces CM-AC119 Assembly instructions

Furniture of America

Furniture of America Launces CM-AC119 Assembly instructions

DIVERSIFIED WOODCRAFTS 1114K Series Assembly instructions

DIVERSIFIED WOODCRAFTS

DIVERSIFIED WOODCRAFTS 1114K Series Assembly instructions

Living Spaces RANGER 91903 owner's manual

Living Spaces

Living Spaces RANGER 91903 owner's manual

Courtyard Creations KTS233W-WM Assembly instructions

Courtyard Creations

Courtyard Creations KTS233W-WM Assembly instructions

popstrukt Sugar Shelving Unit Assembly instructions

popstrukt

popstrukt Sugar Shelving Unit Assembly instructions

Blanco BKANCODEVON 501-204 Specification sheet

Blanco

Blanco BKANCODEVON 501-204 Specification sheet

Habitat Losange 817548 manual

Habitat

Habitat Losange 817548 manual

Triarch Indoor Lighting 31183 Assembly instructions

Triarch

Triarch Indoor Lighting 31183 Assembly instructions

Home affaire Emily 6181015C0 Assembly instructions

Home affaire

Home affaire Emily 6181015C0 Assembly instructions

Ironwood Glacier LS42DA manual

Ironwood

Ironwood Glacier LS42DA manual

Furniture of America CM6149 Assembly instructions

Furniture of America

Furniture of America CM6149 Assembly instructions

ErGear EGESD6B-4 instruction manual

ErGear

ErGear EGESD6B-4 instruction manual

John Lewis AURELIA 803 05307 manual

John Lewis

John Lewis AURELIA 803 05307 manual

manuals.online logo
manuals.online logoBrands
  • About & Mission
  • Contact us
  • Privacy Policy
  • Terms and Conditions

Copyright 2025 Manuals.Online. All Rights Reserved.