Nexxt Solutions – Wireless-N 3G router
10
Note: After a device is successfully added to the network by the WPS function on the Viking
150, the corresponding LED will remain on for about 5 minutes before going off.
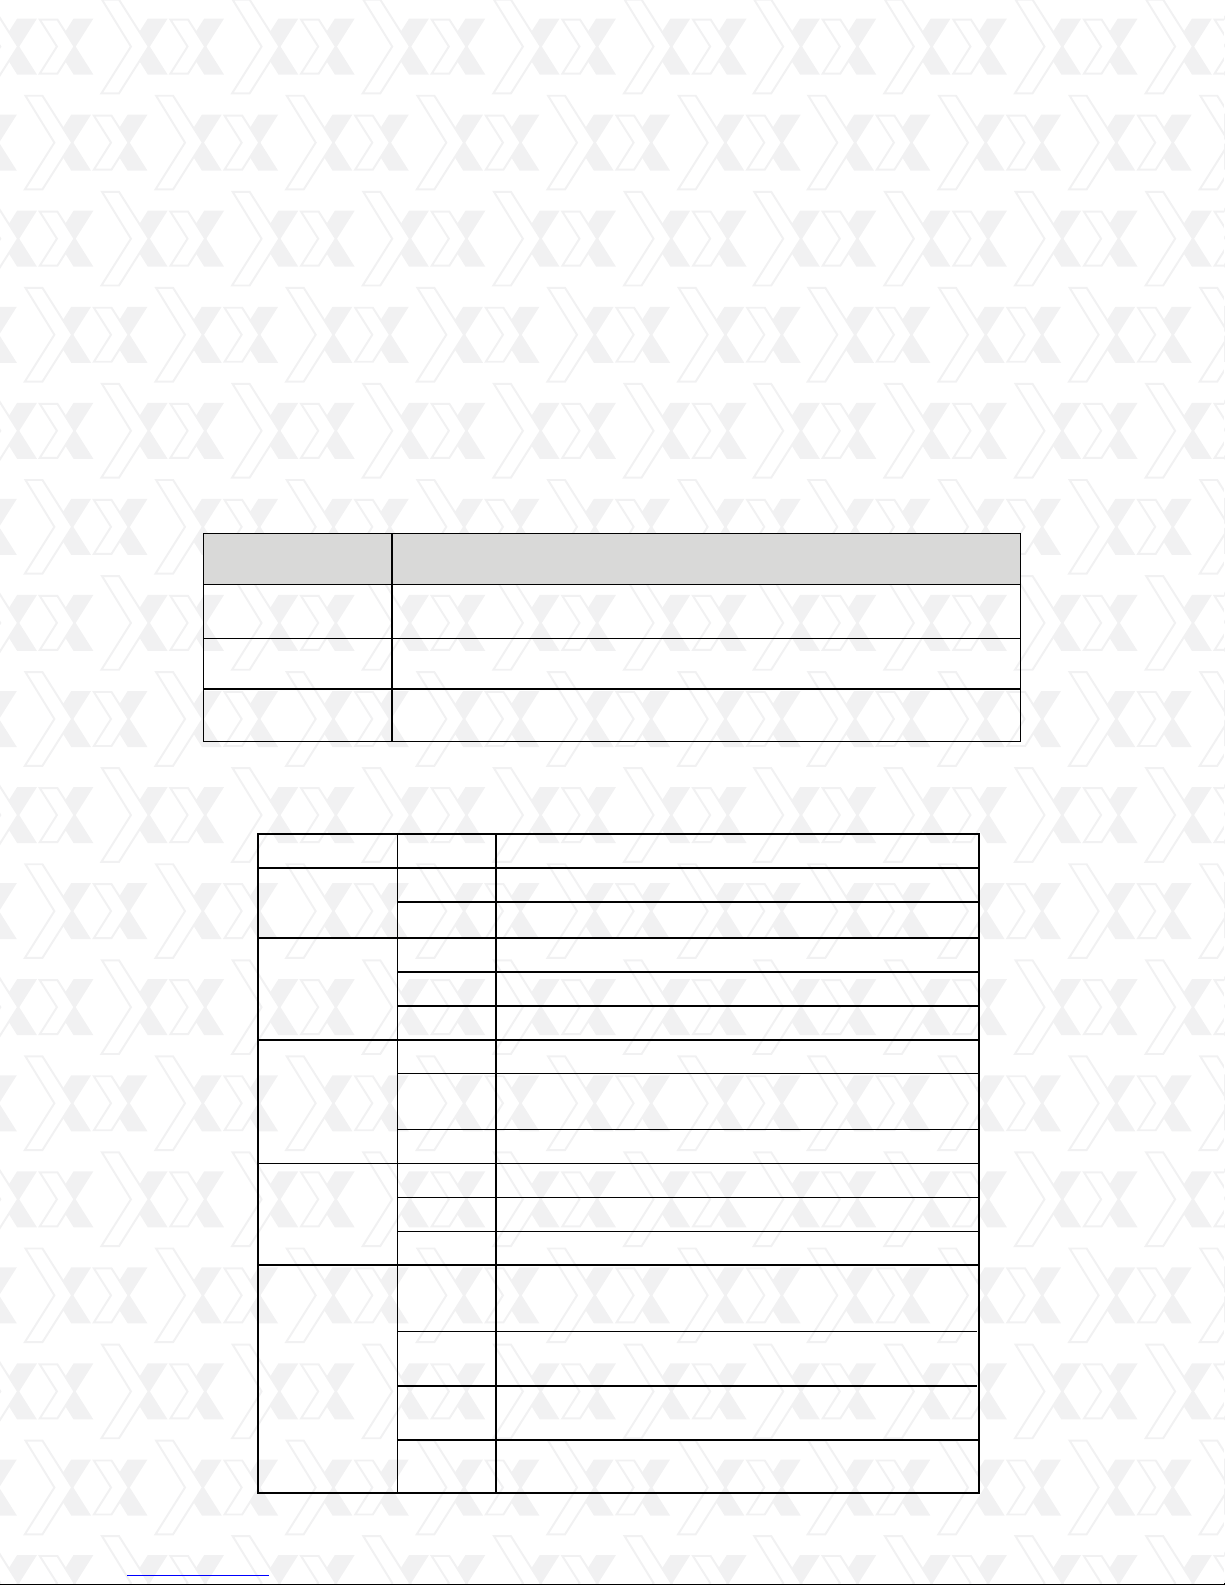
1.5 System requirements
1.6 Installation environment requirements
2.1.2 Viking 150 hardware connection
Note: By default, the Viking 150 operates as a 3G router
3G Mobile Broadband Internet Access Service (With a UMTS/HSPA/EVDO USB dongle) or
Wired Broadband Internet Connection from ISP.
PCs with a working Ethernet adapter or wireless adapter.
TCP/IP protocol on each PC.
Web browser, such as Microsoft Internet Explorer 5.0, Netscape Navigator 6.0 or above.
Place the router in a well ventilated place, far away from any heat generating device, heater
or heating vents.
Avoid exposure to direct light (such as sunlight) or excessive heat.
Allow at least 2 inches (5 cm) of clearance around the unit.
Operating temperature: 0°C~40°C (32°F~104°F)
Operating humidity: 10%~90%RH, non-condensing
•
•
•
•
•
•
•
•
•
Chapter 2.
Installation guide
First, connect one end of the supplied USB cable into micro USB port on the router, and
the other end into the power adapter, before plugging the power adapter to a standard
electrical wall socket.
Insert the user-supplied 3G modem into the USB port on the device.
Then, open the web-based management page of the router in order to configure all
applicable parameters and to quickly establish a connection to the internet.
In this mode, the LAN/WAN port is used as LAN port for wired connection with your
computer while all other devices can share the Internet wirelessly.
First, connect one end of the supplied power adapter to the AC input jack located on the
rear panel of the router, before plugging the other end to a standard electrical wall outlet.
Insert the user-supplied 3G/3.75G modem into the USB port on the device.
Then, open the web-based management page of the router in order to configure all
applicable parameters and to quickly establish a connection to the internet.
In this mode, the LAN ports are used for linking your network devices to your computer
using wired connection, while all other devices can share the Internet wirelessly.
1.
2.
3.
4.
1.
2.
3.
4.
Note: By default, the Polaris 150 operates as a 3G router
2.1 Preliminary steps
2.1.1 Polaris hardware connection
There are a total of three operation modes supported by the Polaris 150: 3G Router, Wire-
less router, Standard AP (including Access Point, Repeater, Bridge with AP, and Client). Set
up the router according to the mode you are going to apply.