Nibe S1155PC User manual

User Manual
Ground source heat pump
NIBE S1155PC/S1255PC
UHB EN 2150-1
631789

Quick guide
NAVIGATION
Browse
ScrollSelect
The dots at the bottom
edge show that there
are more pages.
If the menu has several
sub-menus, you can
see more information
by dragging up or
down with your finger.
Most options and func-
tions are activated by
lightly pressing on the
display with your finger.
Drag to the right or left
with your finger to
browse between the
pages.
Setting the indoor temperature.
13.45 3 October
Climate system 1
Offset
Heating
Smartguide
Hi!
Your system is working properly. Do you want help making
changes?
Yes please, take me to Smartguide.
October13.45 3
Here, you can set the temperature in the installation's zones.Smartguide helps you both to view information about the current
status and to make the most common settings easily. The inform-
ation that you see depends on the product you have and the ac-
cessories that are connected to the product.
Product overview
Company AB
Phone number
S1155PC/S1255PC
01234567890123
1.0.0
Product
overview
Product name
Serial number
Software
Service
October13.45 3
Update
Increasing hot water temperature
13.45 3 October
More hot water
Hot water
Here, you can find information about product name, the product's
serial number, the version of the software and service. When
there is new software to download, you can do it here (provided
that S1155PC/S1255PC is connected to myUplink).
Here, you can start or stop a temporary increase in the hot water
temperature.
S1155PC: This function page is only visible in installations with a
water heater.
IN THE EVENT OF DISTURBANCES IN COMFORT
If you experience a disturbance in comfort of any kind, there are various measures you can take yourself before contacting
your installer. For instructions, see section "Troubleshooting".

41 Important information
4Installation data
4Serial number
52 Heat pump function
63 Control - Introduction
6Display unit
7Navigation
7Menu types
9Menu system
104 myUplink
10Specification
10Connection
10Range of services
115 Maintenance of S1155PC/S1255PC
11Regular checks
11Saving tips
126 Disturbances in comfort
12Info-menu
12Manage alarm
12Troubleshooting
13Only additional heat
15Contact information
3Table of ContentsNIBE S1155PC/S1255PC
Table of Contents

Installation data
S1155PC/S1255PCProduct
Serial number, main unit
Serial number, subordinate heat pump 1
Serial number, subordinate heat pump 2
Serial number, subordinate heat pump 3
Serial number, subordinate heat pump 4
Serial number, subordinate heat pump 5
Serial number, subordinate heat pump 6
Serial number, subordinate heat pump 7
Serial number, subordinate heat pump 8
Installation date
Installer
Type of brine -
Mixing ratio/freezing point
Active drilling depth/collector length
Accessories
✔
SetFact.
sett.
NameNo.
0heating curve (offset)1.9.1.1
7heating curve (curve slope)1.9.1.1
Serial number must always be given.
Certification that the installation is carried out according to instructions in the accompanying installer manual and applicable regulations.
__________________________________________Signed______________________________Date
Serial number
The serial number can be found at the bottom right on
S1155PC/S1255PC, in the display on the home screen
"Product overview" and on the type plate.
Caution
You need the product's (14 digit) serial number for
servicing and support.
NIBE S1155PC/S1255PCChapter 1 | Important information4
Important information

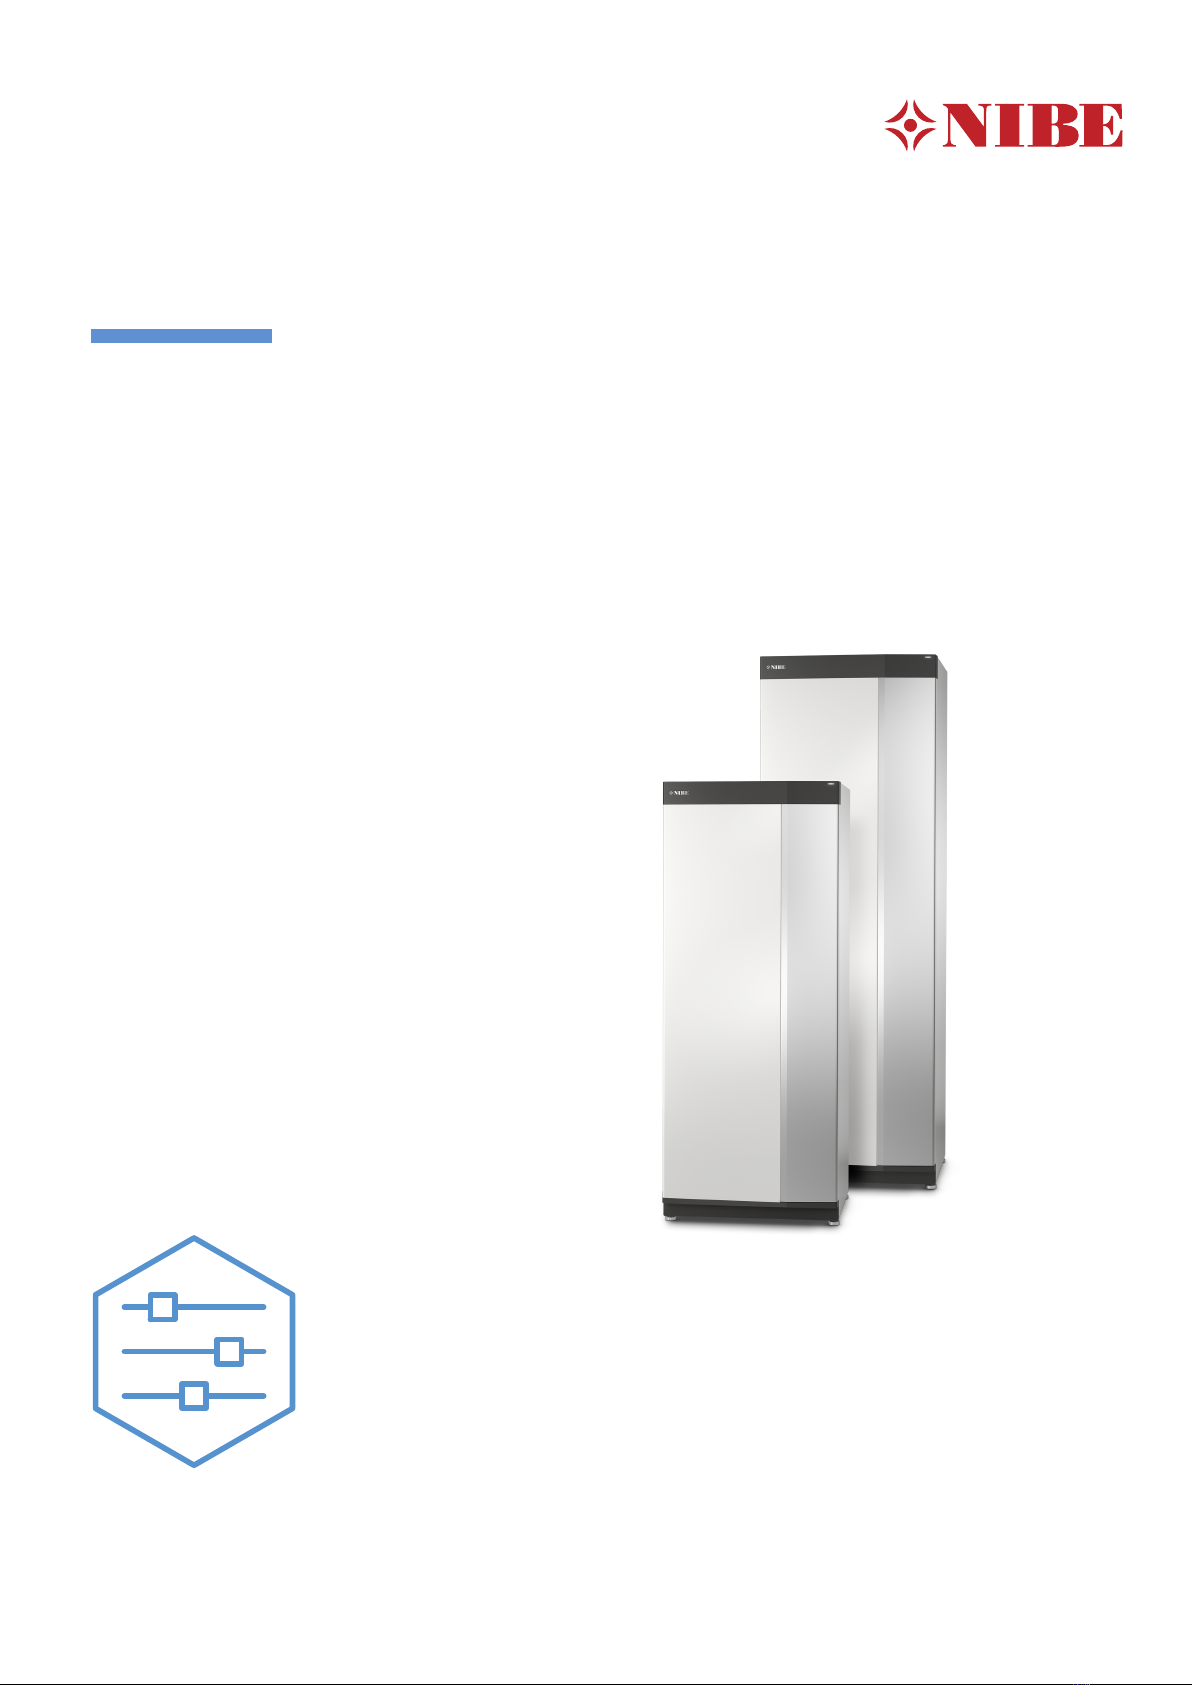
A heat pump can use stored solar energy from rock, ground
or water in order to heat a property. The conversion of en-
ergy stored in nature to property heating occurs in three
different circuits. In the brine circuit, (1), free heat energy
is retrieved from the surroundings and transported to the
heat pump. The heat pump increases the retrieved heat's
low temperature to a high temperature in the refrigerant
circuit, (2). The heat is distributed around the house in the
heating medium circuit, (3).
100 ºC
50 ºC40 ºC
-2 ºC
0 ºC
-3 º C
-4 ºC
Heating medium
Brine
Refrigerant
Evaporator
Condenser
Expansion valve
Compressor
1
2
3
Heat source
A
B
C
D
E
F
G
H
I
The temperatures are only examples and may vary between
different installations and time of year.
Brine circuit
In a hose, collector, an anti-freeze liquid, brine, circulates
from the heat pump out to the heat source
(rock/ground/lake). The energy from the heat source is
stored by it heating the brine a few degrees, from about
–3°C to about 0 °C.
A
The collector then routes the brine to the heat pump’s
evaporator. Here, the brine releases heat energy and the
temperature drops a few degrees. The liquid then returns
to the heat source to retrieve energy again.
B
Refrigerant circuit
Another liquid circulates in a closed system in the heat
pump, a refrigerant, which also passes the evaporator.
The refrigerant has a very low boiling point. In the
evaporator the refrigerant receives the heat energy from
the brine and starts to boil.
C
The gas that is produced during boiling is routed into an
electrically powered compressor. When the gas is com-
pressed, the pressure increases and the gas's temperat-
ure increases considerably, from approx. 5ーC to approx.
100 ーC.
D
From the compressor, gas is forced into a heat ex-
changer, condenser, where it releases heat energy to
the heating system in the house, whereupon the gas is
cooled and condenses to a liquid form again.
E
As the pressure is still high, the refrigerant can pass an
expansion valve, where the pressure drops so that the
refrigerant returns to its original temperature. The refri-
gerant has now completed a full cycle. It is routed to the
evaporator again and the process is repeated.
F
Heat medium circuit
The heating energy that the refrigerant releases in the
condenser is retrieved by the heat pump's boiler section.
G
The heating medium circulates in a closed system and
transports the heated water's heat energy to the house
water heater and radiators/heating coils.
H
Passive cooling
The brine can also be circulated via a mixing valve to a
heat exchanger. There the brine cools the heating sys-
tem's water so that comfort cooling can be maintained
during the hotter periods of the year.
I
5Chapter 2 | Heat pump functionNIBE S1155PC/S1255PC
Heat pump function

Display unit
Status lamp
Display
USB port
On/off button
THE STATUS LAMP
The status lamp shows how well your system is operating.
It:
•lights up white during normal operation.
•lights yellow in emergency mode.
•lights red in the event of a deployed alarm.
•flashes white during active notice.
•is blue when S1155PC/S1255PC is switched off.
If the status lamp is red, you receive information and sug-
gestions for suitable actions on the display.
TIP
You also receive this information via myUplink.
THE USB PORT
Above the display, there is a USB port that can be used e.g.
for updating the software. Log into myuplink.com and click
the "General" and then "Software" tab to download the latest
version of the software for your installation.
THE ON/OFF BUTTON
The on/off button has three functions:
•start
•switch off
•activate emergency mode
To start: press the on/off button once.
To switch off, restart or activate emergency mode: press
and hold the on/off button for 2 seconds. This brings up a
menu with various options.
For hard switch off: press and hold the on/off button for 5
seconds.
To activate emergency mode when S1155PC/S1255PC is
switched off: press and hold the on/off button for 5 seconds.
(Deactivate the emergency mode by pressing once.)
THE DISPLAY
Instructions, settings and operational information are shown
on the display.
NIBE S1155PC/S1255PCChapter 3 | Control - Introduction6
Control - Introduction

Navigation
S1155PC/S1255PC has a touchscreen where you simply
navigate by pressing and dragging with your finger.
SELECT
Most options and functions are activated by
lightly pressing on the display with your finger.
BROWSE
The dots at the bottom edge show that there are
more pages.
Drag to the right or left with your finger to
browse between the pages.
SCROLL
If the menu has several sub-menus, you can see
more information by dragging up or down with
your finger.
CHANGE A SETTING
Press the setting you want to change.
If it is an on/off setting, it changes as soon as you press it.
Period 1
If there are several possible values, a spinning-wheel ap-
pears that you drag up or down to find the desired value.
Press to save your change, or if you don't want to
make a change.
FACTORY SETTING
Factory set values are marked with *.
Your installer may have chosen other values that suit your
system better.
HELP MENU
In many menus there is a symbol that indicates that
extra help is available.
Press the symbol to open the help text.
You may need to drag with your finger to see all text.
Menu types
HOME SCREENS
Smartguide
Smartguide helps you both to view information about the
current status and to make the most common settings
easily. The information that you see depends on the product
you have and the accessories that are connected to the
product.
Select an option and press it to proceed. The instructions
on the screen help you to choose correctly or give you in-
formation about what is happening.
13.45 3 October
Hi!
Your system is working properly. Do you want help
making changes?
Yes please, take me to Smartguide.
13.45 3 October
You have one or more active notes. You can choose
to display information messages below.
Show more information about the note
I want to change settings for my system
Function pages
On the function pages, you can both view information about
the current status and easily make the most common set-
tings. The function pages that you see depend on the
product you have and the accessories that are connected
to the product.
13.45 3 October
Climate system 1
Offset
Heating
13.45 3 October
More hot water
Hot water
Drag to the right or left with your finger to browse
between the function pages.
7Chapter 3 | Control - IntroductionNIBE S1155PC/S1255PC

Drop-down menu
Menu treeBoard
Kitchen BedroomBottom floor
Works to set temperature
Menu symbol
Set temperature
Current temperature
Heating
March
13.45 3
Press the card to adjust the desired value. On certain func-
tion pages, drag your finger up or down to obtain more cards.
Product overview
It can be a good idea to have the product overview open
during any service cases. You can find it among the function
pages.
Here, you can find information about product name, the
product's serial number, the version of the software and
service. When there is new software to download, you can
do it here (provided that S1155PC/S1255PC is connected to
myUplink).
Company AB
Phone number
S1155PC/S1255PC
01234567890123
1.0.0
Product
overview
Product name
Serial number
Software
Service
October13.45 3
Update
Drop-down menu
From the home screens, you reach a new window containing
further information by dragging down a drop-down menu.
Drop-down menu
13.45 3 October
Heating
Climate system 1
Offset
The drop-down menu shows the current status for
S1155PC/S1255PC, what is in operation and what
S1155PC/S1255PC is doing at the moment. The functions
that are in operation are highlighted with a frame.
March
Oper. priority Heating
Time to compressor start Operate
Additional heat
External supply line (BT25)
Hot water top (BT7)
13.45 3
Press the icons on the menu’s lower edge for more informa-
tion about each function. Use the scroll bar to view all inform-
ation for the selected function.
March
Extern. supply temp sensor (BT25)
Return temperature (BT3)
Calcul supply temp 1
Room temperature
13.45 3
Heating
NIBE S1155PC/S1255PCChapter 3 | Control - Introduction8

MENU TREE
In the menu tree, you can find all menus and can make more
advanced settings.
13.45 3 October
Hi!
Your system is working properly. Do you want help
making changes?
Yes please, take me to Smartguide.
You can always press "X" to return to the home screens.
Main menu
Indoor climate
Hot water
Info
My system
Connection
Menu system
MENU TREE
The menu tree consists of eight main menus. For a detailed
description, see the Installer Manual.
Menu 1 – Indoor climate
Here, you make settings for indoor temperatures and vent-
ilation (accessory is required).
Menu 2 – Hot water
You make settings for hot water operation here.
S1155PC: This menu is only visible in installations with water
heaters.
Menu 3 - Info
Here, you can read current operating information and you
can find various logs with older information
Menu 4 - My system
Here, you set date, language, operating mode, etc.
Menu 5 - Connection
Here, you connect your system to myUplink and make net-
work settings.
Menu 6 - Scheduling
Here, you schedule different parts of the system.
Menu 7 - Installer settings
Advanced settings are made here. This menu is only inten-
ded for installers or service engineers.
Menu 8 - USB
This menu lights up when a USB memory is connected. You
can update the software here, for example.
9Chapter 3 | Control - IntroductionNIBE S1155PC/S1255PC

With myUplink you can control the installation – where and
when you want. In the event of any malfunction, you receive
an alarm directly to your e-mail or a push notification to the
myUplink app, which allows you to take prompt action.
Visit myuplink.com for more information.
Caution
Before you can start using myUplink, the product
has to be installed and set up according to the in-
structions in the Installer Manual.
Specification
You need the following in order for myUplink to be able to
communicate with your S1155PC/S1255PC:
•wireless network or network cable
•Internet connection
•account on myuplink.com
We recommend our mobile apps for myUplink.
Connection
To connect your system to myUplink:
1. Select connection type (wifi/Ethernet) in menu 5.2.1 or
5.2.2.
2. Scroll down in menu 5.1 and select "Request new con-
nection string".
3. When a connection string has been produced, it is shown
in this menu and is valid for 60 minutes.
4. If you do not already have an account, register in the
mobile app or on myuplink.com.
5. Use this connection string to connect your installation
to your user account on myUplink.
Range of services
myUplink gives you access to various levels of service. The
base level is included and, apart from this, you can choose
two premium services for a fixed annual fee (the fee varies
depending on the functions selected).
Premium
changeset-
tings
Premium
extended
history
BasicService level
XXXViewer
XXXAlarm
XXXHistory
-X-Extended history
X--Manage
NIBE S1155PC/S1255PCChapter 4 | myUplink10
myUplink

Regular checks
You should check your installation at regular intervals.
If anything unusual occurs, messages about the malfunction
appear in the display in the form of different alarm texts.
BRINE
The brine that obtains the heat in the ground is not normally
consumed, but just pumped around.
LEK
Your installation includes an expansion vessel,
where you can check the pressure in the sys-
tem. The pressure may vary slightly due to the
temperature of the fluid. The pressure should
not fall below 0.5 bar.
Ask your installer if you are unsure where the expansion
vessel is located.
Your installer can also help you to top-up if the pressure
has dropped.
SAFETY VALVE
S1155PC
For installations with a water heater.
You can find the safety valve on the incoming pipe (cold
water) to the water heater.
S1255PC
You can find the safety valve on the incoming pipe (cold
water) to S1255PC.
The water heater’s safety valve sometimes releases a little
water after hot water usage. This is because the cold water,
which enters the water heater to replace the hot water, ex-
pands when heated causing the pressure to rise and the
safety valve to open.
The function of the safety valve must be checked regularly.
Perform checks as follows:
1. Open the valve.
2. Check that water is flowing through it.
3. Close the valve.
TIP
The safety valve is fitted by your installer. Contact
your installer if you are unsure how to check it.
Saving tips
Your heat pump installation produces heat and hot water.
This occurs via the control settings you made.
Factors that affect the energy consumption are, for example,
indoor temperature, hot water consumption, the insulation
level of the house and whether the house has many large
window surfaces. The position of the house, e.g. wind expos-
ure is also an affecting factor.
Also remember:
•Open the thermostat valves completely (except in rooms
where you want it to be cooler). This is important, as fully
or partially closed thermostat valves slow the flow in the
climate system, which results in S1155PC/S1255PC work-
ing at a higher temperature. This in turn can lead to in-
creased energy consumption.
•You can lower the operating cost when away from home
by scheduling selected parts of the system. This is done
in menu 6 - "Scheduling".
•If you select "Small" in menu 2.2 - "Hot water demand",
less energy is used.
11Chapter 5 | Maintenance of S1155PC/S1255PCNIBE S1155PC/S1255PC
Maintenance of S1155PC/S1255PC

In most cases, S1155PC/S1255PC notes a malfunction (a
malfunction can lead to disruption in comfort) and indicates
this with alarms, and instructions for action, in the display.
Info-menu
All the heat pump’s measurement values are gathered under
menu 3.1 - "Operating info" in the heat pump’s menu system.
Examining the values in this menu can often make it easier
to identify the source of the fault.
Manage alarm
13.45 3
Your system has an active alarm.
Please select action or contact your installer.
I want to see more info about the alarm
I want to change settings for my system
October
13.45 3 October
The installation pump has no contact with the supply
temperature sensor. Additional heat is blocked. The installation
switches to alarm operation, which may mean a reduction of
comfort.
Select auxiliary operation and contact your installer.
Reset alarm and try again
Start auxiliary mode
In the event of an
alarm, a malfunction
has occurred and the
status lamp shines
with a steady red light.
You receive informa-
tion about the alarm
in the smartguide on
the display.
ALARM
In the event of an
alarm with a red
status lamp, a mal-
function has occurred
that S1155PC/S1255PC cannot remedy itself. On the display,
you can see what type of alarm it is and reset it.
In many cases, it is sufficient to select “Reset alarm and try
again” for the installation to revert to normal operation.
If a white light comes on after selecting “Reset alarm and
try again”, the alarm has been remedied.
"Auxiliary operation" is a type of emergency mode. This
means that the installation attempts to produce heat and/or
hot water, even though there is some kind of problem. This
could mean that the heat pump’s compressor is not in oper-
ation. In this case, any electric additional heat produces heat
and/or hot water.
Caution
Selecting "Auxiliary operation" is not the same as
correcting the problem that caused the alarm. The
status lamp will therefore remain red.
If the alarm does not reset, contact your installer for suitable
remedial action.
Caution
You need the product's (14 digit) serial number for
servicing and support.
Troubleshooting
If the operational interference is not shown in the display
the following tips can be used:
BASIC ACTIONS
Start by checking the following items:
•Group and main fuses of the accommodation.
•The property's earth circuit breaker.
LOW HOT WATER TEMPERATURE OR A LACK OF
HOT WATER
S1155PC: This part of the fault-tracing chapter only applies
if a water heater is installed in the system.
•Closed or throttled externally mounted filling valve for the
hot water.
–Open the valve.
•Mixing valve (if there is one installed) set too low.
–Adjust the mixer valve.
•S1155PC/S1255PC in incorrect operating mode.
–Contact your installer!
•Large hot water consumption.
–Wait until the hot water has heated up. Temporarily in-
creased hot water capacity can be activated in the "Hot
water" home screen, in menu 2.1 - "More hot water" or
via myUplink.
•Too low hot water setting.
–Enter menu 2.2 - "Hot water demand" and select a
higher demand mode.
•Low hot water access with the “Smart Control” function
active.
–If the hot water usage has been low for an extended
period of time, less hot water than normal will be pro-
duced. Activate "More hot water" via the "Hot water”
home screen, in menu 2.1 - "More hot water" or via my-
Uplink.
•Too low or no operating prioritisation of hot water.
–Contact your installer!
•"Holiday" activated in menu 6.
–Enter menu 6 and deactivate.
LOW ROOM TEMPERATURE
•Closed thermostats in several rooms.
NIBE S1155PC/S1255PCChapter 6 | Disturbances in comfort12
Disturbances in comfort

–Set the thermostats to max in as many rooms as pos-
sible. Adjust the room temperature via the "Heating”
home screen, rather than turning down the thermostats.
•S1155PC/S1255PC in incorrect operating mode.
–Contact your installer!
•Too low set value on the automatic heating control.
–Go to the Smartguide for help in increasing heating. You
can also change the heating in the "Heating" home
screen.
•Too low or no operating prioritisation of heat.
–Contact your installer!
•"Holiday" activated in menu 6 - "Scheduling".
–Enter menu 6 and deactivate.
•External switch for changing room temperature activated.
–Check any external switches.
•Air in the climate system.
–Vent the climate system.
•Closed valves to the climate system
–Open the valves (contact your installer for assistance
in finding them).
HIGH ROOM TEMPERATURE
•Too high set value on the automatic heating control.
–Go to the Smartguide for help in lowering the heating.
You can also change the heating from the "Heating"
home screen.
•External switch for changing room temperature activated.
–Check any external switches.
UNEVEN ROOM TEMPERATURE.
•Incorrectly set heating curve.
–Fine-tune the heating curve in menu 1.30.1.
•Too high set value on "dT at DOT"..
–Contact your installer!
•Uneven flow over the radiators.
–Contact your installer!
LOW SYSTEM PRESSURE
•Not enough water in the climate system.
–Fill the climate system with water and check for leaks.
In event of repeated filling, contact the installer.
THE COMPRESSOR DOES NOT START
•There is no heating or hot water demand, nor cooling
demand.
–S1155PC/S1255PC does not call on heating, hot water
or cooling.
•Compressor blocked due to the temperature conditions.
–Wait until the temperature is within the product’s work-
ing range.
•Minimum time between compressor starts has not been
reached.
–Wait for at least 30 minutes and then check if the com-
pressor has started.
•Alarm tripped.
–Follow the display instructions.
WHINING NOISE IN THE RADIATORS
•Closed thermostats in the rooms and incorrectly set
heating curve.
–Set the thermostats to max in as many rooms as pos-
sible. Fine-tune the heating curve via home screen
heating, rather than choking the thermostats.
•Circulation pump speed set too high.
–Contact your installer!
•Uneven flow over the radiators.
–Contact your installer!
Only additional heat
ADD. HEAT ONLY
If you are unsuccessful in rectifying the fault and are unable
to heat the house, you can continue running the heat pump
in emergency mode, or “Add. heat only” mode, while waiting
for assistance. “Add. heat only” mode means that the heat
pump only uses the immersion heater to heat the house.
Set the heat pump to additional heat mode
1. Go to menu 4.1 - "Operating mode".
2. Select “Add. heat only”.
Emergency mode
You can activate the emergency mode both when
S1155PC/S1255PC is running and when it is switched off.
To switch off, restart or activate emergency mode: press
and hold the on/off button for 2 seconds. This brings up a
menu with various options.
To activate emergency mode when S1155PC/S1255PC is
switched off: press and hold the on/off button for 5 seconds.
(Deactivate the emergency mode by pressing once.)
13Chapter 6 | Disturbances in comfortNIBE S1155PC/S1255PC


Contact information
DENMARKCZECH REPUBLIC
Vølund Varmeteknik A/S
Industrivej Nord 7B, 7400 Herning
Tel: +45 97 17 20 33
volundvt.dk
Družstevní závody Dražice - strojírna
s.r.o.
Dražice 69, 29471 Benátky n. Jiz.
Tel: +420 326 373 801
nibe.cz
GERMANYFRANCE
NIBE Systemtechnik GmbH
Am Reiherpfahl 3, 29223 Celle
Tel: +49 (0)5141 75 46 -0
nibe.de
NIBE Energy Systems France SAS
Zone industrielle RD 28
Rue du Pou du Ciel, 01600 Reyrieux
Tél: 04 74 00 92 92
nibe.fr
NORWAYNETHERLANDS
ABK-Qviller AS
Brobekkveien 80, 0582 Oslo
Tel: (+47) 23 17 05 20
nibe.no
NIBE Energietechniek B.V.
Energieweg 31, 4906 CG Oosterhout
Tel: +31 (0)168 47 77 22
nibenl.nl
SWEDENRUSSIA
NIBE Energy Systems
Box 14
Hannabadsvägen 5, 285 21 Markaryd
Tel: +46 (0)433-27 3000
nibe.se
EVAN
bld. 8, Yuliusa Fuchika str.
603024 Nizhny Novgorod
Tel: +7 831 288 85 55
nibe-evan.ru
For countries not mentioned in this list, contact NIBE Sweden or check nibe.eu for more information.
AUSTRIA
KNV Energietechnik GmbH
Gahberggasse 11, 4861 Schörfling
Tel: +43 (0)7662 8963-0
knv.at
FINLAND
NIBE Energy Systems Oy
Juurakkotie 3, 01510 Vantaa
Tel: +358 (0)9 274 6970
nibe.fi
GREAT BRITAIN
NIBE Energy Systems Ltd
3C Broom Business Park,
Bridge Way, S41 9QG Chesterfield
Tel: +44 (0)330 311 2201
nibe.co.uk
POLAND
NIBE-BIAWAR Sp. z o.o.
Al. Jana Pawla II 57, 15-703 Bialystok
Tel: +48 (0)85 66 28 490
biawar.com.pl
SWITZERLAND
NIBE Wärmetechnik c/o ait Schweiz AG
Industriepark, CH-6246 Altishofen
Tel. +41 (0)58 252 21 00
nibe.ch

NIBE Energy Systems
Hannabadsvägen 5
Box 14
SE-285 21 Markaryd
nibe.eu
UHB EN 2150-1 631789
This is a publication from NIBE Energy Systems. All product illustrations, facts and data are based on the
available information at the time of the publication’s approval.
NIBE Energy Systems makes reservations for any factual or printing errors in this publication.
©2022 NIBE ENERGY SYSTEMS 631789
WS name: -Gemensamt
WS version: a936
WS release date: 2021-12-16 12:19
Publish date: 2022-03-01 14:07
Other manuals for S1155PC
4
This manual suits for next models
1
Table of contents
Other Nibe Heat Pump manuals
Popular Heat Pump manuals by other brands

Technibel
Technibel PHR 6 Installation instruction

Bard
Bard GV27S1-A installation instructions

iglu
iglu Inuit 6I installation manual

Siddons Solarstream
Siddons Solarstream MACHRW020ZA/(B01) Installation instructions manual

Zodiac
Zodiac PF 6M-8M-11M-13M-15M user manual

Harmopool
Harmopool Harmo PAC Series instruction manual

Bryant
Bryant 544B Specifications

Robur
Robur GAHP Line AR Series Installation, use and maintenance manual

Nortek
Nortek GKU18USV4DH Installation instructions & owner's manual

CTC Union
CTC Union CombiAir MR user manual

LG
LG THERMA V HN0613T installation manual

Dimplex
Dimplex AWP 30 HLW Installation and operating instructions