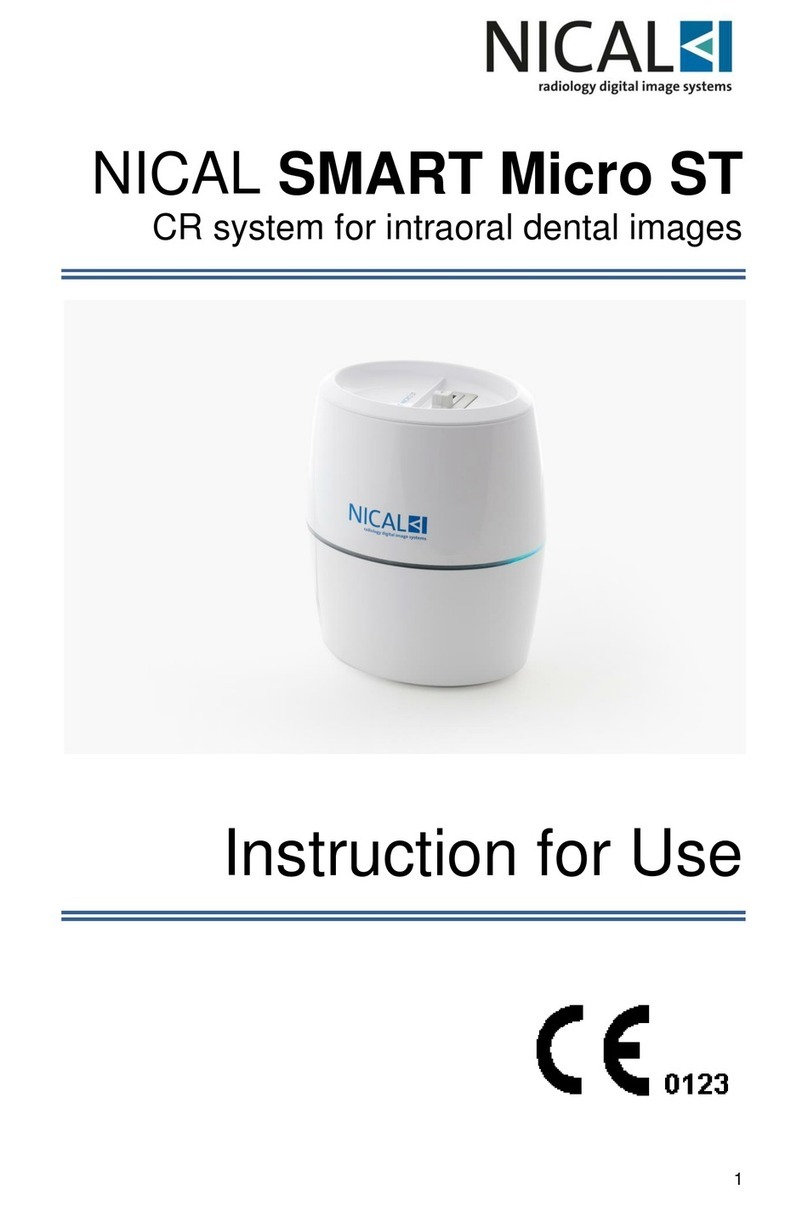
Nical SMART Micro ST Product information sheet

SMART MICRO ST
NICAL
Manuale d'uso
Short user manual

Preparazione del plate ai fosfori:
Scegliere un plate tra i dierenti size (0,1,2,3) per eseguire l’esame
radiologico, maneggiandolo preferibilmente con un paio di guanti puliti.
Utilizzare una light cover della stessa misura del plate. La light cover serve
ad evitare che il plate sia esposto alla luce dopo l’esposizione ai raggi X,
proteggendolo da ditate o sfregamenti. Riporre il plate all’interno della light
cover facendo combaciare le rispettive parti blu (Fig. A.1-A.2). Sia il plate che
la light cover sono ora pronte per essere inserite nell’hygienic bag. Il lato
da esporre ai raggi X è quello nero della light cover (“Tube Side”), inserirlo
quindi sul lato trasparente dell’hygienic bag (Fig. A.3). Dopo l’esposizione
ai raggi X è consigliabile evitare che il lato trasparente dell’hygienic bag
(contenente plate e light cover) sia esposto alla luce.
Choose one of the four plate sizes (0,1,2,3) to make the radiological exam,
being careful to handle the plate with the use of clean gloves. Use a cardboard
light cover of the same size to protect the surface of the plate during handling.
The cardboard cover has the dual task of blocking ambient light from hitting
the plate after the exposure and to protect it from ngerprints & wear during
handling. Place the plate inside the light cover by matching the blue part of the
plate with that of the cover (Fig. A.1-A.2). Once together, both the plate and
light cover are ready to be placed into the hygienic bag. The black side of the
light cover is the side which will be exposed to X-rays (“Tube Side”). The “Tube
Side” of the cover should be inserted into the hygienic bag so as to appear
through the transparent window (Fig. A.3). Avoid exposing the transparent
side of the bag to unnecessary ambient light after the X-Ray exposure as this
can bleed through to the lm and degrade the image.
Suggerimenti per le impostazioni del tubo raggi X:
Suggestions of X-ray tube settings:
Impostare i parametri tecnici del generatore RX tenendo conto dell’elevata
sensibilità della macchina NSM; il tempo di esposizione non deve superare
250 ms. Tuttavia, i tempi dipendono dal tubo RX endorale e da altri
parametri, come mAs, distanze e corporatura del paziente.
Si consiglia di provare il sistema utilizzando denti estratti o fantocci tecnici.
Si consiglia inoltre l'uso di un posizionatore intraorale. A questo punto
esporre il plate ai raggi X per consentire l’esame diagnostico.
The NSM phosphor plates are very sensitive so the exposure parameters of the
X-Ray generator should be set carefully. The time of exposure should not exceed
250 ms. Times are, however, dependent on the RX intraoral tube type being
used, parameters such as mAs and kV, the distance between the tube and the
plate and the patient anatomy. The system should be tested using extracted
teeth or a dental phantom to determine the optimal exposure settings for your
system conguration. Intraoral lm holders should be used to aid in the correct
angulation & positioning of the tube head thereby ensuring the best possible
diagnostic images.
Short user manual
Fig. A. 1 Fig. A. 2 Fig. A. 3
Preparation of the phosphor plate:
A -

Apertura e preparazione del Software Nical Image Plus
Vericare che l’alimentatore medicale esterno del dispositivo connetta la presa di alimentazione elettrica
a muro con la presa sul retro della NSM. Collegare la macchina NSM al PC tramite il cavo USB o Ethernet.
La macchina si avvierà automaticamente e si disporrà in posizione di "ready”.
Cliccare sul programma Nical Image Plus dopo avere inserito nel PC la chiave USB di licenza.
Immettere la password per accedere alla schermata dei le pazienti, selezionare il paziente relativo
all’esame radiologico e cliccare “Endorale”. Il nuovo software Nical Image Plus v.4 permette due diverse
modalità di connessione, tramite interfaccia Ethernet o USB.
Dopo aver selezionato il tipo di collegamento desiderato, una guida vocale e le istruzioni sullo schermo
Vi guideranno nell’acquisizione dell’immagine, rendendo tutto il processo semplice e veloce (Fig. B.1).
Una volta terminata l’acquisizione sarà possibile attuare un processamento dell’immagine, aggiungendo
nuovi ed avanzati ltri, oggetti (simulazioni di impianti, misure, ecc.) e modicando contrasto e luminosità.
Fig. B. 1
Operation of the Nical Image Plus Software
B -
Check that the external power supply is correctly plugged into the power socket at the rear of the Scanner.
Connect the scanner to the PC using the USB or Ethernet cable; the machine will automatically turn on and
will be in “ready” mode. Note: there is no power switch on the scanner.
Ensure that the USB dongle is plugged into the PC and then click on the Nical Image Plus icon to start the
software. Enter the password to access the patient le screen, select the correct patient for the radiological
examination and click “Intraoral”. The new software Nical Image Plus v.4 allows two dierent connection
modalities, through Ethernet or USB interface. After choosing the desired connection modality, a voice
guidance and the instructions on the screen will help you in the image acquisition, making the process simple
and fast (Fig. B.1). Once the acquisition is terminated, it will be possible to process the image by adding
new and advanced lters, objects (implants simulations, measures, etc.) and by modifying contrast and
brightness.

Inserimento del plate ai fosfori nella macchina Nical Smart Micro:C -
Introduction of the phosphor plate to the Nical Smart Micro machine:
Inserire il plate impressionato ai raggi X nella macchina seguendo queste istruzioni:
Insert the exposed X-ray plate into the machine by following these instructions:
1.
1.
2.
2.
3.
3.
Fig. C. 1 Fig. C. 3
Fig. C. 2 Fig. C. 4
Rimuovere entrambi, plate e light cover, dall’hygienic bag (Fig. C.1);
Prendere la combinazione di entrambi, plate e light cover, posizionarla nell’introduttore della macchina
NSM con il lato nero “Tube Side” rivolto verso l’interno della macchina. Premere leggermente plate e
light cover verso il basso facendo aderire alla base e assicurando planarità, spingerli lievemente dentro
la macchina no al limite di battuta (Fig. C.2); ora allentare leggermente la presa sulla light cover e
rimuoverla dal plate e dall’introduttore. L’estrazione della light cover consente l’ingresso del plate nella
macchina per l’acquisizione dell’immagine diagnostica (Fig. C.3);
Al termine del processo di lettura, il plate ritornerà in posizione nell’introduttore per permetterne
l'estrazione dalla macchina NSM. Estrarre il plate utilizzando la light cover in modo da evitare di toccarla
con le mani, oppure utilizzare dei guanti (Fig. C.4).
Remove both plate and light cover from the hygienic bag (Fig. C.1);
Place the plate with light cover into the slot on the front of the scanner with the black “Tube Side” towards
the front left of the machine. Ensure that the light cover and lm are positioned atly on the insertion ‘tray’
and push them gently into the scanner until the limit stop is hit (Fig. C.2); at this point, gently release the grip
on the light cover and remove it from the machine leaving the plate on the tray at the opening. The removal
of the light cover will trigger the automated insertion of the plate into the scanner for the acquisition of the
diagnostic image (Fig. C.3);
At the end of the reading process, the plate will be returned to the entrance of the scanner ready for collection
by the operator. Using the light cover (to avoid touching the plate with your ngers), collect the plate and
insert them into a fresh hygienic bag ready for the next X-Ray. (Fig. C.4).
Per ulteriori informazioni si prega di leggere il Manuale Utente della macchina NSM ed il manuale del software, oppure visitare il sito nical.com
For further information please read User manual of the NSM machine and the manual of the software or visit our website nical.com
REV.0 — 7/2019 / Short user manual
Scopri di più
Discover more
Other manuals for SMART Micro ST
1
Table of contents
Other Nical Medical Equipment manuals
