manuals.online logo
Brands
  1. Home
  2. •
  3. Brands
  4. •
  5. Nikon
  6. •
  7. Digital Camera
  8. •
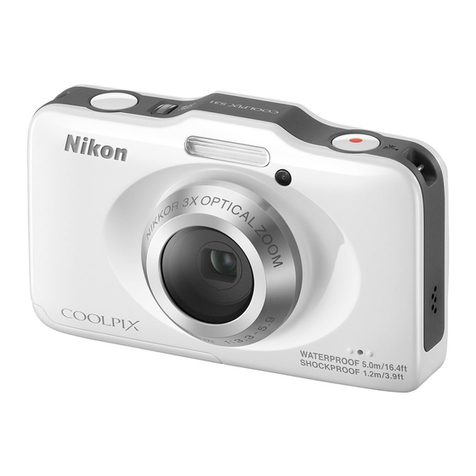
  9. Nikon CoolPix S100 User manual

Nikon CoolPix S100 User manual

Other manuals for CoolPix S100

2

Other Nikon Digital Camera manuals

Nikon CoolPix P7100 User manual

Nikon

Nikon CoolPix P7100 User manual

Nikon D700 User manual

Nikon

Nikon D700 User manual

Nikon D780 User manual

Nikon

Nikon D780 User manual

Nikon COOLPIX 7600 User manual

Nikon

Nikon COOLPIX 7600 User manual

Nikon F6 User manual

Nikon

Nikon F6 User manual

Nikon COOLPIX AWIOO User manual

Nikon

Nikon COOLPIX AWIOO User manual

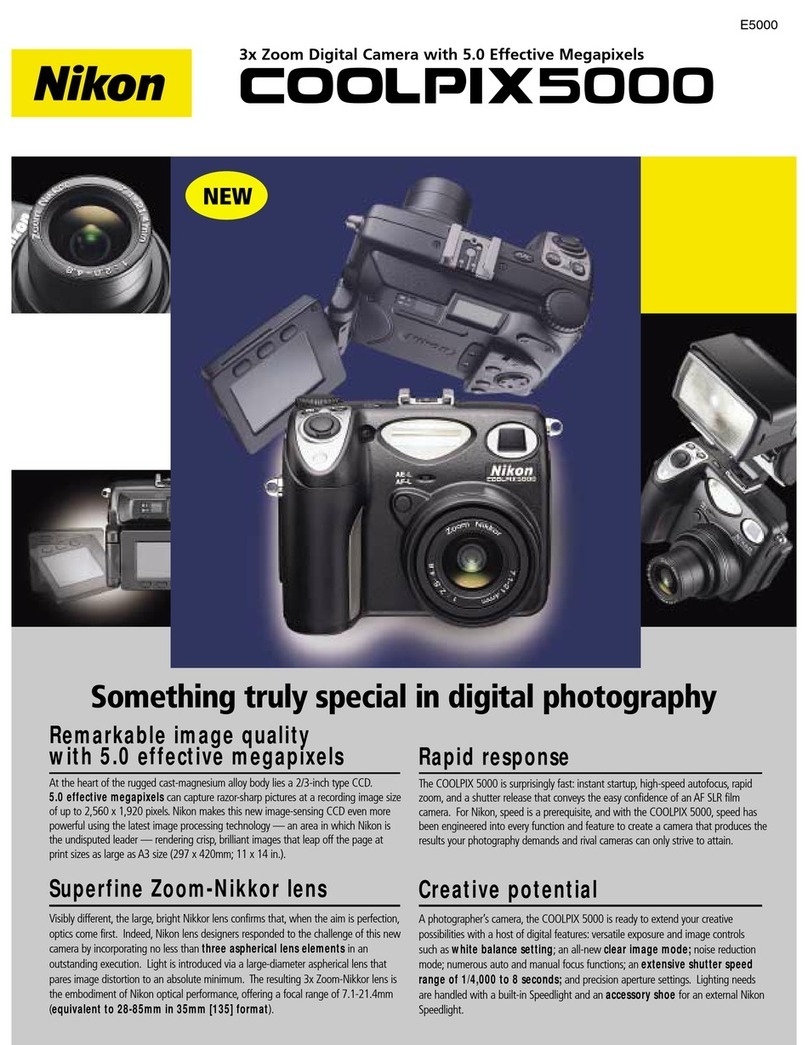
Nikon Coolpix 5000 User manual

Nikon

Nikon Coolpix 5000 User manual

Nikon D3300 User manual

Nikon

Nikon D3300 User manual

Nikon Coolpix S3000 User manual

Nikon

Nikon Coolpix S3000 User manual

Nikon Z 8 User manual

Nikon

Nikon Z 8 User manual

Nikon MD-3 User manual

Nikon

Nikon MD-3 User manual

Nikon Coolpix L31 User manual

Nikon

Nikon Coolpix L31 User manual

Nikon N1538 User manual

Nikon

Nikon N1538 User manual

Nikon 25587 - Coolpix L14 Digital Camera User guide

Nikon

Nikon 25587 - Coolpix L14 Digital Camera User guide

Nikon 1 AW 1 User manual

Nikon

Nikon 1 AW 1 User manual

Nikon D300 User manual

Nikon

Nikon D300 User manual

Nikon D3 User manual

Nikon

Nikon D3 User manual

Nikon D100 VBA10201 Operating instructions

Nikon

Nikon D100 VBA10201 Operating instructions

Nikon D7000 User manual

Nikon

Nikon D7000 User manual

Nikon D5000 User manual

Nikon

Nikon D5000 User manual

Nikon D5000 User manual

Nikon

Nikon D5000 User manual

Nikon COOLPIX 8700 Installation and operation manual

Nikon

Nikon COOLPIX 8700 Installation and operation manual

Nikon COOLPIX L1 User manual

Nikon

Nikon COOLPIX L1 User manual

Nikon CoolPix P7100 User manual

Nikon

Nikon CoolPix P7100 User manual

Popular Digital Camera manuals by other brands

Canon WP-DC35 user guide

Canon

Canon WP-DC35 user guide

Xiaomi 70mai Dash Cam Lite user manual

Xiaomi

Xiaomi 70mai Dash Cam Lite user manual

Samsung PL70 Quick start manual

Samsung

Samsung PL70 Quick start manual

GE E1680W user manual

GE

GE E1680W user manual

Canon EOS 1200D instruction manual

Canon

Canon EOS 1200D instruction manual

Tevion MD 86497 user guide

Tevion

Tevion MD 86497 user guide

Exakta VX Features

Exakta

Exakta VX Features

Kodak Digital Science DC120 user guide

Kodak

Kodak Digital Science DC120 user guide

Vectra Fitness H1 Quick reference guide

Vectra Fitness

Vectra Fitness H1 Quick reference guide

Olympus IR 500 - 4MP Digital Solutions Camera Manuel de Référence

Olympus

Olympus IR 500 - 4MP Digital Solutions Camera Manuel de Référence

Samsung EC-L100ZBBA brochure

Samsung

Samsung EC-L100ZBBA brochure

FujiFilm FINEPIX BL01124-201 owner's manual

FujiFilm

FujiFilm FINEPIX BL01124-201 owner's manual

Panasonic DMC-L10KPP Service manual

Panasonic

Panasonic DMC-L10KPP Service manual

Hyundai Electric HYU-CC-CHBF12001 Quick installation guide

Hyundai Electric

Hyundai Electric HYU-CC-CHBF12001 Quick installation guide

Sony DSC-WX80 specification

Sony

Sony DSC-WX80 specification

Olympus CAMEDIA C-3030ZOOM overview

Olympus

Olympus CAMEDIA C-3030ZOOM overview

Teledyne Piranha4 user manual

Teledyne

Teledyne Piranha4 user manual

Kodak EasyShare M532 Extended user guide

Kodak

Kodak EasyShare M532 Extended user guide

manuals.online logo
manuals.online logoBrands
  • About & Mission
  • Contact us
  • Privacy Policy
  • Terms and Conditions

Copyright 2025 Manuals.Online. All Rights Reserved.

Nikon
COOLPI " DIGITAL CAMERA
SIO0
Reference Manual
HS(high speed) movies can be recorded. The portions of the movie recorded
using HSmovie can be played back in slow motion at 1/8, 1/4, or 1/2 of normal
playback speed, or played back in fast motion at a speed two times faster than
normal speed. While recording movies, the camera can be switched from normal
speed movie recording to slow motion or fast motion movie recording.
• See "HSMovie" (_'_ 4d) for more information.
1Set the shooting mode to movie and
tap the MENUtab.
•See"RecordingMovies"(_ 82)for
information about settingtheshooting mode
to movie.
g
o
_I Tap NJ_and tap an HS movie option.
• See,,w]_MovieOptions"(_ 75)for more
information.
:3 Tap _s to choose whether the
camera records normal speed movies
or HS movies (slow motion or fast
motion movies) when movie
recording starts.
•ONon (defaultsetting):HSmoviesare
recordedwhen recordingbegins.
•OFFoff: Normal speedmoviesarerecordedwhen recording begins.TaptheHSmovie
switch icon (_ 45)to switch to HSmovierecording atthe point wherethe camera
shouldrecordfor slowmotion orfast motion playback.
• Tap[] afterchanging the settingsandreturn to theshooting screen.
_44
Recording Movies in Slow Motion and Fast Motion (HS Movie)
4Press the shutter-release button to Movie option
start recording.
• Movie recording begins after the monitor
briefly turns off.
• The camera focuses at the center of the
frame. Focus areas are not displayed during
recording.
• Movie recording starts at HSwhen the Open
with HS footage checkbox in the movie
menu is checked. HS movie switch icon
• Movie recording starts at normal speed when the Open with HS footage checkbox
in the movie menu is not checked. Tap the HS movie switch icon to switch to HS
movie recording at the point where the camera should record for slow motion or fast
motion playback.
• When an HS movie reaches the maximum length for HS movies (_ 75), or when the
HS movie switch icon istapped, the camera switches to normal speed movie
recording. The camera switches between normal speed movie recording and HS
movie recording each time the HS movie switch icon is tapped.
• When recording HS movies, the remaining recording time display changes and
displays the remaining movie length for HS movie recording.
5Press the shutter-release button to end recording.
• Tapping the monitor can also start or end recording. R
to
t_
_45
rD
2
rD
m
o
Recording Movies in Slow Motion and Fast Motion (HS Movie)
L_ Notes on HS Movie
• Portions recorded _r slow motion or _st motion playback are not recorded with sound,
• When recording HS movies, vibration reduction cannot be used. Zoom position, focus, exposure,
and white balance are locked when the camera starts recording.
[] HS Movie
Recorded movies are played back at about 30 frames per second, including portions recorded using
HS movie,
When Movie options (_ 75) is set to _Z_ HS 240 fps (320x240), v_ HS 120 fps (640x480),
or _"_Et_IHS 60 fps (1280x720), movies that can be played back in slow motion car/be recorded.
When set to _ HS 15 fps (1920xl 080), movies that can be played back in fast motion at a
speed two times faster than normal speed can be recorded.
Portions recorded at _1_ HS 240 fps (320x240):
High speed capturing is possible for up to ten seconds. Portions captured at high speed are played
back in slow motion at a speed eight times slower than normal speed.
Playback _
Slow motion playback
(no sound)
Portions recorded at 100_ HS 15 fps (1920xl 080):
A movie of up to two minutes in length is recorded when shooting for the purpose of high speed
playback, Playback is two times faster.
Recording [ 2 min
].....
Playback 1 min
Fast motion playback
(no sound)
[] Returning from HS Movie Setting to Normal Speed Movie Setting
Tap the MEItUtab and tap a normal speed movie option in tile Movie options screen (_ 75),
_46
The desired portions of a recorded movie can be saved as a separate file (except
movies recorded using ,/_'_ iFrame 540 (960x540) (_'6 75)).
1 Play back the desired movie and pause playback ([Z_ 86).
2Tap I_.
•The movie edit screen is displayed.
3 Tap [] (choose start point).
• When editing begins, the frame where
pByback was paused is the start point.
• Tap [] or [] to move the start point to the
beginning of the desired portion of the
movie.
• To cancel editing, tap I_
4 Tap [] (choose end point).
• Tap [] or [] to move the end point on the
right edge to the end of the desired portion
of the movie.
• Tap I_1 (preview) to play backthe specified
portion of the movie that will be saved. While
the preview is playing, tap _[_ to adjust the
volume. Tap [] or [] to advance or rewind
the movie. While the preview is playing back, tap [] to stop playback.
,5 When the settings are finished, tap [].
_47
Editing Movies
6Tap Yes.
•The edited movie is saved.
• To exit without saving, tap Ne.
m
_,A*.
o
Notes on Movie Editing
• A movie that was created by editing cannot be trimmed again. To trim another area of the movie,
select and edit the original movie.
• Movies are trimmed in one second intervals, therefore the actual trimmed portion of the movie
may differ slightly from the selected start and end points. Movies cannot be trimmed so that they
are less than 2 seconds long.
• Editing functions are not available when there is not enough free space in the internal memory or
on the memory card to save the edited copies.
[] More Information
See "File and Folder Names" (_ 98) for more information.
_48
• See "_!" Changing the Image Size (Image Mode)" ([_ 62) for information about
_!" Image mode.
_/_/_E_ Touch Shooting
Select _ mode -), MENUtab -)' [_"_[1_ Touch
(auto) shooting
• The touch shooting function can be used in I_1 (auto) mode and other shooting
modes (except with Subject tracking).
• The Touch shutter and Touch AF/AE operations differ according to the
current shooting mode (_ 51, _ 55).
L_ Touch shutter Pictures can be taken by simply tapping the _ 50
monitor.
Use this option to take pictures of moving subjects.
_"_Subject tracking Tap the subject on which the camera will focus. The _52
focus area will automatically move to track the
subject.
Tap the monitor to set the focus area. Pressthe
_[i_Touch AF/AE shutter release button to take the picture with the _ 54
focus and exposure achieved with the focus area.
R
d)
t_
The Shooting Menu (for I_1 (Auto) Mode)
[_ Tapping the Monitor to Release the Shutter (Touch Shutter)
Select i_1 -) MENUtab -) [_"_[[_ Touch "_ E_
(auto) shooting
Tap the desired subject to take a picture.
• Do not use force when tapping the monitor as this
may cause slight movement of the camera,
resulting in blurred pictures.
• When digital zoom is in effect, the camera focuses
on the subject in the center of the frame.
• The shutter-release button can also be used when
the touch shutter option is selected.
• If [ ] isdisplayed when the monitor is tapped, the
shutter cannot be released. Tap an area within L_
or a border displayed when the camera detects a
face.
L_ Notes on Touch Shutter
•When taking pictures with Continuous H, Continuous L or BSS in Continuous setting (_ 57)
enabled, or in Sports or Museum scene mode (_ 40), use the shutter release button to take
pictures, Only one picture can be taken at a time using the touch shutter function,
• Prevent shooting with accidental tapping of the monitor by changing the touch shooting setting
to Touch AF/AE (_ 54) (except in some scene modes). At this setting, the shutter is not released
when the monitor is tapped. When recording movies, the touch shooting setting is used to enable
or disable the touch shutter,
• When shooting a subject that is not suitable for autofocus, the camera may not be able to focus
properly on the subject (_ 29).
• When a subject displayed in the monitor is tapped with the self timer (_ 56) enabled, the
camera locks focus and releases the shutter after ten or two seconds,
• There are functions with which this setting cannot be enabled. See "Features That Cannot Be
Applied Simultaneously" ([.]_ 64) for more information.
[] Touch Shooting Setting
The touch shooting setting applied in I_1 (auto) mode is stored in the camera's memory even after
the camera is turned off,
_50
The Shooting Menu (for I_1 (Auto) Mode)
[] Shooting Modes That Support Touch Shutter
The touch shutter can be used in I_1 (auto) mode and other shooting modes, Touch shutter
operation differs according to the current shooting mode as follows.
Shooting mode Touch shutter operation
When a face is detected by the camera, it is framed by
I_ (easy auto) mode ([._ 36), smart
portrait mode (when Smile timer is
set to Off; _ 50)
Iffl (auto) mode (_ 37), Sports,
Party/indoor, Beach, Snow,
Close-up, Food, Museum, Black
and white copy, Backlighting,
3D photography _, and Panorama
(panorama assist) ×.scene modes
([._ 40)
a border. Tap a detected face to set the focus and
exposure on that face.
When no face is detected, focus is set for the area
tapped.
Tap the intended subject. Focus and exposure are set for
the area tapped, When the camera detects more than
one face, tap a face framed by a single border to set
focus and exposure for that face,
Only a border displayed by the face detection function
Portrait and Night portrait scene can be selected. When the camera detects more than
modes (_ 40) one face, tap a face framed by a single border to set
focus and exposure for that face,
Landscape, Sunset, Dusk/dawn, Focus and exposure are set for the same focus area used
Night landscape, Fireworks show, when pictures are taken by pressing the shutter release
and Panorama (easy panorama) button, See "Selecting a Scene Mode to Take Pictures
scene modes ([._ 40) (Features)" ([._._42) for more information.
Smart portrait mode (when Smile Touch shutter cannot be enabled,
timer is set to On; _ 50)
Pet portrait scene mode (_ 40)
When Pet portrait auto release is set to On: Touch
shutter cannot be enabled.
When set to Off: Only borders displayed by the pet face
detection function can be selected. When the camera
detects more than one pet's face, tap a face framed by a
single border to move the focus area to that face.
In 3D photography and Panorama (panorama assist) scene modes, the focus and
exposure set for the first shot are used for the following shots.
R
rb
t_
8
n
o
1 Registera subject.
• Tap the desired tracking subject in the
monitor.
The subject is registered.
When the camera detects any faces, tap a
face framed by a border to register it as the
subject and begin tracking. If the camera
has detected more than one face, the
borders around the faces that are not
registered disappear.
When a subject other than a face is registered, a yellow focus area is displayed on
the subject and the camera begins tracking the subject.
When the border framing the subject glows red, the camera is unable to focus.
Change the composition and try again.
• If the tapped area does not contain a subject that can be registered, [ ] will be
displayed in the monitor. Tap a subject within [ ].
• Tap another subject to change a subject to
follow.
• To cancel the registration of the subject, tap
displayed at left in the monitor.
• If the camera cannot track the registered
subject anymore, the focus area will
disappear and the registration will be
canceled. Register the subject again.
_I Press the shutter-release button to
take a picture.
• The camera focuses on the focus area when
the shutter release button is pressed halfway.
The focus area will glow green and focus will
be locked.
• When the camera is unable to focus, the
focus area will blink. Press the shutter release
button halfway again to focus.
• If the shutter-release button is pressed halfway while the focus area is not displayed,
the camera focuses on the subject at the center of the frame.
• Pressthe shutter release button all the way down to release the shutter.
The Shooting Menu (for I_1 (Auto) Mode)
Subject Tracking (Focusing on a Moving Subject)
Select i_1 -)' MENUtab -)' [_"_[[_ Touch "_
(auto) shooting
(subject tracking) is enabled only in I_1 (auto) mode.
_52