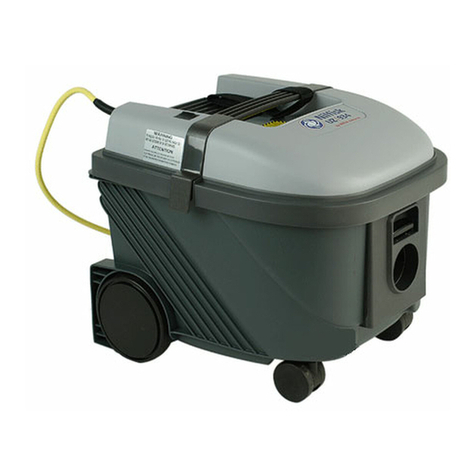
1. Before emptying:
A. Turn ball valve to OFF position.
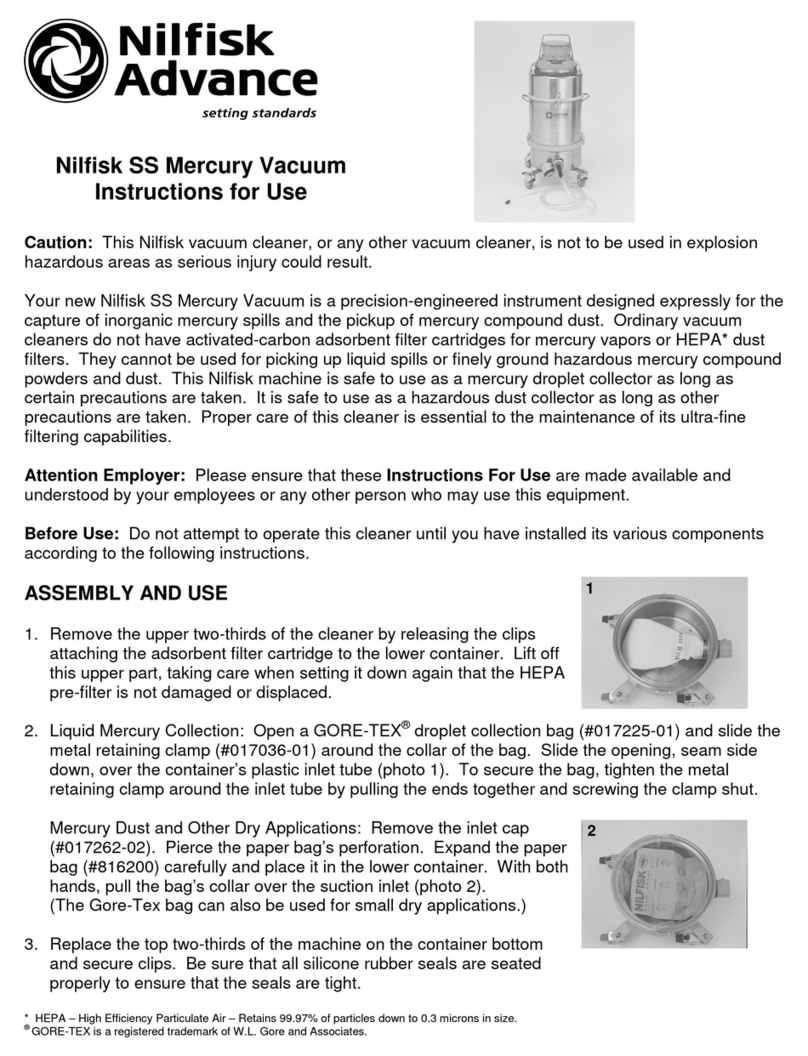
B. Open the bottom clips and lift out the venturi/filter housing.
C. Check the foam impact filter covering the float valve (photo 3).
If it appears caked or dirty, remove it from the float valve and
shake or dust the debris off the filter into the container. If the
filter is freed of clogging debris, it may be put back on the float
valve. If it cannot be cleaned, replace with a new one (#017226-01
for 3-count package). HAZMAT: Each time the machine is
emptied, remove the impact filter, dispose of it with the container
contents and replace with a new filter.
2. Polyliner (Dry Collection)
A. Lift bag out of container and seal for disposal.
B. Place new bag (#017191 for 25-count package) in container according to instructions above.
HAZMAT: Double-bag, seal and label for proper disposal.
C. Replace venturi/filter housing according to the instructions above.
3. Vacuum Container (Drain for Wet Collection)
A. Open drain valve on base of vacuum.
B. When vacuum has drained completely, close valve.
4. If the machine does not regain full suction power after emptying and cleaning or replacing the
impact filter, check the main filter.
A. Turn ball valve to OFF position.
B. Open the top container clips by turning counterclockwise and releasing them from the keepers.
C. Lift off the venturi and put aside.
D. Pull out the main filter plate, which consists of a plate holding the polyethylene filter fingers and
a splashguard.
E. Unscrew the nylon wing nut at the bottom of the splashguard and remove.
F. Separate the splashguard from the filter (photo 4) and empty, if necessary.
G. Examine the filter fingers.
H. If they are dirty or caked with debris, they may be wiped or rinsed clean.
I. If any are split or broken, they may be replaced individually (#017838).
J. After cleaning, reassemble the splashguard and filter and replace the
entire filter plate in the vacuum container, making sure it is properly seated.
K. Replace the venturi top, close the clips and turn the ball valve to the
ON position.
HAZMAT: The entire main filter and splashguard should be thoroughly cleaned during
decontamination.
FILTER REPLACEMENT
To ensure that your Nilfisk vacuum cleaner delivers the years of trouble-free
operation for which it was designed, it is necessary to check and replace filters regularly.
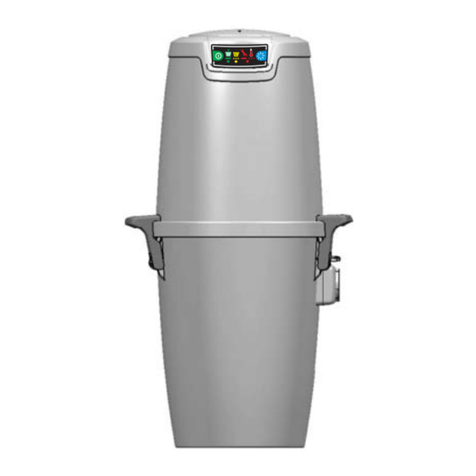
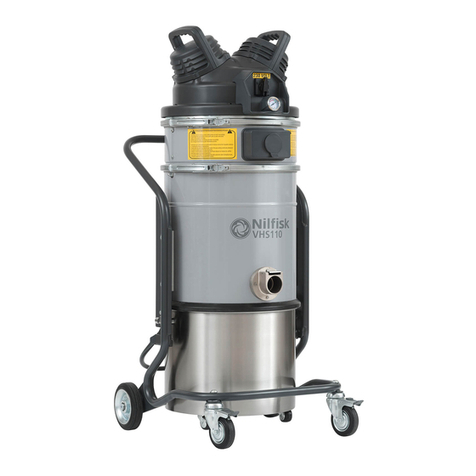
The VT 60A’s internal microfilter and HEPA are located directly under the
venturi housing. Turn the ball valve OFF. Open the container clips and lift
off the venturi.
5
4
