manuals.online logo
Brands
  1. Home
  2. •
  3. Brands
  4. •
  5. Nintendo
  6. •
  7. Game Console
  8. •
  9. Nintendo GameCube Modem Adapter Parts list manual

Nintendo GameCube Modem Adapter Parts list manual

Other manuals for GameCube Modem Adapter

10

Other Nintendo Game Console manuals

Nintendo DS Manual

Nintendo

Nintendo DS Manual

Nintendo 3DS User manual

Nintendo

Nintendo 3DS User manual

Nintendo DSI User manual

Nintendo

Nintendo DSI User manual

Nintendo 3DS XL User manual

Nintendo

Nintendo 3DS XL User manual

Nintendo 3DS XL User manual

Nintendo

Nintendo 3DS XL User manual

Nintendo Wii U User manual

Nintendo

Nintendo Wii U User manual

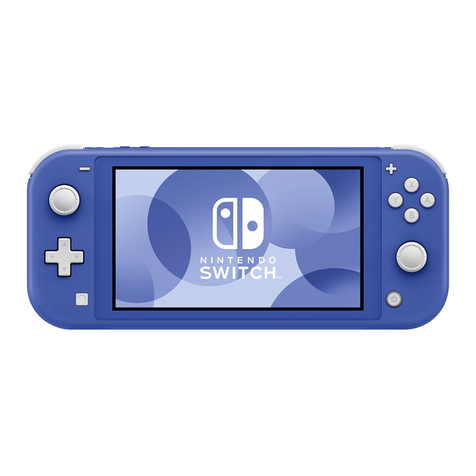
Nintendo Nintendo Switch Lite Operating manual

Nintendo

Nintendo Nintendo Switch Lite Operating manual

Nintendo Switch Con-Jo 6400266L User manual

Nintendo

Nintendo Switch Con-Jo 6400266L User manual

Nintendo GameCube DOL-101 User manual

Nintendo

Nintendo GameCube DOL-101 User manual

Nintendo Wii U User manual

Nintendo

Nintendo Wii U User manual

Nintendo PCHU-MG5 User manual

Nintendo

Nintendo PCHU-MG5 User manual

Nintendo Nintendo Switch Lite User manual

Nintendo

Nintendo Nintendo Switch Lite User manual

Nintendo Virtual Boy User manual

Nintendo

Nintendo Virtual Boy User manual

Nintendo RHYTHM HEAVEN User manual

Nintendo

Nintendo RHYTHM HEAVEN User manual

Nintendo RVL-001 - Wii Sports Pack Game Console User manual

Nintendo

Nintendo RVL-001 - Wii Sports Pack Game Console User manual

Nintendo Wii U User manual

Nintendo

Nintendo Wii U User manual

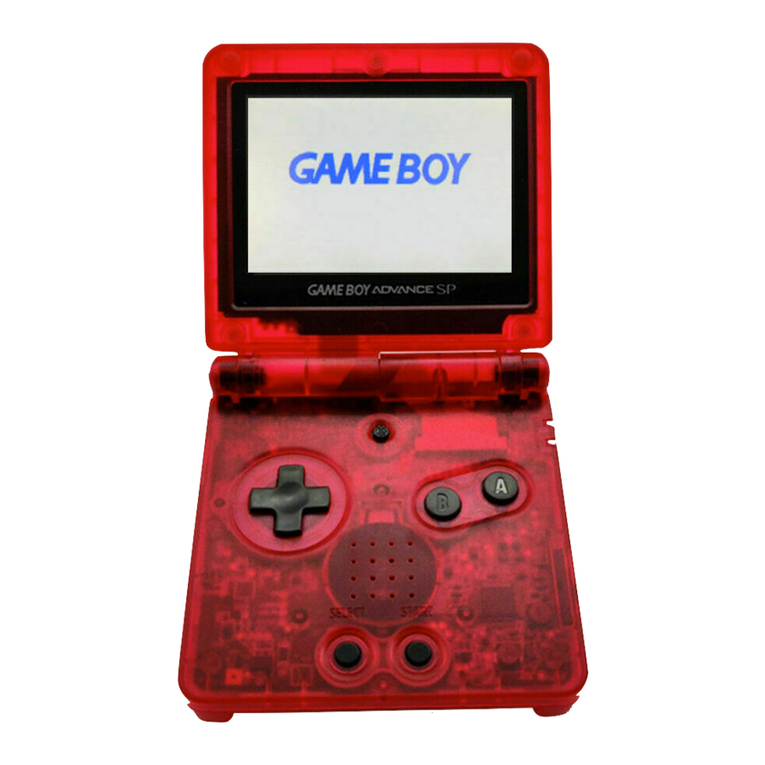
Nintendo Gameboy Advance User manual

Nintendo

Nintendo Gameboy Advance User manual

Nintendo RVLSWC User manual

Nintendo

Nintendo RVLSWC User manual

Nintendo Switch Starlight User manual

Nintendo

Nintendo Switch Starlight User manual

Nintendo Wii U User manual

Nintendo

Nintendo Wii U User manual

Nintendo Nintendo Switch Lite Dimensions

Nintendo

Nintendo Nintendo Switch Lite Dimensions

Nintendo DS Lite User manual

Nintendo

Nintendo DS Lite User manual

Nintendo Wii U User manual

Nintendo

Nintendo Wii U User manual

Nintendo DSi XL User manual

Nintendo

Nintendo DSi XL User manual

Popular Game Console manuals by other brands

Atari 2600 quick start guide

Atari

Atari 2600 quick start guide

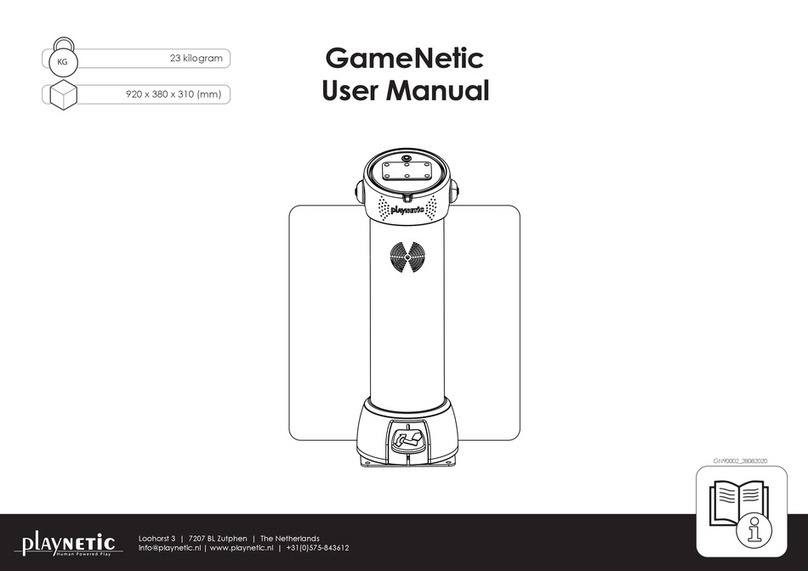
PLAYNETIC GameNetic user manual

PLAYNETIC

PLAYNETIC GameNetic user manual

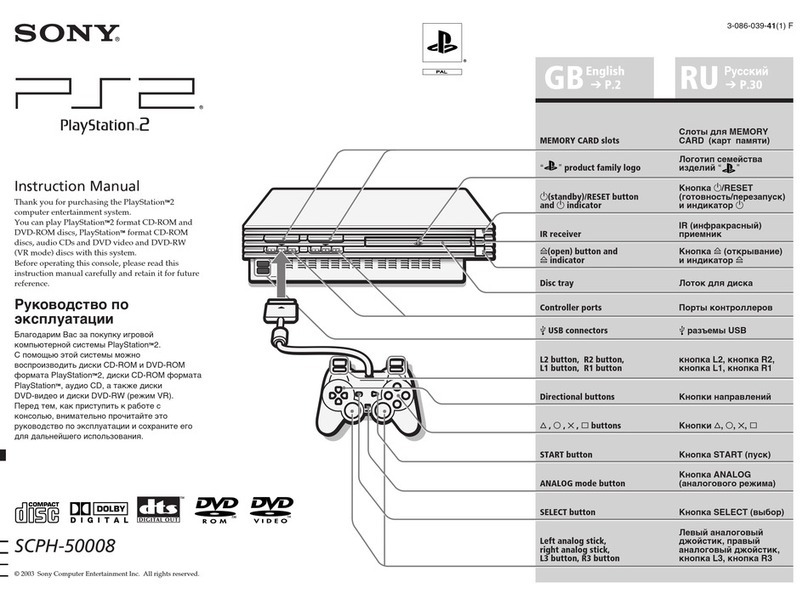
Sony SCPH-50008 instruction manual

Sony

Sony SCPH-50008 instruction manual

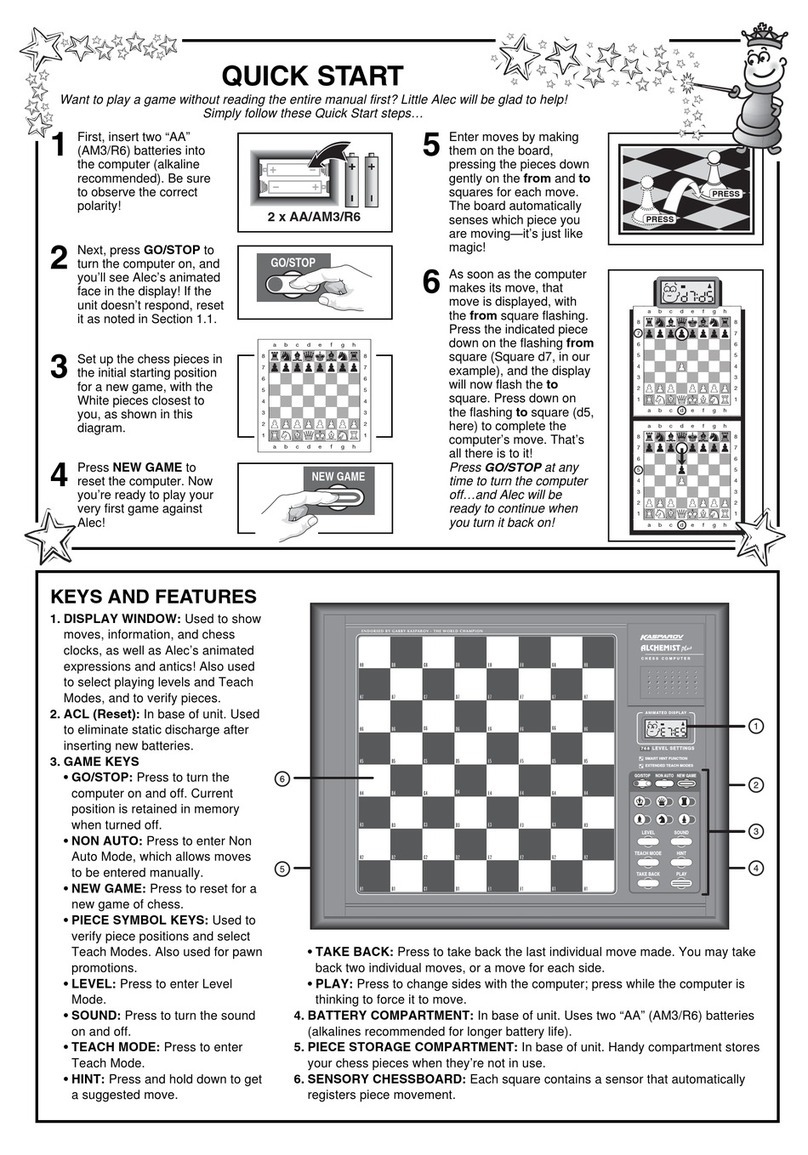
Saitek Alchemist Plus quick start

Saitek

Saitek Alchemist Plus quick start

Sears Tele-Games 637.99743 owner's manual

Sears

Sears Tele-Games 637.99743 owner's manual

AYANEO 2 user manual

AYANEO

AYANEO 2 user manual

Mattel My Meebas N2214 instructions

Mattel

Mattel My Meebas N2214 instructions

Sega 32X instruction manual

Sega

Sega 32X instruction manual

Sony SCPH-35003 GT instruction manual

Sony

Sony SCPH-35003 GT instruction manual

Excalibur king Arthur 915-3 operating manual

Excalibur

Excalibur king Arthur 915-3 operating manual

XBOX ONE Product guide

XBOX

XBOX ONE Product guide

Analogue Mega Sg Reference manual

Analogue

Analogue Mega Sg Reference manual

Entex PacMan2 user manual

Entex

Entex PacMan2 user manual

Sony PSP quick reference

Sony

Sony PSP quick reference

Sony PlayStation 4 quick start guide

Sony

Sony PlayStation 4 quick start guide

AYANEO NEXT user manual

AYANEO

AYANEO NEXT user manual

Radica Games 20Q instruction manual

Radica Games

Radica Games 20Q instruction manual

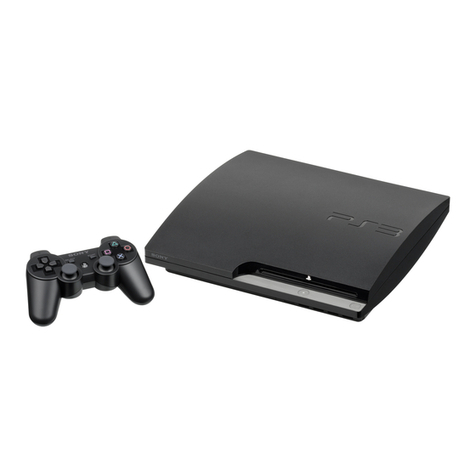
Sony PS3 CECH-2001 instruction manual

Sony

Sony PS3 CECH-2001 instruction manual

manuals.online logo
manuals.online logoBrands
  • About & Mission
  • Contact us
  • Privacy Policy
  • Terms and Conditions

Copyright 2025 Manuals.Online. All Rights Reserved.

Nintendo GameCube Console Memory Battery Replacement Guide Page 1of 10
Nintendo GameCube Console Memory Battery Replacement Guide
Thank you for your purchase of a Nintendo GameCube console memory battery from Mortoff Games.
We appreciate your business and hope to serve you again in the future. This guide is intended to take
you through the steps involved in replacing your console’s memory battery. If at any time you have
questions please feel free to contact us at customerservice@mortoffgames.com
Things you will need
A 4.5mm security screw bit that is at least
A Philips head screw driver
A soldering iron
Soldering braid
Solder
Clean work area where small screws will not get lost
About 15 minutes of free time
Warning
When dealing with solder it is important to realize that when vaporizing the material you are exposing
yourself to gaseous forms of the material the solder is composed to. Some of these are harmful to living
creatures. We recommend that you use a gas hood for all soldering and wear proper eye and hand
protection at all time. If a gas hood is not available please solder in a well-ventilated area.
Nintendo GameCube Console Memory Battery Replacement Guide Page 2of 10
Soldering Techniques:
In order to solder and unsolder correctly you will need a soldering iron, solder and soldering braid. Once
you have these items you can precede forward. For the duration of this project it is not recommend that
you use a cold heat or any other instantaneous heating soldering gun, since these guns use an electrical
current to melt the solder. Passing a strong electrical current through your games is not recommended
and as such should be avoided. We recommend that you use a typical soldering gun, the type that you
have to plug in and wait to heat up. In addition it is recommended that you set your soldering iron to
30watts for the duration of this project.
Unsoldering-
Correctly unsoldering a joint is rather easy once you get the hang of it. In order to unsolder a joint place
soldering braid over the solder you wish to remove and then place the soldering iron over the soldering
braid. The soldering iron will heat the braid and in turn the solder will liquefy, which will be sucked up by
the braid. Please see picture one
Picture Introduction
Although it might take a little while to completely remove all of the solder, patience and persistence will
pay off in this case. Every 10-15 seconds remove the soldering braid and check to see if the solder have
been fully removed. Take note to notice that the solder is accumulating on the soldering braid as it is
This is the inside of a Super Nintendo game cartridge.
The
soldering
braid is
placed over
the solder
you want to
remove
The soldering iron is
placed over the
soldering braid
Nintendo GameCube Console Memory Battery Replacement Guide Page 3of 10
being sucked up you should periodically keep cutting off the used portion of the soldering braid and use
fresh braid as needed.
Soldering-
Now that the solder has been removed you can now remove the object that the solder was holding in
place and you are now ready to solder something new into place.
The two most important things to keep in mind are:
1) Never allow patches of solder to overlap or touch, doing so creates a short, thereby rendering the
circuit inoperable.
2) Make sure to use enough solder to securely attach whatever it is you are soldering, do not be afraid
to test the joint out.
Keeping these items in mind lets continue with our demonstration. To apply the solder take it and place
it over the soldering joint and then lightly place the soldering iron over the solder. This is just like
unsoldering, although this time you are soldering and not unsoldering. This part is a little tricky when
you first start and is hard to describe with words alone. It is recommended that you test out melting
solder first to get an idea of how it behaves.
One ideal exercise you might want to try is to attempt to solder together two pieces of wire. Take two
pieces of wire, strip the ends, twist the ends together and then practice applying solder over this twisted
joint. During the course of this project if you run into trouble remember you can always back track and
remove the solder and try again, using the soldering braid. Soldering braid and solder are very cheap
and as such are worth playing around with to get comfortable with before you go ahead and try to
solder in a replacement battery. Now that we have covered the basics of soldering and unsoldering, let’s
get started with the replacement of that battery.
Nintendo GameCube Console Memory Battery Replacement Guide Page 4of 10
Step One
First please flip your Nintendo GameCube system over and locate the four 4.5mm security screw bits
that are holding the casing together as seen in picture one below.
Picture One: Bottom side of the Nintendo GameCube system
Once the screws have been removed please separate the two halves of the Nintendo GameCube system
and proceed to step two.
4.5mm security screw bits
Nintendo GameCube Console Memory Battery Replacement Guide Page 5of 10
Step Two
Now that the system it should look like picture two below. You might notice that there is a great deal of
dust in the system at this time. Since you are already here now is a great opportunity to use some duster
spray to clean out the dust. Excessive dust in your system can lead to overheating because it impairs
ventilation.
Picture Two: Inside of the Nintendo GameCube system
In picture two above the CR2032 coin cell battery is indicated in picture two above. Simply take the
controller port assembly and lift it out of the system. The controller port is attached by a small ribbon
cable to the rest of the system. Simply pull it upwards to release it.
Once the controller port has been separated from the rest of the system please proceed to step three.
CR2032 Battery
Nintendo GameCube Console Memory Battery Replacement Guide Page 6of 10
Step Three
Now that the controller port has been detached you will notice two Philips screws on the controller port
circuit board as noted in picture three below. Please unscrew them to release the plastic faceplate from
the circuit board.
Picture Three: Controller port circuit board Philips head screws
Once the screws are removed please remove the plastic faceplate and proceed to step four.
Philips screws
Nintendo GameCube Console Memory Battery Replacement Guide Page 7of 10
Step Four
Now that the faceplate is off the battery should be exposed as seen in picture four below. Now it is time
to remove the battery using your soldering skills learned previously.
Picture Four: CR2032 Battery
Once the battery has been removed please proceed to step five.
Positive
Terminal
Negative
Terminal
Nintendo GameCube Console Memory Battery Replacement Guide Page 8of 10
Step Five
We recommend that you insert the tabs into the holes and then bend the tabs as seen in picture five
below. This will not only keep the battery in place, although will make the solder joint stronger. Please
make sure that you are inserting the positive battery terminal into the positive terminal on the circuit
board and vice versa. The board is marked below and in picture four previously.
Picture Five: Bending the pins on the CR2032 battery
Now that the battery is ready to solder on using your skills learned earlier please solder on the battery
and proceed to step six.
Positive
Terminal
Negative
Terminal
Nintendo GameCube Console Memory Battery Replacement Guide Page 9of 10
Step Six
Now that the terminals are soldered on your circuit board should look something like picture six below.
Picture Six: Proper terminal soldering
Notice how the terminals have enough solder on them to make a firm connection, although not so much
that it bridges to solder joints? This is what you are aiming for. Once finished please reassemble your
system and try out your system. You will have to re-enter the date and time on last time, although the
battery should last for many years to come.
If your system is not operating like it should after you reassemble the system please see our
troubleshooting section at the end of this guide.
Nintendo GameCube Console Memory Battery Replacement Guide Page 10 of 10
Troubleshooting Guide
We are sorry to hear that everything didn’t go as planned; although this section of the guide is intended
to help you troubleshoot and hopefully repair the problem you are experiencing. If you have other
questions please email us at customerservice@mortoffgames.com
1) My controllers do not work
a. Did you plug the controller assembly back into the system during reassembly?
2) I still have to reenter the date and time every time I start the system
a. Did you make sure to arrange the battery terminal to match the positive to the positive
and the negative to the negative?