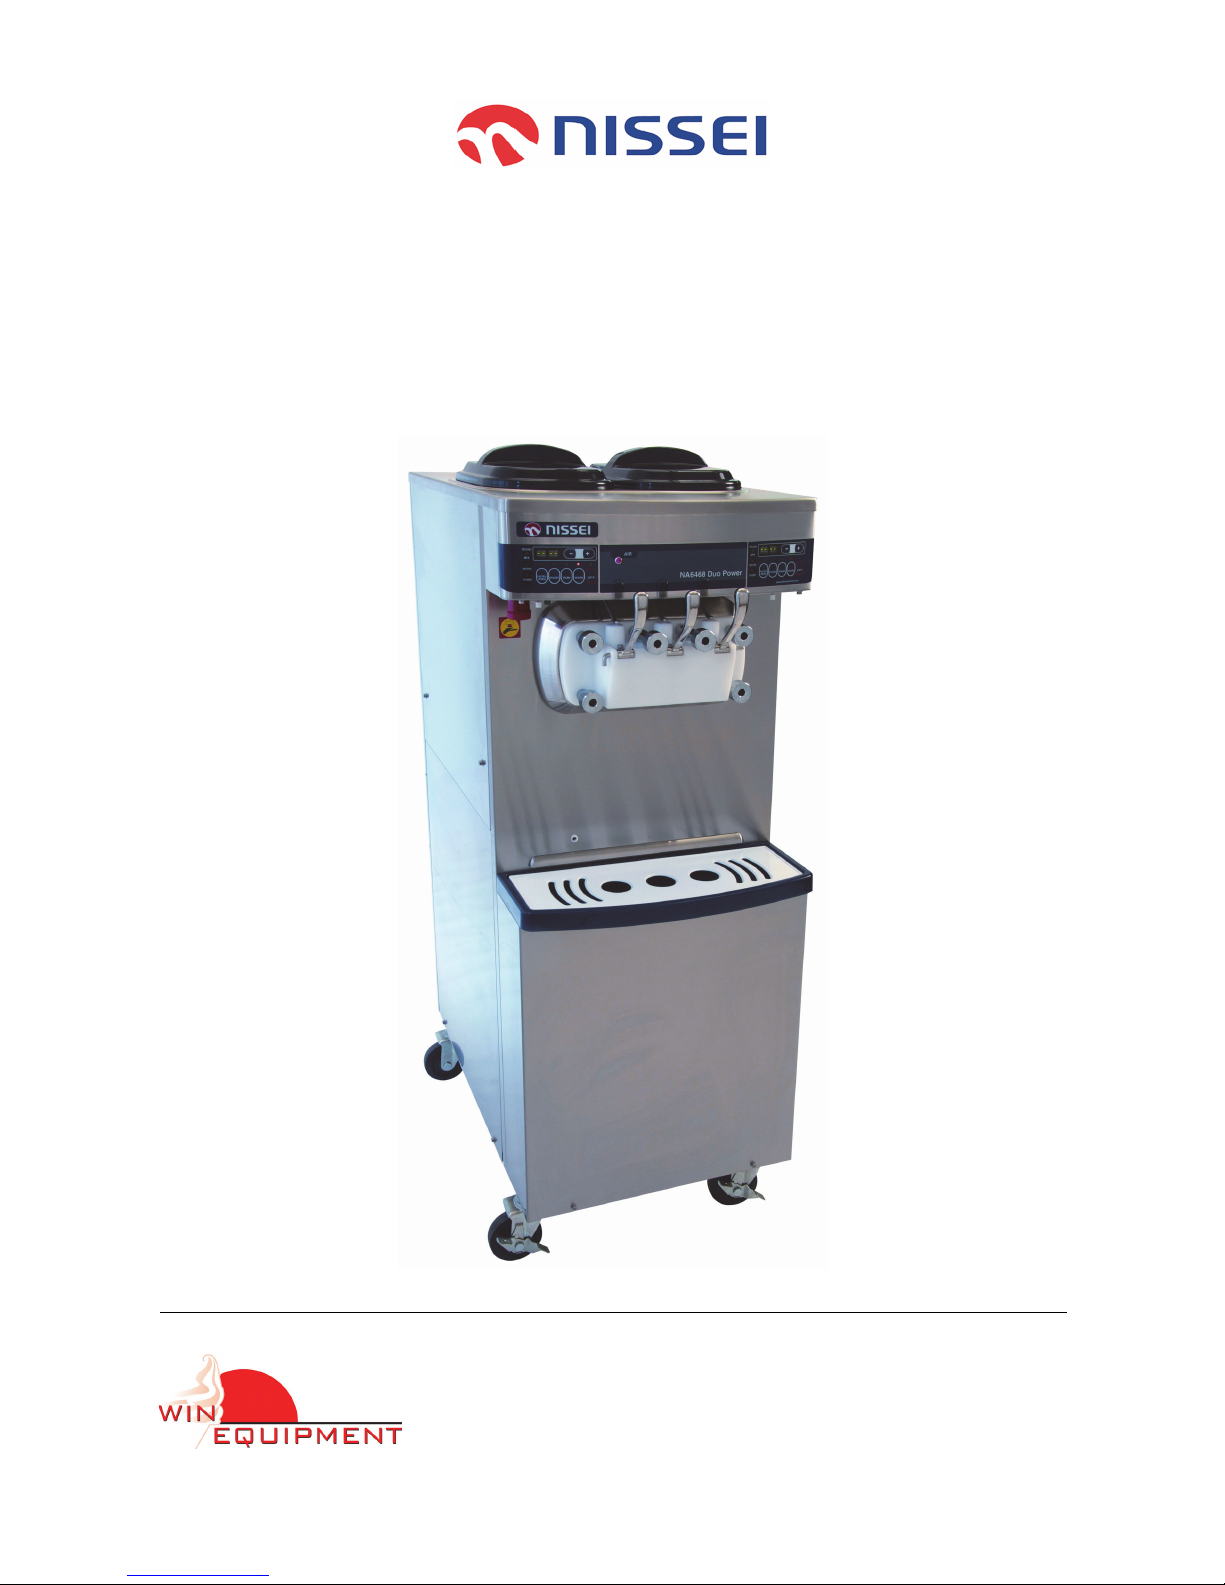
Nissei NA6468WEG User manual

Win Equipment B.V.
De Kronkels 31
3752 LM Bunschoten
The Netherlands
Operator Manual
NA 64-- series gravity
Tel.: +31 (0)33 299 22 66
Website: www.winequipment.nl

‘translation of the original instructions’
Version date: March 26th 2018

Operator Manual
NA 64-- series gravity
Version date: March 26th 2018 3
C
Table of contents
Table of contents . . . . . . . . . . . . . . . . . . . . . . . . . . . . . . . . . . . . . . . 3
1Introduction. . . . . . . . . . . . . . . . . . . . . . . . . . . . . . . . . . . . . . . . . . . 5
1.1 Purpose . . . . . . . . . . . . . . . . . . . . . . . . . . . . . . . . . . . . . . . . . . . . . . . . . 5
1.2 Manufacturer . . . . . . . . . . . . . . . . . . . . . . . . . . . . . . . . . . . . . . . . . . . . . . 5
1.3 Machine identification. . . . . . . . . . . . . . . . . . . . . . . . . . . . . . . . . . . . . . . . 6
1.4 Warranty. . . . . . . . . . . . . . . . . . . . . . . . . . . . . . . . . . . . . . . . . . . . . . . . . 6
1.5 Accessories . . . . . . . . . . . . . . . . . . . . . . . . . . . . . . . . . . . . . . . . . . . . . . . 6
1.6 Liability . . . . . . . . . . . . . . . . . . . . . . . . . . . . . . . . . . . . . . . . . . . . . . . . . . 7
1.7 Copyright . . . . . . . . . . . . . . . . . . . . . . . . . . . . . . . . . . . . . . . . . . . . . . . . 7
2 Safety. . . . . . . . . . . . . . . . . . . . . . . . . . . . . . . . . . . . . . . . . . . . . . . . . 8
2.1 Symbols used in this manual.. . . . . . . . . . . . . . . . . . . . . . . . . . . . . . . . . . . 8
2.2 Emergency stop . . . . . . . . . . . . . . . . . . . . . . . . . . . . . . . . . . . . . . . . . . . . 8
2.3 Safety symbols on the machine . . . . . . . . . . . . . . . . . . . . . . . . . . . . . . . . . 9
2.4 Safety instructions . . . . . . . . . . . . . . . . . . . . . . . . . . . . . . . . . . . . . . . . . 10
2.5 Operation and maintenance . . . . . . . . . . . . . . . . . . . . . . . . . . . . . . . . . . . 11
2.6 Hygiene . . . . . . . . . . . . . . . . . . . . . . . . . . . . . . . . . . . . . . . . . . . . . . . . 11
2.7 Storage. . . . . . . . . . . . . . . . . . . . . . . . . . . . . . . . . . . . . . . . . . . . . . . . . 11
3 Installation . . . . . . . . . . . . . . . . . . . . . . . . . . . . . . . . . . . . . . . . . . . 12
3.1 Introduction. . . . . . . . . . . . . . . . . . . . . . . . . . . . . . . . . . . . . . . . . . . . . . 12
3.2 Installation site . . . . . . . . . . . . . . . . . . . . . . . . . . . . . . . . . . . . . . . . . . . 12
3.3 Electrical connection. . . . . . . . . . . . . . . . . . . . . . . . . . . . . . . . . . . . . . . . 12
3.4 Connection of cooling water . . . . . . . . . . . . . . . . . . . . . . . . . . . . . . . . . . 13
3.5 Adjusting castors . . . . . . . . . . . . . . . . . . . . . . . . . . . . . . . . . . . . . . . . . . 13
4 Machine Description . . . . . . . . . . . . . . . . . . . . . . . . . . . . . . . . . . 14
4.1 Function and products . . . . . . . . . . . . . . . . . . . . . . . . . . . . . . . . . . . . . . 14
4.2 Machine overview . . . . . . . . . . . . . . . . . . . . . . . . . . . . . . . . . . . . . . . . . 14
5Operation. . . . . . . . . . . . . . . . . . . . . . . . . . . . . . . . . . . . . . . . . . . . . 17
5.1 Start up (start of working day). . . . . . . . . . . . . . . . . . . . . . . . . . . . . . . . . 17
5.2 Dispensing soft ice cream . . . . . . . . . . . . . . . . . . . . . . . . . . . . . . . . . . . . 18
5.3 Switching off (end of working day). . . . . . . . . . . . . . . . . . . . . . . . . . . . . . 19
Switching off & standby . . . . . . . . . . . . . . . . . . . . . . . . . . . . . . . . . . . 19
Switching off & pasteurising . . . . . . . . . . . . . . . . . . . . . . . . . . . . . . . . 20
5.4 Emergency stop . . . . . . . . . . . . . . . . . . . . . . . . . . . . . . . . . . . . . . . . . . . 21
5.5 Switching on/off . . . . . . . . . . . . . . . . . . . . . . . . . . . . . . . . . . . . . . . . . . 21
5.6 Adjusting the viscosity . . . . . . . . . . . . . . . . . . . . . . . . . . . . . . . . . . . . . . 22
6Faults. . . . . . . . . . . . . . . . . . . . . . . . . . . . . . . . . . . . . . . . . . . . . . . . 23
6.1 Introduction. . . . . . . . . . . . . . . . . . . . . . . . . . . . . . . . . . . . . . . . . . . . . . 23
6.2 Messages on display. . . . . . . . . . . . . . . . . . . . . . . . . . . . . . . . . . . . . . . . 23

Version date: March 26th 2018
4
Operator Manual
NA 64-- series gravity
C
6.3 Faults table . . . . . . . . . . . . . . . . . . . . . . . . . . . . . . . . . . . . . . . . . . . . . . 24
7 Maintenance. . . . . . . . . . . . . . . . . . . . . . . . . . . . . . . . . . . . . . . . . . 26
7.1 Safety instructions . . . . . . . . . . . . . . . . . . . . . . . . . . . . . . . . . . . . . . . . . 26
7.2 General instructions . . . . . . . . . . . . . . . . . . . . . . . . . . . . . . . . . . . . . . . . 26
Requirements . . . . . . . . . . . . . . . . . . . . . . . . . . . . . . . . . . . . . . . . . . 27
Preventive maintenance . . . . . . . . . . . . . . . . . . . . . . . . . . . . . . . . . . . 27
Cleaning and disinfecting . . . . . . . . . . . . . . . . . . . . . . . . . . . . . . . . . . 28
Decalcify . . . . . . . . . . . . . . . . . . . . . . . . . . . . . . . . . . . . . . . . . . . . . 29
Cleaning air filter (optional) . . . . . . . . . . . . . . . . . . . . . . . . . . . . . . . . . 29
7.3 (Dis)assembling, cleaning and disinfecting the machine . . . . . . . . . . . . . . . . 30
Procedure . . . . . . . . . . . . . . . . . . . . . . . . . . . . . . . . . . . . . . . . . . . . . 30
Defrosting and draining cylinder (left and right) . . . . . . . . . . . . . . . . . . . 31
Removing mix feed pipe and mix tank agitator (left and right) . . . . . . . . . 32
Draining the mix tank (left and right) . . . . . . . . . . . . . . . . . . . . . . . . . . 32
Cleaning the mix tank and cylinder (left and right) . . . . . . . . . . . . . . . . . 33
Decalcify the machine (left and right) . . . . . . . . . . . . . . . . . . . . . . . . . . 35
Removing the ice cream head . . . . . . . . . . . . . . . . . . . . . . . . . . . . . . . 36
Disassembling, cleaning and disinfecting the ice cream head and mix feed pipe
37
Fitting the ice cream head . . . . . . . . . . . . . . . . . . . . . . . . . . . . . . . . . . 38
(Dis)assembling, cleaning and disinfecting the cylinder beater (2x) . . . . . . 39
Fitting the ice cream head . . . . . . . . . . . . . . . . . . . . . . . . . . . . . . . . . . 40
Disinfecting the machine (left and right) . . . . . . . . . . . . . . . . . . . . . . . . 41
Starting up the machine (left and right). . . . . . . . . . . . . . . . . . . . . . . . . 41
8 Transportation and Storage. . . . . . . . . . . . . . . . . . . . . . . . . . . 43
8.1 Transportation . . . . . . . . . . . . . . . . . . . . . . . . . . . . . . . . . . . . . . . . . . . . 43
8.2 Storage. . . . . . . . . . . . . . . . . . . . . . . . . . . . . . . . . . . . . . . . . . . . . . . . . 43
9 Discarding . . . . . . . . . . . . . . . . . . . . . . . . . . . . . . . . . . . . . . . . . . . . 44
9.1 Environmental factors . . . . . . . . . . . . . . . . . . . . . . . . . . . . . . . . . . . . . . . 44
Annex 1 Specifications . . . . . . . . . . . . . . . . . . . . . . . . . . . . . . . . . . . . . . . . 45
Annex 2 Spare Parts . . . . . . . . . . . . . . . . . . . . . . . . . . . . . . . . . . . . . . . . . . . 46
A2.1 Ice cream head and beater. . . . . . . . . . . . . . . . . . . . . . . . . . . . . . . . . . . . 46
A2.2 Mix feed pipe (2x) . . . . . . . . . . . . . . . . . . . . . . . . . . . . . . . . . . . . . . . . . 48
Annex 3 EC Declaration. . . . . . . . . . . . . . . . . . . . . . . . . . . . . . . . . . . . . . . . 50

Version date: March 26th 2018 5
1
Operator Manual
NA 64-- series gravity
1 Introduction
1.1 Purpose
The purpose of this Operator Manual is to provide the operator with information
relating to the use and maintenance of the NA 64-- series gravity.
Read this Operator Manual carefully before using the machine.
1.2 Manufacturer
Win Equipment B.V.
De Kronkels 31
3752 LM Bunschoten
The Netherlands
Dealer mark

1
Version date: March 26th 2018
6
Operator Manual
NA 64-- series gravity
1.3 Machine identification
The machine plate is affixed to the rear of the machine. This plate carries the CE
mark. This means that the machine meets the basic health and safety
requirements of the European Union.
1.4 Warranty
The dealer offers on new machines a 5-year warranty on expensive parts and a
12-month warranty on non-wearing parts and repair costs. This is in accordance
with the conditions specified in the order confirmation.
1.5 Accessories
The following items are supplied with the machine:
• Operator manual
• O ring remover
• Cleaning brush, narrow and wide
• Tube of lubricant (Petrogel)
• O ring replacement set
•Setoffuses

Version date: March 26th 2018 7
1
Operator Manual
NA 64-- series gravity
1.6 Liability
The dealer is not liable for any unsafe situations, accidents and/or damage
resulting from any of the following points:
• Failure to observe warnings or instructions as displayed on the machine or in
this Operator Manual.
• Use of the machine for applications or under conditions other than those
specified in this Operator Manual.
• Changes of kind made to the machine. This also includes the use of different
replacement parts.
• Inadequate maintenance.
The dealer is not liable for any consequential damage due to machine faults, such
as damage to products, business interruptions, production loss etc.
1.7 Copyright
Copyright © 2018 Win Equipment B.V.
All rights reserved.
No part of this publication may be copied, stored in an automated data file or
made public, in any form or in any way, be it electronically, mechanically, by
photocopy, recording or in any other way, without the prior written consent of
the manufacturer.

2
Version date: March 26th 2018
8
Operator Manual
NA 64-- series gravity
2 Safety
2.1 Symbols used in this manual.
Below you will find an explanation of the symbols that may be used in this manual
to draw the attention of the reader to particular situations.
Caution needed:
- an accident may occur or
- damage may occur to the machine
Do not do this!!!
Suggestion to make tasks or actions easier to carry out.
It is important to read the information provided.
Wait before continuing with the next action.
2.2 Emergency stop
The emergency stop button must be pressed
immediately if people or machinery are at risk.
The entire machine stops immediately and the
power is turned off. The emergency circuit is now
in operation.
The operation of the emergency stop is described in
chapter 5.4 - ’Emergency stop’.
Use the emergency stop button immediately if
people or machinery are at risk.
People who operate the machine must be
informed about the operation and location of the
emergency stop button.

Version date: March 26th 2018 9
2
Operator Manual
NA 64-- series gravity
2.3 Safety symbols on the machine
The following safety symbols have been affixed to the machine:
Location of emergency stop.
This symbol is affixed to the left front side of the machine
above the emergency stop button.
Risk of trapping hand.
This symbol is affixed to the top of the machine next to the
mix tank.
Do not spray with water.
This symbol is affixed to the rear of the machine next to the
ventilation slots.
Danger: electricity.
This symbol is affixed inside the housing.

2
Version date: March 26th 2018
10
Operator Manual
NA 64-- series gravity
2.4 Safety instructions
The machine meets the basic health and safety requirements of the relevant
directives of the European Union.
Improper or careless use can lead to dangerous situations. Please observe the
following general safety instructions:
• Connect the machine in accordance with the basic health and safety
requirements of the relevant European directives.
• Exercise caution with loose hair and clothing.
• Keep your hands away from dangerous zones.
• Never power up the machine if people are in contact with it.
• Pull the plug out of the socket before carrying out maintenance work on the
machine.
• Faulty safety equipment must be replaced before the machine is used in
production.
• The machine must be maintained in accordance with the instructions found in
chapter 7 - ’Maintenance’ on page 26.
• Changes to the machine must not be implemented without the prior consent
of the manufacturer.
• The safety equipment of the machine must be checked weekly for correct
operation.
• Never remove the machine's plating. There are no parts that you can replace
or adjust yourself.
• Do not remove or cover any labels on the machine.
The safety instructions specified in this document must be
observed. Deviating from the instructions can cause
unacceptable risks.

Version date: March 26th 2018 11
2
Operator Manual
NA 64-- series gravity
2.5 Operation and maintenance
The machine may only be operated, maintained and cleaned by trained staff.
The end user determines the basis on which staff are authorised for this purpose.
2.6 Hygiene
Good hygiene is very important. Please adhere to the following rules:
•Clean and disinfect the machine at least according the hygiene code ice
making but at least once every 6 weeks
•Decalcify the machine every 2nd and 4th cleaning depending on the pollution,
but at least twice a year.
•Use the recommended cleaning, disinfecting and decalcify agents to ensure
an optimum result.
•Use prescribed lubricants only.
Always clean and pasteurize both sides of the machine
simultaneously.
Good hygiene ensures better ice cream and satisfied
customers.
The operator always remains responsible for good hygiene.
2.7 Storage
To prevent the machine being damage due to frost the machine must always be
stored by a temperature between 4°C and 50°C when it is not used.
Prevent damage by frost. Store the machine when it is not used
by a temperature between 4°C and 50 °C .

3
Version date: March 26th 2018
12
Operator Manual
NA 64-- series gravity
3 Installation
Read this chapter carefully before installing the machine. This is
the only way to ensure maximum safety.
3.1 Introduction
The dealer carries out the initial installation. When moving the machine you are
advised to contact the dealer.
The machine may only be installed by qualified personnel.
3.2 Installation site
• DO NOT place the machine outside.
• Place the machine on a firm, flat surface
(to prevent noise and vibration).
• Keep 10 cm free at the rear and 2 cm at the sides for ventilation.
• Do not place the machine in direct sunlight (not even behind glass) or near to
a heat source (e.g. radiator or deep fryer).
• Place the machine in a room with a temperature between +5°C and +35°C.
3.3 Electrical connection
• Connect the plug of the machine to a high-voltage power supply (400 volts,
3 x 16 amps + N + PE).
When setting up the machine, make sure it is not positioned on
the connection cable. This can damage the insulation and lead
to a short-circuit.

Version date: March 26th 2018 13
3
Operator Manual
NA 64-- series gravity
3.4 Connection of cooling water
• Connect the supply hose to a washing machine tap (3/4’’ water tap with
ventilation). The water pressure must be a minimum of 1 bar and a maximum
of 3 bar.
• Connect the discharge hose to the discharge pipe.
When connecting, please observe the local water board
connection conditions.
The machine has a check valve. This valve along with aerated
faucet prevents the backflow of water into the water supply.
When setting up or moving the machine, make sure that the
water supply and discharge hoses cannot bend or otherwise
become blocked.
Make sure that no water can enter the machine. If water comes
into contact with electrical parts, this can cause damage and/or
danger.
3.5 Adjusting castors
The castors under the machine can be adjusted in height.
Make sure that the machine does not topple over when adjusting
the castors.
1. Tighten all castors as far as possible.
2. Now adjust the castors so that the machine leans slightly forward
(this allows rinsing and washing water to flow to the draining aperture at the
front of the machine).
Do not unscrew the castors by more than 5 to 8 mm.
3. Place the front castors on the brake.
Make sure that the brake of the two front castors is secured after
adjusting.

4
Version date: March 26th 2018
14
Operator Manual
NA 64-- series gravity
4 Machine Description
4.1 Function and products
The machine is only suitable for the commercial preparation of soft ice cream
using water, ice cream mix as ingredients.
4.2 Machine overview
4
5
12
6
3
1. Operating panel 1
2. Operating panel 2
3. Emergency stop
4. Refresh button
5. Ice cream head
6. Mix tanks with water tap
With operating panel 1 the left
freezing cylinder is
controlled, operating panel 2
controls the right freezing
cylinder.
The machine has two
mixtanks for two different
flavours of ice cream.

Version date: March 26th 2018 15
4
Operator Manual
NA 64-- series gravity
Operating panel 1 and 2
•OFF
Press to switch off the machine; only the
lights remain lit.
First press 'OFF' before changing the mode.
•PASTEURISING
Sets the machine to pasteurising mode. The ice cream mix in the cylinder and
mix tank is pasteurised and the machine then switches to standby mode.
•STANDBY
Sets the machine to standby mode. The cylinder and mix tank are cooled to
approx. 5ºC.
•RUN
Sets the machine to operating mode. Ice cream can be dispensed.
•WASH
Sets the machine to wash mode and switches on the mixing apparatus in the
cylinder.
•- and +
Selection keys to reduce and increase viscosity.
•REPLENISH
Control light; flashes YELLOW if there is insufficient ice cream mix in the mix
tank.
•HEATING
Control light; lights up RED during pasteurising.
•STANDBY
Control light; lights up GREEN if the machine is in standby mode.

4
Version date: March 26th 2018
16
Operator Manual
NA 64-- series gravity
Ice cream head
1. Soft ice cream dispensing handle taste 1
2. Soft ice cream dispensing handle mixed
taste 1 and 2
3. Soft ice cream dispensing handle taste 2
On the underside of the ice cream head
you will find:
4. Soft ice cream dispensing spout taste 1
5. Soft ice cream dispensing spout mixed
taste 1 and 2
6. Soft ice cream dispensing spout taste 2
Be careful! In the next chapters is not always shown the right ice
cream head on all the pictures.
Mix tank (2x)
1. Mix tank agitator
2. Mix feed pipe
3. Air hoses
Buffet operation (optional)
1. Camouflaged buffet button.
The selection buttons only work if they are
pressed simultaneously with the buffet button.
The buffet button prevents customers to
operate the machine unintended.
1 2 3
456
3
1
2
3
1
2

Version date: March 26th 2018 17
5
Operator Manual
NA 64-- series gravity
5 Operation
5.1 Start up (start of working day)
Be careful! Carry out the starting procedure for both freezing
cylinders after each other.
First check whether the machine is in ‘STANDBY’ mode. If this is
not the case, measure the temperature of the mix in the mix tank.
If the temperature is higher than 7°C, empty, clean and disinfect
the machine. (see chapter 7 - ’Maintenance’ on page 26)
If the temperature is lower than 7°C, first pasteurise the machine
before use.
1. Check whether the
machine is in
‘STANDBY’ mode.
If this is not the case,
measure the tempera-
ture of the mix in the
mix tank.
If the temperature is
higher than 7°C,
empty, clean and dis-
infect the machine
(see chapter 7 - ’Main-
tenance’ on page 26)
. If the temperature is
lower than 7°C, first
pasteurise the machi-
ne before use.
2. Press ‘OFF’.3. Press ‘WASH’.
10 min
4. Wait at least 10 minu-
tes.
5. Press ‘OFF’. 6. Press ‘RUN’.

5
Version date: March 26th 2018
18
Operator Manual
NA 64-- series gravity
Starting the machine after cleaning is described in chapter 7 -
’Maintenance’ on page 26).
5.2 Dispensing soft ice cream
1. Hold an ice cream cup
or cone under the ice
cream dispensing
spout.
2. Pull the ice cream
handle down fully.
The ice cream is now
dispensed.
3. Push the ice cream
handle up fully.
Tips
Here are a few tips for dispensing soft ice cream properly:
• If no ice cream has been dispensed for a while, briefly press the ‘refresh
button’ first before dispensing ice cream.
• Dispense soft ice cream carefully at a steady, constant dispensing rate.
• Do not dispense large amounts of soft ice cream in succession.
• Give the machine the opportunity in good time to bring the viscosity of the
soft ice cream up to the required level again.
7. Wait until 2 horizontal
lines are shown in the
left display.
8. Turn the mix feed pipe
to the ‘open’ position.
(Orifice in the outside
pipe in line with the
arrow on the inside pi-
pe.
9. Dispence one or two
icecreams from all
three disspensing
spouts, taste them
and throw them
away.

Version date: March 26th 2018 19
5
Operator Manual
NA 64-- series gravity
5.3 Switching off (end of working day)
The machine is not switched off in the same way each day. A choice can be made
between switching off & standby and switching off & pasteurising.
Instructions for pasteurising
The Dutch hygiene code gives the following guidelines for pasteurising:
• Pasteurising takes place after the mix has been topped up.
• Always allow the machine to pasteurise at the end of the day (with a low
turnover rate, pasteurise at least every two days).
• Before starting work, check that pasteurisation has been performed correctly.
• Do not keep pasteurised mix for longer than 72 hours.
• Store mix at a temperature of 7ºC or lower; preferably 4ºC or lower.
The dealer advises you to follow the above guidelines.
5.3.1 Switching off & standby
1. Turn the mix feed pipe
to the ‘close’ position.
(Line mark on the out-
side pipe in line with
the arrow on the insi-
de pipe.
2. Druk op ‘OFF’. 3. Druk op ‘STANDBY’.
4. Clean the ice cream
head and machine
with a brush and
clean cloth (preferably
paper.
5. Disinfect the ice
cream head with 80%
alcohol spray.

5
Version date: March 26th 2018
20
Operator Manual
NA 64-- series gravity
5.3.2 Switching off & pasteurising
1. Turn the mix feed pipe
to the ‘close’ position.
(Line mark on the out-
side pipe in line with
the arrow on the insi-
de pipe.
2. Druk op ‘OFF’. 3. Press ‘PASTEURI-
SING’.
The ice cream mix will
now be pasteurised
and the machine will
then switch to ‘stand-
by’ mode.
4. Clean the ice cream
head and machine
with a brush and
clean cloth (preferably
paper).
5. Disinfect the ice
cream head with 80%
alcohol spray.
This manual suits for next models
1
Table of contents
Other Nissei Ice Cream Maker manuals