niu H1 User manual
How to use H1 well
Page 1- Info(Information)
CHANGES
Page 2- About UP (Upgrade)
Page 3- About LOG and
Setting

Read communication data reply
rate between different electronic
parts
Record and save logs of
communication data between
different electronic parts

Terminology
ECU Electronic Control Unit LCU Light Control Unit
V2 ECU 2nd Version ECU 2G DIS Display
V3 ECU 3nd Version LTE+ u-blox GPS DB Dashboard
Re_V3 Reboot V3 ECU LOCK Lock Controller Unit
BMS Battery Management System COMM Communication
BCS Battery Control System VIN Vehicle Identification Number
OTA Over The Air Update SN Serial Number
FOC Field Oriented Controller LOG Logging History
S_FOC Sharing FOC Motor Controller FC Fast Charger
IAP In-Application Programming Lock Test Test all the lock Commands
INFO Information
ISP In-System Programming
UP Update
BIN Binary Format File
OS Operating System

H1 Handheld Diagnostic Device
H1 Handheld Diagnostic Device is designedto use as a tool for NIU electric scooters
Maintenance, features including:
•Check RS485 Bus Communication between ECU<->Other Electronic components
•Vehicle Data Analysis
•Read BMS Data
•Read ECU Data
•ECU Update
•Read LCU Data
•LCU Update
•Read DB Data
•DB Update
•Read FOC Data
•FOC Update
•Set Time(Dashboard Digital Clock)
•Check Battery Charging History
How to Operation:
H1 can be operated by pressing physical buttons, but also features can also be selected
by touching the screen.
Left/OK/Right
Down
Up
Return
Charging
Fully charged
Constant: USB Connection
Flashing: Sleep Mode
Power
USB port for
PC connection
Memory Card Slot(Micro SD)
USB port for
Diagnostic Cable
Touch Screen

Before Starting
Each H1 Pack should contain the following items:
1* H1 Device
1* USB Cable(H1 to PC connection)
1* M1 Diagnostic Cable
1* N1S Diagnostic Cable
1* Micro SD Memory Card(inserted)
Please make sure H1 is fully charged and the Memory Card is inserted before use
note: H1 will be automatically charged as soon as the device is connected to a vehicle or a
battery
Make sure the Memory Card is inserted into H1 then
Connect the M1/N1 Diagnostic cable to H1
Starting H1
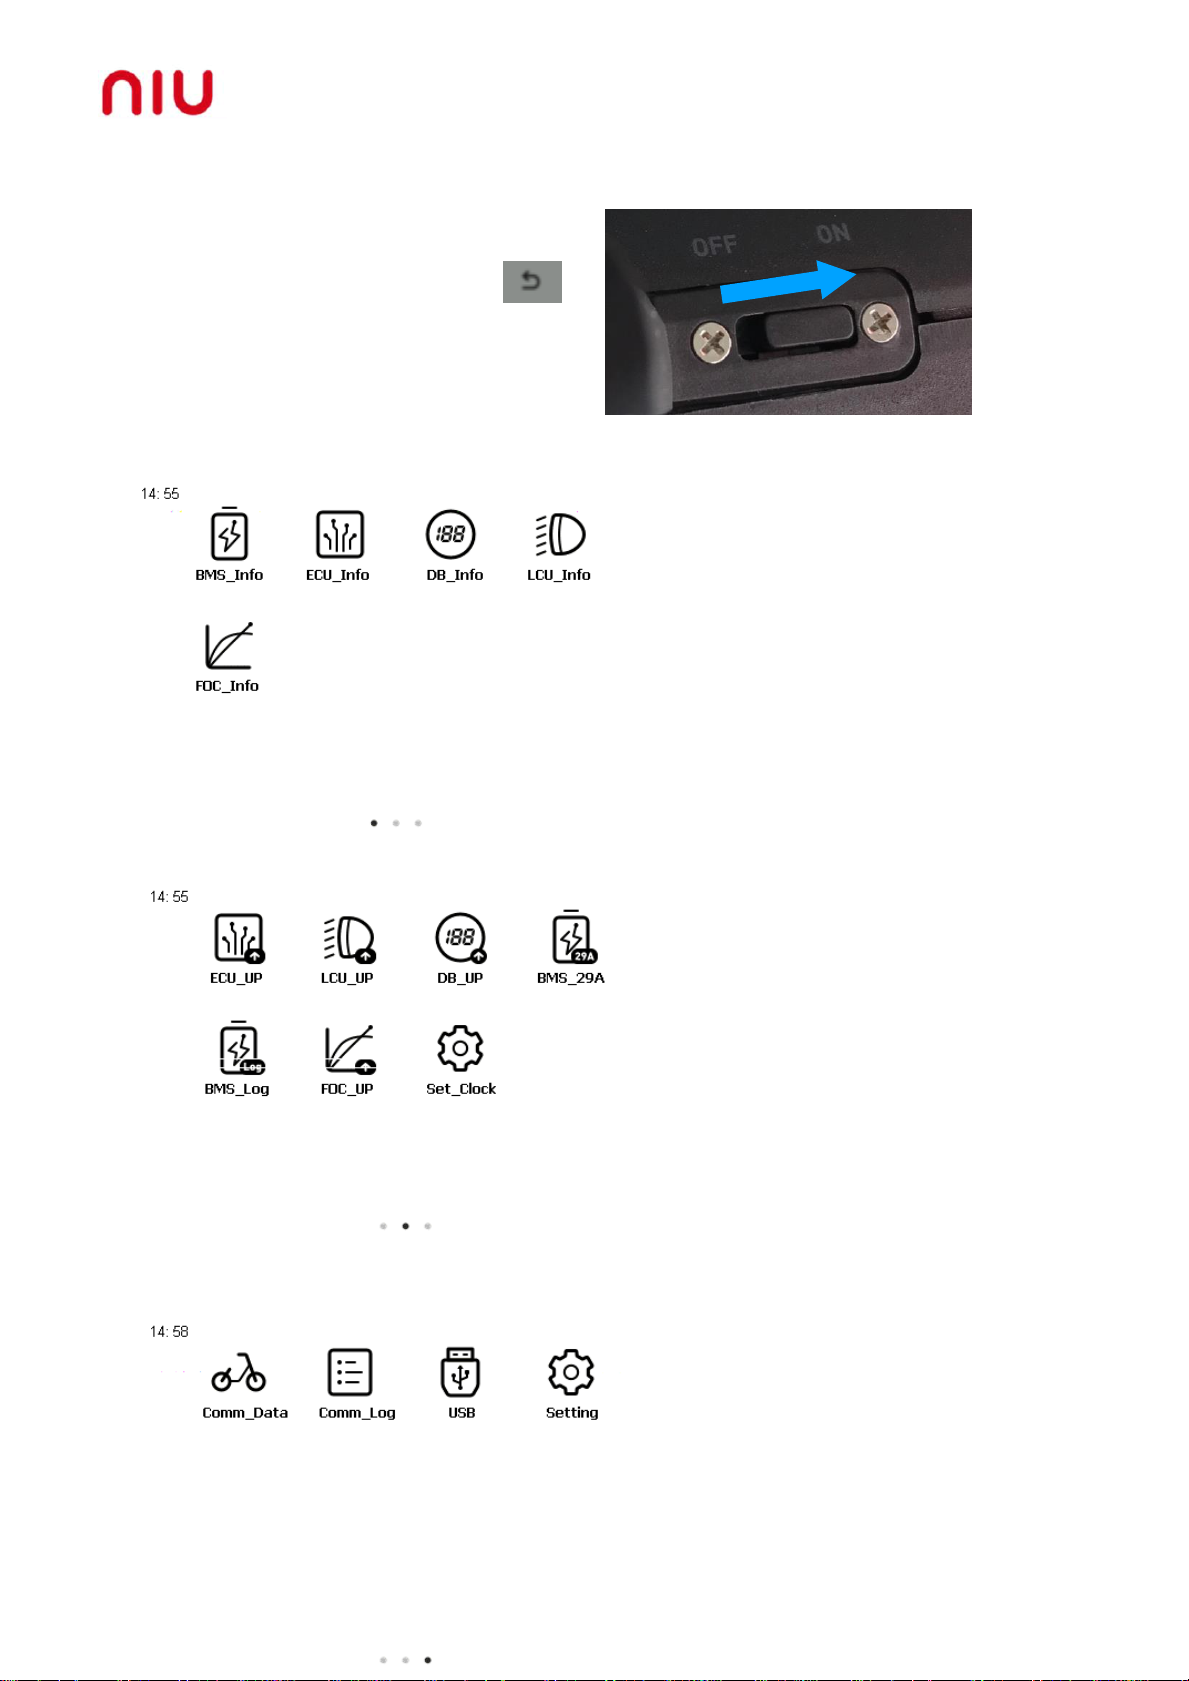
Switch the Power ON to enter Main Pages
note: H1 will go into Energy saving mode
after a while, please press Return key
to continue
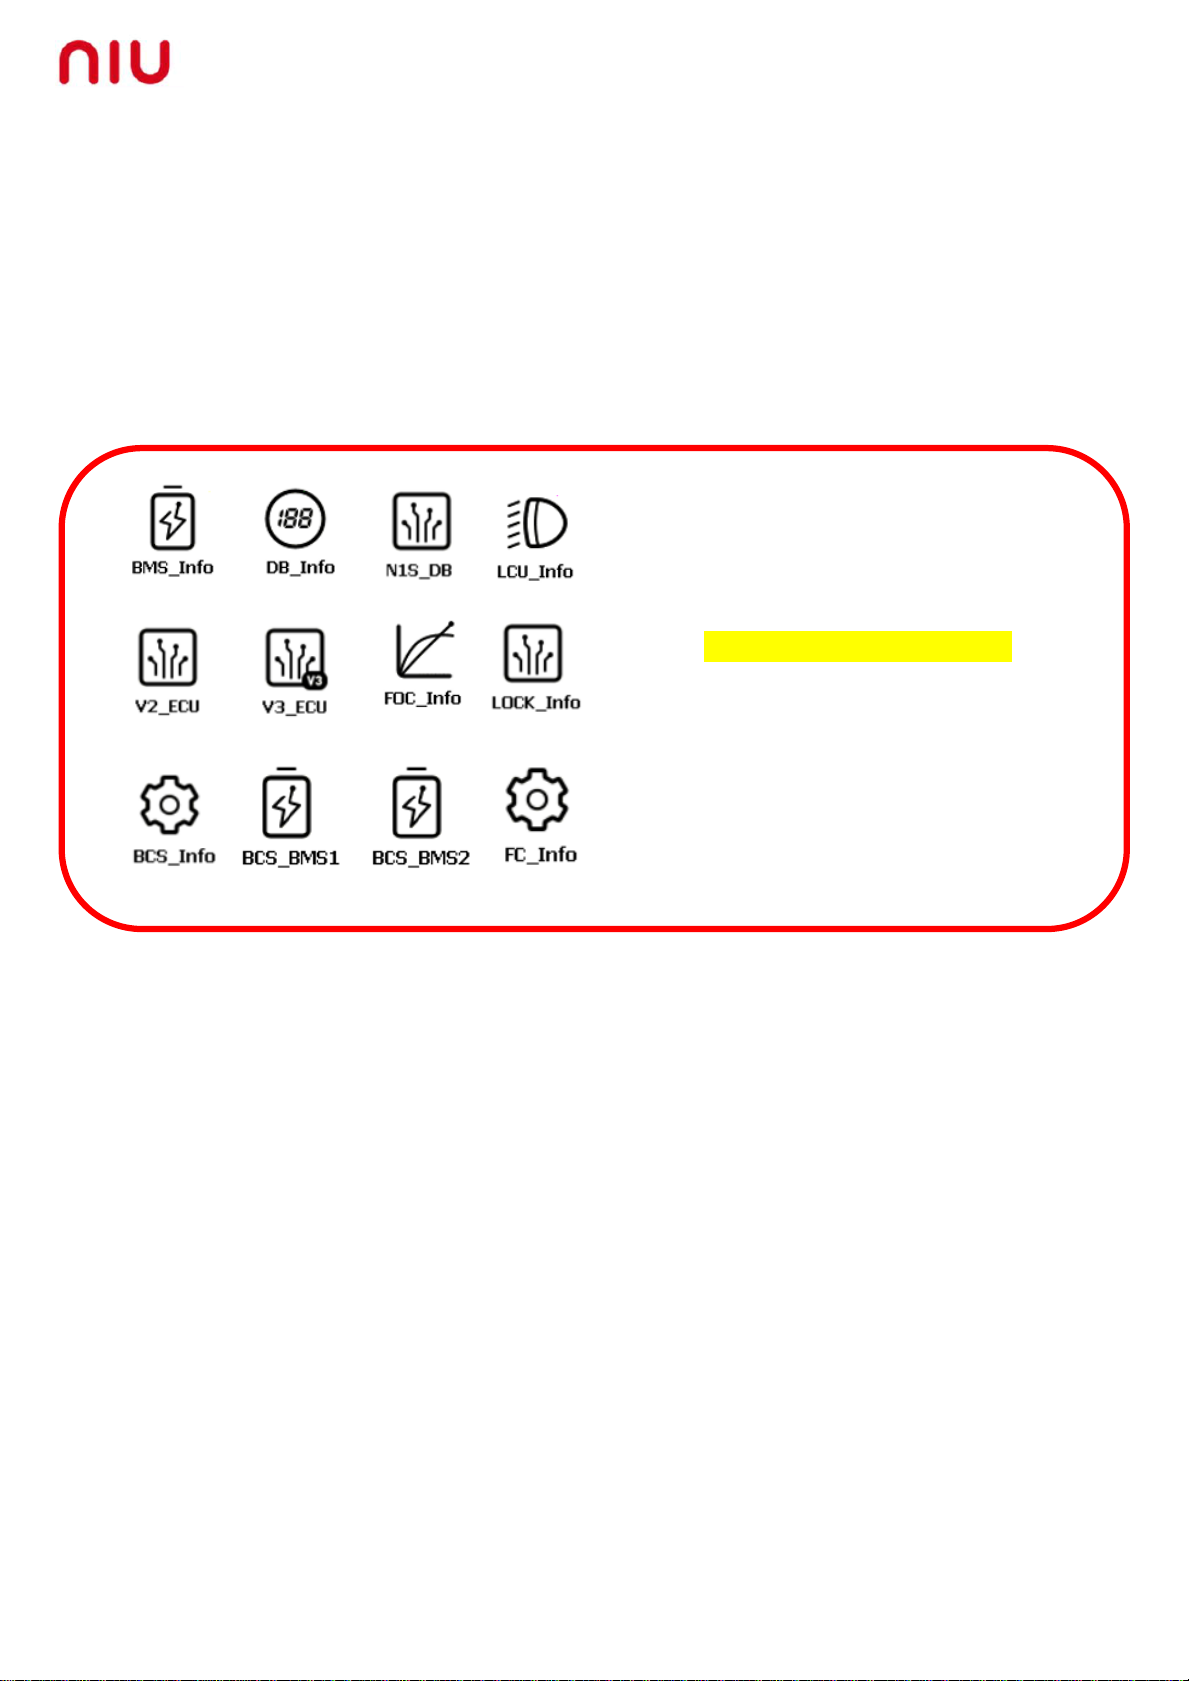
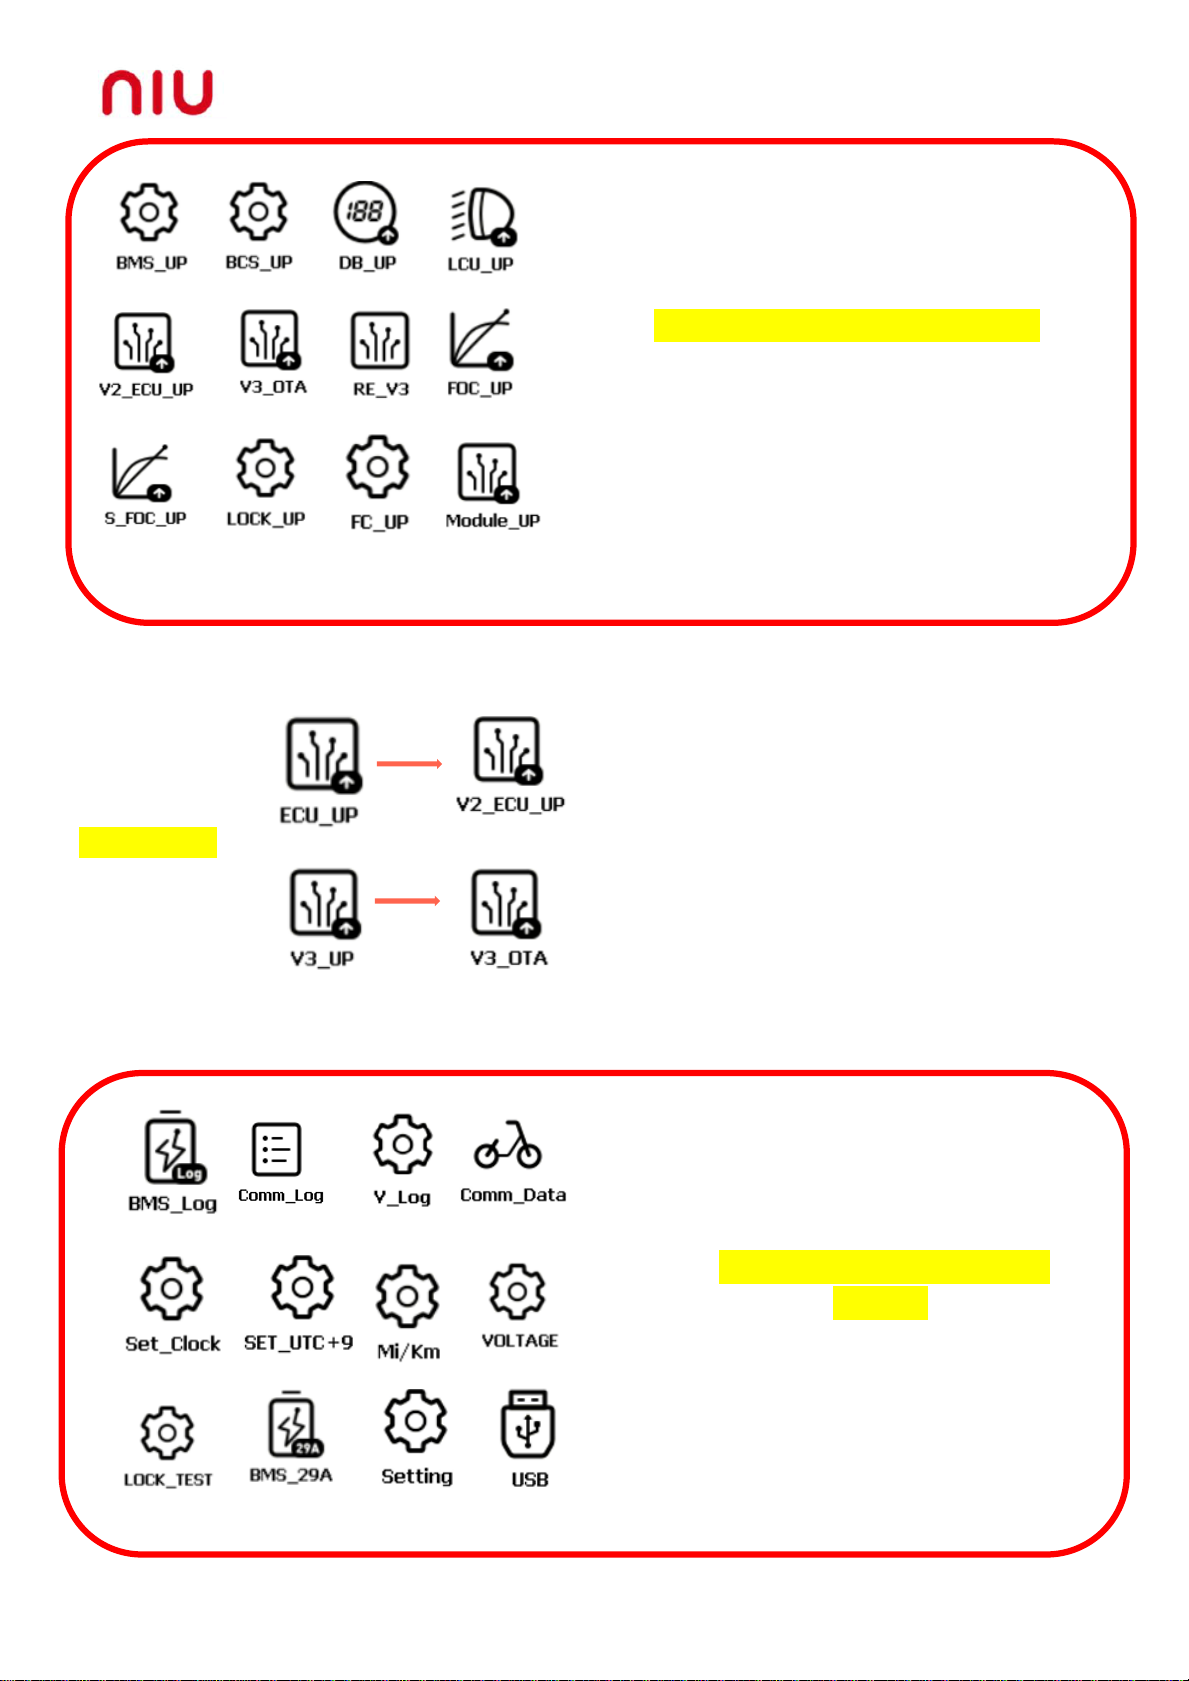
First Main Page(Read Data Functions)
Second Main Page(Update Functions)
Third Main Page(Other Functions)

How to Read BMS Information
Step 1: Press to Read BMS Information
Step 2:
If the battery is connected on the scooter, connect the cable to the Charging port.
please make sure the Power of the scooter is turned OFF for more than 10 seconds before
continue
Or H1 can also be connected to Battery Pack Directly
then Press the Screen to Continue and Keep the scooter power is turned OFF during
process
Step 3:
BMS information will be shown as below:

How to Read BMS Information
BMS_STATE: No Load
No Load currently not in use
Discharging: currently discharging
Charging: currently charging
Over-Charged: Battery Overcharged, please check Total
Voltage and Voltage of Cells
Over-Discharged: Battery Over Discharged, please check Total
Voltage and Voltage of Cells
Charging Over-Current Charging current is High
Discharging Over-Current Discharging current is High
Over Temperature Battery temperature is High
Temperature Low Battery temperature is Low
Other Warning Open Circuit detected/ Difference between Cell
Voltages is higher than 0.3V or other
Short Circuit Battery short circuit
WaterDetected Moisture inside battery pack detected
BMS MOS Failure BMS MOS Malfunction,BMS Failed
ONLINE/OFFLINE BMS Functioning, OFFLINE(BMS Failure)
Soft_Ver: 1.15 Software Version: 1.15
Har_Ver: 1.10 Hardware Version: 1.10
BMS_SN: BN1GPM2B22200395 Battery Serial Number: BN1GPM2B22200395
Cycle: 0001 Number of Cycles Charged: 0001 Cycles
Capacity: 29000mAh Battery Total Capacity: 29Ah
SOC: 036% Remaining Battery Level: 36%
Voltage: 61600mV Battery Total Voltage: 61.6V
Charge_C: 00000mA Charging Current: 0mAh(real time)
DisCharge_C: 00200mA Discharging Current: 200mAh(real time)
T1: 021°C Temperature Sensor 1: 21°C
T2: 021°C Temperature Sensor 2: 21°C
T3: 021°C Temperature Sensor 3: 21°C
T4: 021°C Temperature Sensor 4: 21°C
4 temperature sensors should give similar readings
Individual Battery Cell Voltages Individual Battery Cell Voltages: 3.62V/3.63V

How to Read V2 ECU Information(Applied to
N1S/M1S/M+/Upro)
Step 1: Connect the battery to the scooter and connect H1 to the Charging port
Press to Read V2 ECU Information
Step 2:
please make sure the Power of the scooter is turned OFF for more than 10 seconds before
continue
then Press the Screen to Continue and Keep the scooter power is turned OFF during
process
Step 3:
ECU Data information will be shown as below: Hardware Version: V2.0
Software Version: TRA01V08
ECU Battery Voltage: 3.1V
ECU SN: ECU Serial Number
IMEI: 862723033190327
GPRS Module version number
SIM Card Number
GPRS Signal Strength

How to Read V3 ECU Information (Applied to N-GT/N-
Pro/N Sharing scooters)
Step 1: Connect the battery to the scooter and connect H1 to the Chargingport
Press to Read V3 ECU Information
Step 2:
please make sure the Power of the scooter is turned OFF for more than 10 seconds before
continue
then Press the Screen to Continue and Keep the scooter power is turned OFF during
process
Step 3:
ECU Data information will be shown as below: Hardware Version: V2.0
Software Version: TRA01V08
ECU Battery Voltage: 3.1V
ECU SN: ECU Serial Number
IMEI: 862723033190327
GPRS Module version number
SIM Card Number
GPRS Signal Strength

How to Read Display(DB) Information
Step 1: Connect the battery to the scooter and connect H1 to the Charging port
Press to Read DB Information (This functions only applies to M and N scooters
homologated under EEC 168/2013)
Step 2:
please make sure the Power of the scooter is turned OFF for more than 10 seconds before
continue
then Press the Screen to Continue
Step 3:
Turn Power to ON by turning the key to the right
then Press the Screen to Continue
Step 4: DB Software Version will be shown as below
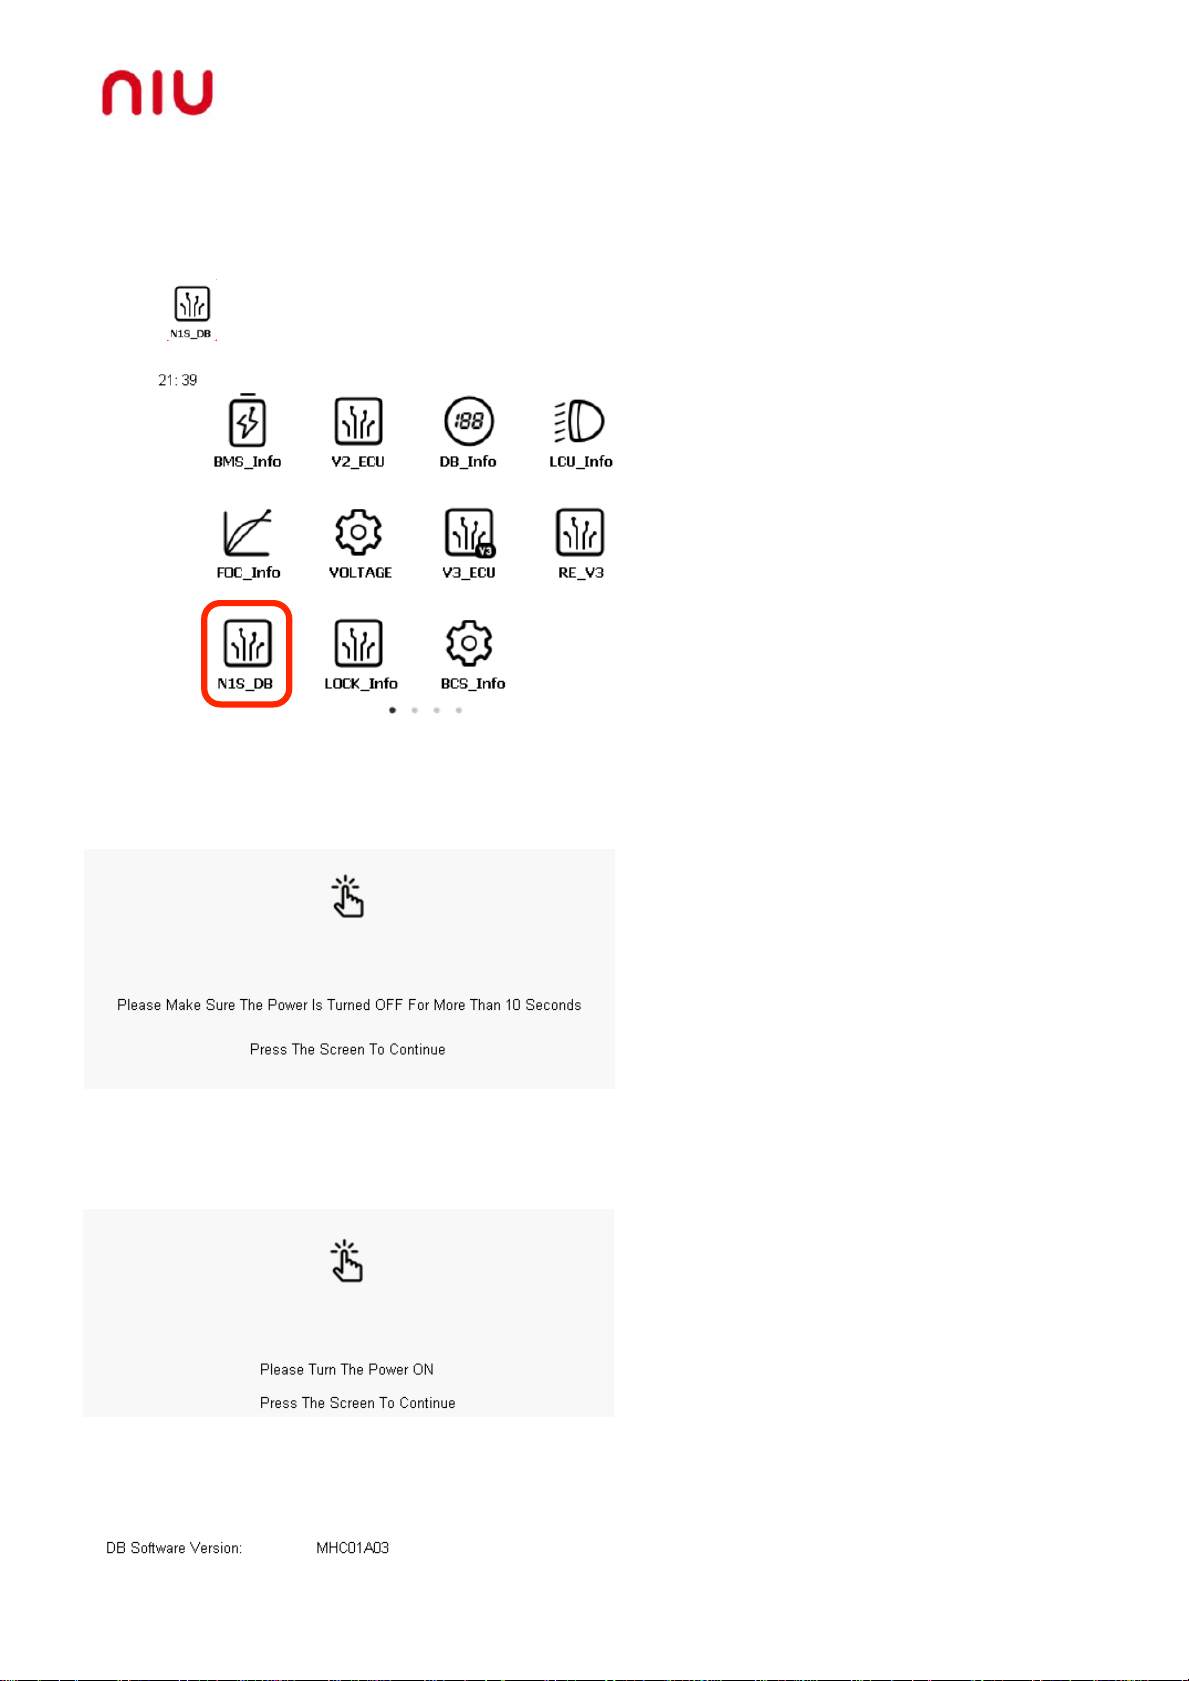
How to Read Display(N1S DB) Information (only for
scooters produced before July 2017)
Step 1: Connect the battery to the scooter and connect H1 to the Charging port
Press to Read N1S DB Information (only for scooters produced before July 2017)
Step 2:
please make sure the Power of the scooter is turned OFF for more than 10 seconds before
continue
then Press the Screen to Continue
Step 3:
Turn Power to ON by turning the key to the right
then Press the Screen to Continue
Step 4: DB Software Version will be shown as below:
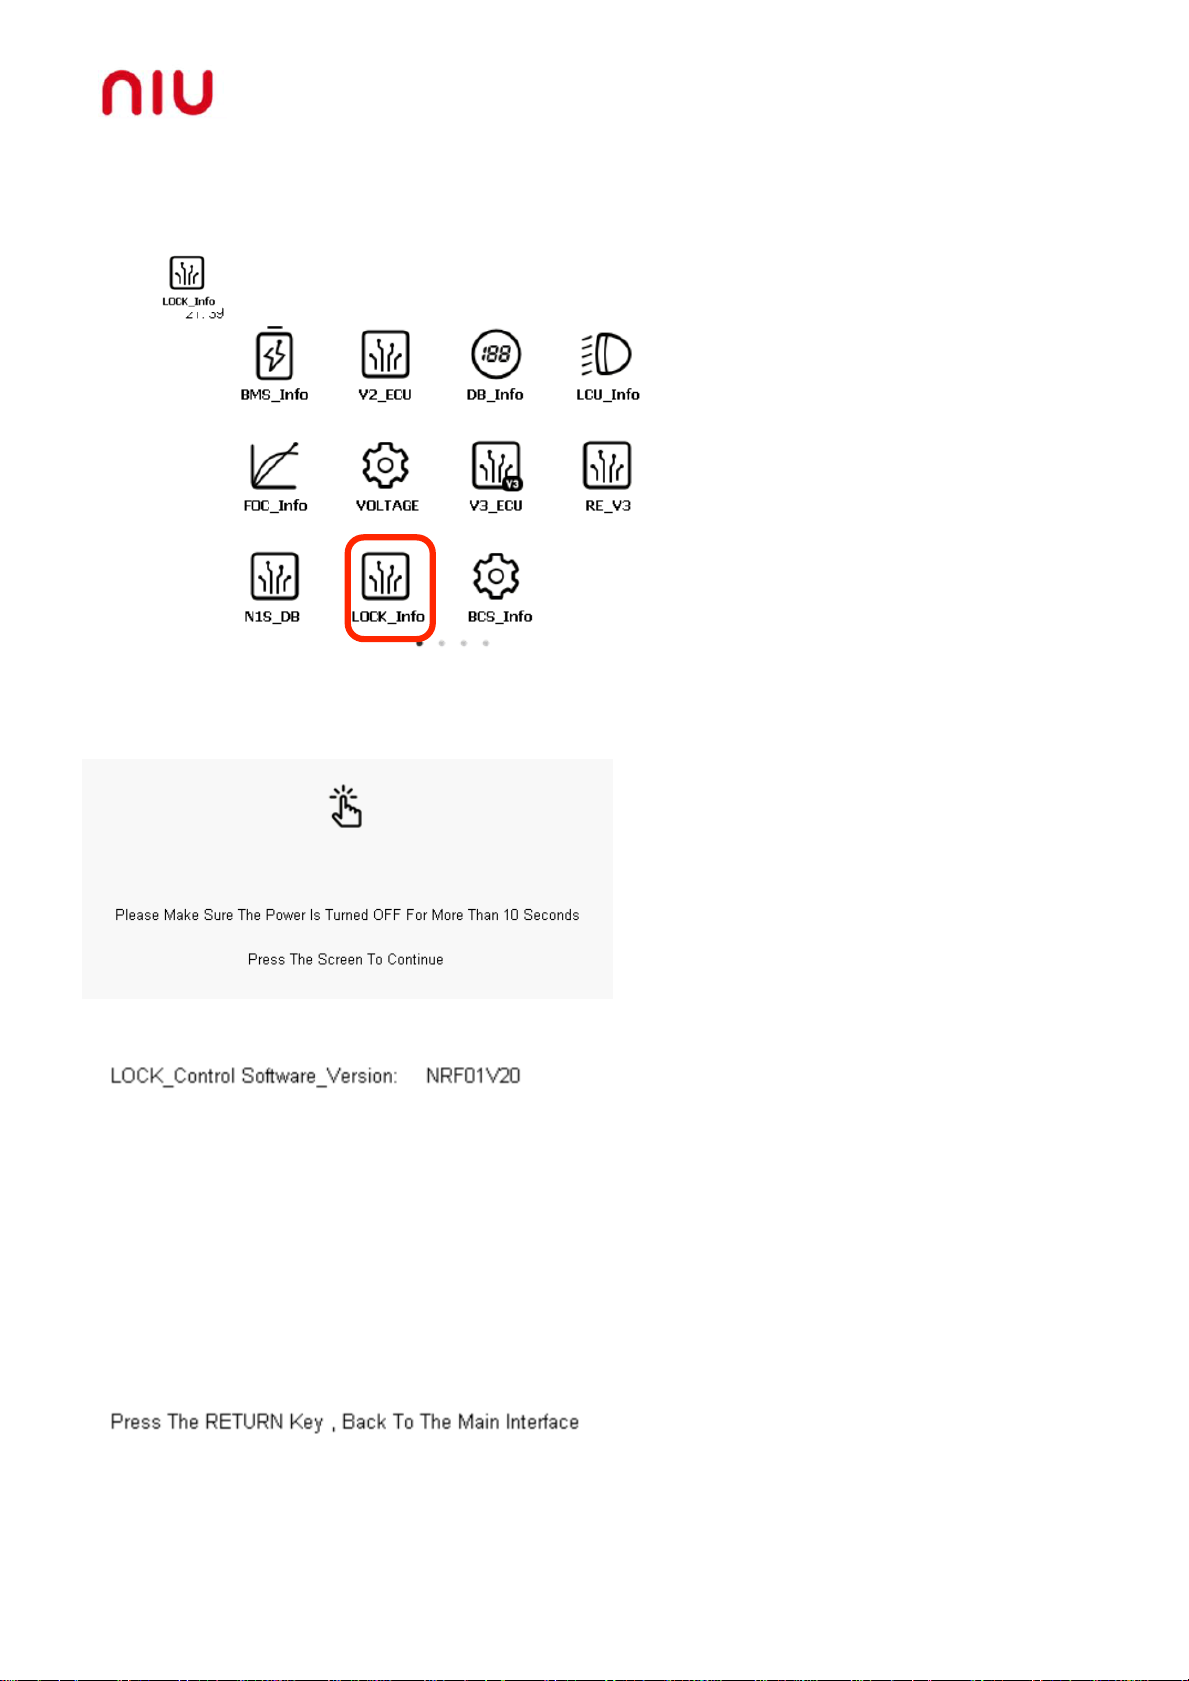
How to Read Lock Controller (Lock)Information
Step 1: Connect the battery to the scooter and connect H1 to the Charging port
Press to Read the lock controller information.(Onlyfor sharing scooters use)
Step 2:
please make sure the Power of the scooter is turned OFF for more than 10 seconds before
continue
then Press the Screen to Continue
Step 3: Lock Controllerinformation will be shown as below

How to Read BCS(Battery Control System)Information
Step 1: Connect the battery to the scooter and connect H1 to the Charging port
Press to Read the BCS information.(Only for scooters use dual batteries)
Step 2:
H1 is getting BCS information. Please wait for 10 seconds!
Step 3: BCS information will be shown as below

How to Read Fast Charger(FC_Info)Information
Step 1: Connect the battery to the scooter and connect H1 to the Charging port
Press to Read the BCS information.(Only for scooters use dual batteries)
Step 2:
H1 is getting fast charger information. Please wait for 10 seconds!
Step 3: Fast Charger information will be shown as below

How to Read Light Control Unit(LCU) Information
Step 1: Connect the battery to the scooter and connect H1 to the Charging port
Press to Read DB Information (This functions only applies to N scooters homologated
under EEC 168/2013)
Step 2:
please make sure the Power of the scooter is turned OFF for more than 10 seconds before
continue
then Press the Screen to Continue
Step 3:
Turn Power to ON by turning the key to the right
then Press the Screen to Continue

How to read FOC Motor Controller Information
Step 1:
Connect the battery to the scooter and connect H1 to the Charging port
Press to Read FOC Information
Step 2:
please make sure the Power of the scooter is turned OFF for more than 10 seconds before
continue
then Press the Screen to Continue
Step 3:
Turn Power to ON by turning the key to the right
then Press the Screen to Continue

How to read FOC Motor Controller Information
Step 4: FOC Software/Hardware Version will be shown as below:
Table of FOC State
Normal Running 正常行驶(前行/倒车)
FOC CONTROLLER FAILURE 驱动电源故障
Enable/DisableRide 允许/禁止骑行
MOSFIT Malfunction 功率管故障
Voltage High 过压
EBS in Active EBS 状态
Over Current 过流
Voltage Low 欠压
Brake Switch ON 刹车断电状态
Phases Missing 缺相
FOC Controller Over Temperatured 控制器过温
Locked 锁车状态
Motor Hall Malfunction HALL 故障
Twist Grip Malfuction 转把故障
Speed Locked 速度锁定状态
Locked Rotor 堵转

How to Update V2_ECU Program (Applied to N1S/M1S/M+/Upro)
Step 1: Connect the battery to the scooter and connect H1 to the Charging port
Press to Update V2 ECU Software
Step 2:
please make sure the Power of the scooter is turned OFF for more than 10 seconds before
continue
then Press the Screen to Continue
Step 3:
ECU softwares will be shown as below(see <How to import files into H1>):
Select correct ECU program .BIN file by pressing on the file name to Continue
Table of contents


