manuals.online logo
Brands
  1. Home
  2. •
  3. Brands
  4. •
  5. NOA & NANI
  6. •
  7. Indoor Furnishing
  8. •
  9. NOA & NANI ID23942 User manual

NOA & NANI ID23942 User manual

Leines Tall Bedside Cabinet 6 Drawer
ID23942
ASSEMBLY INSTRUCTIONS
<<Before assembling, read all the instructions>>
1
ASSEMBLY INSTRUCTIONS
<<Before assembling, read all the instructions>>
1
A
B
C
28pcs
50pcs
12pcs
F
26pcs
15x9.5mm
D
E
24pcs
6x30mm
6x35mm
15x12mm
4x30mm
H
I
G
J
K
L
1
2
3
4
5
6
7
6
6
6
6
4
5
6
13
3x12mm
M
72pcs
24pcs
2
A
B
C
28pcs
50pcs
12pcs
F
26pcs
15x9.5mm
D
E
24pcs
6x30mm
6x35mm
15x12mm
4x30mm
2.5x10mm
4x12mm
H
I
G
J
K
L
6pcs
6pcs
15pcs
2pcs
2pcs
1set
1
2
3
4
5
6
7
6
6
6
6
4
5
6
8
10
911
12
13
3x12mm
4x16mm
6x20mm
4x25mm
M
x6
72pcs
24pcs
2
A
B
C
28pcs
50pcs
12pcs
F
26pcs
15x9.5mm
D
E
24pcs
6x30mm
6x35mm
15x12mm
4x30mm
300mm
2.5x10mm
4x12mm
H
I
G
J
K
L
6pcs
6pcs
15pcs
2pcs
2pcs
1set
1
2
3
4
5
6
7
6
6
6
6
4
5
6
8
10
911
12
13
3x12mm
4x16mm
6x20mm
4x25mm
M
x6
72pcs
24pcs
2
ToolsRequired
CAUTION: D
candamage
Please checkyou have
If you aremissing anyh
Please ensureyou have
Please retain your rece
Donot tightenscrews b
Donot use thisproduct
Check thatall bolts,scr
aremissing,bro
aremade usingmanufa
Failuretofollowthese w
CHILDREN MUST BE S
2.5x10mm
4x12mm
6pcs
6pcs
15pcs
2pcs
2pcs
1set
8
10
911
12
4x16mm
6x20mm
4x25mm
x6
ToolsRequired
CAUTION: Donot use tools otherthanthose required,as th
candamageyour new item.
NOTE
Please check you have all hardware before assembling.
If you aremissing anyhardware,please contact the store ofpurchase.
Please ensureyou have thename oftheitem,required hardwarepart a
Please retain your receipt as proofofpurchase to validate your warrant
CAUTION
Donot tightenscrews before all screws arein therightplace.
Donotuse thisproductunless allbolts,screws andknobs arefirmlyse
Checkthat all bolts,screws andknobs are securelytightened at least e
WARNING
If parts aremissing,broken,damaged or worn stopusingtheproduct u
usieraut parts.
Failuretofolloings c resultin srious injury.
DANGER
CHILDREN MUST BE SUPERVISED.
Part
No. Part Quantity Part
No. Part Quantity
3
Tools Required
CAUTION: Do not use tools other than those required, as this
can damage your new item.
NOTE
•Please check you have all hardware before assembling.
•If you are missing any hardware, please contact the store of purchase.
•Please ensure you have the name of the item, required hardware part and quantity.
•Please retain your receipt as proof of purchase to validate your warranty.
CAUTION
•Do not tighten screws before all screws are in the right place.
•Do not use this product unless all bolts, screws and knobs are firmly secured.
•Check that all bolts, screws and knobs are securely tightened at least every 4 months.
WARNING
•If parts are missing, broken, damaged or worn stop using the product until all repairs
are made using manufacturer authorised parts.
•Failure to follow these warnings could result in serious injury.
DANGER
•CHILDREN MUST BE SUPERVISED.
onotuse tools other than those required,as this
your new item.
NOTE
all hardware before assembling.
ardware,please contact the store ofpurchase.
thename oftheitem,required hardwarepartandquantity.
pt as proofofpurchase to validate your warranty.
CAUTION
fore all screws arein theright place.
unless all bolts,screws andknobs arefirmlysecured.
ws andknobs are securelytightened at leastevery4 months.
WARNING
en,damaged or worn stop usingthe product until all repairs
cturerauthorised parts.
arnings couldresultin serious injury.
DANGER
UPERVISED.
3
D
s
nd quantity.
.
ured.
very4 months.
til all repairs
3
2
B
(G-1)x12pcs
(E)x36pcs
(B)x46pcs
D
2
E
G-1
E
4
1
2
(G-1)x12pcs
(E)x36pcs
(B)x46pcs
2
3
5 x2
8 x6
2
3
B
B
EG
G-2
G-1
G-2
G-1
G-1
G-1
E
G-1
E
F
10
1
J(CL)
4
F
B
3
5
3
5 x2
8 x6
3
B
B
G
G-2
G-1
G-2
G-1
G-1 G-1
E
5
3
4
C
(C)x12pcs
(A)x14pcs
(C)x10pcs
(A)x10pcs
1 2 3
Cam Lock Fastening System
90°
5
4
44
5
6
6
6
6
6
6
3
3
2
x2
A
C
A
C
A
C
6
5
(M)x1set
(L)x2pcs
(K)x2pcs
7
1
1
2
13
(C)x4pcs
(B)x4pcs
(A)x4pcs
A
C
B
M
K
L
(J)x15pcs
J
6
6
5
(M)x1set
(L)x2pcs
(K)x2pcs
7
1
1
2
13
(C)x4pcs
(B)x4pcs
(A)x4pcs
A
C
B
M
K
L
(J)x15pcs
J
6
6
5
(M)x1set
(L)x2pcs
(K)x2pcs
7
1
1
2
13
(C)x4pcs
(B)x4pcs
(A)x4pcs
A
C
B
M
K
L
(J)x15pcs
J
6
7
7
9
(I)x6pcs
(F)x24pcs
(D)x24pcs
(H)x6pcs
8
10x6
11x6
11
10
9
12
8
8
10
(G-2)x12pcs
(E)x36pcs
E
G-2 G-2
G-2
E
E
F
x6
x6
D
H
I
7
7
9
(I)x6pcs
(F)x24pcs
(D)x24pcs
(H)x6pcs
8
10x6
11x6
11
10
9
12
8
8
10
(G-2)x12pcs
(E)x36pcs
E
G-2 G-2
G-2
E
E
F
x6
x6
D
H
I
8
11
10
Ensure that the runners on the cabinet are all the way to the front.
Details of Installing the Drawer
Steps for disassembly runner:move out the inside part to the end, press the plastic
upward and pull out until the runner to separate.
1
12
34
Hold the drawer horizontally and ensure the slide tracks are aligned to the runners.
Push the drawer gently inwards until you hear a soft click.
WARNING: Any uneven force used, or any component is out of place upon
installation of the drawer, will result in the damage of the rails.
In case of incorrect installation, gently press the plastic buttons (one side push up the
other side push down) to detach the slide track and pull out the drawer.
2
IMPORTANT - READ CAREFULLY - RETAIN FOR FUTURE REFERENCE
Safety Information
All assembly fixings should be tightened properly and care should be taken that no fittings are loose. Regular
tightening of the bolts is recommended to extend the lifespan of the product. Please follow all the instructions
when
assembling the product and do not use power tools when building.
Warning: The product should not be used if any structural part is broken or missing. If any part is missing or broken
report it and we will replace, do not attempt to fix the item or purchase additional parts not included with the pr
oduct;
this will invalidate the warranty.
Return Information
If you have any problems with the item just email us at [email protected] and we can resolve it for you,
our
technical team will be able to assist in helping. If you have any parts that are damaged we can replace them for you.
If
you do need to return the item for some reason just email and request an RMA number.
Assembly Information
We understand that self assembly furniture can be a pain but we try and make it as easy as possible for anyone to
build, if you have found a problem with the assembly of the product or with the assembly instructions or you
have
comments on how we would improve them, we would love to hear from you. Just contact us either by email at
[email protected] or via Live Chat on our website noaandnani.co.uk
Related Items
We have a matching range of items that compliment this product, just head to noaandnani.co.uk for the full selection.
noaandnani.co.uk

Other NOA & NANI Indoor Furnishing manuals

NOA & NANI FRANK User manual

NOA & NANI

NOA & NANI FRANK User manual

NOA & NANI Camille CM-5D-LG-GY User manual

NOA & NANI

NOA & NANI Camille CM-5D-LG-GY User manual

NOA & NANI LUDVIG LDV11 User manual

NOA & NANI

NOA & NANI LUDVIG LDV11 User manual

NOA & NANI Camille CM-WDB User manual

NOA & NANI

NOA & NANI Camille CM-WDB User manual
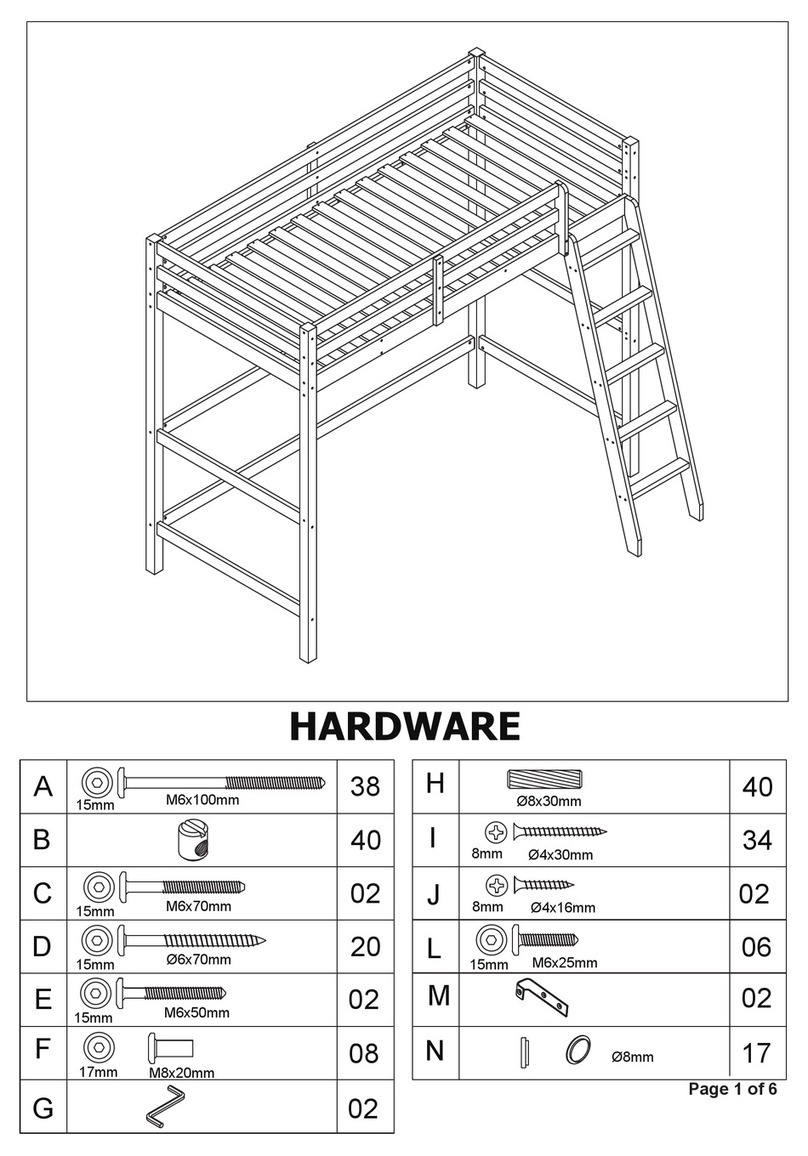
NOA & NANI Odin High Sleeper User manual

NOA & NANI

NOA & NANI Odin High Sleeper User manual

NOA & NANI KARLSTAD User manual

NOA & NANI

NOA & NANI KARLSTAD User manual

NOA & NANI Karlstad 8 Drawer Chest User manual

NOA & NANI

NOA & NANI Karlstad 8 Drawer Chest User manual

NOA & NANI OTTO 3 Small Drawer Chest User manual

NOA & NANI

NOA & NANI OTTO 3 Small Drawer Chest User manual

NOA & NANI MORO 57 User manual

NOA & NANI

NOA & NANI MORO 57 User manual

NOA & NANI Järstorp User manual

NOA & NANI

NOA & NANI Järstorp User manual

NOA & NANI OTTO DISPLAY CABINET User manual

NOA & NANI

NOA & NANI OTTO DISPLAY CABINET User manual

NOA & NANI OTTO OT-S-1 User manual

NOA & NANI

NOA & NANI OTTO OT-S-1 User manual

NOA & NANI MAYA JZ19002 User manual

NOA & NANI

NOA & NANI MAYA JZ19002 User manual

NOA & NANI KARLSTAD User manual

NOA & NANI

NOA & NANI KARLSTAD User manual

NOA & NANI Lillestrom Tallboy User manual

NOA & NANI

NOA & NANI Lillestrom Tallboy User manual

NOA & NANI MORO JZ20036 User manual

NOA & NANI

NOA & NANI MORO JZ20036 User manual

NOA & NANI CM-4D User manual

NOA & NANI

NOA & NANI CM-4D User manual

NOA & NANI Halmstad ID23890 User manual

NOA & NANI

NOA & NANI Halmstad ID23890 User manual

NOA & NANI HALMSTAD STORAGE BENCH User manual

NOA & NANI

NOA & NANI HALMSTAD STORAGE BENCH User manual

NOA & NANI Brighton White Bunk Bed with 2 Single Beds User manual

NOA & NANI

NOA & NANI Brighton White Bunk Bed with 2 Single Beds User manual

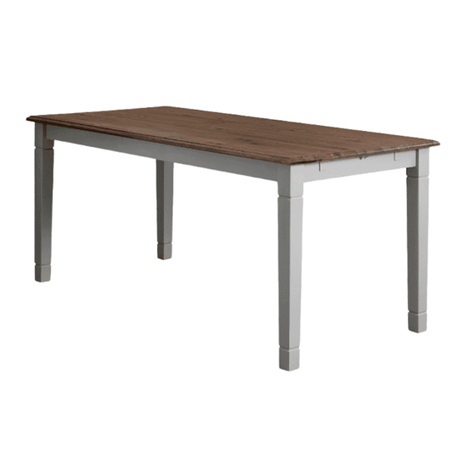
NOA & NANI Canterbury Dining Table User manual

NOA & NANI

NOA & NANI Canterbury Dining Table User manual

NOA & NANI Halmstad 22815 User manual

NOA & NANI

NOA & NANI Halmstad 22815 User manual

NOA & NANI Camille CM-BD-GY User manual

NOA & NANI

NOA & NANI Camille CM-BD-GY User manual

NOA & NANI Asgard Wardrobe in White User manual

NOA & NANI

NOA & NANI Asgard Wardrobe in White User manual

Popular Indoor Furnishing manuals by other brands

American Legend HT600F220 manual

American Legend

American Legend HT600F220 manual

Ronbow SIGNATUTE Series Installation and care guide
Ronbow

Ronbow SIGNATUTE Series Installation and care guide

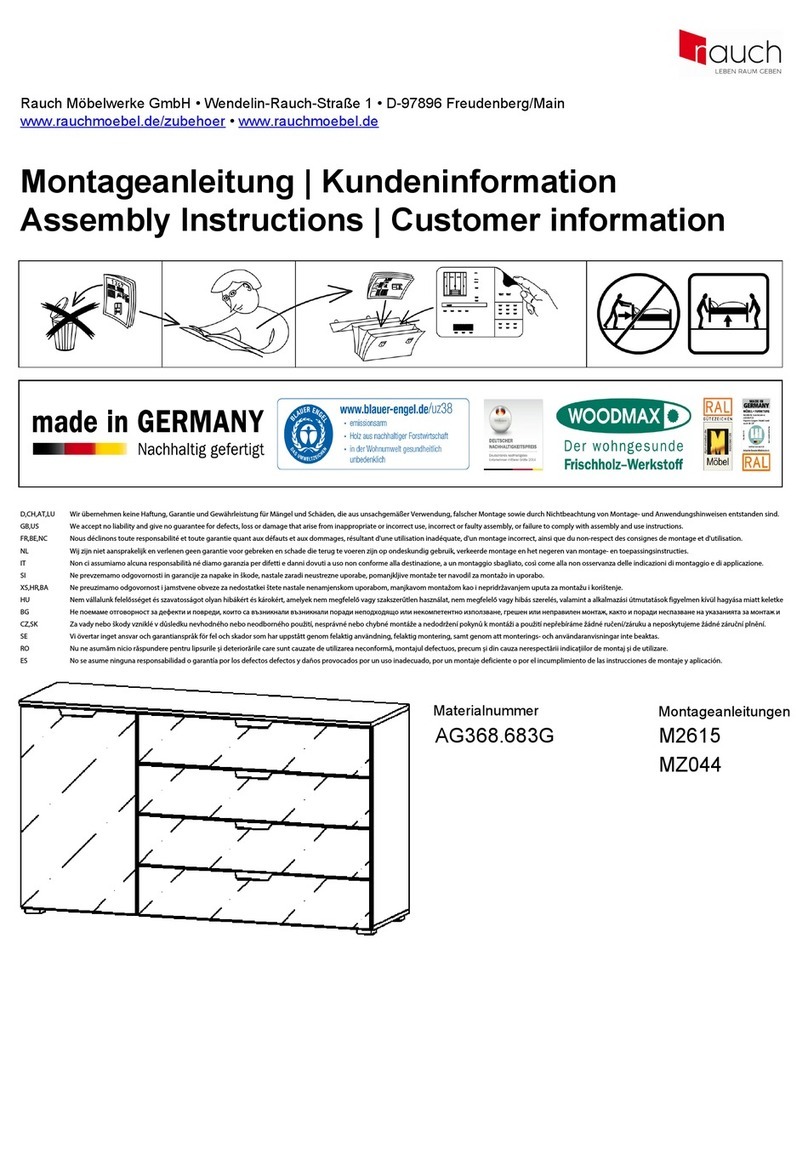
Rauch M2615 Assembly instructions

Rauch

Rauch M2615 Assembly instructions

U-Line H-3789 manual

U-Line

U-Line H-3789 manual

Chromcraft Revington SH2T425712CT Assembly instruction

Chromcraft Revington

Chromcraft Revington SH2T425712CT Assembly instruction

Amish Tables BROOKLYN 3 BD-8013 Assembly instructions
Amish Tables

Amish Tables BROOKLYN 3 BD-8013 Assembly instructions

Courtyard Creations TGS23FG-WM Assembly instructions

Courtyard Creations

Courtyard Creations TGS23FG-WM Assembly instructions

HiB Minnesota quick start guide

HiB

HiB Minnesota quick start guide

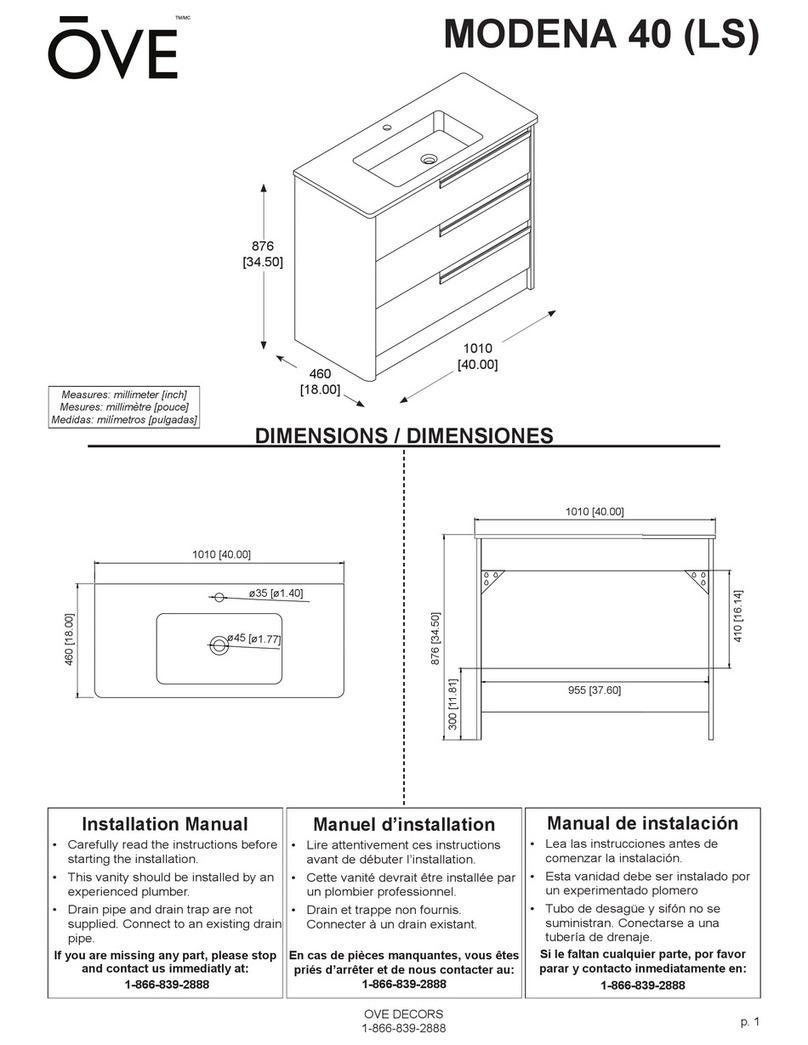
OVE MODENA 40 LS manual

OVE

OVE MODENA 40 LS manual

FANCII SORA manual

FANCII

FANCII SORA manual

U-Line H-4833 manual

U-Line

U-Line H-4833 manual

Coaster 192029 Assembly instructions

Coaster

Coaster 192029 Assembly instructions

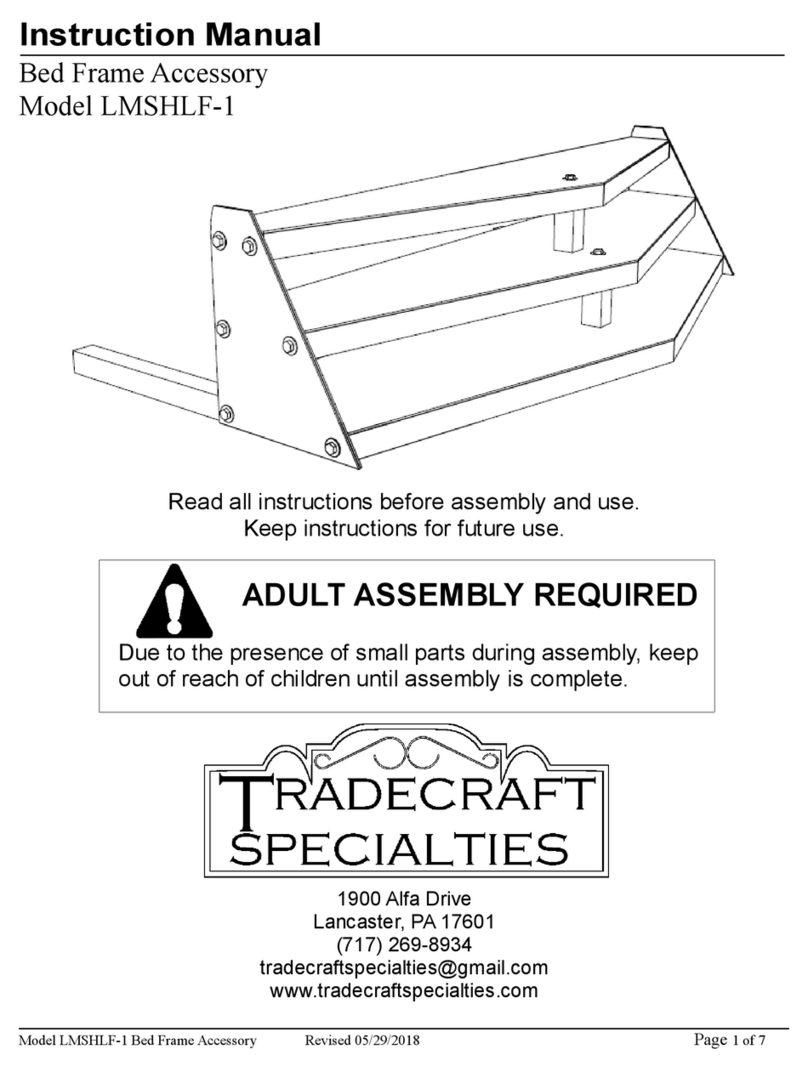
Tradecraft Specialties LMSHLF-1 instruction manual

Tradecraft Specialties

Tradecraft Specialties LMSHLF-1 instruction manual

Monarch Specialties I 1039 Assembly instructions

Monarch Specialties

Monarch Specialties I 1039 Assembly instructions

Piranha Furniture Guppy PC54W Assembly instructions

Piranha Furniture

Piranha Furniture Guppy PC54W Assembly instructions

Eisys iMove-F Assembly manual

Eisys

Eisys iMove-F Assembly manual

Thomasville 1763-7704B-48 Assembly and care instructions
Thomasville

Thomasville 1763-7704B-48 Assembly and care instructions

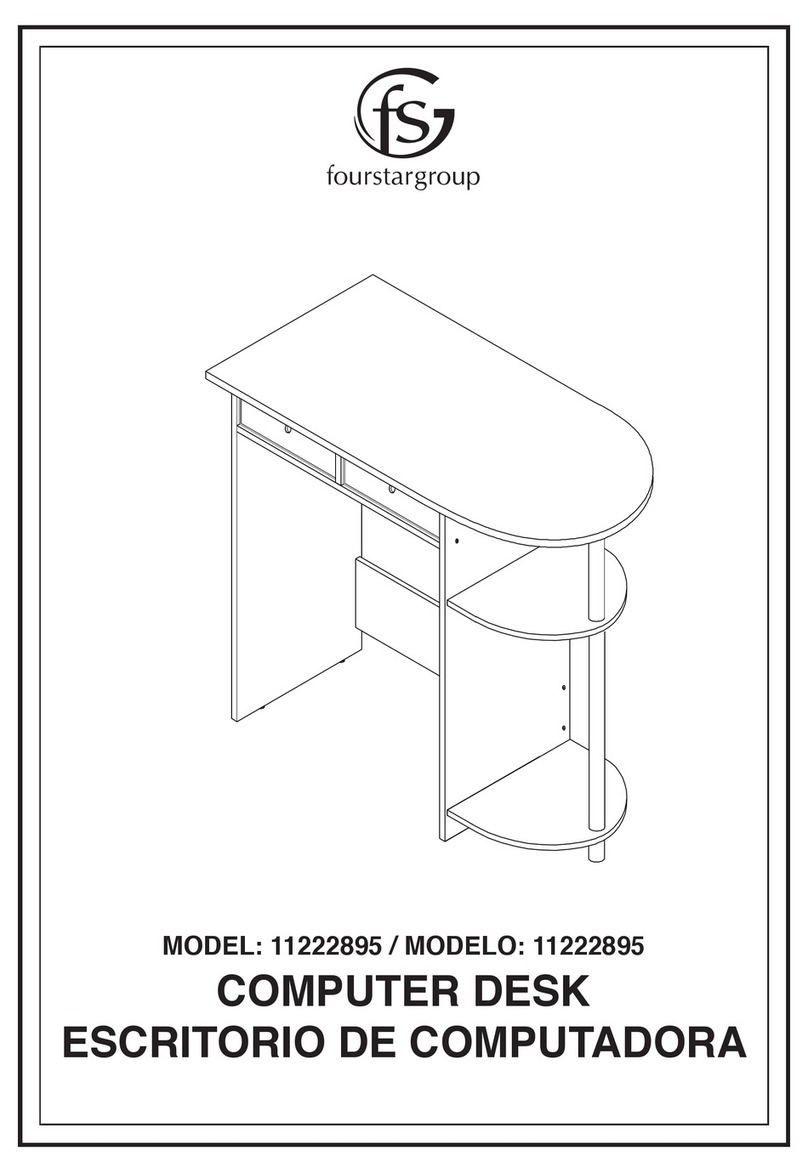
FourStarGroup 11222895 Assembly instructions

FourStarGroup

FourStarGroup 11222895 Assembly instructions

manuals.online logo
manuals.online logoBrands
  • About & Mission
  • Contact us
  • Privacy Policy
  • Terms and Conditions

Copyright 2025 Manuals.Online. All Rights Reserved.