manuals.online logo
Brands
  1. Home
  2. •
  3. Brands
  4. •
  5. Noble House Home Furnishings
  6. •
  7. Outdoor Furnishing
  8. •
  9. Noble House Home Furnishings Gazebo User manual

Noble House Home Furnishings Gazebo User manual

Caution : You must read this before you proceed
Read all instructions before assembling and using this product.
1. Select ideal location. Set out all parts on a clear and level surface prior to assembly.
Ideally, the Gazebo should be set up in the desired location to avoid moving it after
assembly.
2. Team Work. We recommend 4-5 adults and it may require 3 to 4 hours to fully
assemble the Gazebo. If possible, please use safety ladders.
3. Use caution. During the entire assembly process, especially when lifting heavy or
large parts or using ladders, pay attention to safety. No one other than the adult
assistants should be allowed in the work area.
4. Check all available parts. Before assembling your Gazebo Frame, make sure that you
have all the parts described in the Parts List.
5. Ensure that ALL BOLTS and NUTS are fully and securely tightened before you
proceed to attach the Canopies.
6. Keep children away. Children shouldn’t be allowed in the work area. Do not let them
handle parts and tools. Do not allow children to climb the Gazebo.
Gazebo
Noble House Home Furnishings LLC Page 1 OF 11
Label Picture Description QTY
A Side Panel 8
B Long Corner Roof Bar 4
C Column 4
D Short Roof Bar 4
E Top Connector 1
F Base 4
GSide Panel Top
Connector 4
HSide Panel Bottom
Connector 4
I Decorative Ball 5
J Canopy 1
K Curtain 4
L Mosquito Netting 4
M Corner Brace 8
N Hang Tube Clip 32
O Sidewall Hang Tube 16
Noble House Home Furnishings LLC Page 2 OF 11
Label Picture Description QTY
①Bolt (M6*15mm) 25
②Bolt (M6*25mm) 17
③Bolt (M6*70mm) 5
④Bolt (M6*75mm) 17
⑤Bolt (M6*65mm) 9
⑥Bolt Cap 53
⑦Nut 53
⑧Nut Cap 69
⑨Washer 69
⑩Spanner 2
⑪Curtain Ring 64
⑫Stake 9
Noble House Home Furnishings LLC Page 3 OF 11
Before
Beginning
Assembly:
Noble House Home Furnishings LLC Page 4 OF 11
Step 1
Overview
This Gazebo has multiple parts and may require up to 4 hours to
assemble.To give you an overview of the Gazebo parts, the above picture is
to help you put the various parts into perspective. Please read through the
instructions below to familiarise yourself with the parts and steps before
assembly.
1.1) Insert Sidewall Hang Tubes(O) into Hang Tube Clips(N).
1.2) Attach Hang Tube Clips(N) to Side Panel(A) using Bolts(④) on one side and
Washers(⑨), and Nuts(⑦) on the other, tightening with Spanners(⑩).
Repeat this process with the remaining Sidewall Hang Tubes(O), Hang Tube Clips(N),
and Side Panels(A).
Tighten the Bolts and Nuts fully in a sequential manner.
Then cover the Bolts and Nuts with Bolt Caps(⑥) and Nut Caps(⑧).
Curtain (K)
Corner Brace (M)
Decorative Ball (I)
Canopy (J)
Long Corner Roof Bar (B)
Top Connector (E)
Short Roof Bar (I)
Base (F)
Column (C)
Side Panel
(
A
)
Mosquito Netting (L)
1.1
1.2
Noble House Home Furnishings LLC Page 5 OF 11
Step 2
Step 3
Attach Column(C) between Side Panels(A) using Bolts(⑤), Washers(⑨), and Nuts(⑦)
with Spanners(⑩).
Repeat this process with the remaining Side Panels(A) and Columns(C).
Tighten the Bolts and Nuts fully in a sequential manner.
Then cover the Bolts and Nuts with Bolt Caps(⑥) and Nut Caps(⑧).
Attach Side Panels(A) using Bolts(①), Washers(⑨), and Nuts(⑦) with Spanners(⑩).
Repeat this process with the remaining Side Panels(A) until all Side Panels are
connected.
Tighten the Bolts and Nuts fully in a sequential manner.
Then cover the Bolts and Nuts with Bolt Caps(⑥) and Nut Caps(⑧).
Noble House Home Furnishings LLC Page 6 OF 11
Step 4
Step 5
Attach Side Panel Top Connector(G) and Side Panel Bottom Connector(H) to Side
Panels(A) using Bolts(②), Washers(⑨), and Nuts(⑦) with Spanners(⑩).
Repeat this process with all Side Panel Top Connectors(G) and Side Panel Bottom
Connectors(H) and Side Panels(A).
Note: Please use a ladder, if you can't reach it.
Tighten the Bolts and Nuts fully in a sequential manner.
Then cover the Bolts and Nuts with Bolt Caps(⑥) and Nut Caps(⑧).
Connect Corner Brace(M) between Column(C) and Side Panel(A) using Bolt( ①) and
Washer(⑨) with Spanner(⑩).
Repeat this process until all Corner Braces(M), Columns(C) and Side Panels(A) are
connected.
Note: Please use a ladder, if you can't reach it.
Tighten the Bolts fully in a sequential manner.
Then cover the Bolts with Bolt Caps(⑥).
Noble House Home Furnishings LLC Page 7 OF 11
Step 6
Step 7
Insert the Long Corner Roof Bars(B) into the Columns(C) and the Short Roof Bars(D)
into the Side Panel Top Connectors(G) one-by-one.
Note: Please use a ladder, if you can't reach it.
Insert the Long Corner Roof Bars(B) and Short Roof Bars(D) into the Top Connector(E).
Noble House Home Furnishings LLC Page 8 OF 11
Step 8
Step 9
8.1) Put the Canopy(J) onto the Gazebo Roof Frame. Insert the bolts on the Decorative
Balls(I) into the ring of Canopy(J), then screw the Decorative Balls into the Columns(C)
and Top connector(E).
8.2) Then securely fasten the Canopy(J) into position using the velcro strips.
Note: Please use a ladder, if you can't reach it.
Attach the Bases(F) to Columns(C) using Bolts(③), Washers(⑨), and Nuts(⑦) with
Spanners(⑩).
Tighten the Bolts and Nuts fully in a sequential manner.
Then cover the Bolts and Nuts with Bolt Caps(⑥) and Nut Caps(⑧).
8.1
8.2
Noble House Home Furnishings LLC Page 9 OF 11
Step 10
Step 11
Install the Mosquito Netting(L) along the inside Sidewall Hang Tubes(O) using the
Curtain Rings(⑪) as pictured above.
Install the Curtains(K) along the outside Sidewall Hang Tubes(O) using the Curtain
Rings(⑪) as pictured above.
Affix the Gazebo to the ground by inserting the Stakes(⑫) through the Bases(F).
Your Gazebo is ready for use.
This Gazebo can only be used on a flat, level surface.
CAUTIONS:
1. Check stability and then tighten the Bolts and Nuts.
2. DO NOT tighten any Bolts or Nuts fully and then move on towards the next one.
Rather, in a sequential manner, gradually tighten each Bolt or Nut until all Bolts and
Nuts are evenly secured. This methodology will ensure maximum evenness once all
Bolts and Nuts are fully tightened
3. Inspect it and make sure all parts are adequately connected.
WARNING! IF GAZEBO IS NOT STABLE, IT COULD LEAD TO DAMAGE TO THE
PRODUCT.
Noble House Home Furnishings LLC Page 10 OF 11
What is Proposition 65?
Proposition 65 is a California law that requires warning labels on products that may contain one of more
than 800-plus chemicals or ingredients that the California Office of Environmental Health Hazard
Assessment (OEHHA) has deemed to cause cancer or other reproductive toxicity. Chemicals and
elements on this list include wood dust, brass, and other everyday substances, which can be found in
very common household items, such as: lamps, tableware, jewelry, crystal glasses, electric cords,
beauty products, automobiles, and furniture.
Why Did I Find a Proposition 65 Warning on My Home Goods Product?
We include Proposition 65 warnings on all of our products because there is always a chance that one
of the 800-plus common chemicals and ingredients listed under this law could potentially be on our
furniture or packing materials. We risk large fines under this law, if we don't include this warning.
Should I worry?
We realize you may be worried finding this warning on our products, but we want to reassure you that
the hazardous exposure limits for any of these chemicals have never been found on furniture products
that we’ve shipped to our customers. Additionally, this warning label is very common and can be found
on almost every piece of furniture sold in the state of California.
Just How Common Are Proposition 65 Warnings?
Proposition 65 warnings have become so common in California that it is hard to take a trip to a local
bank, grocery store, or restaurant without finding at least one warning. In fact, even the Disney Land
Resort has a Proposition 65 warning:
Noble House Home Furnishings LLC Page 11 OF 11

Other manuals for Gazebo

1

Other Noble House Home Furnishings Outdoor Furnishing manuals
Noble House Home Furnishings LOUNGER User manual

Noble House Home Furnishings

Noble House Home Furnishings LOUNGER User manual

Noble House Home Furnishings ADIRONDACK CHAIR User manual

Noble House Home Furnishings

Noble House Home Furnishings ADIRONDACK CHAIR User manual

Noble House Home Furnishings 69012.00BZE-37K Setup guide
Noble House Home Furnishings

Noble House Home Furnishings 69012.00BZE-37K Setup guide

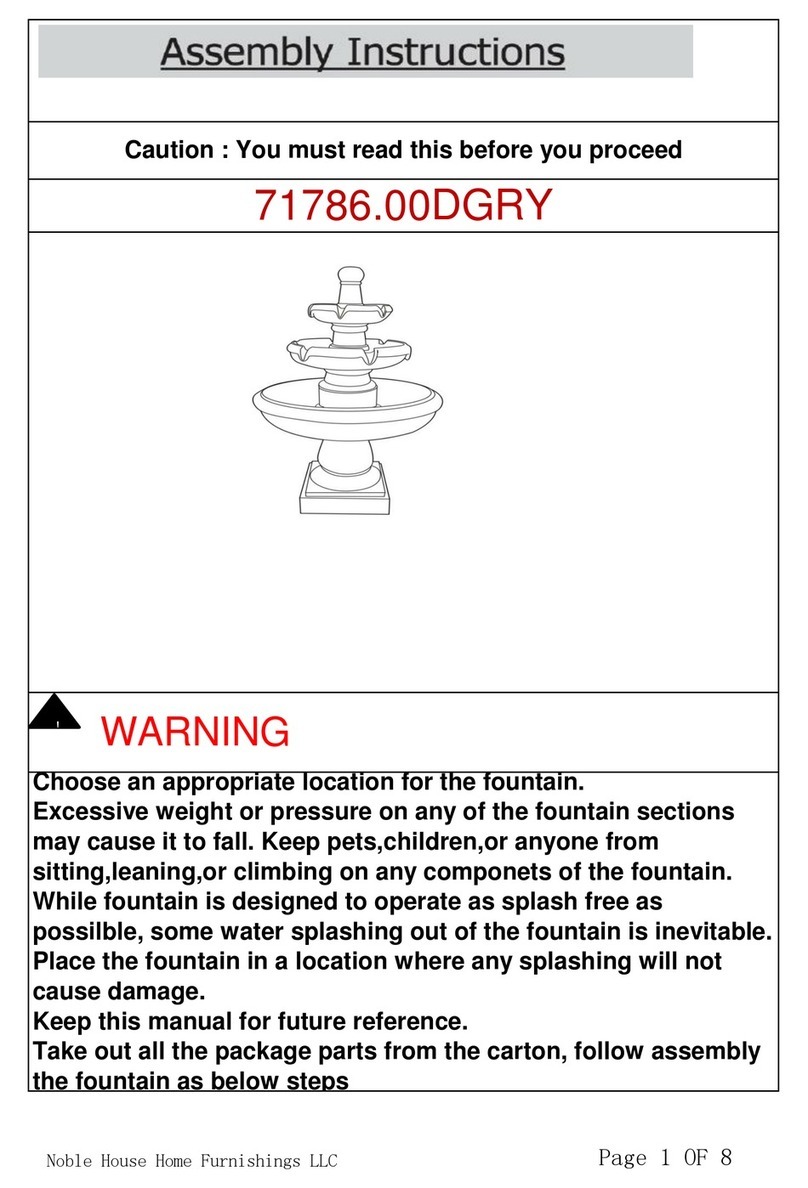
Noble House Home Furnishings 71786.00DGRY User manual

Noble House Home Furnishings

Noble House Home Furnishings 71786.00DGRY User manual

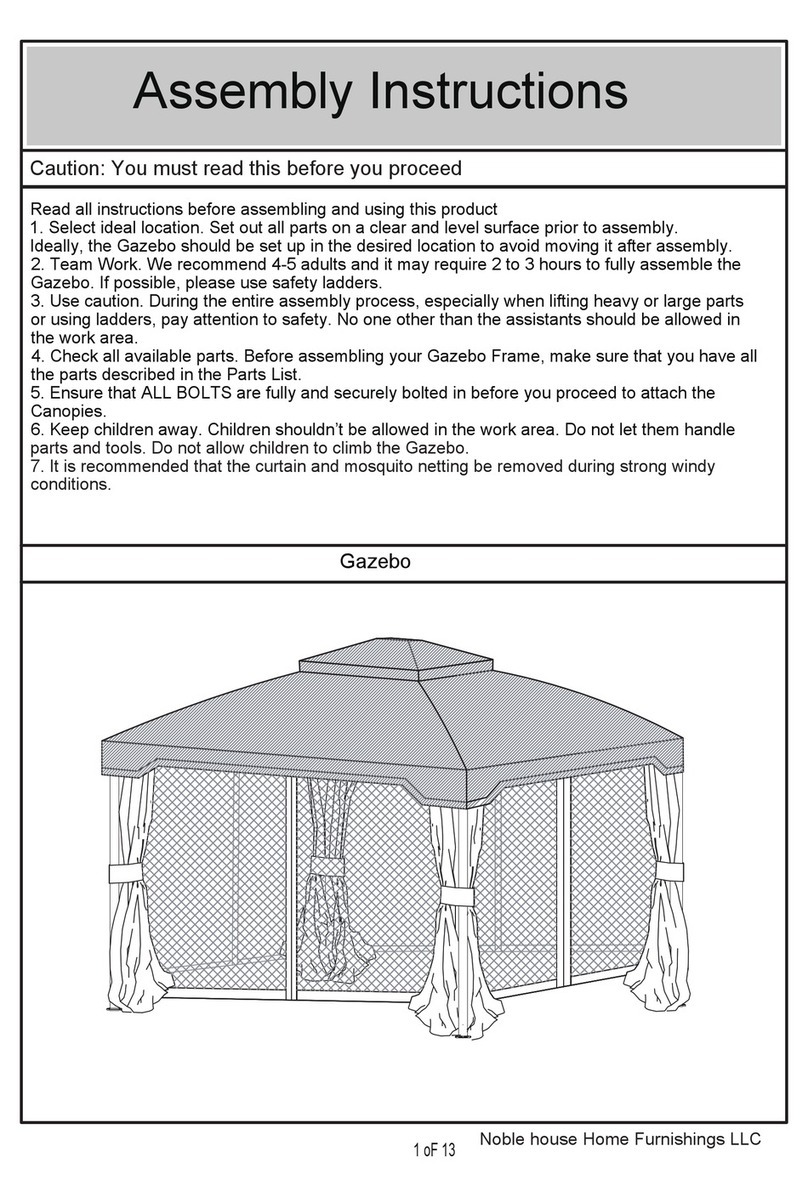
Noble House Home Furnishings Sun Lounger User manual
Noble House Home Furnishings

Noble House Home Furnishings Sun Lounger User manual

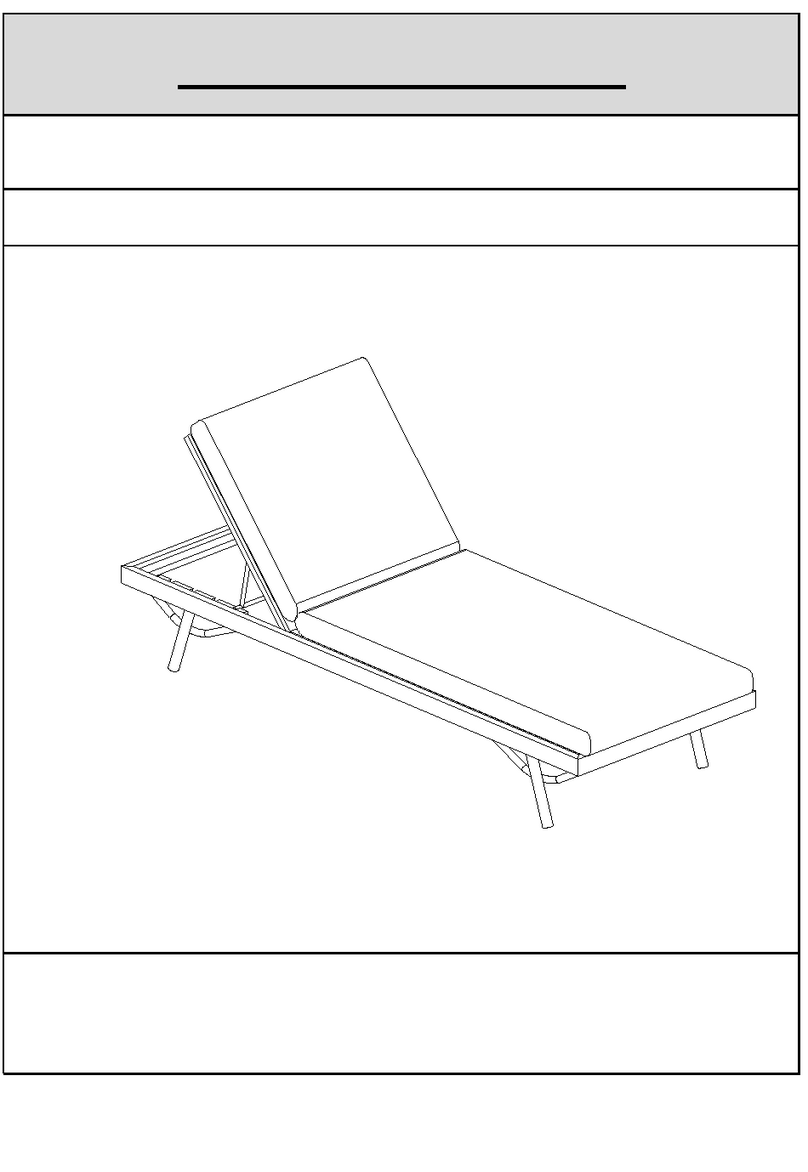
Noble House Home Furnishings Gazebo User manual
Noble House Home Furnishings

Noble House Home Furnishings Gazebo User manual

Noble House Home Furnishings Sun Lounger User manual
Noble House Home Furnishings

Noble House Home Furnishings Sun Lounger User manual

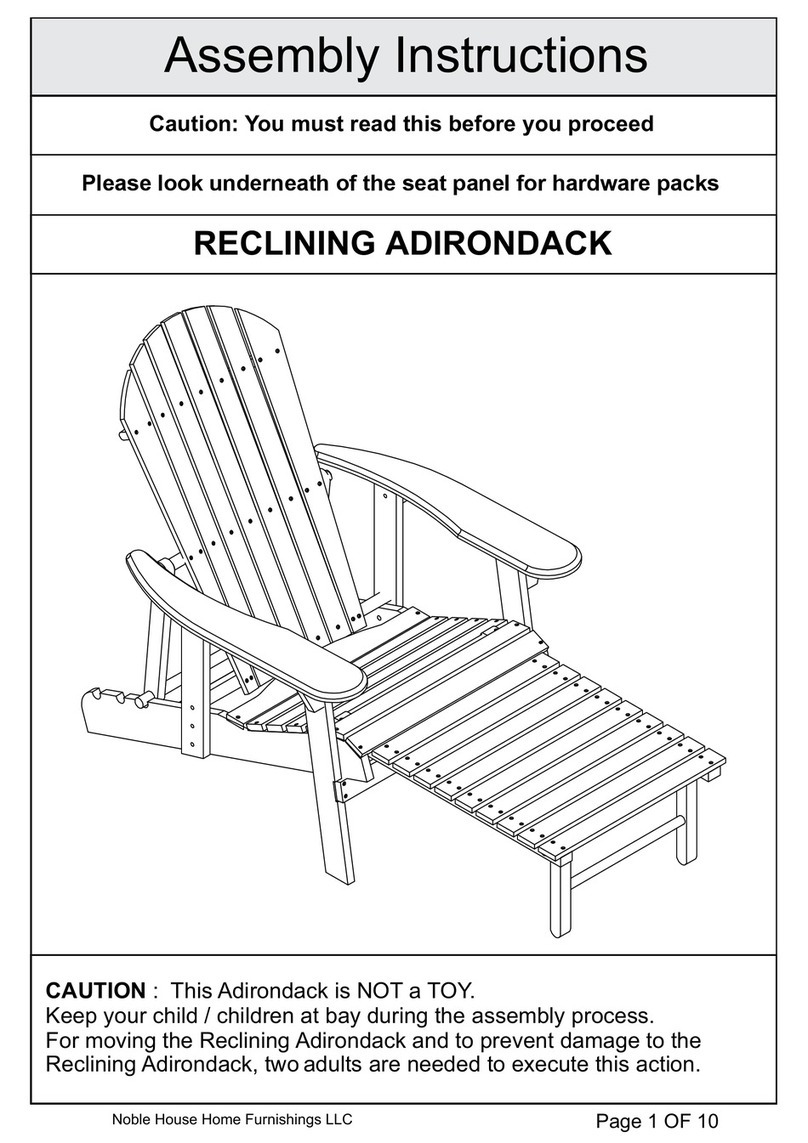
Noble House Home Furnishings RECLINING ADIRONDACK User manual

Noble House Home Furnishings

Noble House Home Furnishings RECLINING ADIRONDACK User manual
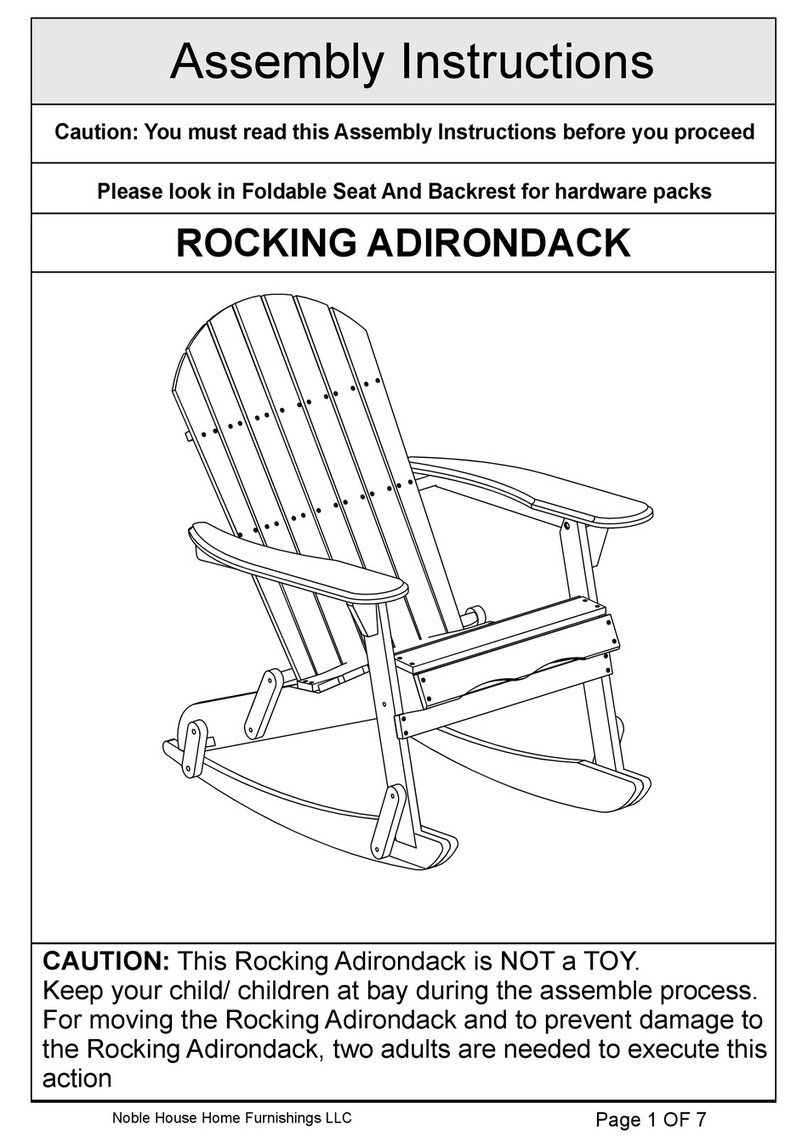
Noble House Home Furnishings ROCKING ADIRONDACK User manual

Noble House Home Furnishings

Noble House Home Furnishings ROCKING ADIRONDACK User manual

Noble House Home Furnishings UMBRELLA BASE User manual

Noble House Home Furnishings

Noble House Home Furnishings UMBRELLA BASE User manual

Popular Outdoor Furnishing manuals by other brands

tepro MARABO operating manual

tepro

tepro MARABO operating manual

HORNEET Monte Instruction for operation and maintenance

HORNEET

HORNEET Monte Instruction for operation and maintenance

Dunster House H4-GS3X4PRG installation manual

Dunster House

Dunster House H4-GS3X4PRG installation manual

Blumfeldt Sunwave manual

Blumfeldt

Blumfeldt Sunwave manual

PHI VILLA PV-450 manual

PHI VILLA

PHI VILLA PV-450 manual

GRAND RESORT Sunset Key D71 M18842 Use and care guide

GRAND RESORT

GRAND RESORT Sunset Key D71 M18842 Use and care guide

Hanover Fontana FNTDN9PCTFSW2 manual

Hanover

Hanover Fontana FNTDN9PCTFSW2 manual

Dancover Gazebo Martinique manual

Dancover

Dancover Gazebo Martinique manual

Eagle Peak HTDH168-BLK instruction manual

Eagle Peak

Eagle Peak HTDH168-BLK instruction manual

StarEcho PT0138C2S Assembly instruction

StarEcho

StarEcho PT0138C2S Assembly instruction

Sunjoy Windsor L-GZ717PST-C instruction manual

Sunjoy

Sunjoy Windsor L-GZ717PST-C instruction manual

Berkley Jensen 113109 manual

Berkley Jensen

Berkley Jensen 113109 manual

Twoey Outside 2410 Assembly instructions

Twoey Outside

Twoey Outside 2410 Assembly instructions

CAZEBOO SANTA 400S300 manual

CAZEBOO

CAZEBOO SANTA 400S300 manual

OZCO 325 installation instructions

OZCO

OZCO 325 installation instructions

Broyhill ASHFORD A101007603 Assembly instructions

Broyhill

Broyhill ASHFORD A101007603 Assembly instructions

Palram Yukon instructions

Palram

Palram Yukon instructions

kingsley-bate DN-40 Assembly instructions

kingsley-bate

kingsley-bate DN-40 Assembly instructions

manuals.online logo
manuals.online logoBrands
  • About & Mission
  • Contact us
  • Privacy Policy
  • Terms and Conditions

Copyright 2025 Manuals.Online. All Rights Reserved.