NOCRY NPS-100 User manual

Paint Sprayer
Instruction Manual
We've tried to make this manual useful, simple, and understandable.
Please read it carefully, and keep it safe for future reference.

WHAT'S INSIDE THIS MANUAL
THE ABC'S OF PAINT SPRAYER SAFETY 2
Work area safety 4
Personal safety 5
Meaning of safety symbols on your paint sprayer 6
PACKAGE CONTENTS & THEIR PURPOSES 8
HOW TO USE YOUR PAINT SPRAYER 10
How to assemble your paint sprayer 10
How to switch the paint sprayer on/off 12
How to choose a suitable coating material 12
How to use the trigger 14
How to change the spray nozzles (and why) 14
How to change the air volume 16
How to get the best results 16
How to take a break - the right way 17
How to transport your paint sprayer 18
How to clean the spray attachment 18
How to clean the spray nozzles 19
How to clean the main body of your paint sprayer 19
How to clean the air filter 20
How to clean the air ventilation hose 20
Some tips on troubleshooting 21
MAINTENANCE 24
PAINT SPRAYER LIABILITY 24
DISPOSAL 25
WARRANTY 25
HOW TO CONTACT NOCRY 26
1

THE ABC'S OF PAINT SPRAYER SAFETY
Read all safety warnings and instructions before
using your paint sprayer.
They're pretty reasonable, and neglecting them may bring a touch of electric shock,
fire, and/or serious injury to your paint spraying sessions. There are other (and
much better) ways to get your adrenaline going.
Save this manual for future reference, review in between uses, and make sure
that anyone who's going to test your new paint sprayer has read and fully
understood all the information in here as well.
In case this manual happens to disappear in the black hole all manuals seem to go
into, you can get a digital version of it at https://nocry.com/pages/instructions, or
by letting us know to [email protected].
So, let's get to it, shall we?
✔
✔
✔
✔
✔
Only use your paint sprayer and its accessories for spraying paint onto
inanimate objects. Would you use a screwdriver to hammer a nail? Exactly.
Never point the sprayer at yourself, other people or animals. A
glow-in-the-dark neon cat is a bad idea. Same goes for pointing the sprayer at
people. Paint in the eyes can cause damage to the sight, even blindness - no
joke.
Do not to get too carried away and paint over important text and information
on containers, instruction manuals (like this one), or the specifications given by
the substance manufacturer.
Follow the safety instructions of the materials, solvents, and cleaning
agents you use during preparation, during work, and when cleaning your
sprayer. Yes, more dull reading - important dull reading nonetheless.
Do not use any liquid of unknown hazard potential. It's best to stick to the
standard paint bought in stores. No homemade concoctions.
2

✔
✔
✔
✔
✔
✔
✔
✔
✔
✔
Keep your fingers, hands, limbs and any other body parts away from the tip.
If the sprayer can atomize paint, just imagine what it could do to your digits.
Do not lay your filled paint sprayer on its side as the paint inside may spill, or
clog the internal pipes.
Do not use your paint sprayer if it doesn't work as it should. Get it repaired or
replaced before using. If you should have any problems or concerns about
anything, anything at all (and we really mean it) let us know by emailing
Before disassembling the spray attachment, open the container to relieve
the pressure. You can do that by simply unscrewing the container.
Do not abuse the cord. The cord isn't the reason you're having a bad day - and
it won't be, if you don't use it for carrying, pulling, or unplugging the power tool,
and will keep it away from heat, oil, sharp edges, and moving parts.
Avoid bodily contact with earthed or grounded surfaces such as pipes,
radiators, stoves, and refrigerators.
Unplug your paint sprayer before making any adjustments, putting it in
storage, or when the power supply is interrupted. Seems reasonable, doesn't
it.
Make sure there is nothing stuck in the moving parts of your paint sprayer
before turning it on. It moves fast. And it will ruin your day even faster.
To keep your paint sprayer well-maintained, regularly check if any parts are
misaligned, damaged or broken, or if there's anything else that might affect its
performance. If you notice anything odd, definitely bring the paint sprayer for
repair before
using it.
Work or repairs on the paint sprayer should only be carried out by a
professional. It’s best to leave the really serious stuff to a qualified repair
person who only uses original replacement parts.
3

✔
Make sure that anyone using your paint sprayer or servicing it is acquainted
with this manual. The exception to the rule are children and infirm people -
they shouldn't be using your paint sprayer even if they remember every word
written here.
Work area safety
✔
✔
✔
✔
✔
✔
✔
Keep your working area clean and well illuminated. Accidents are much more
likely to happen in dirty, unorganized, or poorly lit workspaces - accidents that
are easy to avoid with basic upkeep.
Secure any movable workpiece(s) you're working on. A workpiece secured
with suitable clamps or in a vice is much more likely to be steady and stay in
place than one held by hand.
Do not operate your power tools in dusty or explosive areas, such as in the
presence of flammable liquids or gases, for a very simple reason - power tools
may create sparks which could ignite the dust or fumes.
When working outside, use an extension cord meant specifically for outdoor
use, and of an appropriate length. It's going to be much more convenient, and
will reduce the risk of an electric shock.
Your paint sprayer is not waterproof or splash proof. Do not use it in the rain,
spray with water, or immerse in liquid, or use as a water gun. It's an electric tool
after all.
If damp conditions are unavoidable, use a residual current device (RCD)
protected supply.
Keep children and bystanders away. Distractions can easily cause you to lose
control, so consider operating your power tools a solo venture. You'll catch up
with everyone later, when you've made progress with your project.
4

✔
✔
If you absolutely must have children in the working area, ensure that they're
always closely supervised by another, responsible
, adult, and do not interfere
with your work.
Familiarize yourself with your local general rules of occupational health and
safety. The sooner you do that, the sooner you can start using your paint
sprayer.
Personal safety
✔
✔
✔
Eye, ear and respiratory protection is a must when operating your paint
sprayer. Do not underestimate the power of personal safety equipment.
Common sense is the best protection, isn't it? Stay alert - watch what you're
doing, exercise common sense, and do not operate power tools when you're
tired or under the influence of drugs, alcohol, or strong medication.
Do not take unnecessary risks by trying to reach areas that are obviously too
far away to reach safely. Keep proper footing and balance at all times - it'll
help you keep control in unexpected circumstances, whether it be the power
tool slipping out of your hands, or someone deciding it would be fun to
attempt to pull a jumpscare on you in your workshop.
NB! NoCry Work & Safety Gear and the manufacturer shall not be liable for any
changes made to the tool, nor for any damage resulting from such changes.
5

Meaning of safety symbols on your paint sprayer
These symbols are on your paint sprayer for a reason - to keep you aware and
safe. Please take them into account.
This paint sprayer conforms with North American safety standards
Read the instructions before starting to use this paint sprayer
Wear safety goggles when using this paint sprayer
Use respiratory protection when using this paint sprayer
Use hearing protection when using this paint sprayer
This paint sprayer is Class II (double insulated)
Do not discard of this paint sprayer together with household
waste - please refer to page 25 for tips on responsible disposal
6

TECHNICAL SPECIFICATIONS
Model
NoCry NPS-100 DINS Paint Sprayer
Voltage
110-120V, 50Hz
Power consumption
5A
Atomizing output
1.7A
Flow
40.57fl.oz/min
Maximum viscosity
100DIN/s
7

Pressure
3.2psi
Nozzle Sizes
1.5 mm, 1.8 mm, 2.2 mm and 2.6 mm
(1/16”, 5/64”, 3/32”, 7/64”)
Container capacity
33.814fl. Oz
Cable length
79.5 inches
Oscillation level
4.92 ft/s2
Uncertainty K
4.92 ft/s2
Total weight (main body
and spray attachment)
3.5 lbs
PACKAGE CONTENTS & THEIR PURPOSES
Repetition is the mother of all learning, so: Please remember to unplug your paint
sprayer before doing any work on it. That includes changing accessories, cleaning,
and servicing.
This is what you will find inside your paint sprayer package. If there's anything
missing, let us know to [email protected], and we'll sort it out ASAP.
P.S. The images may not be to scale.
8
1 Paint sprayer main body
Houses the power motor that atomizes the
coating material inside the material container.
Learn how to assemble your paint sprayer on
page 11.
1 Spray attachment
Covers your project or wall with an even coat
of atomized coating material via the sprayer
nozzle. Learn how to get the best results on
page 17.
1 Material container (33.814fl. Oz)
Plastic container that holds material coating.
Attaches to the spray attachment, for details
see page 12.
1 Flow cup
Your tool for measuring the thickness (the
viscosity) of the coating material. This paint
sprayer will spray paint up to 100 DIN/s thick.
Pro tip: The flow cup also works great as a
pouring funnel.
9
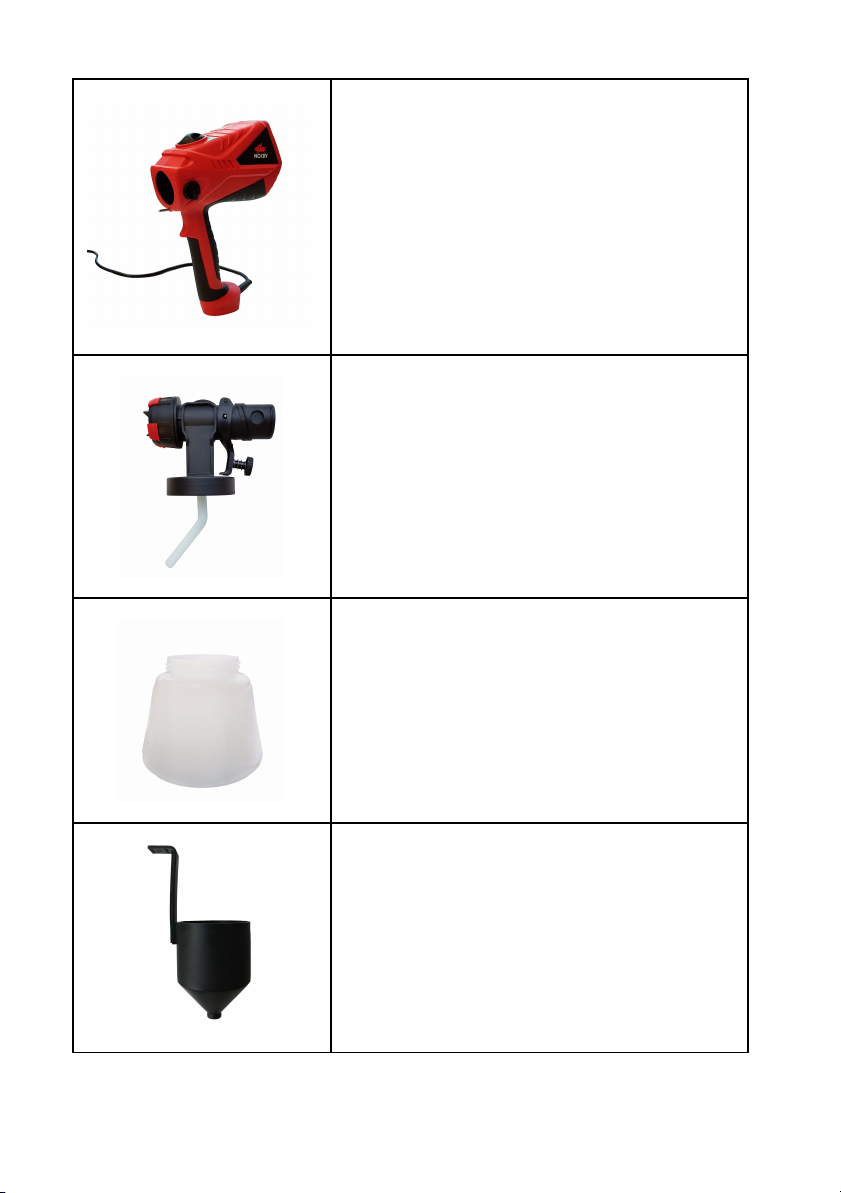
4 Spray nozzles, ⌀1.5 mm, 1.8 mm, 2.2 mm, and
2.6 mm (1/16”, 5/64”, 3/32”, 7/64”)
Each of the nozzles help you get a different
finish on different materials - we've compiled a
little handy-dandy guide on page 15.
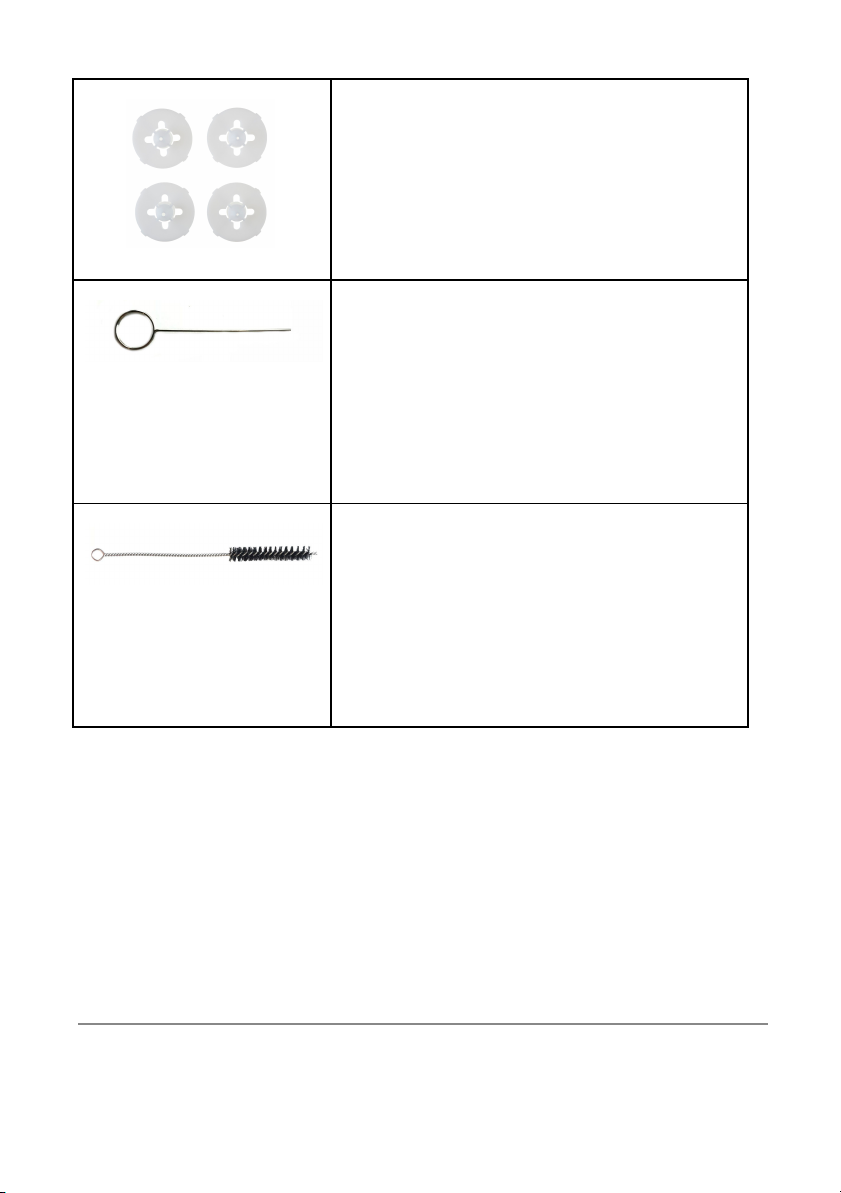
1 Cleaning pin
The secret to getting dried paint out of your
spray nozzle. We'd really recommend you
thoroughly clean your paint sprayer after every
use - we've left some tips on how to best do it
on pages 15-16.
1 Cleaning brush
Whereas the pin is for cleaning the spray
nozzles, the brush is capable of reaching deep
inside the inner tubes of your paint sprayer to
keep it clean and in working order. We'd really
recommend you to thoroughly clean your paint
sprayer after every use.
HOW TO USE YOUR PAINT SPRAYER
How to assemble your paint sprayer
Your paint sprayer has arrived disassembled, and you now need to put it together
before you can begin spraying. Luckily, the process is relatively straight forward,
10

and can be done in no time at all - just make sure that your paint sprayer is NOT
connected to the power source before doing anything...
✔
✔
Firstly, check that you have all the correct parts: a spray attachment piece,
a main body, and a material container. See page 9 to see what they look like.
Begin by attaching the spray attachment to the main body. Push the spray
attachment lock towards the main body (image 1), then turn the spray
attachment lock to the locked position (image 2). Check that both are secure
before proceeding.
✔
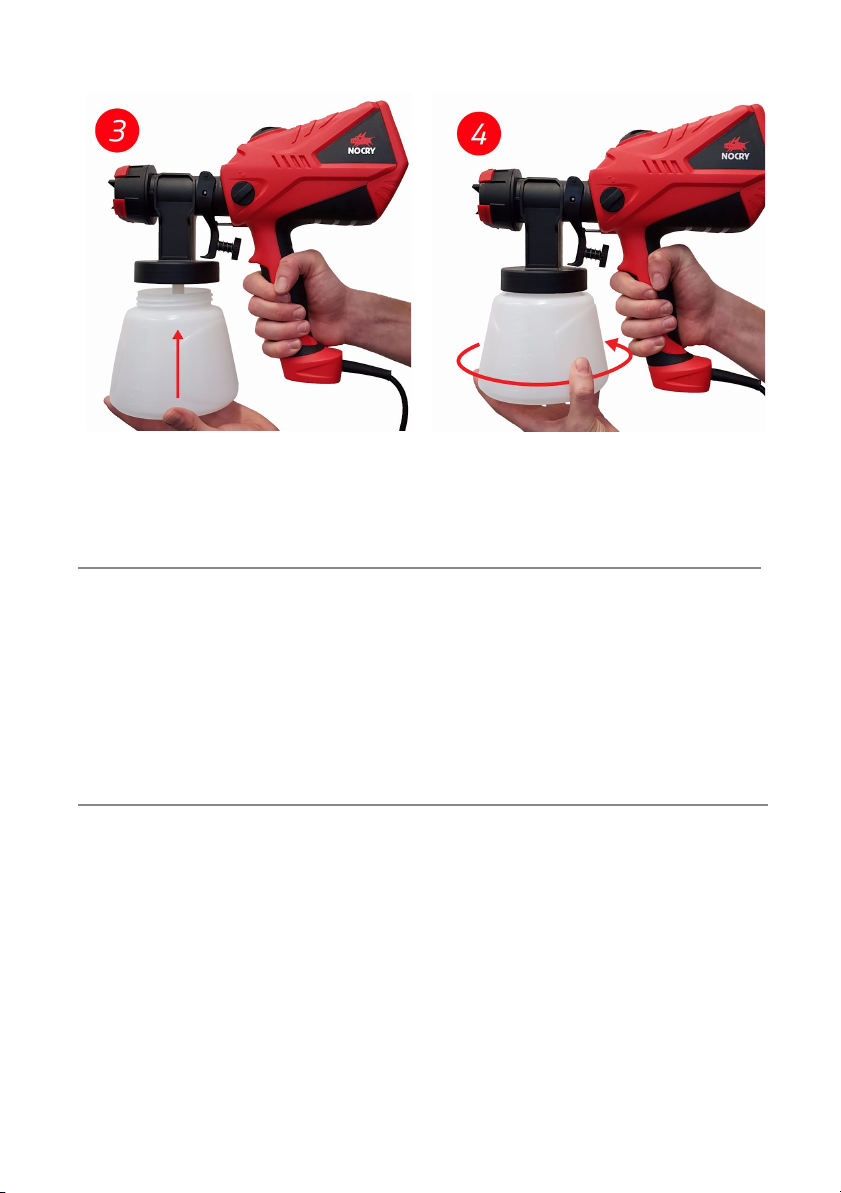
Next, screw the container to the bottom of the spray attachment (images 3
and 4) and you are good to go!
11
.
How to switch the paint sprayer on/off
Your paint sprayer doesn't have an on/off switch as such. When the power cord is
plugged into the socket, your paint sprayer is on and ready to go. To turn the paint
sprayer off, pull the power cord out of the socket, aaaand... it's off.
How to choose a suitable coating material
This paint sprayer is compatible with solvent-based, and water-soluble lacquer
paints, mordants, glazes, impregnations, oils, clear varnishes, synthetic enamels,
coloured paints, alkyd resin varnishes, primers, radiator paints, hammer effect
enamels, anti-rust paints, special-effect paints, and textured paints. You will find
the viscosity of the material you are using on the label of the coating container.
However. Do not “feed” your paint sprayer materials that contain highly abrasive
components, or facade paint, caustic solutions and acidic coating substances, and
flammable material. This paint sprayer will not work as a handheld flamethrower.
Promise.
12

How to set up the paint sprayer
✔
✔
✔
✔
Check that the coating material is perfectly smooth, and does not have any
alien debris, dried chunks of material, or anything else mixed in with it. If you
notice anything or are in doubt, filter the coating through a strainer. NB!
Always remember to follow the coating material use instructions on the paint
tin or on the technical instruction sheet.
Detach the spray attachment from the main body of the paint sprayer. You
can find the how-to on page 11.
Unscrew the container from the spray attachment, and pour no more than
33.814fl. oz of the coating material into the container. You can find the how-to
on page 12.
Align the suction tube. This is key to getting all the coating material out of the
container.
If you're planning to use the paint
sprayer on objects that are on the
floor, it’s best to position the suction
tube away
from the body of the
paint sprayer.
If you're planning on working on
overhead objects or projects, turn the
suction tube towards
the body of the
paint sprayer.
13

✔
✔
✔
✔
Reattach the filled container with the aligned suction tube back to the
spray attachment, screw anti clockwise - nice and tight.
Connect the spray attachment to the paint sprayer's main body - check
page 11 for a short how-to.
Adjust the material volume flow. We recommend you start on the lowest
setting and increase as you go. You can change the paint flow volume by
rotating the paint volume flow dial, and the air volume - by turning the air
volume control. Page 7 will help you see where these are located.
Plug it in and pull the trigger to start spray painting… once you've made
sure that the mains voltage corresponds to the operating voltage on the
rating plate, and the unit is connected with a properly earthed shock proof
socket. Check below for pointers on how to use the trigger correctly.
How to use the trigger
Once the paint sprayer is connected to a power source, gently hold down the
trigger to start the turbine motor. To start dispensing paint, press the trigger
further. That's it.
How to change the spray nozzles (and why)
Changing the nozzles is how you adjust the density of the paint “mist”. For thinner
substances like varnish, you want to use a smaller nozzle as it will atomize better;
otherwise your coating might come out like a water gun. For more specifics, here
are some tips on which nozzle to use for which coating material:
14

Nozzle tip
size
Recommended
material
Spray finish
Project type
1.5 mm
(1/16”)
Sealers and varnish
1-4” spray
pattern/fine finish
Furniture and
woodworking
projects
1.8 mm
(5/64”)
Latex paint, chalk
type paint, milk type
paint, stains and
polyurethane
1-6” spray
pattern/fine finish
Furniture and
woodworking
projects
2.2mm
(3/32”)
Latex paint, primer
paint, chalk type
paint, milk type paint
6-7” spray
pattern/fine finish
Furniture and
cabinets
2.6mm
(7/64”)
Latex paint and
primer paint
8-10” spray
pattern/fine to
medium finish
Walls, ceilings,
decks and fences
So, to change (and clean!) the nozzle of your paint sprayer…
1.
Unscrew the nozzle cap
2.
Remove the sprayer nozzle tip with a
pointy object (a screwdriver or the back
of the included cleaning brush works
great!)
15

3.
Give the sprayer nozzle tip a quick
clean using your cleaning pin
4.
Insert your new nozzle tip and make
sure it fits nice and snug
5.
Screw the nozzle cap back on tight
How to change the air volume
✔
Adjust the amount of airflow by simply turning the air volume control dial -
voila!
16

How to get the best results
This paint sprayer is set-up to deliver great results without you having to try too
hard. It uses a low pressure spraying technique that combines a high volume of air
with low air pressure (it's called the HVLP - high volume low pressure system),
allowing for low paint mist formation, minimal fuss and mess.
As opposed to conventional application of coating a surface, you have full control
over both the volume of material and the volume of air you use. This reduces the
amount of paint required to cover the object, making this method highly economical
and ensuring perfect surface quality and cover. As you can see, your paint sprayer
takes care of things by itself.
That said, there is still a couple of things you can do to maximize your paint
sprayer's performance:
✔
✔
✔
✔
Do a quick test spray on a scrap piece of material similar to what you're going
to spray paint, to ensure that your spray pattern, spray jet width, coating
material, and material and air volumes are all as you want and need them.
Hold the paint spray gun upright and maintain a constant distance of about
8-11 inches of the object being sprayed.
Move the paint sprayer evenly using either lateral or vertical movements
(side to side or up and down). Don’t be tempted to twist your wrist as you
spray, as this will increase wastage of both your coating material and your
precious time.
This shouldn't happen, but in case it does: If you notice excessive paint mist
formation, adjust the air and material flow respectively and alter the distance
from the object.
17

How to take a break - the right way
Before taking a much-needed downtime in the middle of the project, unplug the
paint sprayer. If the break is longer,
✔
✔
Air out your working environment - open the window, door, etc.
Quick-clean the nozzle openings with quick-dry or two-component coating
materials, and rinse your paint sprayer's spray attachment with a suitable
cleaning agent.
How to transport your paint sprayer
To ensure a safe trip and limit the possibility of having a nasty spill in the back of
your van, empty the container and clean it before transport.
The container does have an airtight seal though, so should you absolutely have to
go somewhere with your paint sprayer last-minute, you can rest assured that no
paint will leak. However, do secure your paint sprayer in a stable position, and
don’t let it lie it on its side with coating material inside the container.
How to clean the spray attachment
1
2
3
Disconnect your paint sprayer from the mains and make sure everything is
properly grounded.
Turn the spray attachment lock to the unlock point and pull the spray
attachment away from the main body.
Remove the container from the spray attachment and empty any remaining
coating material back into its original packaging.
18

4
5
6
7
8
9
10
Clean the outside of the container with a cloth soaked in solvent or water.
Pre-clean the inside of the container and the suction tube with the included
cleaning brush accessory and a suitable cleaning agent.
Clean the ventilation holes (the two tiny dents either side of the suction tube)
and any other hard-to-reach nook and cranny with the included cleaning pin.
There should be no dried paint still lodged in the nozzle, ventilation hose,
suction tube, or around the container seal. Rinse thoroughly with water.
Before using your sprayer again, ensure that it has dried completely, and that
all traces of any solvents have disappeared. Best leave it overnight to be sure.
Once the container has fully dried, rinse it thoroughly with water again, dry,
and screw the container back onto the spray attachment.
Connect the spray attachment to the main body again with no coating
material inside the container.
Pull the trigger to rinse the spray attachment of any excess residue that may
be still inside.
How to clean the spray nozzles
For the purpose of saving paper, we will not copy/paste the instructions here but
rather suggest you to check back to page 15-16!
How to clean the main body of your paint sprayer
First, disconnect it from the mains power plug. The cleaning itself is a pretty simple
affair - wipe the equipment with a clean cloth or blow it with compressed air at low
19
Other manuals for NPS-100
2
Table of contents
Other NOCRY Paint Sprayer manuals


