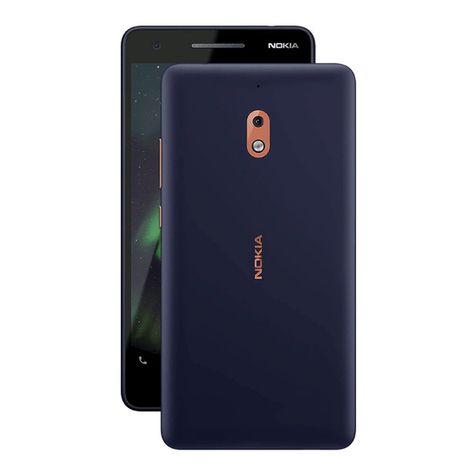
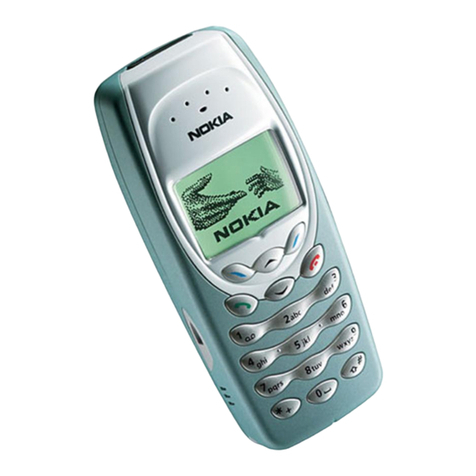
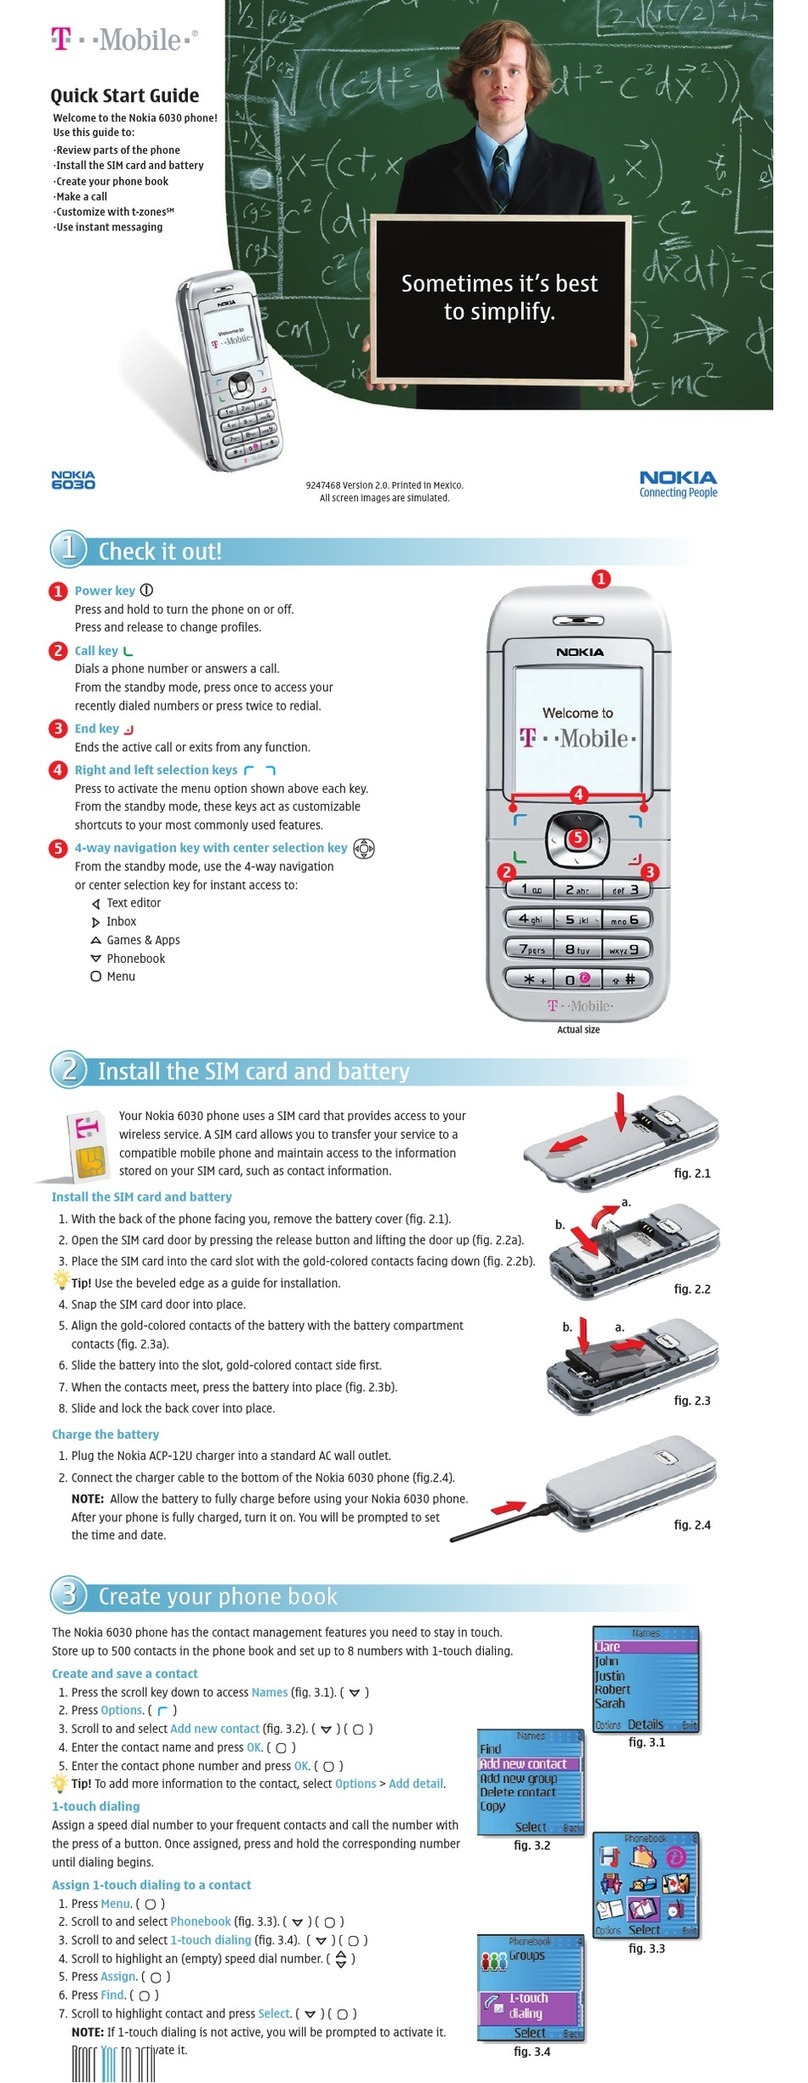
Nokia 5800 - XpressMusic Smartphone - WCDMA User manual


OVERVIEW
This guide provides you with information to get started. For
more information and support, please visit www.t-mobile.
com/support where you can:
NRegister for My.T-Mobile.com to check your minutes,
pay your bill, upgrade your phone, and change your
rate plan.
NReview the user manual and troubleshooting FAQs.
NView the latest troubleshooting solutions in the Support
Forums or ask a question of your own.
You can also access the following Help information on your
phone:
NPress the Menu key and tap Applications > Help. Tap
the following for Help information:
- User Forums
-Help
- My Nokia
NTap the My Account icon on the Home screen to
view monthly usage, bill summary, and other account
information on your phone.

TABLE OF CONTENTS
Introducing Your Phone .................................................. 1
Service Activation ............................................................ 2
SIM Card .......................................................................... 3
Memory Card ................................................................... 4
Plectrum .......................................................................... 5
Battery .............................................................................. 6
Power .............................................................................. 8
My Nokia ......................................................................... 8
Home Screen .................................................................. 9
Touch Screen Navigation............................................... 10
Menu and Applications .................................................. 11
Keyboard........................................................................ 12
Call Functions ................................................................ 14
Volume .......................................................................... 14
Voicemail ....................................................................... 15
Contacts ........................................................................ 17
Mobile Backup .............................................................. 18
Bluetooth®...................................................................... 19
Emergency Dialing......................................................... 21
Tips for Safety ................................................................ 22
Caring for your Phone.................................................... 24
Having Fun
Turn to the Having Fun section to
learn what else your new phone
can do.

1
2
INTRODUCING YOUR PHONE
Nokia 5230 NuronTM
End key
Press to end calls
Send key
Press to make
and answer calls
Memory card slot
Insert card in slot
Volume keys
Lock key
Pull down to lock/
unlock the phone
Charging
port
Power key
Camera key
USB cable
port
Headset
port
SIM card slot
Insert card in slot
Menu key
Press to view
applications
Media key
Press to open
media applications
such as music and
browser
SERVICE ACTIVATION
If you are a new T-Mobile customer and your service has not
been activated, simply call Customer Care at 1-800-937-8997
from your landline phone and a T-Mobile Activations represen-
tative will assist you.
You will need the following information when activating service:
NJ\im`Z\8^i\\d\ekXe[X^\ekZf[\fepfli8^i\\d\ek
N PflieXd\#_fd\X[[i\jj#_fd\g_fe\#Xe[Y`cc`e^X[[i\jj
EFK<1=fiYlj`e\jjXe[^fm\ied\ekXZZflekj#gc\Xj\gifm`[\k_\eXd\
f]pfliZfdgXepfi^fm\ied\ekX^\eZp#X[[i\jj#Xe[kXo@;%
N PfliJfZ`XcJ\Zli`kpeldY\i#Zlii\ek[i`m\iËjc`Z\ej\
eldY\i#Xe[[Xk\f]Y`ik_]fiZi\[`kZ_\Zbgligfj\j
N PfliZ_f`Z\f]K$DfY`c\iXk\gcXeXe[j\im`Z\j
j\\nnn%k$dfY`c\%Zfd]ficXk\jkgcXe`e]fidXk`fe
NJ@Dj\i`XceldY\iXe[@D<@eldY\i
cfZXk\[fek_\YfoYXiZf[\cXY\c
9pXZk`mXk`e^j\im`Z\#pflXZbefnc\[^\k_Xkpfl_Xm\i\X[#le[\ijkXe[#Xe[
X^i\\kfY\Yfle[Yp\XZ_f]K$DfY`c\ËjK\idjXe[:fe[`k`fejXe[pfli
J\im`Z\8^i\\d\ek%

3
4
SIM CARD
<RXU6XEVFULEHU,GHQWLW\0RGXOH6,0FDUGLGHQWLÀHV\RXWR
the wireless network. Your phone will not work without the SIM
card. To insert the SIM and battery:
1. Detach your SIM card.
2. Open the SIM card slot
cover on the left side of
your phone and slide the
SIM card into the slot as
shown.
3. Close the card slot cover.
Remove the SIM card
1. Remove the battery cover
and battery.
2. Open the SIM card slot cover.
3. Use a pen to push the SIM
card out of the slot.
4. Replace the battery and
close the battery cover.
MEMORY CARD
Your phone comes with a removable microSD memory card
ZKHUH\RXFDQVWRUHPXOWLPHGLDÀOHVVXFKDVYLGHRFOLSV
PXVLFWUDFNVVRXQGÀOHVLPDJHVDQGPHVVDJLQJGDWD
Insert the memory card
1. Open the memory card slot
cover on the left side of the
phone.
2. Insert the memory card as
shown and push it in until it
clicks into place.

5
6
Remove the memory card
1. Open the memory card slot cover on the left side
of the phone.
2. Push the memory card in and release. The card will
pop out of the slot.
PLECTRUM
Your phone comes with a plectrum that you can use to tap
and select items on the screen.
Attach the plectrum
1. Remove the battery cover.
2. Thread one end of the
plectrum into the hole that
is located on the bottom
left side of the phone.
3. Wrap the cord around the
pole to attach.
4. Close the battery cover.
BATTERY
1. Connect the charger to the charger port on top
of the phone (the smallest hole on top of the phone).
2. Connect the other end of the charger to an electrical
outlet.
Conserve battery life
Close unused applications, services, and connections
1. From the Home screen, press the Menu key.
2. Tap Options.
3. Tap Show open apps.
4. Touch and hold the application that you want to close.
5. Tap Exit.
6. Tap YesWRFRQÀUP
Reduce screen brightness
1. From the Home screen, press the Menu key.
2. Tap Settings.
3. Double-tap Phone.
4. Double-tap Display.
5. Double-tap Brightness.
6. Touch and drag the bar to the left of the screen to the
desired brightness level and tap OK.

7
8
Reduce backlight duration
1. From the Home screen, press the Menu key.
2. Tap Settings.
3. Double-tap Phone.
4. Double-tap Display.
5. Double-tap Light time-out.
6. Touch and drag the bar to the left of the screen to the
desired duration.
7. Tap OK.
Turn off key sound and touch screen sound
1. From the Home screen, press the Menu key.
2. Tap Settings.
3. Double-tap Personal.
4. Double-tap 3URÀOHV.
5. Tap Normal.
6. Tap Customize.
7. Double-tap Key tones and/or Touch screen tones.
8. Double-tap Off.
POWER
To turn your phone on or off, press and hold the Power key on
the top of the phone.
MY NOKIA
My Nokia is a free service that you can sign up to receive
tips and support information about your phone, as well as
important updates from T-Mobile and latest information on
Nokia products, services, and accessories.
:KHQ\RXÀUVWSRZHURQ\RXUSKRQH\RXFDQWDSAccept at
the Welcome to My Nokia screen and follow instructions on
the screen to complete the sign up process.
You can also go to http://my.nokia.com/mynokiausa/
registration to sign up online.

9
10
HOME SCREEN
The Home screen is your starting point.
Dialer
Ta p t o d i a l a
phone number.
Contacts
Tap to open the
Contacts list.
Browser
Tap to open the
browser.
TIP: Use your
plectrum to select
browser links.
Text Messaging
Tap to open the
screen to enter new
text messages.
Maps
Tap to open
Ovi Maps.
My Account
Tap to pay your bill
and view billing
information.
Downloads
Tap to download
ringtones, games,
and more.
Messaging
Tap to open
the Inbox.
TOUCH SCREEN NAVIGATION
Tap and double-tap
To open most applications on the touch screen, you can tap
WKHPZLWK\RXUÀQJHU+RZHYHUIRUVRPHDSSOLFDWLRQV\RX
must tap twice to perform an action. The following require
double-tapping:
NItems in a list view, such as the Drafts folder in the folder
list in Messaging.
NApplications and folders in the menu when using the list
view.
N )LOHVLQDÀOHOLVWIRUH[DPSOHDQLPDJHLQWKH,PDJHV
DQGYLGHRVÀOHLQWKH*DOOHU\
Drag and scroll
7RGUDJSODFH\RXUÀQJHURQWKHVFUHHQDQGVOLGHLWDFURVVWKH
screen.
To scroll up or down in lists that have a scroll bar, drag the
slider of the scroll bar.

11
12
MENU ANDAPPLICATIONS
To open the menu, press the Menu key on the phone to
display applications.
Menu key
Press to view
applications.
Applications
Tap icons to open
applications.
KEYBOARD
The on-screen keyboard allows you to enter characters by
WDSSLQJWKHPZLWK\RXUÀQJHU7DSDQ\WH[WLQSXWÀHOGWRHQWHU
letters, numbers, or special characters. Your phone can
complete words based on the built-in dictionary and it learns
new words based on your input.
Use the on-screen keyboard
You can use the keyboard in landscape mode or portrait
mode. Just rotate your phone to change orientation mode.

13
14
Use text input modes
Your phone supports the following text input modes:
NTraditional mode
Tap the key until the desired letter appears. For
example, to enter run, tap 7three times, 8twice, and 6
twice. Tap 0WRDGGDVSDFHDQGFRQÀUP
NPredictive text
This mode predicts words as you type using a built-
in dictionary. To enter run, tap 7, 8, and 6. When
the correct word appears, tap 0to add a space and
FRQÀUP
If the word is not correct, tap *repeatedly until the
correct word appears.
If the word is not in the dictionary, tap then
tap Deactivate prediction. Enter the word using the
Traditional mode. Tap 0WRDGGDVSDFHDQGFRQÀUP
NNumbers and symbols
Tap and then tap Number mode or Insert symbol.
To switch between text input modes, tap then tap
Deactivate or Activate prediction.
CALL FUNCTIONS
Make calls
1. From the Home screen, tap the Dialer icon.
2. Enter the number and press the green Send key.
Answer and end calls
To answer a call, press the green Send key.
To e n d a c a l l , p r e s s t h e r e d End key.
VOLUME
Adjust call volume
During the call, press the Volume key up or down to adjust
call volume. The Volume key is on the right side of the phone.
Adjust ring volume
1. From the Home screen, press the Menu key.
2. Tap Settings.
3. Double-tap Personal.
4. Double-tap 3URÀOHV.
5. Tap Normal.
6. Tap Customize.
7. Double-tap Ringing volume.
8. Tap the desired volume level and tap OK.

15
16
VOICEMAIL
Use voicemail
Set up voicemail
1. From the Home screen, tap the Dialer icon.
2. Touch and hold 1.
3. Follow the tutorial to set up voicemail.
Reset the voicemail password to the last four
digits of your phone number
1. From the Home screen, tap the Dialer icon.
2. Tap #793#.
3. Press the green Send key.
To call voicemail:
1. From the Home screen, tap the Dialer icon.
2. Touch and hold 1to call voicemail.
Use Visual Voicemail
Visual Voicemail allows you to play and replay messages
in any order, save voice messages to your phone, choose
how you want to respond to messages, share special audio
messages via e-mail, and create personalized greetings.
Set up Visual Voicemail
1. From the Home screen, press the
Menu key.
2. Tap Visual Voicemail.
3. Tap Yes to activate.
4. Tap Setup to set up your account.
5. Tap the New Password (PIN)ÀHOG
6. Tap anywhere on the screen to open
the keyboard.
7. Enter the PIN.
8. Tap the Checkmark icon when done.
9. Tap OK.
10. Tap &RQÀUP1HZ3DVVZRUG3,1ÀHOG
11. Tap anywhere on the screen to open the keyboard.
12. Re-enter the PIN.
13. Tap the Checkmark icon when done.
14. Tap OK.
15. Tap Next.
16. Choose the greeting that callers will hear when they
leave you a voicemail.
17. Tap Next.

17
18
Access and hear messages
1. From the Home screen, press the Menu key.
2. Tap Visual Voicemail to view the Inbox.
3. Double-tap the message.
4. Tap the Arrow icon on the screen to play the message.
Tap Options to view settings to delete, forward, and
reply.
CONTACTS
Add contact
1. From the Home screen, tap the Contacts icon.
2. Tap Options.
3. Tap New contact.
4. Double-tap the First nameÀHOGWRRSHQWKHNH\ERDUG
(QWHUWKHFRQWDFW·VÀUVWQDPH
6. Tap the Checkmark icon.
7. Double-tap the Last nameÀHOG
8. Enter the contact’s last name.
9. Tap the Checkmark icon.
10. Continue on to enter the phone number, e-mail, and
other information as desired. Tap Done.
Call contact
1. From the Home screen, tap the Contacts icon.
2. Tap the contact you wish to call.
3. Press the green Send key.
MOBILE BACKUP
Mobile Backup is a free service that lets you store contact
information on your phone and on www.my.t-mobile.com.
You can manage contacts on your phone or on the Web and
the changes are synchronized. With Mobile Backup, you don’t
have to worry about losing your contact information if you lose
your phone.
You may choose to not use this feature but your address book
may be backed up in order to deliver certain services. See the
FAQ section on www.my.t-mobile.com for details.

19
20
BLUETOOTH®
Your phone comes with Bluetooth technology, which is a wireless
technology that enables a data connection between your phone
and a Bluetooth wireless headset and other Bluetooth devices
(sold separately).
Prepare Bluetooth headset
To pair your phone with a Bluetooth headset, make sure that your
headset is fully charged and that you put the headset into pairing
mode. See your Bluetooth headset’s manual for more information.
Turn on Bluetooth and pair with headset
1. From the Home screen, press the Menu key.
2. Tap Settings.
3. Double-tap Connectivity.
4. Double-tap Bluetooth.
5. Double-tap the BluetoothÀHOGWRWXUQ%OXHWRRWKRQ
6. Tap the Paired devices tab (second tab).
7. Tap Options.
8. Tap New paired device.
9. Tap the device to pair.
10. Enter the passcode (default is 0000).
11. Tap OK.

21
22
EMERGENCY DIALING
While all phones are equipped with 911 emergency calling,
this phone may or may not permit its location to be
approximated during a 911 call.*
!8mX`cXY`c`kpf]k_`j]\Xkli\[\g\e[jfelg^iX[\jkfk_\X n`i\c\jje\knfibXe[Y 0((
ZXcc`e^jpjk\dk_XkXi\i\hl`i\[kfY\`ejkXcc\[Ypk_\cfZXc0((i\jgfej\X^\eZpfiglYc`Z
jX]\kpXejn\i`e^gf`ekGJ8G 2k_\j\lg^iX[\jdXpefkY\XmX`cXYc\\m\ipn_\i\n`k_`e
flin`i\c\jjZfm\iX^\Xi\XfipfliifXd`e^Xi\X%K_`jXggifo`dXk`fef]k_\g_fe\Ëj
cfZXk`feXe[k_\kiXejd`kkXcf]cfZXk`fe`e]fidXk`feXi\jlYa\Zkkf\d\i^\eZpj`klXk`fej#
kiXejd`jj`fec`d`kj#e\knfibgifYc\dj&c`d`kXk`fej#`ek\iZfee\Zk`e^ZXii`\igifYc\dj#pfli
g_fe\#Yl`c[`e^j&klee\cj#j`^eXcjki\e^k_Xe[Xkdfjg_\i`Z&kfgf^iXg_`ZXcZfe[`k`fej#
Xe[dXpY\ZlikX`c\[#`ek\iilgk\[#[ifgg\[fii\]lj\[%K_\g_fe\ËjXggifo`dXk\cfZXk`fe
`jkiXejd`kk\[kfk_\cfZXc0((i\jgfej\X^\eZpfiGJ8Gn_`c\k_\ZXcc`j`egif^i\jj2k_`j
Xggifo`dXk`fe`j`ek\e[\[jfc\cpkfX`[k_\GJ8G`e[`jgXkZ_`e^\d\i^\eZpXjj`jkXeZ\fi
kfc`d`kk_\j\XiZ_Xi\X]fi\d\i^\eZpj\im`Z\jg\ijfee\c%Pflj_flc[efki\cpjfc\cpfe
Xg_fe\]fi\jj\ek`XcZfddle`ZXk`fejjlZ_XjXd\[`ZXcfifk_\i\d\i^\eZp %Gc\Xj\
j\\K$DfY`c\ËjK\idjXe[:fe[`k`fejXe[Gi`mXZpGfc`Zp]fiX[[`k`feXcj\im`Z\i\jki`Zk`fej
Xe[[\kX`cj%
TIPS FOR SAFETY
Check with your doctor if you have a pacemaker or hearing
aid in order to ensure that cell phone usage is safe with your
phone. If you have questions about the interaction of cellular
radio frequency and any other electronic equipment, ask the
manufacturer of the equipment if cell phone radio frequencies
will disrupt the equipment’s performance.
When you are driving, T-Mobile encourages you to use
your phone in a safe and sensible manner. Here are
a few tips:
N8jj\jjifX[Zfe[`k`fejY\]fi\Xejn\i`e^%
PflijX]\kp`jdfi\`dgfikXekk_XeXepZXcc%
NGi\gXi\pfli_Xe[j$]i\\_\X[j\k#`]pfl_Xm\fe\#
fikliefepflijg\Xb\ig_fe\fgk`feY\]fi\pfl
jkXikdfm`e^%
N@]pflig_fe\i`e^jXe[pfl[`jZfm\i
`kËj`ek_\YXZbj\Xk#[fEFKZiXncfm\ik_\j\Xk
kfXejn\i`kn_`c\[i`m`e^%
N Gif^iXd]i\hl\ekcplj\[eldY\ij`ekfpfli
jg\\[[`Xc]fi\Xjpfe\$kflZ_[`Xc`e^%
N I\d\dY\ik_XkcXnjgif_`Y`k`e^fii\jki`Zk`e^k_\lj\
f]XdfY`c\g_fe\n_`c\[i`m`e^dXpXggcp`epfliXi\X%

23
24
CARING FOR YOUR PHONE
MAKING IT LAST
Your phone is a complex electronic device; think of it as a
mini-computer. Here are some hints that should help you
extend the life of your new phone.
Phones aren’t cheap, so keep yours in a safe place—away
IURPFKLOGUHQZKRPD\ÀQGLWIXQWRVHHLIWKHSKRQHVLQNVRU
ÁRDWVDQGDZD\IURPGRJVWKDWÀQGSODVWLFFRDWHGSURGXFWVWR
be irresistible chew toys.
Water will damage your phone and accessories—even a
small amount such as water droplets from a soda in your car
FXSKROGHUPHOWLQJVQRZÁDNHVWHDUVRIMR\VTXLUWJXQFURVV-
ÀUHRUVWHDPIURPKRWZDWHULQWKHNLWFKHQRUEDWKURRP
Use only batteries and accessories from the original
manufacturer of your phone. Non-approved accessories can
cause damage to you or your phone and shorten the phone’s
life. Hint: If it’s being sold out of someone’s car trunk, walk
away.
If your charger or any other accessory is damaged,
UHSODFHLWRUWDNHLWWRDTXDOLÀHGVHUYLFHGHDOHU.Do not
attempt to operate your phone charger if it has received a
sharp blow, been dropped, thrown from a speeding motor-
cycle or is otherwise damaged; doing so may damage your
phone.

having fun

II
II
Table of Contents
E-mail .............................................................................. 1
Text Messaging ................................................................ 5
Instant Messaging ........................................................... 7
Social Networking ............................................................ 9
Camera ......................................................................... 10
Video Recorder ............................................................ 13
Music Player .................................................................. 15
FM Radio ....................................................................... 18
Location ........................................................................ 19
Web Browsing .............................................................. 21
Ovi Store ........................................................................ 22
Accessories for Your Phone.......................................... 24
Additional Information................................................... 25

1
2
E-mail
Your phone comes with e-mail capabilities so you can stay connected
while you are on the go with Yahoo!®, AOL®, and other popular e-mail
providers. Setting up e-mail on your phone is easy—enter your e-mail
address and password and your phone automatically receives e-mail
from your e-mail account. You can read, send, reply, and even delete
e-mail so you can keep in touch whenever you want.
Set up e-mail
1. From the Home screen,
tap the Envelope icon at
the bottom of the screen.
2. Double-tap Mailbox Create new.
3. Tap YesWRGHÀQHDPDLOER[
4. Read the Welcome message.
5. Tap Start.
6. Tap Internet.
7. Tap Use my e-mail address.
8. Tap the E-mail addressÀHOGWR
open the keyboard.
9. Enter your e-mail address.
10. Tap the Checkmark icon when
done typing.
11. Tap OK.
12. Tap the PasswordÀHOG
13. Enter the password and tap the Checkmark icon when
done typing.
14. Tap OK.
15. Tap OK again to complete.
16. Tap Yes to connect to your mailbox.
17. Tap Internet. Your Inbox opens and you should see your e-mail
messages.
Read e-mail messages
1. From the Home screen, tap the Envelope icon at the bottom of
the screen.
2. Double-tap your e-mail account.
3. Tap Yes to connect to your mailbox if needed.
4. Tap Internet.
5. Double-tap the e-mail to view.
Delete e-mail messages
1. From the Home screen, tap the Envelope icon at the bottom of
the screen.
2. Double-tap your e-mail account.
Separate charges may apply to send/receive/read domestic/international e-mail messages.

3
4
3. Tap Yes to connect to your mailbox if needed.
4. Tap Internet.
5. Double-tap the e-mail to view.
6. Tap the Trash can icon.
7. Tap Phone only or Phone and server.
8. Tap OK to delete.
Send e-mail messages
1. From the Home screen, tap the Envelope icon at the bottom of
the screen.
2. Double-tap your e-mail account.
3. Tap the @+ icon.
4. Tap the To ÀHOGWRRSHQWKHNH\ERDUG
5. Enter the destination e-mail address or tap the Contact icon
near the bottom of the screen to open the phone book to select
the contact.
6. Tap the Checkmark icon when done.
7. Tap the body of the message to open the keyboard.
8. Enter your message.
9. Tap the Checkmark icon when done.
10. Tap Options.
11. Tap Send.
Wednesday, August 26
Christine To night? 3:22p
Jason RE: Sat May 5th 1:06p
Donna Shipping Confir... 12:28p
Erin cookie recipe 11:17a
Jay Birthday Surpris... 11:09a
William pics from this w... 10:50a
Amy Trip to PA? 10:36a
Scott book club on Fri... 10:17a
Philippe beach trip - Sat... 9:44a
Kelsey RE: copyright 8:38a
To m State football ga... 8:02a

5
6
Text Messaging
Send text messages
1. From the Home screen, tap the Envelope
icon at the top of the screen.
2. Tap the To WH[WÀHOG
You can also tap the Contact icon near
the bottom of the screen to open the
phone book to select a contact.
3. Enter the destination phone number.
4. Tap the Checkmark icon when done.
5. Tap the body of the message to open
the keyboard.
6. Enter your message.
7. Tap the Checkmark icon when done.
8. Tap Options.
9. Tap Send.
Read text messages
<RXUSKRQHQRWLÀHV\RXZKHQ\RXKDYHDQHZWH[WPHVVDJH7RUHDG
tap Show. To read by going to the Menu:
1. From the Home screen, press the Menu key.
2. Tap Messaging.
3. Double-tap Inbox.
4. Double-tap the message to view.
To delete the message, tap the Trash can icon.
Separate charges may apply to send/receive domestic/international text messages.
Other manuals for 5800 - XpressMusic Smartphone - WCDMA
21
Table of contents
Other Nokia Cell Phone manuals

Nokia
Nokia X7-00 User manual

Nokia
Nokia 2610 - Cell Phone 3 MB User manual

Nokia
Nokia 2720 fold User manual

Nokia
Nokia 105 User manual

Nokia
Nokia 8310 Quick start guide

Nokia
Nokia X User manual

Nokia
Nokia NPM-5 Installation instructions

Nokia
Nokia 3720 classic Quick start guide

Nokia
Nokia 2651 User manual

Nokia
Nokia 6015 Guide