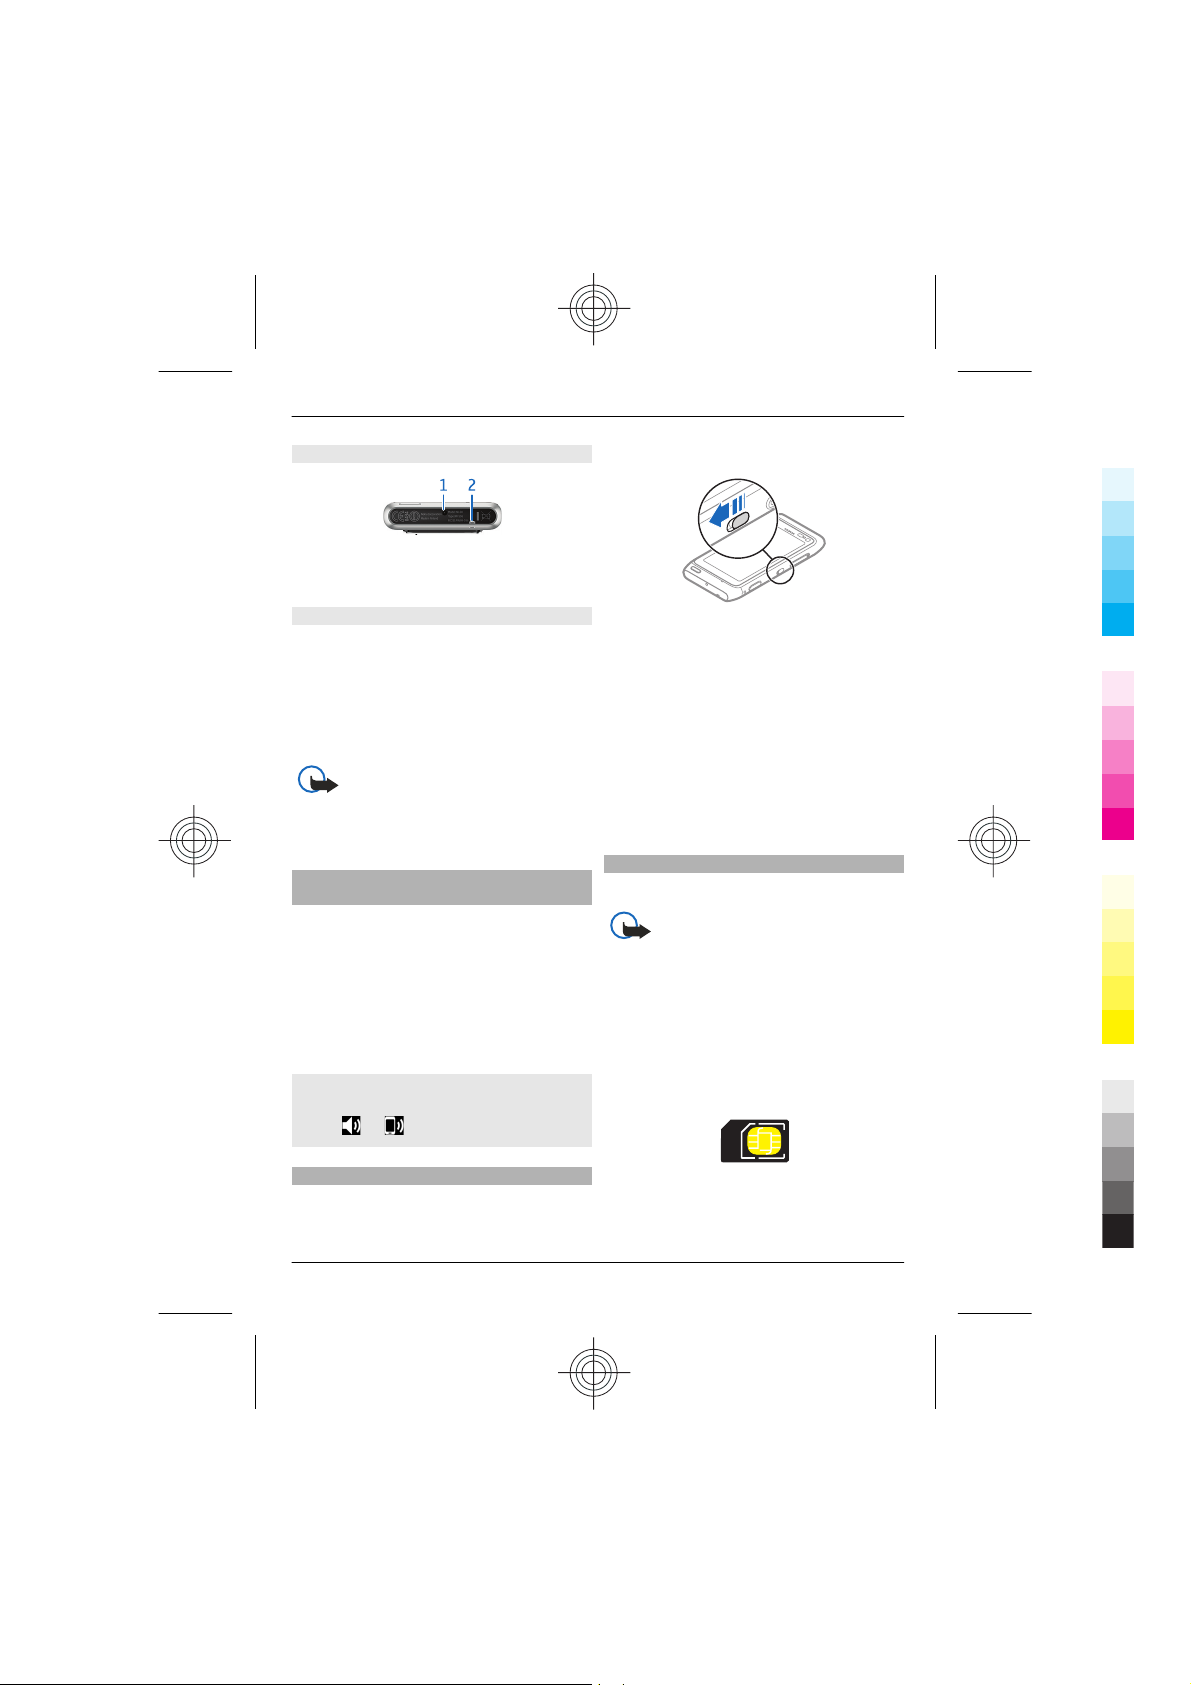
Bottom
1Charging connector
2Wrist strap hole
Touch screen
To control your device, lightly touch the
screen with your fingertips. The screen
does not respond when you use your
fingernails.
If your fingertips are cold, the screen may
not respond to your touch.
Important: Avoid scratching the
touch screen. Never use an actual pen or
pencil or other sharp objects to write on
the touch screen.
Change the volume of a call, song, or
video
Use the volume keys.
You can adjust the volume during a call or
when an application is active.
The built-in loudspeaker allows you to
speak and listen from a short distance
without having to hold the device to your
ear.
Activate or deactivate the loudspeaker
during a call
Select or .
Lock or unlock the keys and screen
To avoid accidentally making a call when
your device is in your pocket or bag, lock
the keys and screen of your device.
Slide the key lock switch.
Tip: If the key lock switch is out of reach,
to unlock the device, press the menu key,
and select Unlock.
Set the keys and screen to lock
automatically
1 Select Menu > Settings and
Phone > Display > Screen/keylock
time-out.
2 Define the length of time after which
the keys and screen are locked
automatically.
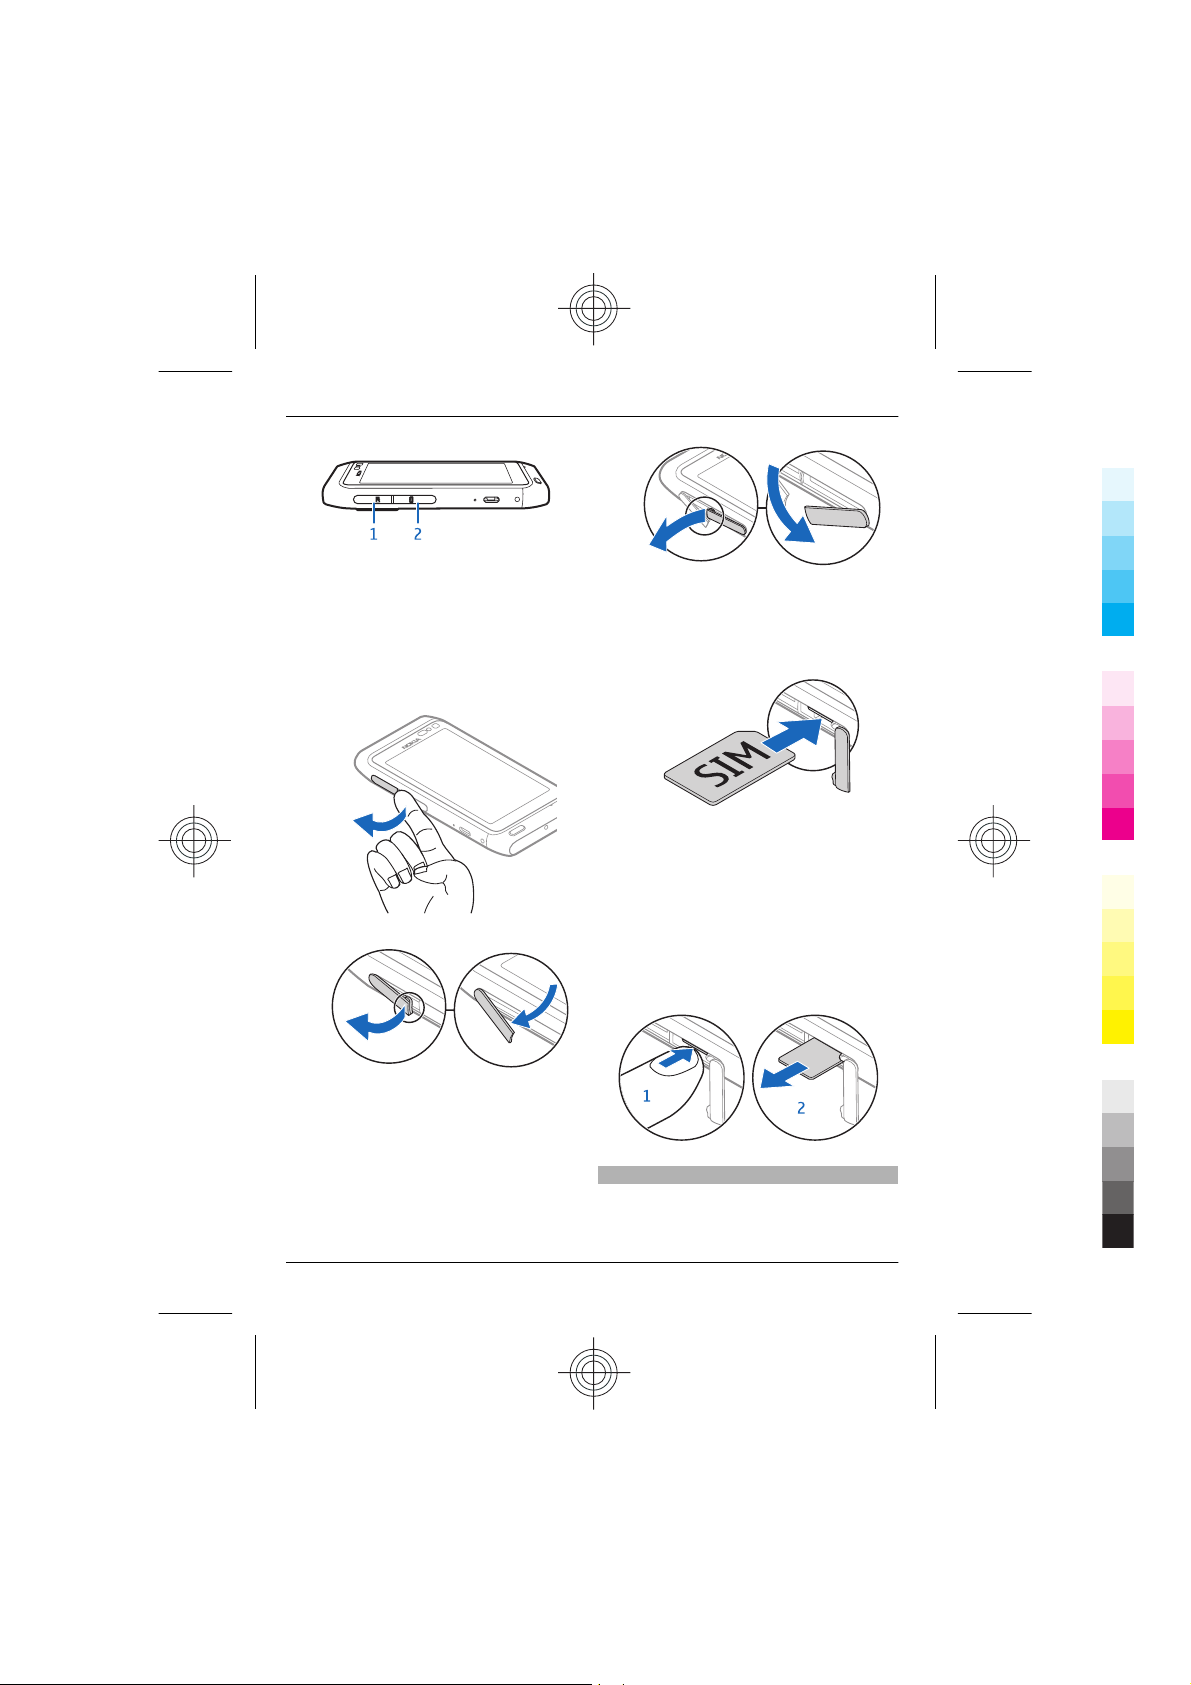
Insert or remove the SIM card
Do not attach any stickers to your SIM card.
Important: Do not use a mini-UICC
SIM card, also known as a micro-SIM card,
a micro-SIM card with an adapter, or a SIM
card that has a mini-UICC cutout (see
figure) in this device. A micro SIM card is
smaller than the standard SIM card. This
device does not support the use of micro-
SIM cards and use of incompatible SIM
cards may damage the card or the device,
and may corrupt data stored on the card.
Get started 7
www.nokia.com/support 7
Cyan
Magenta
Yellow
Black