Noraxon AMTI User manual
AMTI Force Plate System Setup Guide
1
(Rev B)
AMTI with MyoForce
System Setup
Guide
AMTI Force Plate System Setup Guide
2
(Rev B)
Welcome from Noraxon
Congratulations on acquiring your new force plate system!
This guide will provide you with step by step instructions on how to install your new hardware and
software, adjust device settings, and record your first data set. First, you need to determine whether
you have the hardware for digital or analog integration. Refer to sections 1 and 2 below to determine
your hardware configuration before proceeding.
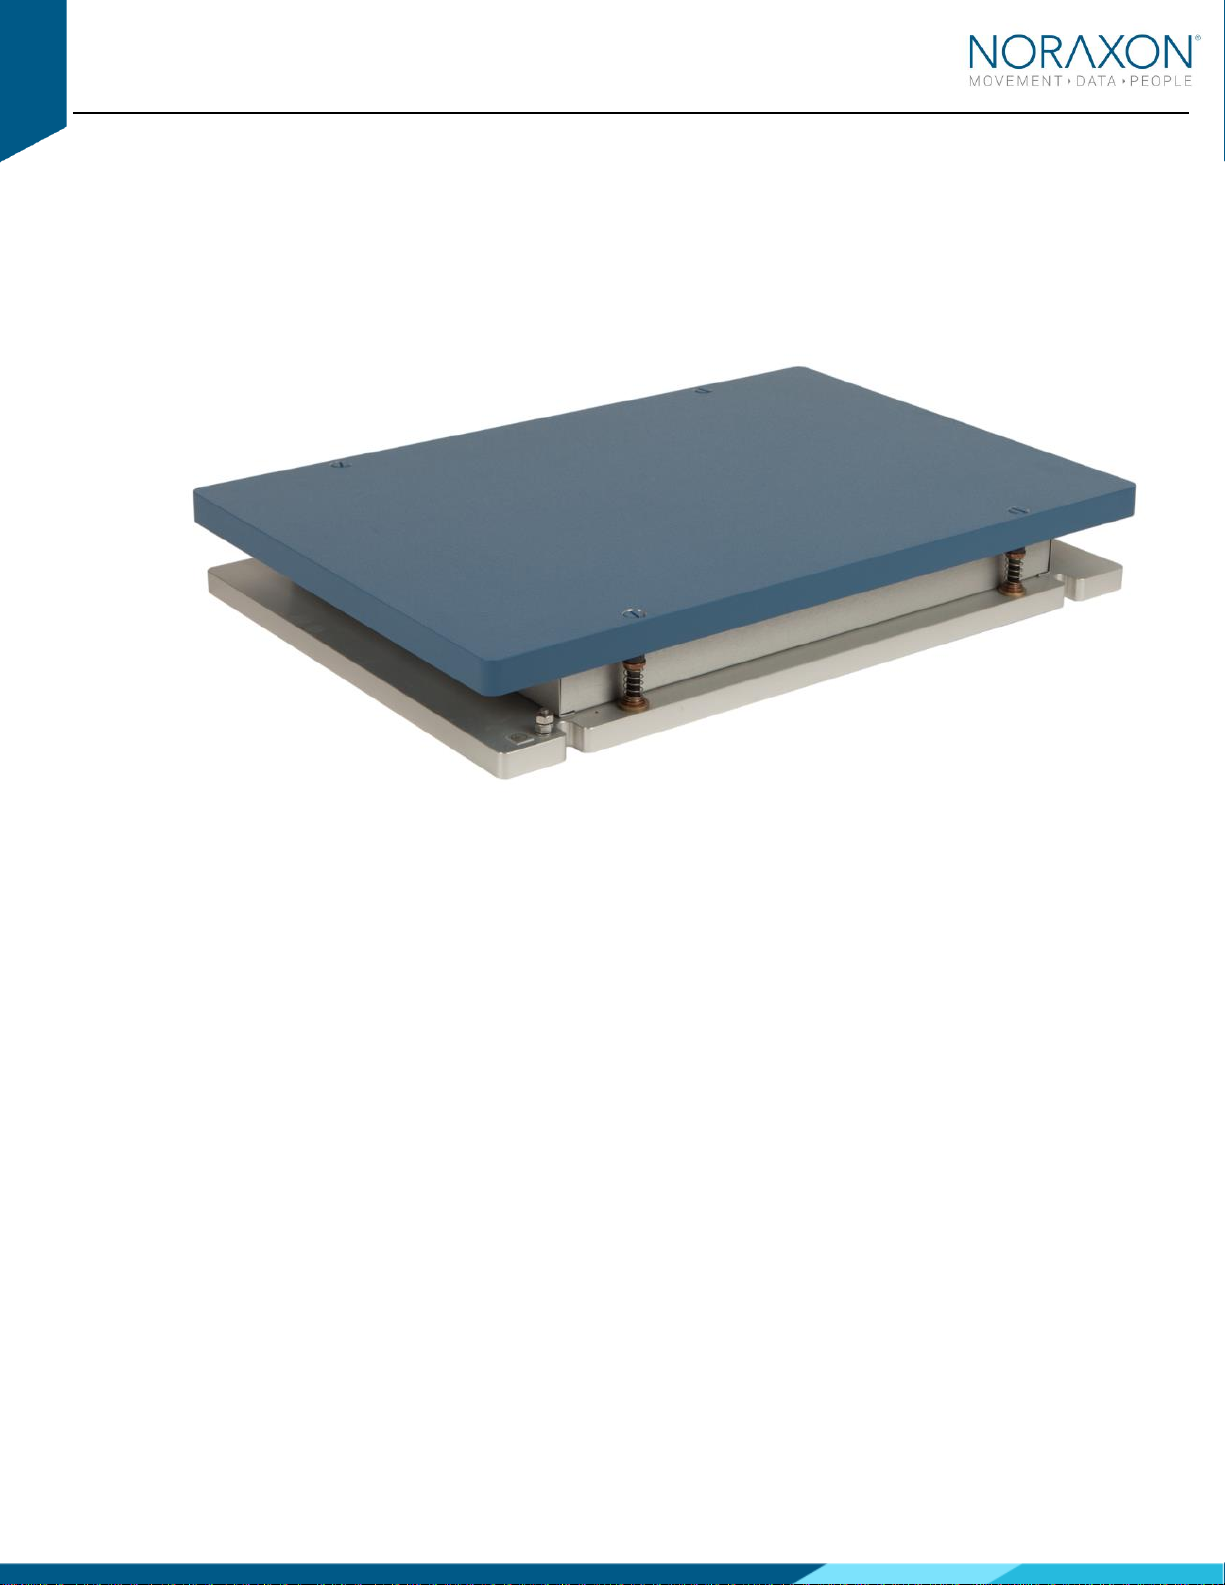
1 System Unboxing
1.1 Digital Integration
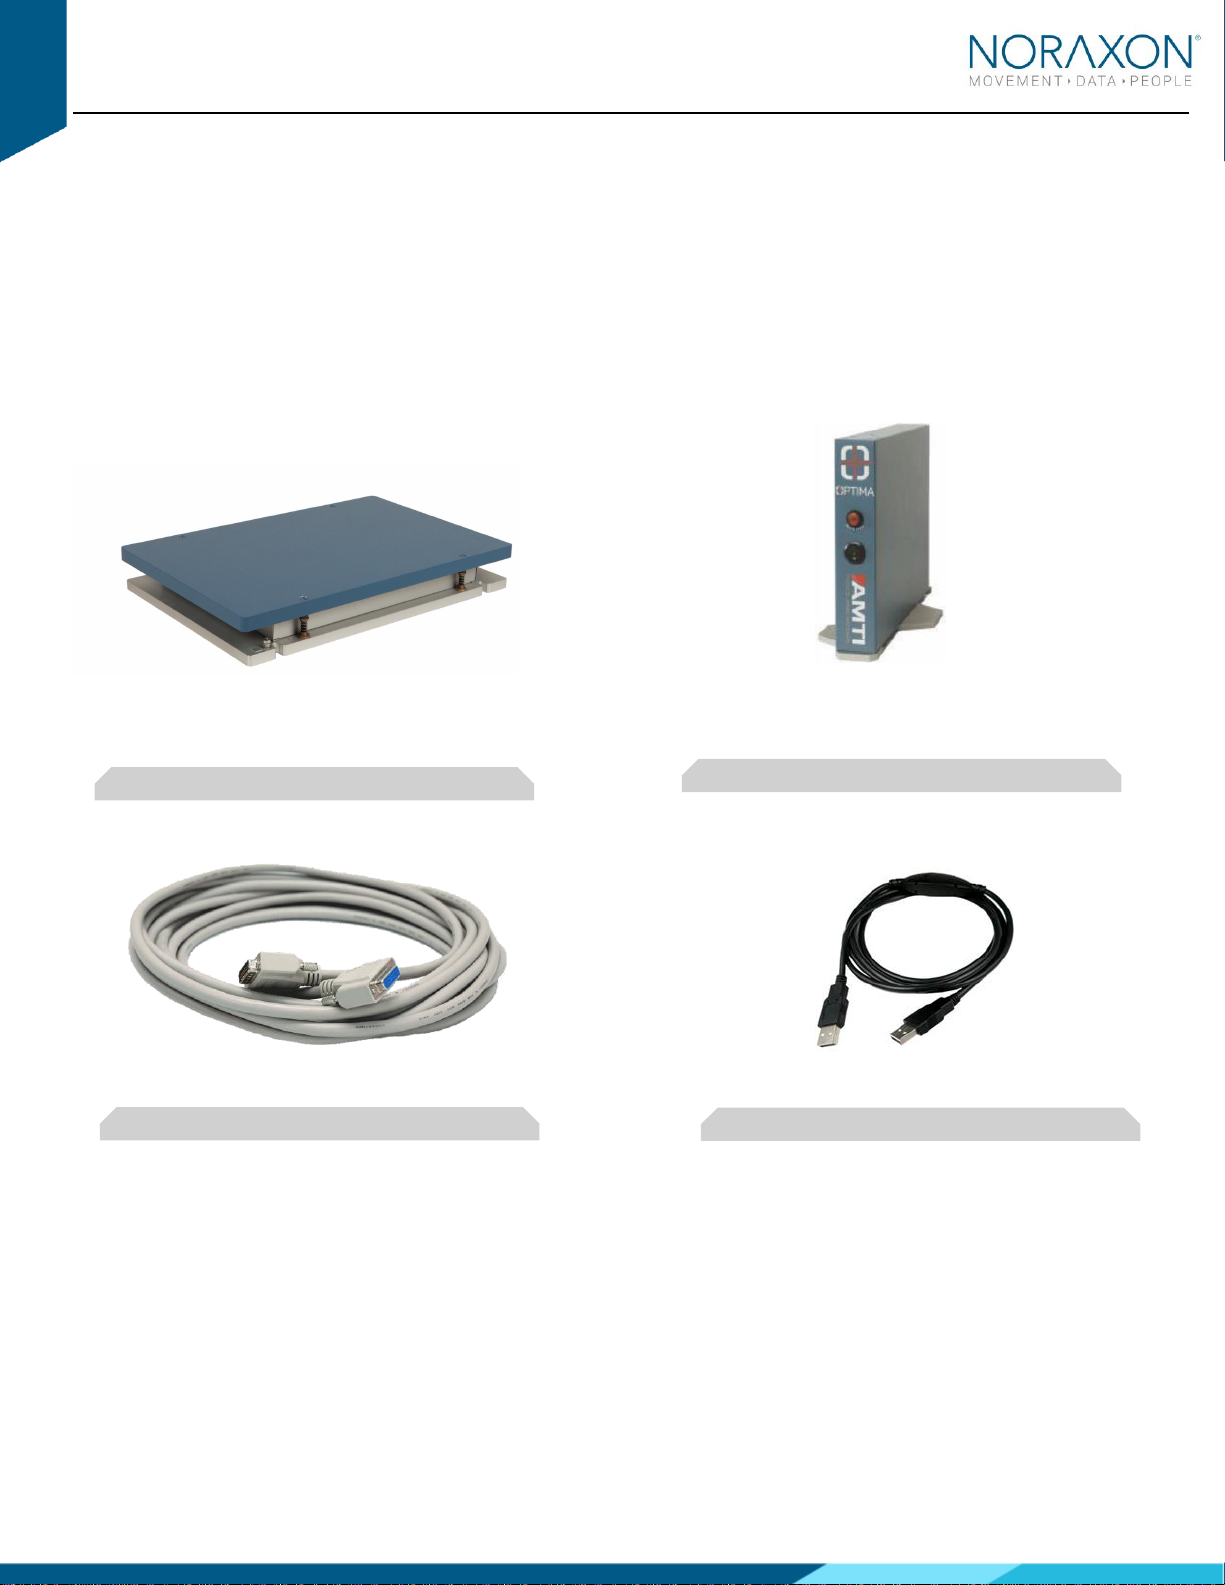
Figure 1: AMTI force plate
Figure 2: Optima or Gen5 Amplifier
Figure 3: 9615-030-6-6 cable
Figure 4: USB A to B Cable (Part# CBL2)

AMTI Force Plate System Setup Guide
3
(Rev B)
1.2 Analog Integration
Figure 1: AMTI force plate
Figure 3: Analog Input System (Part# 222B)
Figure 3: USB A to B Cable (Part# CBL2)
Figure 4: AIS connection cable (Part# 222K)
Junction Box PJB-101
Figure 6: 9VDC Power Supply
RJ11 (14ft) cables

AMTI Force Plate System Setup Guide
4
(Rev B)
2 Installing the Hardware
2.1 Digital Integration
Please reference the diagram below to ensure proper connections.
Note: If using 2 or more force plates, they should be connected to the PC through the provided, powered USB hub.
Step 1-
Plug the AMTI force plate into the Gen5 or Optima amplifier.
Step 2 –
Attach the power supply to the Optima Amplifier.
Step 3 –
Insert the USB A to B cable to the Digital Output port on the amplifier.
Connect the other end to and USB port on the PC.
Step 4 (optional) –
Connect the RCA adapter to the Sync cable (CBL12). The RCA cable will connect to the Gen5 or Optima amplifier.
Insert the other end of the Sync cable into any Sync out port on your Noraxon MyoSync Station.
Note: The sync cable and the Noraxon MyoSync Station are not required for normal function. If you are synchronizing
the force plates with other hardware within your software, you will need the MyoSync Station.
Other hardware that may be included:
-Powered USB hub (if using 2 or more force plates with Gen5 of Optima amp
If you are synchronizing with other hardware in MR3:
-Noraxon MyoSync Master Station
-USB A to B Cable (Part# CBL17)
-3.5 mm stereo cable (Part# CBL12)

AMTI Force Plate System Setup Guide
5
(Rev B)
2.2 Analog Integration
Step 1-
Connect the Accupower Force Plate to the PJB-101 Junction box using the RJ11 cables. Connect the power supply.
Step 2-
Connect the 222K cable to each force plate (if applicable) and connect the single end to the Noraxon AIS.
Step 3-
Connect the AIS to the PC using the USB A to B cable (CBL02).
Step 4 (optional) –
Connect the AIS to the Noraxon MyoSync using 3.5 mm stereo cable. Connect the MyoSync to the PC using the USB A
to B cable.
3 Installing the Companion Software - myoResearch™ 3
To utilize the full functionality of the AMTI force plate system, ensure the system has updated drivers. Noraxon’s
myoResearch 3 needs to be installed on the computer.
If integrating digitally with an Optima or Gen5 amplifier, Gen5/Optima drivers are required, which are pre-installed by the
MR3 software installation.
Software Installation
Within the package the myoMOTION System was shipped in, there is a
USB flash drive containing the latest myoResearch 3 software.
1. Insert the MR3 USB flash drive into the PC
2. A menu will automatically pop up
3. Click on the Noraxon installation file and follow the Wizard’s
instructions
Activating the Software
The installed companion software must be activated before unrestricted use is possible.

AMTI Force Plate System Setup Guide
6
(Rev B)
1. Open MR3
2. A dialog box will indicate how many more times MR3 can
be opened
3. Click on “Activate”
4. Enter the License ID provided on your USB flash drive and
press “OK”
5. If you have an internet connection, click Activate by Internet
for immediate activation
6. Alternatively, email the provided activation ID to
activation@Noraxon.com.Noraxon Support will email or
respond by phone with the Activation Code. Enter the
provided Activation Code to remove any restrictions on use.
4 Configuring the Hardware
4.1 Digital Integration
Before the AMTI system can be used, the device software settings must be configured to recognize the different
components that make up the system. Follow the below instructions to update the plate settings.
Step 1
Open MR3, typically listed under Noraxon -> MR3
Click on the Hardware Setup button in the upper right-
hand corner
Step 2
Select the AMTI icon, within the ‘New Device’ column,
and click on the Insert button.

AMTI Force Plate System Setup Guide
7
(Rev B)
Step 3
The AMTI settings dialog will be shown. Choose Detect to
detect the connected force plate(s). Here you can also
choose the desired sample rate.
If you would like to synchronize with other devices, check
the box that says “Use Noraxon MyoSync.”
4.2 Analog Integration
Before the AMTI system can be used, the device software settings must be configured to recognize the different
components that make up the system. Follow the instructions below to recognize the AMTI plates through the AIS and
configure the force plate and calibration settings.
Step 1
Open MR3, typically listed under Noraxon -> MR3
Click on the Hardware Setup button in the upper right-
hand corner.
Step 2
Select the AIS icon, within the ‘New Device’ column,
and click on the Insert button.

AMTI Force Plate System Setup Guide
8
(Rev B)
Step 3
If you are using the Noraxon MyoSync to synchronize
your data with another device, configure the sync
setting here.
Check the box that says ‘Enabled.’
Navigate to the ‘AMTI plate 1’ tab. Choose “Load”
ACL file to load the *acl file that should have come
with your AMTI force plates.
Note: If your force plate does not come with an .acl
file, please contact Noraxon Support
(supp[email protected]) to discuss other integration
options.
Step 4
Repeat Step 3 with your second force plate (if
applicable). Select Ok to exit the Hardware Setup
Dialog
5 Recording a Measurement
Step 1
Within the Home screen click the myoFORCE module
icon.
Create a New Subject.
Select New Configuration.

AMTI Force Plate System Setup Guide
9
(Rev B)
Step 2
Insert the devices to be used for the measurement into
the configuration by dragging a device in the list of
Available Devices to the Devices in your
configuration window.
Select the desired signals to include in the
measurement configuration. 3D force and moment
signals are available.
Note: If you are using 2 force plates for force analysis,
designate each force plate as RT or LT under the Side
option.
Step 2 (Versions 3.16 and later)
Follow Step 2 like above. Instead of seeing channels to
select, you will see the radio buttons to designate the
side of the plate and other options to configure COP
tracing relative to body position.
Measure the gap between your two force plates with a
ruler to estimate the most accurate “Gap between
plates.”
Note: For more information on how to configure these
settings, please view our video tutorials on our website:
https://www.noraxon.com/video-tutorials/
Step 3
Continue to the next step by selecting Measure.
Step 4
If you are using MR 3.14 or earlier, calibrate the force
plate baseline values by choosing ‘Calibrate baselines.
If you are using MR 3.16 or newer, the force plates are
calibrated automatically upon activation. They do not
need to be calibrated before measuring.
Select Record.
Record your signal based on predetermined protocols.
After performing desired movements in the record, click
Stop and Save.
Chose Discard & measure again or Save after typing
your chosen record name.

AMTI Force Plate System Setup Guide
10
(Rev B)
6 Viewing a Record
To view a previously recorded record, select the Database tab. Records are organized by Project and Subject name.
Double click on the record of interest to open the record.
7 Analysis and Reporting
There are several features available for force plates that require further setup. Some examples include:
•Jump Analysis
•Force Vector Overlay
•Center of Pressure tracing
For more information on how to access these features, please see the tutorials available on our website.
https://www.noraxon.com/video-tutorials/
If you have any other questions not addressed by these resources, please contact [email protected] for more
information.
Table of contents
Other Noraxon Laboratory Equipment manuals


Popular Laboratory Equipment manuals by other brands

Ocean Insight
Ocean Insight OCEANHDX RAMAN quick start guide

JENCONS
JENCONS Powerpette Operator instructions

Visionix
Visionix VX40 instructions

Ametek
Ametek SEQUOIA Series Programming manual

MELAG
MELAG Vacuklav 24 B+ Technical description

Schuett Biotec
Schuett Biotec schuett solaris operating instructions


