3
Quick Start Guide
1) Carefully insert either end of the able into the plug on the top of the inje tor head.
Plug the opposite end of the able into the “HEAD” port on the right side of the
ontrol box.
2) If using the footswit h, insert the footswit h able into the “FOOTSWITCH” port on
the right hand side of the ontrol box.
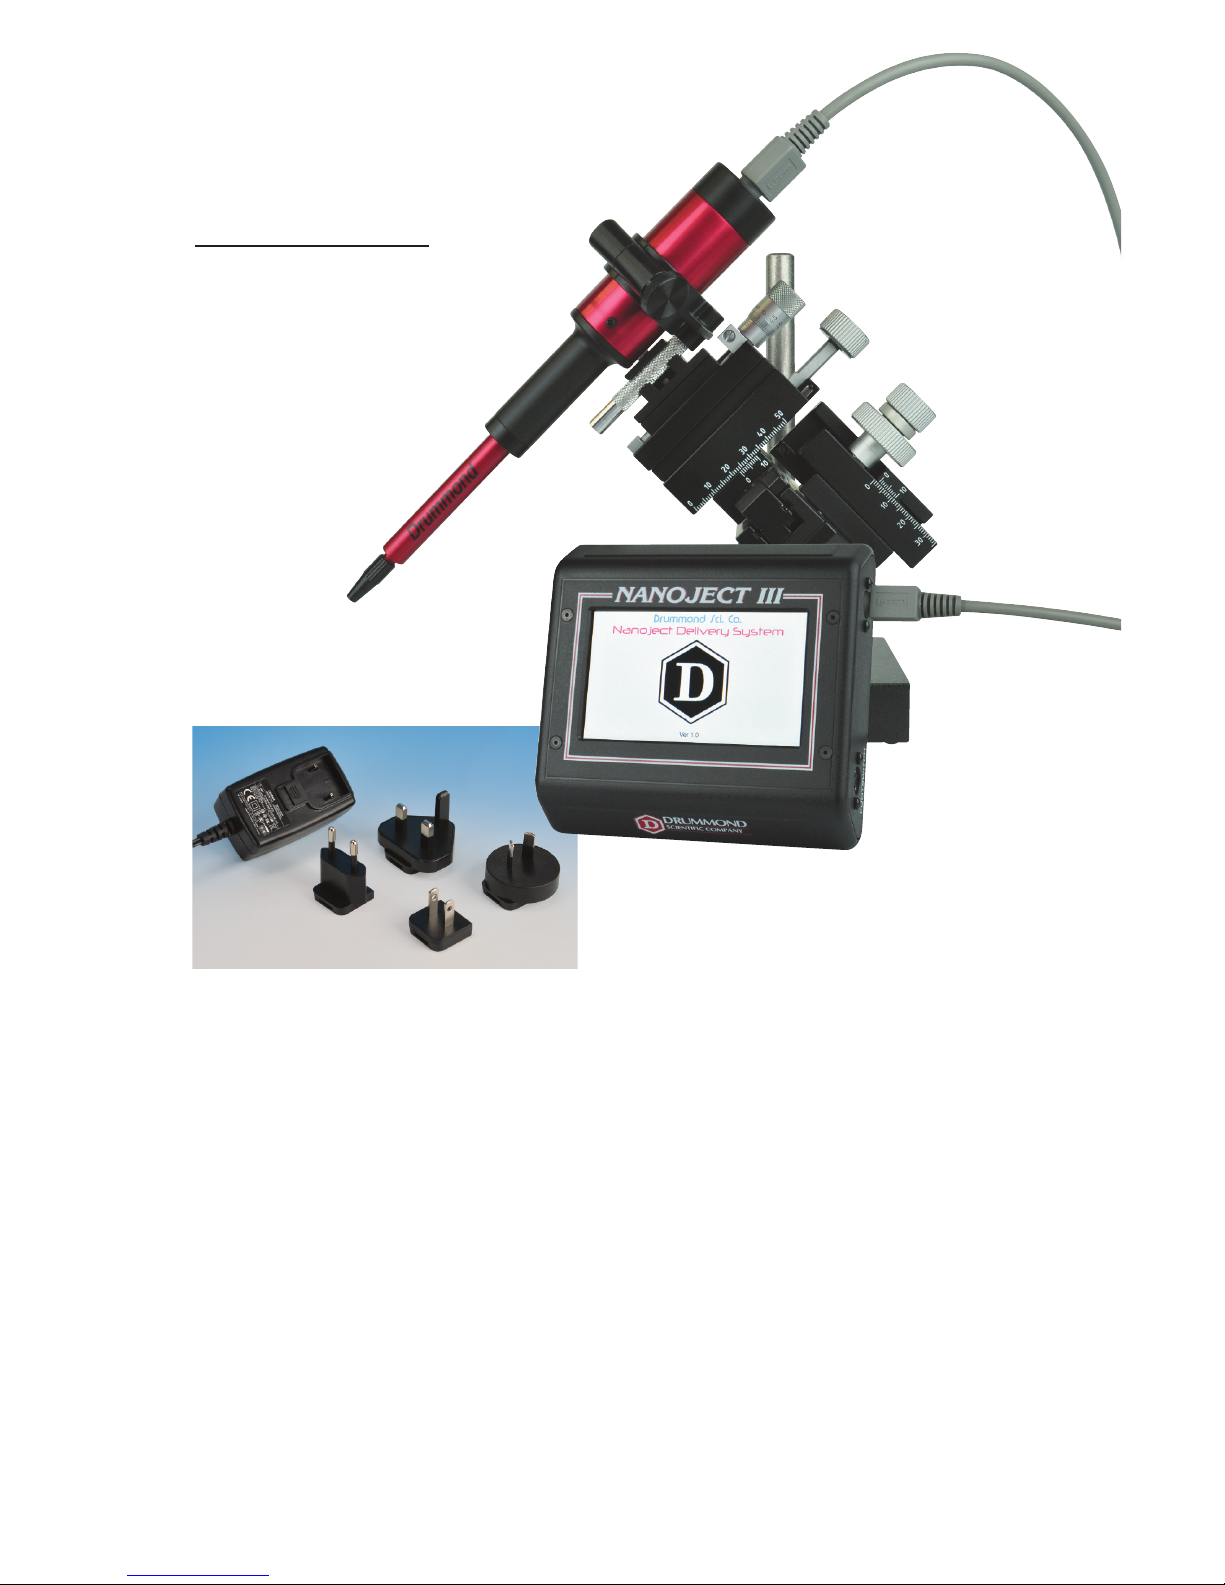
3) Plug in the ontrol box into a standard ele tri al outlet using the appropriate
adapter head on the power supply.
4) Turn on unit with the on/off swit h lo ated on the left hand side of the ontrol box.
5) Initially the Drummond logo will be displayed on the s reen and then the operational
mode s reen will appear with the following i ons:
Sele t the manual mode by pressing the
[ANUAL] i on.
Note: During this brief startup phase,
the inje tor head will automati ally drive
the plunger to its fully retra ted position
(“home”) and the ontrol box will emit an
audible beep upon ompletion.
6) Install a mi ropipet onto the inje tor
plunger by first loosening the bla k ollet slightly. Ba kfill your mi ropipet with a
suitable lightweight mineral oil (or any other non- ompressible liquid), and slide it
onto the wire plunger until it seats firmly, then tighten the ollet. It works best if the
wire plunger is extended slightly so you an see what you are doing.
NOTE: THE ICROPIPET UST BE FILLED CO PLETELY WITH SO E TYPE OF
BACKFILLING SOLUTION. THE UNIT WILL NOT INJECT ACCURATELY WITH AIR
INSIDE THE ICROPIPET–THIS INCLUDES AIR BUBBLES ALSO.
On e the mi ropipet is ba kfilled with oil and se ured, press the [E PTY] i on
down until the plunger is fully extended (approximately 23 mm beyond the end of
the bla k ollet). A single beep will be heard when the plunger is fully extended.
(This will for e the ba kfilling solution to the tip of the mi ropipet and any ex ess
will be expelled).
7) Front-fill the mi ropipet with your sample by pla ing the mi ropipet tip into your
sample and pressing the [FILL] i on. You may want to fill at a slow speed or fill by
alternately pressing the [FILL] i on for a few se onds and then the [STOP] i on to
allow the sample to equilibrate before pressing the [FILL] again. This is dependent
on the tip size and the vis osity of your sample.
Note: The plunger will ontinue to extend or retra t until you press the [STOP]
i on, or a fully extended or fully retra ted position is rea hed.
8) To inje t the sample, return to the operational mode s reen by pressing the [EXIT]
i on, then sele t inje t mode by pressing the [INJECT] i on. Set the desired
inje tion volume (NL) and rate using the respe tive [+] and [-] i ons. Press the
[INJECT] i on to inje t your sample.
Note: Multiple inje tions an be performed by simply pressing the [INJECT] i on
again and again.