manuals.online logo
Brands
  1. Home
  2. •
  3. Brands
  4. •
  5. NordicTrack
  6. •
  7. Stepper Machine
  8. •
  9. NordicTrack Mtn 750 Stepper User manual

NordicTrack Mtn 750 Stepper User manual

This manual suits for next models

1

Other NordicTrack Stepper Machine manuals

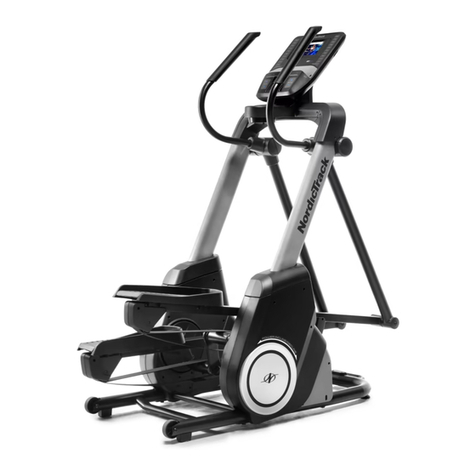
NordicTrack Freestride Trainer FS7i User manual

NordicTrack

NordicTrack Freestride Trainer FS7i User manual

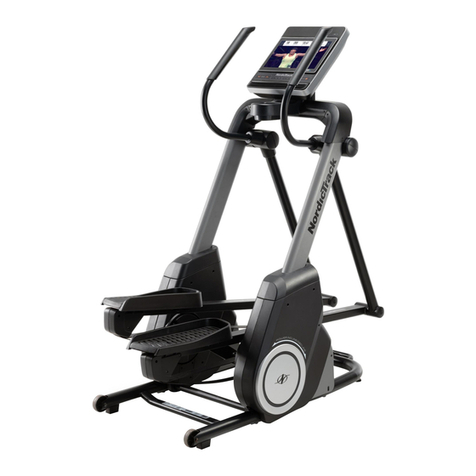
NordicTrack FS14i User manual

NordicTrack

NordicTrack FS14i User manual

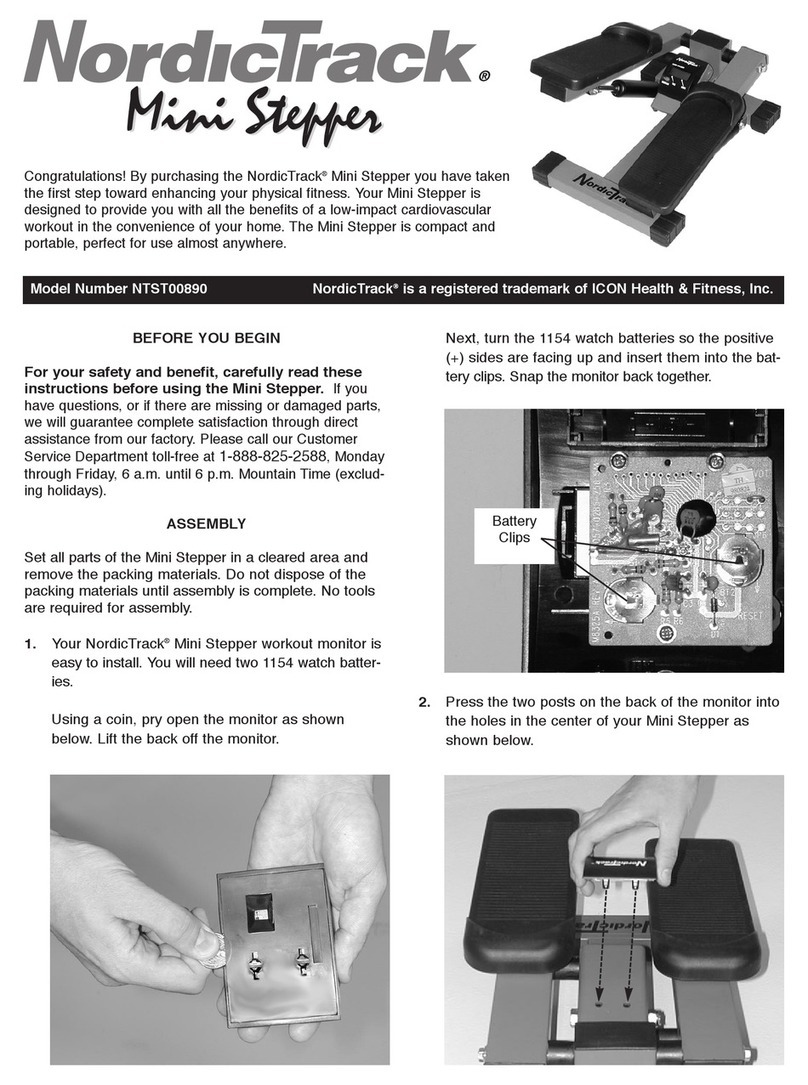
NordicTrack NTST00890 User manual

NordicTrack

NordicTrack NTST00890 User manual

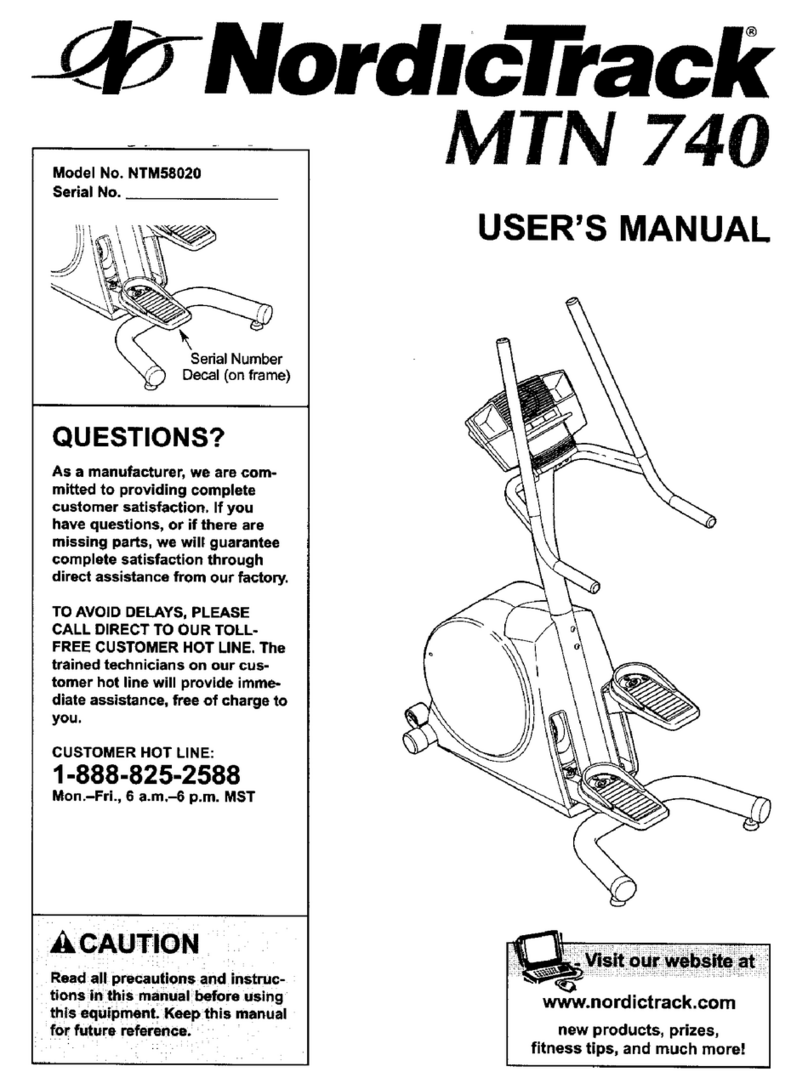
NordicTrack MTN 740 NTM58020 User manual

NordicTrack

NordicTrack MTN 740 NTM58020 User manual

NordicTrack Mtn740 Stepper User manual

NordicTrack

NordicTrack Mtn740 Stepper User manual

NordicTrack NTEL71620-INT.0 User manual

NordicTrack

NordicTrack NTEL71620-INT.0 User manual

NordicTrack spacesaver se 9i User manual

NordicTrack

NordicTrack spacesaver se 9i User manual

NordicTrack NTEL19911.0 User manual

NordicTrack

NordicTrack NTEL19911.0 User manual

Popular Stepper Machine manuals by other brands

Domyos ST 230 operating instructions

Domyos

Domyos ST 230 operating instructions

WAVE EXCITE CLASS & TREND Service maintenance manual

WAVE EXCITE

WAVE EXCITE CLASS & TREND Service maintenance manual

Stamina Space MATE owner's manual

Stamina

Stamina Space MATE owner's manual

Insportline IN 9101 user manual

Insportline

Insportline IN 9101 user manual

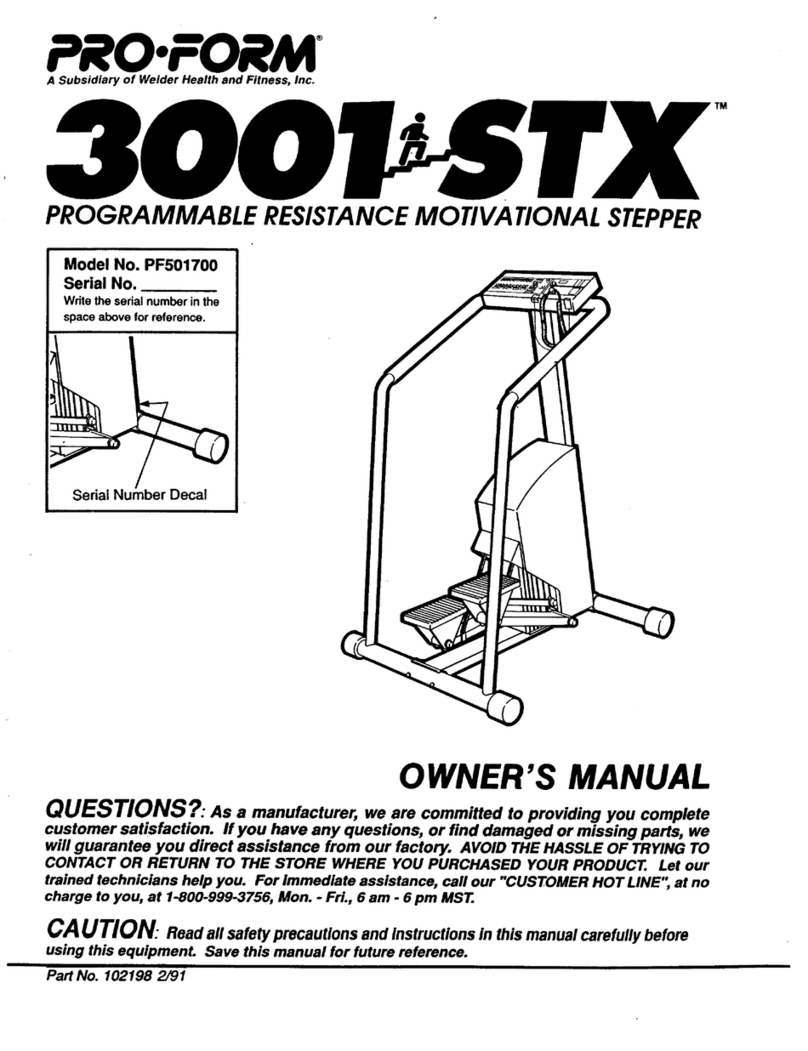
Pro-Form 3001 Stx Stepper owner's manual

Pro-Form

Pro-Form 3001 Stx Stepper owner's manual

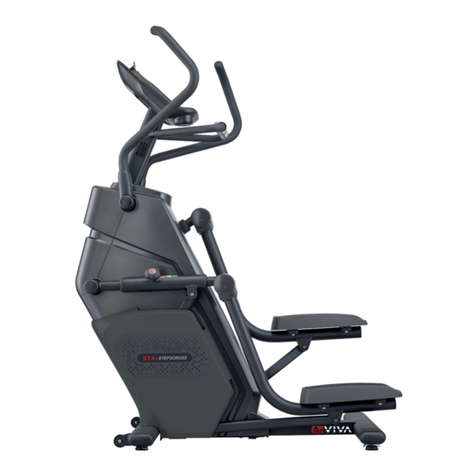
AsVIVA ST4 manual

AsVIVA

AsVIVA ST4 manual

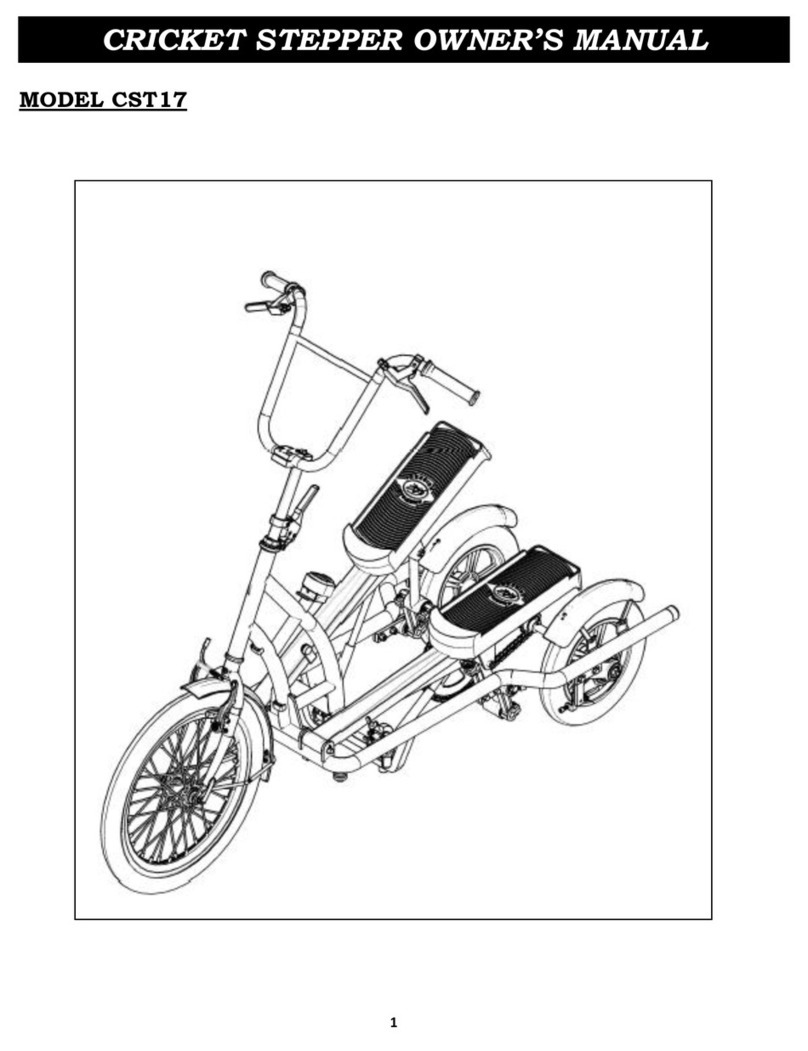
Cricket CST17 owner's manual

Cricket

Cricket CST17 owner's manual

STAR TRAC FITNESS P-ST Stepper owner's manual

STAR TRAC FITNESS

STAR TRAC FITNESS P-ST Stepper owner's manual

Weslo Ascent 745 manual

Weslo

Weslo Ascent 745 manual

Wagan MINI STEPPER 2273 user manual

Wagan

Wagan MINI STEPPER 2273 user manual

STAR TRAC FITNESS E-ST Assembly & Setup

STAR TRAC FITNESS

STAR TRAC FITNESS E-ST Assembly & Setup

Sportplus SP-MSP-001 operating instructions

Sportplus

Sportplus SP-MSP-001 operating instructions

Argos Opti Mini Stepper Assembly & user instructions

Argos

Argos Opti Mini Stepper Assembly & user instructions

Karman MoonRocker user guide

Karman

Karman MoonRocker user guide

Avari Fitness Avari owner's manual

Avari Fitness

Avari Fitness Avari owner's manual

Weider 28ST user manual

Weider

Weider 28ST user manual

Hudora 65237 INSTRUCTIONS ON ASSEMBLY AND USE

Hudora

Hudora 65237 INSTRUCTIONS ON ASSEMBLY AND USE

Tunturi S90 owner's manual

Tunturi

Tunturi S90 owner's manual

manuals.online logo
manuals.online logoBrands
  • About & Mission
  • Contact us
  • Privacy Policy
  • Terms and Conditions

Copyright 2025 Manuals.Online. All Rights Reserved.

CAUTION
Read all precautions and instruc-
tions in this manual before using
this equipment. Keep this manual
for future reference.
Model No. NTST07901
Serial No.
Serial Number
Decal (on frame)
QUESTIONS?
As a manufacturer, we are com-
mitted to providing complete
customer satisfaction. If you
have questions, or if there are
missing parts, we will guarantee
complete satisfaction through
direct assistance from our factory.
TO AVOID DELAYS, PLEASE
CALL DIRECT TO OUR TOLL-
FREE CUSTOMER HOT LINE. The
trained technicians on our cus-
tomer hot line will provide imme-
diate assistance, free of charge to
you.
CUSTOMER HOT LINE:
1-888-825-2588
Mon.–Fri., 6 a.m.–6 p.m. MST
Visit our website at
www.nordictrack.com
new products, prizes,
fitness tips, and much more!
V
USERʼS MANUAL
TABLE OF CONTENTS
MPORTANTPRECAUTONS ................................................................2
BEFOREYOUBEGN ......................................................................3
ASSEMBLY ...............................................................................4
HOWTOOPERATETHESTEPPER ...........................................................7
TROUBLE-SHOOTNGANDMANTENANCE ...................................................16
CONDTONNGGUDELNES...............................................................17
PARTLST ..............................................................................18
EXPLODEDDRAWNG ....................................................................19
HOWTOORDERREPLACEMENTPARTS .............................................BackCover
LMTEDWARRANTY ..............................................................BackCover
2
NordicTrack®is a registered trademark of CON Health & Fitness, nc.
IMPORTANT PRECAUTIONS
WARNING: To reduce the risk of serious injury, read the following important precau-
tions before using the stepper.
1. Read all instructions in this manual before
using the stepper.
2. It is the responsibility of the owner to ensure
that all users of the stepper are adequately
informed of all precautions.
3. Place the stepper on a level surface. Cover
the floor beneath the stepper to protect the
floor or carpet. Keep the stepper indoors,
away from moisture and dust.
4. Inspect and tighten all parts regularly.
Replace any worn parts immediately.
5. Keep children under the age of 12 and pets
away from the stepper at all times.
6. The stepper should not be used by persons
weighing more than 250 pounds.
7. Wear appropriate exercise clothing when
using the stepper. Always wear athletic
shoes for foot protection.
8. Always hold the handgrips or the handlebars
when mounting, dismounting, or using the
stepper.
9. Keep your back straight when using the
stepper; do not arch your back.
10. If you feel pain or dizziness while exercis-
ing, stop immediately and begin cooling
down.
11. The stepper is intended for in-home use
only. Do not use the stepper in a commer-
cial, rental, or institutional setting.
WARNING: Before beginning this or any exercise program, consult your physician.
This is especially important for persons over the age of 35 or persons with pre-existing health prob-
lems. Read all instructions before using. ICON assumes no responsibility for personal injury or
property damage sustained by or through the use of this product.
3
BEFORE YOU BEGIN
Congratulations for selecting the new NordicTrack®
MTN 750 stepper. Stepping is one of the most effec-
tive exercises for increasing cardiovascular fitness,
building endurance, and toning the entire body. The
NordicTrack®MTN 750 stepper blends advanced engi-
neering with innovative styling to let you enjoy this
exercise in the convenience and privacy of your home.
For your benefit, read this manual carefully before
you use the NordicTrack®MTN 750 stepper. f you
have additional questions, please call our Customer
Service Department toll-free at 1-888-825-2588,
Monday through Friday, 6 a.m. until 6 p.m. Mountain
Time (excluding holidays). To help us assist you,
please note the product model number and serial
number before calling. The model number is
NTST07901. The serial number can be found on a
decal attached to the stepper (see the front cover of
this manual for the location of the decal).
Before reading further, please familiarize yourself with
the parts that are labeled in the drawing below.
Handgrip
Handlebar
Water Bottle Holder*
*No water bottle is included
FRONT
BACK
LEFT SIDE
Side Shield
Wheel
Pedal
Adjustable Foot
Book Rack
Console
4
ASSEMBLY
Assembly requires two persons. Place all parts of the stepper in a cleared area and remove the packing
materials. Do not dispose of the packing materials until assembly is completed. In addition to the included
allen wrenches, assembly requires an adjustable wrench and a rubber mallet .
As you assemble the stepper, use the drawings below to identify the small parts used in assembly. The number
in parenthesis below each drawing refers to the key number of the part, from the PART L ST on page 18. The
second number refers to the quantity used in assembly. Note: Some small parts may have been pre-assem-
bled for shipping. If a part is not in the parts bag, check to see if it has been pre-assembled.
M10 x 91mm Bolt (63)–2
M10 x 82mm Bolt (26)–4
M10 Split
Washer (30)–10
M10 Nylon
Locknut (27)–4
M8 Nylon
Locknut (28)–4
M8 x 35mm
Button Bolt (24)–4
Console
Screw (57)–4
M8 Split
Washer (54)–4
M10 x 48mm Button
Screw (99)–4
5
1. While another person lifts and holds the indicated end
of the Frame (1), insert the Stabilizer (2) into the
Frame. Attach the Stabilizer with four M10 x 48mm
Button Screws (99) and four M10 Split Washers (30).
99
30
12
1
2. Slide one of the Pedal Brackets (13) onto the end of
the Right Pedal Leg (10). Align the lower hole in the
Pedal Bracket with the hole in the Lower Pedal Leg
(12). nsert an M10 x 82mm Button Bolt (26) into the
Pedal Bracket and the Lower Pedal Leg.
Next, align the upper hole in the Pedal Bracket (13)
with the hole in the Right Pedal Leg (10). nsert an
M10 x 82mm Button Bolt (26) into the Pedal Bracket
and the Right Pedal Leg. Tighten an M10 Nylon
Locknut (27) onto each of the Button Bolts.
Attach the other Pedal Bracket (13) in the same way.
10 12
26
13
13
27
3
3
39
63
30
77
1
3. While another person holds the Upright (3) near the
Frame (1), connect the Extension Harness (77) to the
Wire Harness (39).
To
avoid pinching the Extension Harness (77) or
the Wire Harness (39) between the Upright (3)
and the Frame (1), p
ull the excess Extension
Harness out of the top of the Upright
.Then, care-
fully slide the Upright into the Frame. Attach the
Upright with two M10 x 91mm Button Screws (63)
and two M10 Split Washers (30).
2
30
5. While another person holds the Console (4) near the
Upright (3), connect the console wire to the Extension
Harness (77). nsert any slack wire into the Upright.
Attach the Console (4) to the Upright (3) with four
Console Screws (57) and four M10 Split Washers (30).
Make sure that the console wire and the Extension
Wire (77) are not pinched.
Snap the bookrack onto the Console (4) as shown.
5
6
4. Hold two Handlebar Bushings (92) around the rectangu-
lar tube on the left side of the Upright (3). Slide the Left
Handlebar (6) onto the Handlebar Bushings and the
tube on the Upright. Attach the Left Handlebar with two
M8 x 35mm Button Bolts (24), two M8 Split Washers
(54), and two M8 Nylon Locknuts (28). The Nylon
Locknuts must be very tight.
Attach the Right Handlebar (5) in the same way.
4
6
5
28
54
3
24
92
92
4
Console Wire
Bookrack
3
30
30
57 57
6. Make sure that all parts of the stepper are properly tightened. Note: Some hardware may be left over
after assembly is completed. To protect the floor or carpet from damage, place a mat under the stepper.
77
7
HOW TO OPERATE THE STEPPER
DESCRIPTION OF THE CONSOLE
The advanced console offers a variety of features to
help you get the most from your workouts.
When the manual mode of the console is selected, the
stepping speed can be changed with a touch of a but-
ton. As you exercise, the program display, the training
zone display, and the two LED displays will provide
continuous exercise feedback.
n addition, the console offers six workout programs.
Each program automatically changes the stepping
speed as it guides you through an effective workout.
The console also features new iF T.com interactive
technology. F T.com technology is like having a per-
sonal trainer right in your home. Using a stereo audio
cable (available at electronics stores), you can connect
the elliptical crosstrainer to your home stereo, portable
stereo, or computer and play special iF T.com CD pro-
grams (CDʼs are available separately). F T.com CD
programs automatically control the stepping speed as
a personal trainer coaches you through every step of
your workout. High-energy music provides added moti-
vation. Each CD features two programs designed by
certified personal trainers.
n addition, you can connect the stepper to your VCR
and TV and play iF T.com video programs (videocas-
settes are available separately). Video programs offer
the same benefits as iF T.com CD programs, but add
the excitement of working out with a class and an
instructor—the hottest new trend at health clubs.
With the stepper connected to your computer, you can
also go to our new Web site at www.iF T.com and
access audio programs and video programs directly
from the internet.
To purchase iFIT.com CDʼs and videocassettes,
call toll-free 1-800-735-0768.
HOW TO EXERCISE ON THE STEPPER
Hold the hand-
grips or the han-
dlebars and step
onto the pedals.
Begin stepping,
alternately press-
ing down the
right and left
pedals with a
smooth, continu-
ous motion.
Because the
pedals move
independently of
each other, you
must maintain a
continuous
motion or both
pedals will sink to
the floor. Change the height of your step or adjust the
stepping speed until you can comfortably maintain a
continuous motion (see step 3 on page 8).
As you step, you can exercise your upper leg muscles
by keeping your feet flat on the pedals. To focus on
your calf muscles, rise on your toes as you step.
Stand erect or lean forward slightly as you exercise.
Always keep your back straight in order to avoid
injury.
Handgrips
Handlebars
Pedals
8
HOW TO USE THE MANUAL MODE
The innovative stepper requires no batteries or
external power source. nstead, power is supplied by
a built-in generator as you step. Note: To operate the
SPEED buttons, you must step at a speed of 25 steps
per minute or faster for a minimum of 2 minutes.
Follow the steps below to use the manual mode.
Begin stepping.
To activate the console, simply begin stepping.
After a moment, the entire display will light for
two seconds; the console will then be ready for
use.
Select the manual mode.
When the console
is activated, the
manual mode will
be selected and
the manual indi-
cator will light. f
you have select-
ed a workout program or the iF T.com mode,
press the SELECT WORKOUT button repeatedly
until the manual indicator lights.
Adjust your stepping speed as desired.
As you exercise,
adjust your step-
ping speed by
pressing the
SPEED buttons.
Each time a but-
ton is pressed,
the speed setting will change by one step per
minute; if a button is held down, the setting will
change in increments of five steps per minute.
The speed setting can be from 25 to 120 steps
per minute.
When the SPEED “–” button is pressed, the
resistance of the pedals will increase and your
stepping speed will decrease; when the “+” but-
ton is pressed, the resistance will decrease and
you will have to increase your stepping speed to
prevent both pedals from sinking to the floor.
Note: After a SPEED button is pressed, it may
take several seconds for the selected speed set-
ting to be reached. You must step at a speed of
25 steps per minute or faster for the SPEED
buttons to operate.
Note: When you finish exercising, you must
press the SPEED “+” button to adjust the
speed to the maximum setting. Otherwise, it
will be difficult to step at a speed of 25 steps
per minute in order to activate the SPEED
buttons the next time the stepper is used.
Watch your progress with the program display,
the training zone display, and the LED displays.
The program
display—When
the manual mode
or the iF T.com
mode is selected,
the program dis-
play will show a tri-
angle representing a hill. As you exercise, the tri-
angle will disappear except for one flashing indi-
cator. The indicators in the triangle will then light
in sequence until the entire triangle is again lit.
Each time the entire triangle lights, you have com-
pleted 200 steps.
The training zone
display—The train-
ing zone display
will show the
approximate inten-
sity level of your
exercise. For example, if three or four indicators
in the display are lit, the display shows that your
intensity level is ideal for fat burning.
The left LED dis-
play—As you exer-
cise, the left display
will show the
elapsed time, the
total number of
steps you have
completed, and the approximate number of vertical
feet you have stepped. The display will change
from one number to the next every seven seconds,
as shown by the indicators around the display.
Note: When a workout program is selected, the
left display will show the time remaining in the
program instead of the elapsed time.
1
2
3
4
Manual
ndicator
9
The right LED
display—As you
exercise, the right
display will show
your current step-
ping speed, in
steps per minute,
and the approximate numbers of calories and fat
calories you have burned (see FAT BURN NG on
page 17). The display will change from one num-
ber to the next every seven seconds, as shown by
the indicators around the display.
Note: If the pedals are not moved for several sec-
onds, the console will automatically turn off.
10
HOW TO USE WORKOUT PROGRAMS
The stepper requires no batteries or external power
source. nstead, power is supplied by a generator as
you step. Note: To operate the SPEED buttons, you
must step at a speed of 25 steps per minute or faster.
Follow the steps below to use a workout program.
Begin stepping to activate the console.
To activate the console, simply begin stepping.
After a moment, the entire display will light for
two seconds; the console will then be ready for
use.
Select one of the six workout programs.
When the console
is activated, the
manual mode will
be selected and
the manual indica-
tor will light. To
select one of the
workout programs,
press the SELECT WORKOUT button repeatedly
until one of the six program indicators lights. Note:
A moment after a program is selected, the pro-
gram display will show the first six speed settings
of the program (see step 3).
Begin stepping to start the program.
Each program is
divided into sever-
al individual time
periods. Each peri-
od is one, two,
three, or four min-
utes long. One
speed setting is
programmed for each period. The speed setting
for the first period will be shown in the flashing
Current Period column of the program display.
The speed settings for the next five periods will be
shown in the five columns to the right.
When only three seconds remain in the first period
of the program, both the Current Period column
and the column to the right will flash, a series of
tones will sound, and all speed settings will move
one column to the left. The speed setting for the
second period will then be shown in the flashing
Current Period column and the stepper will auto-
matically adjust to the second speed setting. The
program will continue in this way until the speed
setting for the last period is shown in the Current
Period column and the last period ends.
Note: f the speed setting for the current period is
too fast or too slow, you can manually override
the setting by pressing the SPEED buttons. Every
few times a button is pressed, an additional indi-
cator will light or darken in the Current Period col-
umn. ( f any of the columns to the right of the
Current Period column have the same number of
lit indicators as the Current Period column, an
additional indicator may light or darken in those
columns as well.) f you manually override the
speed setting, when the next period of the pro-
gram begins, the stepper will automatically adjust
to the speed setting for the next period.
Note: f you stop stepping for several seconds,
the console will automatically turn off. To reacti-
vate the console, simply resume stepping.
Watch your progress with the program display,
the training zone display, and the LED displays.
Refer to step 4 on page 8.
2
1
4
3
Current Period
Program ndicator