NORDIKA Stompa Midsleeper User manual

Dimensions
Width - 148cm
Depth - 204cm
Height -109cm
Issue 1 - 22/10/10
Important – Please read these instructions fully before starting assembly
If you need help or have damaged or missing parts, call the Customer Helpline: 0844 8008475
Assembly Instructions - Please keep for future reference 6564942
Stompa Midsleeper with Central Ladder
T1091-02
208
,
2cm
105 cm
109 cm
Issue 1 - 20/04/18
T1091-02 NR851-106/108
Batch nr:
Issue 2 - 08/04/19
ā :DUQLQJ &KLOGUHQ FDQ EHFRPH WUDSSHG
EHWZHHQ WKH EHG DQG WKH ZDOO
7R DYRLG ULVN RI VHULRXV LQMXU\ WKH
GLVWDQFH EHWZHHQ WKH WRS VDIHW\ EDUUHO
DQG WKH ZDOO VKDOO QRW H[FHHG PP RU
VKDOO EH PRUH WKDQ PP
Glue safety - Take care when using glue, please follow the advice below
Skin contact: Remove
contamination by washing with
soap and water. This procedure
should also be followed prior to
eating and drinking.
Eye contact: Rinse immediately
with clean water for 15 minutes
and seek medical advice.
If swallowed: Seek medical
advice immediately.
Care and maintenance
7KH EXQN EHG PHHWV WKH HXURSHDQ
(1 $ VWDQGDUGV IRU VHFXULW\
DQG GXUDELOLW\
7KH EXQN EHG PHHWV WKH %XQN %HGV
(QWUDSPHQW +D]DUGV 6DIHW\
5HJXODWLRQV
FP
%HIRUH 6WDUWLQJ $VVHPEO\
2QO\ FOHDQ XVLQJ D GDPS FORWK
DQG PLQG GHWHUJHQW GR QRW XVH
EOHDFK RU DEUDVLYH FOHDQHUV
5HJXODUO\ FKHFN WKDW WKHUH DUH
QR ORRVH VFUHZV RQ WKLV XQLW DQG
UHWLJKWHQ ZKHQ QHFHVVDU\
3DUWV RI \RXU SURGXFW DUH SURGXFHG
IURP VROLG SLQH ZKLFK LV D QDWXUDO
SURGXFW FRQWDLQLQJ D EHDXWLIXO
ZRRGHQ VWUXFWXUH
'LUHFW VXQOLJKW FDQ VSHHG XS WKH
QDWXUDO SURFHVV RI WKH UHVLQ
FRQWDLQHG LQ WKH SLQH NQRWV WR FKDQJH
FRORXU DURXQG NQRWV
7KLV LV D QRUPDO SURFHVV KDSSHQLQJ
WR QDWXUDO ZRRG DQG FDQQRW EH VHHQ
DV D PDQXIDFWXUHUV IDXOW $OO ZRRG
KDV EHHQ GU\HG WR ,QGXVWU\ VWDQGDUGV
IRU IXUQLWXUH WLPEHU DQG DOO
SURFHGXUHV IRU REWDLQLQJ WKH EHVW
ODFTXULQJ ILQLVK KDYH EHHQ IROORZHG
2XU IXUQLWXUH ZLOO HQGXUH PRVW
WHPSHUDWXUHV LQ WKH KRPH EXW LW LV EHVW
WR DYRLG SODFLQJ IXUQLWXUH QH[W WR KHDW
VRXUFHV DV UDGLDWRUV RU ILUH %H
SDUWLFXODUO\ FDUHIXO ZLWK VROLG ZRRG DV
WKH ODFN RI KXPLGLW\ FDXVHG E\ FHQWUDO
KHDWLQJ FDQ FDXVH GDPDJH VXFK DV
ZDUSLQJ
6DIHW\ZKHQ XVLQJ \RXU EHG
'R QRW DOORZ FKLOGUHQ WR FOLPE RYHU WKH VDIHW\ UDLOV $OZD\V XVH WKH ODGGHU ZKHQ FOLPELQJ LQ DQG RXW RI EHG 1HYHU
DWWHPSW WR KDQJ EDJV EXQWLQJ RU RWKHU LWHPV ZLWK VWULQJV RU KDQGOHV RQ WKH EHG
IMPORTANT, READ CAREFULLY - RETAIN FOR FUTURE REFERENCE
Always follow the manufacturer`s
instructions.
Do not use the bed if any structural part is
broken or missing.
WARNING
Children can become trapped between the
bed and the wall, a roof pitch, the ceiling,
adjoining pieces of furniture (e.g.
cupboards) and the like. To avoid risk of
serious injury the distance between the top
safety barrier and the adjoining structure
shall not exceed 75 mm or shall be be
more than 230 mm.
Ventilation of the room is necessary in
order to keep the humidity low and to
prevent mould in and around the bed.
The bunk bed meets the european
EN 747+A1:2015 standards for security
and durability.
WARNING
Bunk beds and high beds can present a
serious risk of injury from strangulation if
not used correctly. Never attach or hang
items to any part of the bunk bed that are
not designed to be used with the bed, for
example, but not limited to ropes, strings,
cords, hooks, belts and bags.
Mattress: This bed is designed to use
mattress size 200 cm long and 90mm
wide. Total thickness must not exceed
15,25 cm. The label on the ladder side
indicates maximum height of mattress to
be used in this bed.

Components - Fittings
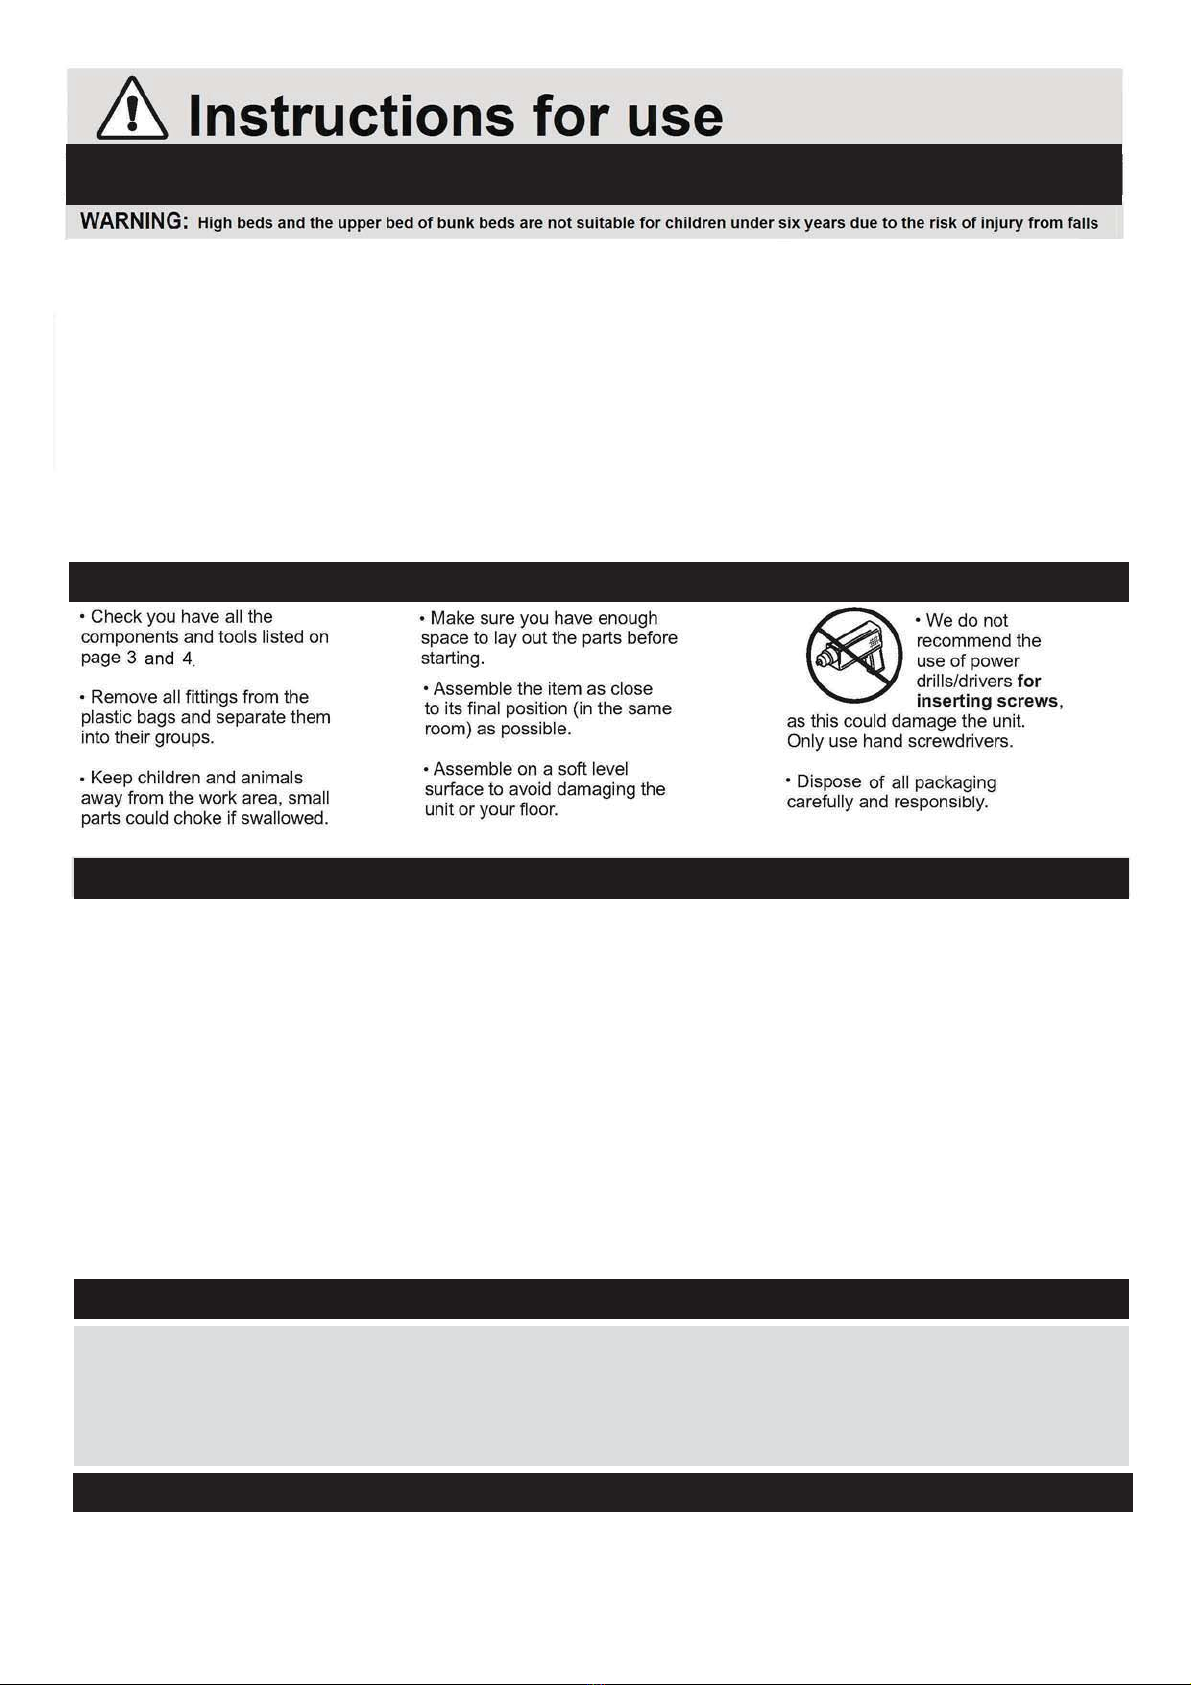
Please check you have all the fittings listed below
Note:The quantities below are the correct amount to complete the assembly. In some cases more
fittings may be supplied than are required.
A
Tools reqiured
1cm 2 345678910
11 12 13 14 15 16
1 inch 23456
Rulers - Use this ruler to help correctly identify the screws
Philips screwdriver (medium)
Flathead screwdriver (medium)
Allen key (incl)
Small hammer
Dowel Ø8x40 x34 Conformat screw Ø7x 60mm x20 Screw 3.5 x 35mm x60
Barrel nut Ø10 x 14mm x24 Allen key 4mm x1 Cover cap Ø15/Ø18 x12
Cover cap Ø8/Ø13 x16
E F
H K L
N P
Spacer 20x72x3mm x2
3
Rubber hammer
Q
Connecting bolt M6 x 50mm x5
Connecting bolt M6 x 75mm x19
R
Metal dowel x16
S
Locking nut x32
T
Cover cap Ø4/Ø17 x12
U
Cover cap Ø10/Ø13 x6
V
Cover cap Ø12/Ø3 x20
Y
Rubber hammer
Rubber hammer
ABC
D
E
F
GHH
M
H
PH
T
6HFWRU'[
PP6FUHZ[
'[&RYHU&DS[
PP6FUHZ[
PP6FUHZ[
'[&RYHU&DS[
GLUE
'[&RYHU&DS[
'&RYHU&DS[ '&RYHU&DS[
[6FUHZ[
0[%ROW[ [PP6FUHZ[
PP$OOHQNH\[
0[[&URVVGRZHO[
:RRGHQGRZHO[[
H
S
H
V
H
U

Components - Panels
3OHDVH FKHFN \RX KDYH DOO WKH SDQHOV OLVWHG EHORZ
(80,2x14,5x2 cm)
Bed rail x1
(200,6x14,5x2 cm)
End rail x2
Components
Slats x1
End rail x2
(80,2x14,5x2 cm)
optional top step subject to age
and development of child
Bed rail x1
(200,6x14,5x2 cm)
Rear safety rail x1
(200,6x14,5x2 cm)
Leg x2
(109x9x3,8 cm) Leg x2
(109x9x3,8 cm)
Front safety rail x2
(83,3x14,5x2 cm) Ladder side x2
(106,8x9x2 cm)
Step x3
(36x6,8x2,5 cm)

4
Assembly Instructions
Step 1
Fitting dowels
Insert wooden dowels A
into the holes in bed rails
1, headboard rails 2
,3, footboard 6and
bottomrail 7.
Note: It may be
nessesary to tap the
dowel in very gently with
small hammer.
Insert wooden dowels
Hinto the holes in
headboard panels 4
and 5.
Note: It may be
nessesary to tap the
dowel in very gently with
small hammer.
Assembling
headboard
Position details and
attach headboard panels
WRKHDGERDUGUDLOVOLNH
showed on illustration at
side.
Step 2
A
AA
A
A
H
A
A
A
A
A
A
11
2
6
7
A
H
H
H
3
4
5
2
5
3 4
4
4
4
4
4
x 6
B
GLUE
GLUE
GLUE
GLUE
35 mm
2X
Step 2
In this step use this fitting:
In this step use this fitting:
A
B
BB
A
A
A
A
B
A
A
A
A
A
A
A
A
C
5
C
4
C
1
C
2
C
8
C
3
C
6C
7
x36
x4
Insert dowels into the
holes in bed rails 1, 2 and
safety rails 3 and 8.
Place a little glue in each
hole for dowels in the end
rails 4 and 5. Insert dowel
and tap gently with a small
hammer.
Remove spilled glue with a
damp cloth.
Note: It may be necessary
to tap dowel in very gently
with small hammer
Insert connecting screws
into holes of legs using
4mm Allen key.
x2
x2
x2
x2
x3
x3
x3
x3
x3
x3

4
Assembly Instructions
Step 1
Fitting dowels
Insert wooden dowels A
into the holes in bed rails
1, headboard rails 2
,3, footboard 6and
bottomrail 7.
Note: It may be
nessesary to tap the
dowel in very gently with
small hammer.
Insert wooden dowels
Hinto the holes in
headboard panels 4
and 5.
Note: It may be
nessesary to tap the
dowel in very gently with
small hammer.
Assembling
headboard
Position details and
attach headboard panels
WRKHDGERDUGUDLOVOLNH
showed on illustration at
side.
Step 2
A
AA
A
A
H
A
A
A
A
A
A
11
2
6
7
A
H
H
H
3
4
5
2
5
3 4
4
4
4
4
4
x 6
GLUE
2X
GLUE
Assembling with 2 steps
Assembling with 3 steps
Step 3
Step 4
In this step use this fitting:
In this step use this fitting:
C
G
Note:
A
lways placed
inside the ladder
C
C
G
G
G
C
C
6
C
7
C
5
C
4
C
9
C
10
C
10
C
9
H
P
H
P
H
P
H
P
H
V
H
V
H
V
H
V
H
V
C
C
10
H
S
H
S
H
S
H
S
H
S
x8
x8
x4
Place a little glue in holes in
legs as shown in the picture.
Remove spilled glue with a
damp cloth.
Position legs. Insert sectors
into 35mm holes as
shown in the picture.
Tighten screws with 4mm
Allen key.
Cover 35mm holeswith
cover caps
Assemble ladder sides and
steps as shown in the
picture.
Use connecting screws
and Allen key.
Cover the heads of screws
using cover cap .
x4
x8
x2
x2
x2
x2

4
Assembly Instructions
Step 1
Fitting dowels
Insert wooden dowels A
into the holes in bed rails
1, headboard rails 2
,3, footboard 6and
bottomrail 7.
Note: It may be
nessesary to tap the
dowel in very gently with
small hammer.
Insert wooden dowels
Hinto the holes in
headboard panels 4
and 5.
Note: It may be
nessesary to tap the
dowel in very gently with
small hammer.
Assembling
headboard
Position details and
attach headboard panels
WRKHDGERDUGUDLOVOLNH
showed on illustration at
side.
Step 2
A
AA
A
A
H
A
A
A
A
A
A
11
2
6
7
A
H
H
H
3
4
5
2
5
3 4
4
4
4
4
4
x 6
Step 5
Step 6
In this step use this fitting:
In this step use this fitting:
D
E
F
F
H
D
D
D
D
E
E
E
E
F
F
E
H
H
H
H
F
E
D
F
F
H
C
3
C
1
C
2
C
8
C
2
C
8
F
H
x4
x4
x2
x2
x6
Push Cross dowel into
hole in bed rails 1 and 2.
The groove on Cross dowel
should be horizontal.
Push Bolt through each
leg to meet Cross dowel
and then fasten with the
Allen key.
Attach the safety rail 3 to
the leg with the screws
Attach safety rail through the
leg with screw
Attach ladder to the bed rail
screws
4
Assembly Instructions
Step 1
Fitting dowels
Insert wooden dowels A
into the holes in bed rails
1, headboard rails 2
,3, footboard 6and
bottomrail 7.
Note: It may be
nessesary to tap the
dowel in very gently with
small hammer.
Insert wooden dowels
Hinto the holes in
headboard panels 4
and 5.
Note: It may be
nessesary to tap the
dowel in very gently with
small hammer.
Assembling
headboard
Position details and
attach headboard panels
WRKHDGERDUGUDLOVOLNH
showed on illustration at
side.
Step 2
A
AA
A
A
H
A
A
A
A
A
A
11
2
6
7
A
H
H
H
3
4
5
2
5
3 4
4
4
4
4
4
x 6
Step 7
In this step use this fitting:
Step 8
In this step use this fitting:
C
11
H
M
H
M
H
M
H
T
H
U
C
11
H
T
H
T
H
T
H
T
H
T
H
U
H
U
H
U
H
U
H
U
H
U
H
U
H
U
H
U
x26
x4
x8
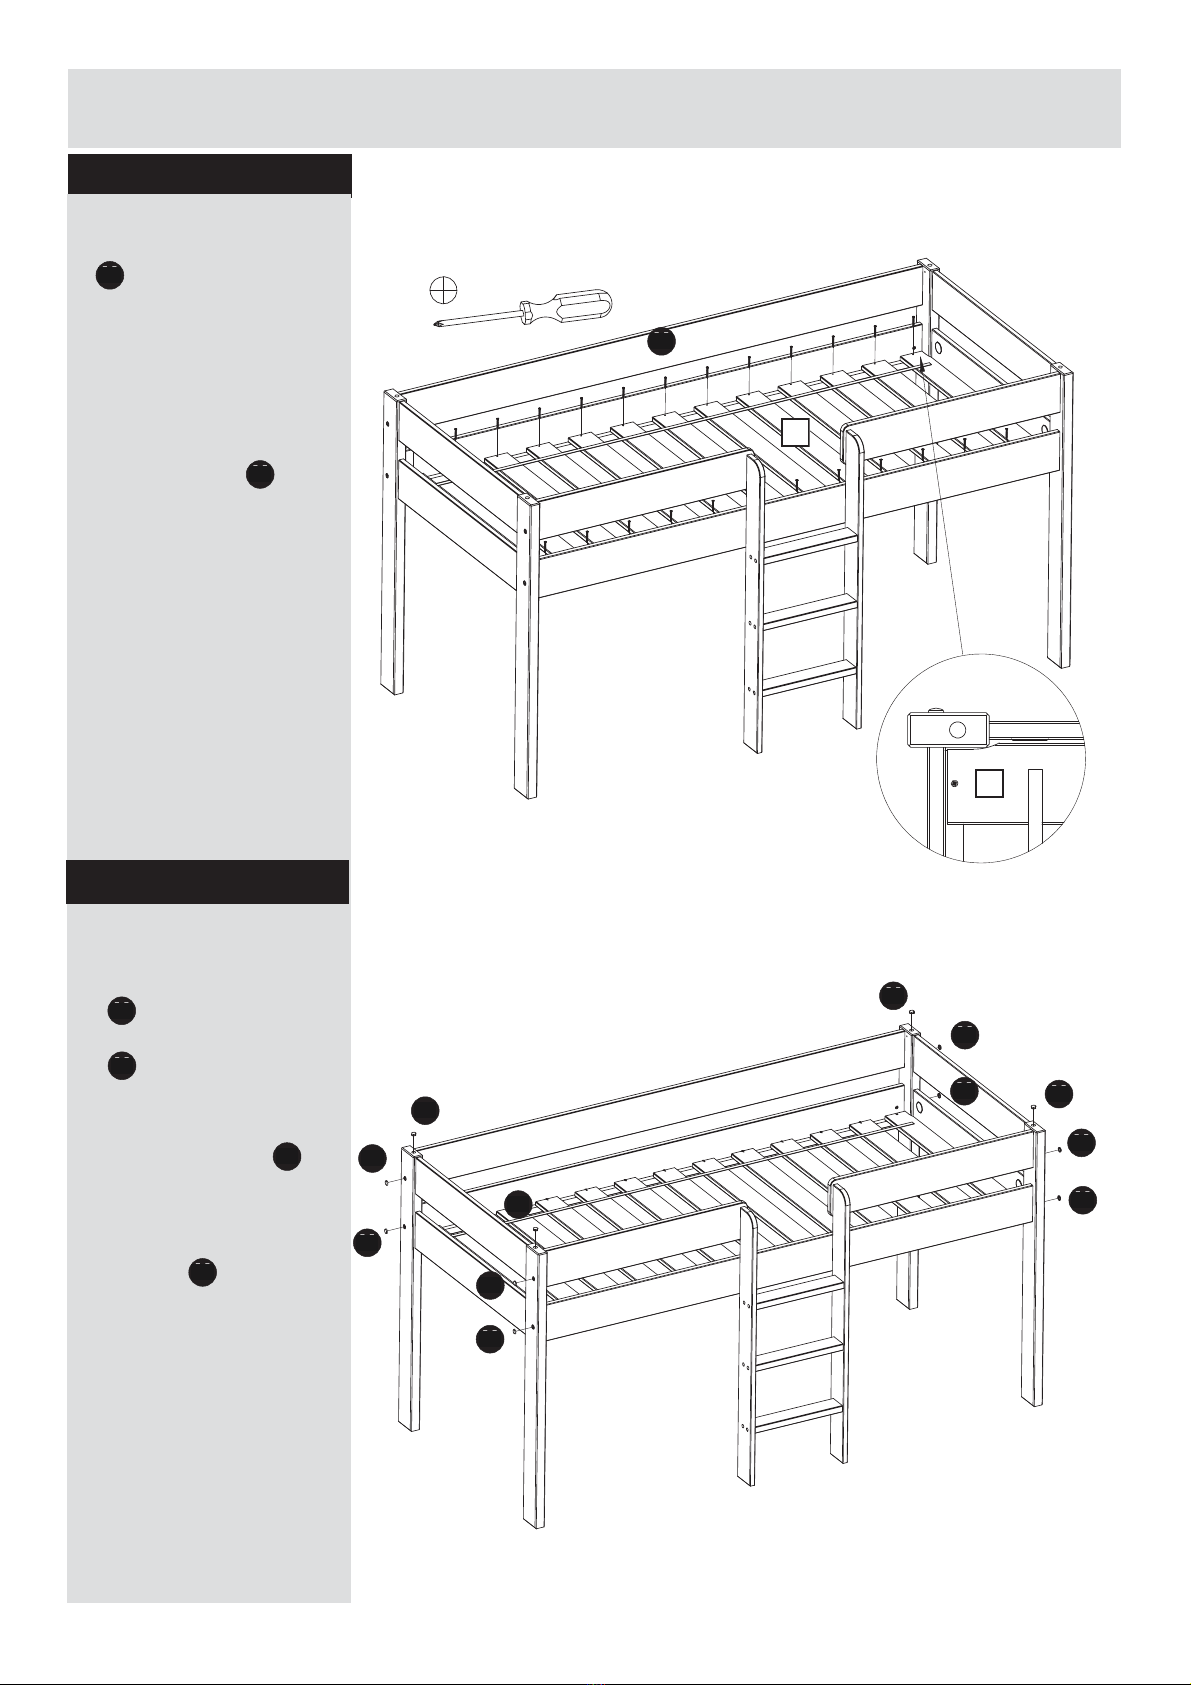
Position slats equally.
End slats must be in
contact with legs.
Place two screws in
each slat and tighten using
a Phillips screwdriver.
Cover the unused holes in
legs with cover caps
Cover the Bolt heads with
cover caps .
x26
Should the bed need to be
taken apart for storing or
transporting the slats do not
need to be disassembled
from the bed rails.

Calls cost 7 pence a minute plus your phone company's access charge.
01943 81780

Customer Service Form
Please return complete to Fax: 0560 1132071
Name:
Address:
Contact No:
Date of purchase:
Place of purchase:
Product Name:
See assembly instructions:
Problem:
Parts Needed: Part No. Quantity
Please quote assembly
instruction or number
Description
e.g drawer base
01943 81780
This manual suits for next models
2


