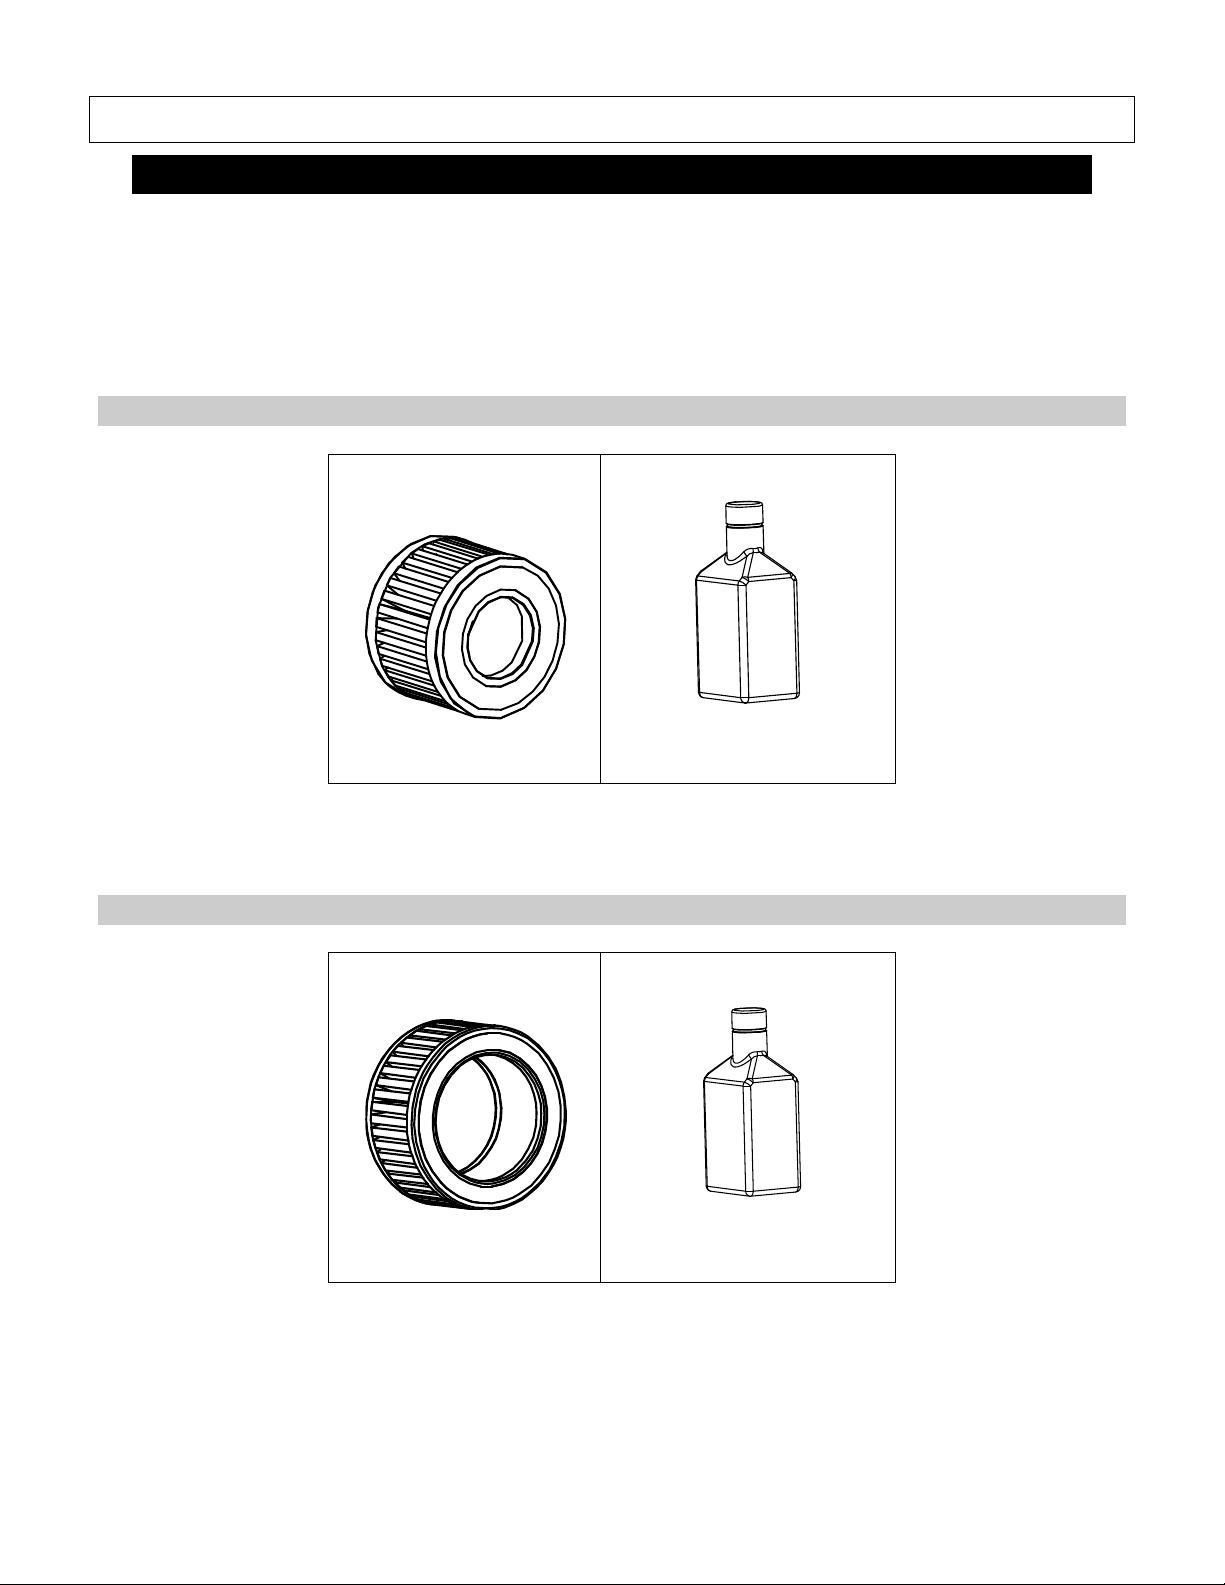
Change Air Filter Element
The compressor’s air filter element should be changed
every 12 months or after 1000 hours of use.
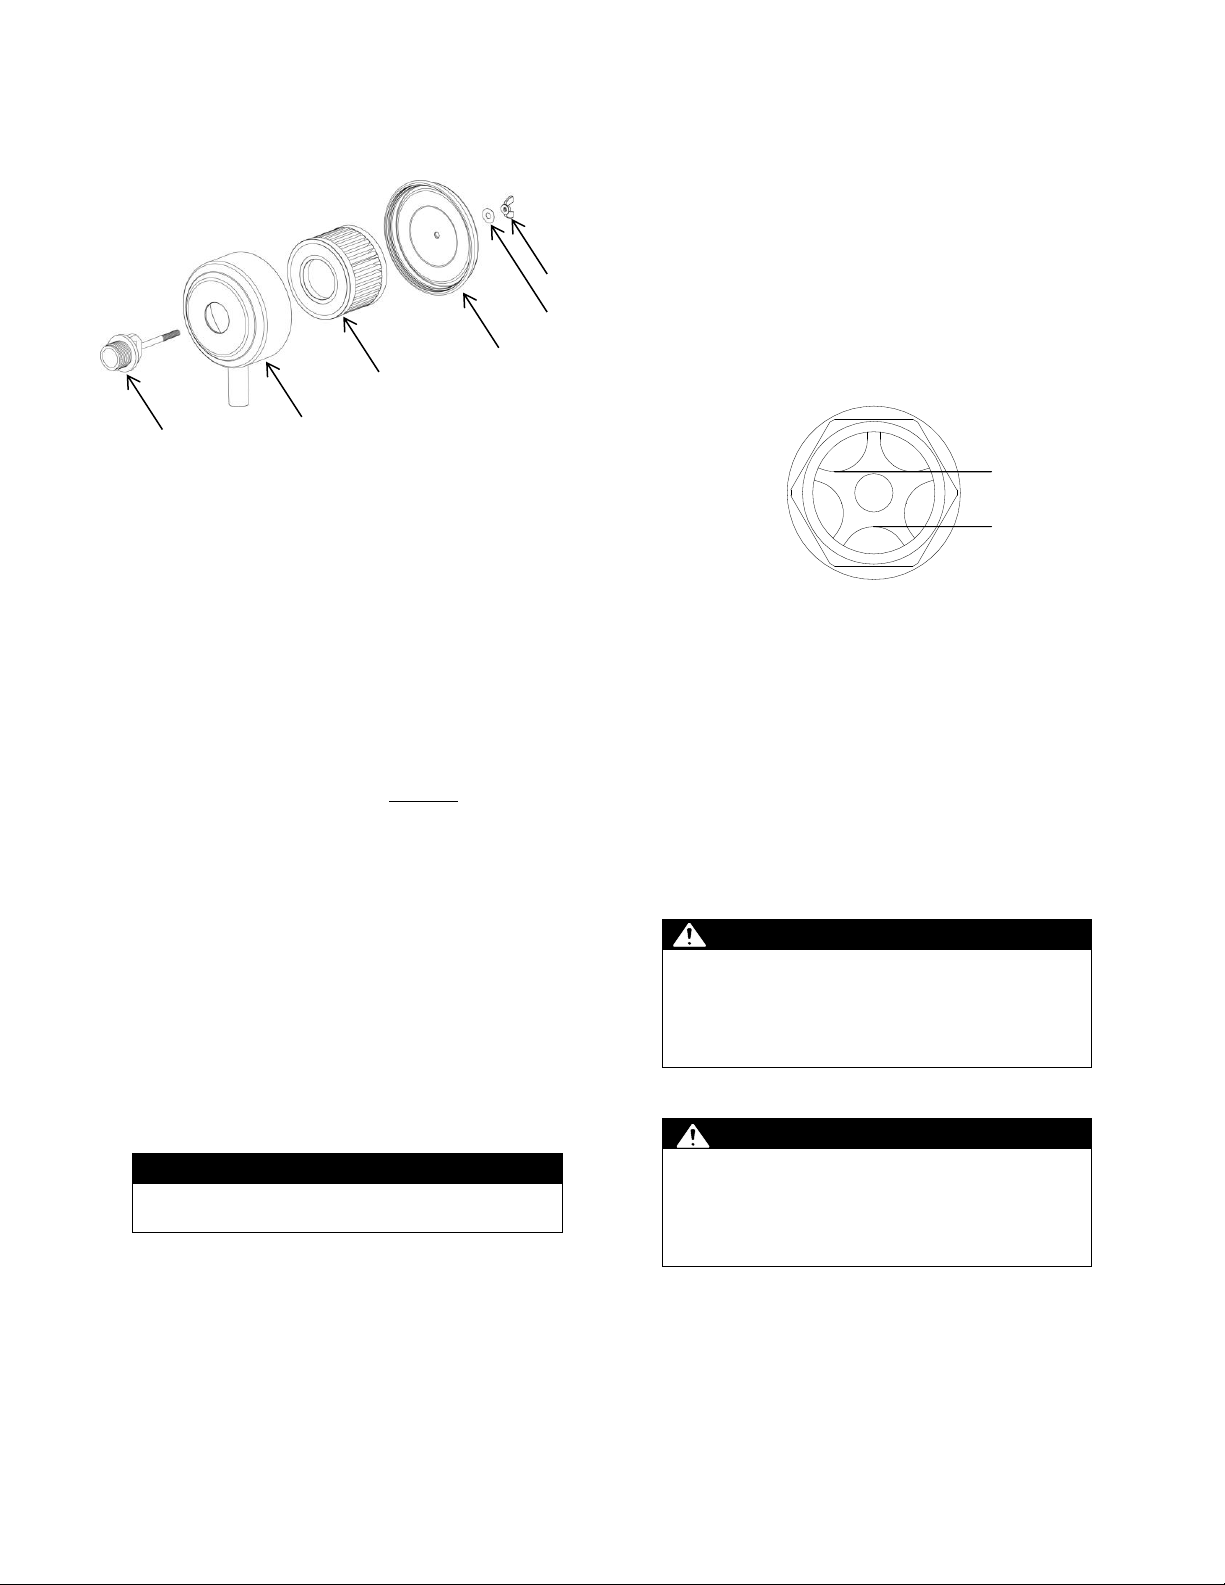
Figure 1
1. Unscrew wingnut and washer used to hold
cover in place.
2. Remove cover and withdraw air filter element.
3. Replace new air filter element and cover,
securing it with washer and wingnut that were
removed previously.
Note: Keep the air filter clean. Do not operate with the
air filter removed.
Inspect Compressor for Air Leaks
Inspect system for air leaks on a monthly basis, or
again, at the first use after a prolonged period of
storage.
Squirt soapy water around joints during
compressor operation and watch for bubbles.
Developing bubbles indicate a leak is present.
Tighten fittings if necessary.
Engine Maintenance
Perform engine maintenance as specified in the engine
Owner’s Manual. Items include:
Change oil after the first 20 operating hours, and
at least every 100 operating hours thereafter and
oil filter, as directed in engine Owner’s Manual.
WARNING: Burn hazard
Never open oil port while engine is running. Hot oil can
spray over face and body.
Air filter check/replacement
Spark plug cleaning/replacement
Fuel filter check/replacement
Fuel tank cleaning
Change Pump Oil
Northern Tool recommends using synthetic oil after the
first 50 hour break in period. See “Maintenance
Schedule Summary” for recommended frequency of oil
changes. See “Appendix A: Lubricants” for suitable
alternatives.
1. Remove the oil fill and drain plugs. Collect the oil
in a suitable container.
2. Clean and replace the oil drain plug and refill
compressor crankcase with clean oil.
3. Replace the oil fill plug.
4. Start the unit and run for several minutes. Shut
the air compressor down and check the oil level.
If necessary, add more oil. (Figure 2)
Figure 2
Drain Receiver Tank and Inspect Tank
Drain water from the receiver tank daily. Water left in the
tank can cause the tank to weaken and corrode,
increasing the risk of tank rupture.
Northern Tool recommends a tank inspection after every
2 years of service. See “Inspection of Unfired Pressure
Vessels,” volumes 2-9, August 2001, Bill McStraw
(available on-line at NTIS).”
WARNING: Air tank hazards
Failure to replace a rusted air receiver tank could result
in tank rupture or explosion, which could cause
substantial property damage, severe personal injury, or
death. Never modify or repair a tank. Obtain
replacement from service center.
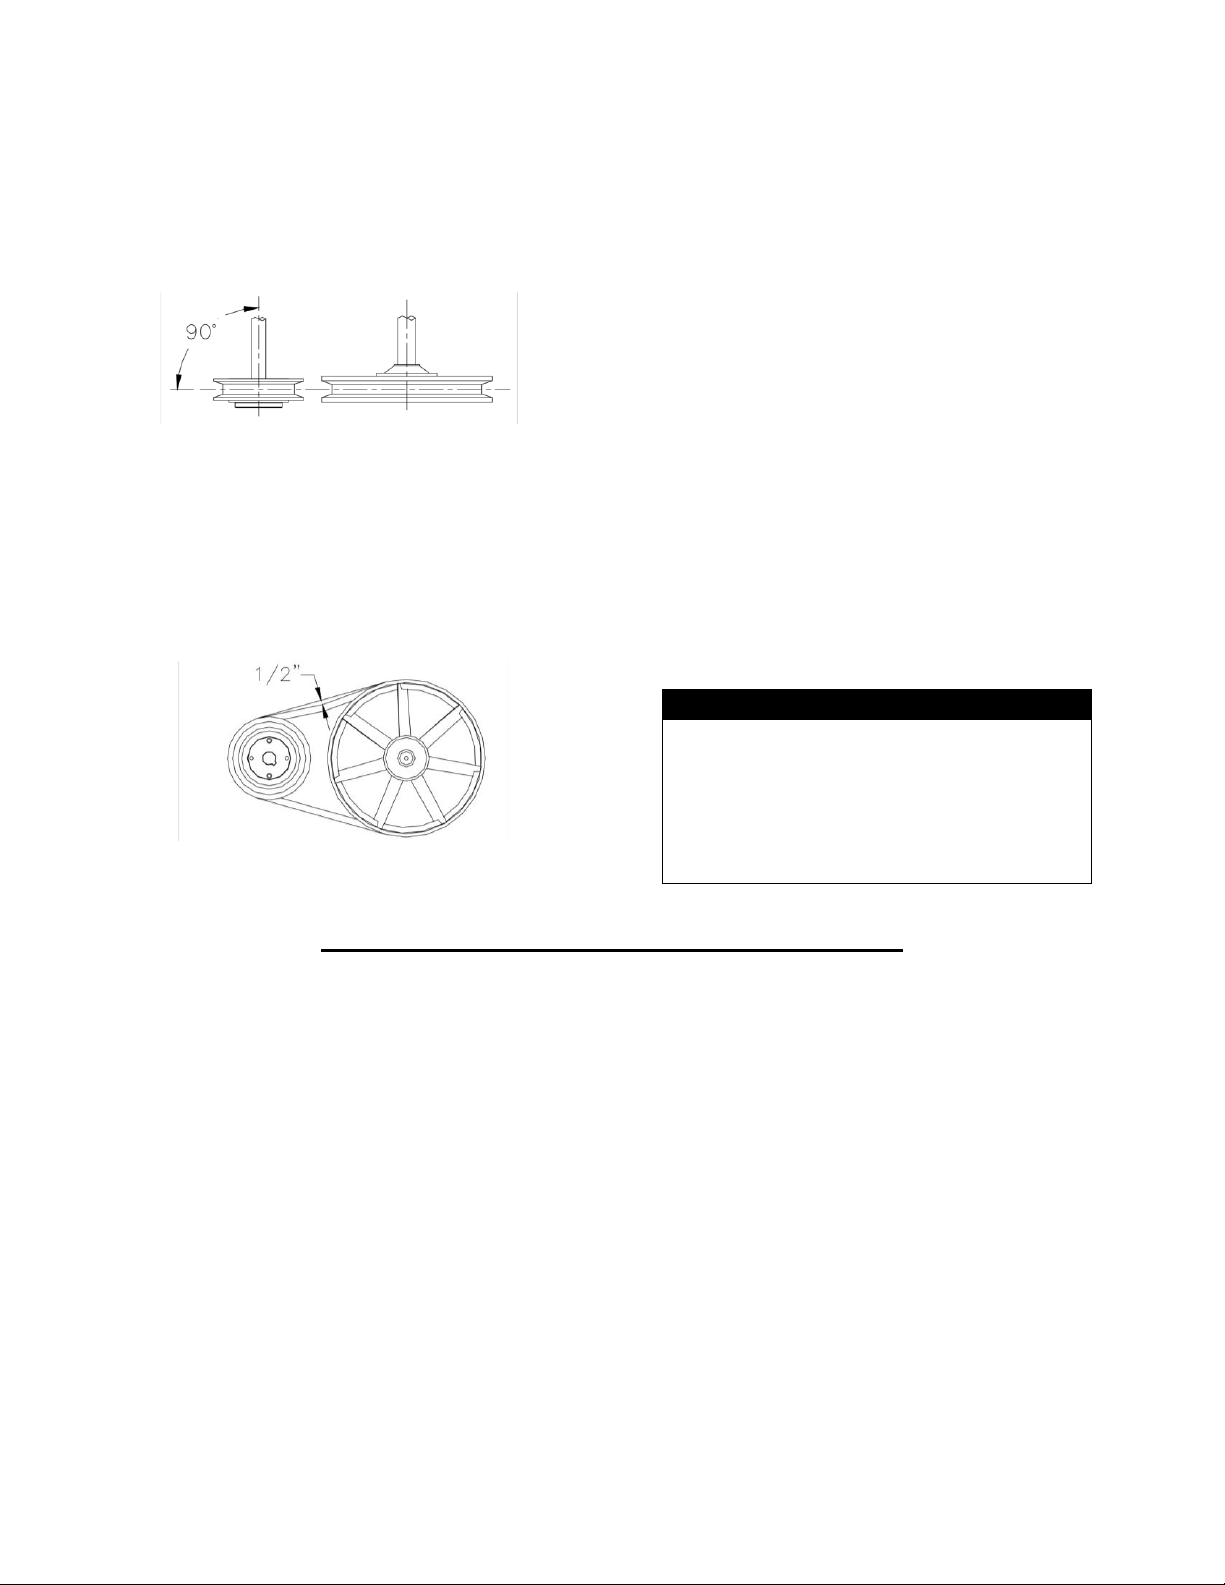
Check Drive Belt for Tension and Alignment
CAUTION: Pulley/sheave hazard
Improper pulley/sheave alignment and belt tension can
result in motor overload, excessive vibration, and
premature belt and/or bearing failure. To prevent this
from happening, check the pulley/sheave alignment and
belt tension on a regular basis.
Belts will stretch from normal use. When properly
adjusted, a 5 lb. force applied to the belt between the
engine pulley and the pump will deflect the belt about
½”.
To align and adjust drive belt tension:
1. Remove the belt guard cover.