NovaFlex Coloronix C-SS2-RGBW-18L-18 User manual

800.595.6302 coloronix.com |1Specications are subject to change without notice.
CAT. NO.:
TYPE:
PROJECT:
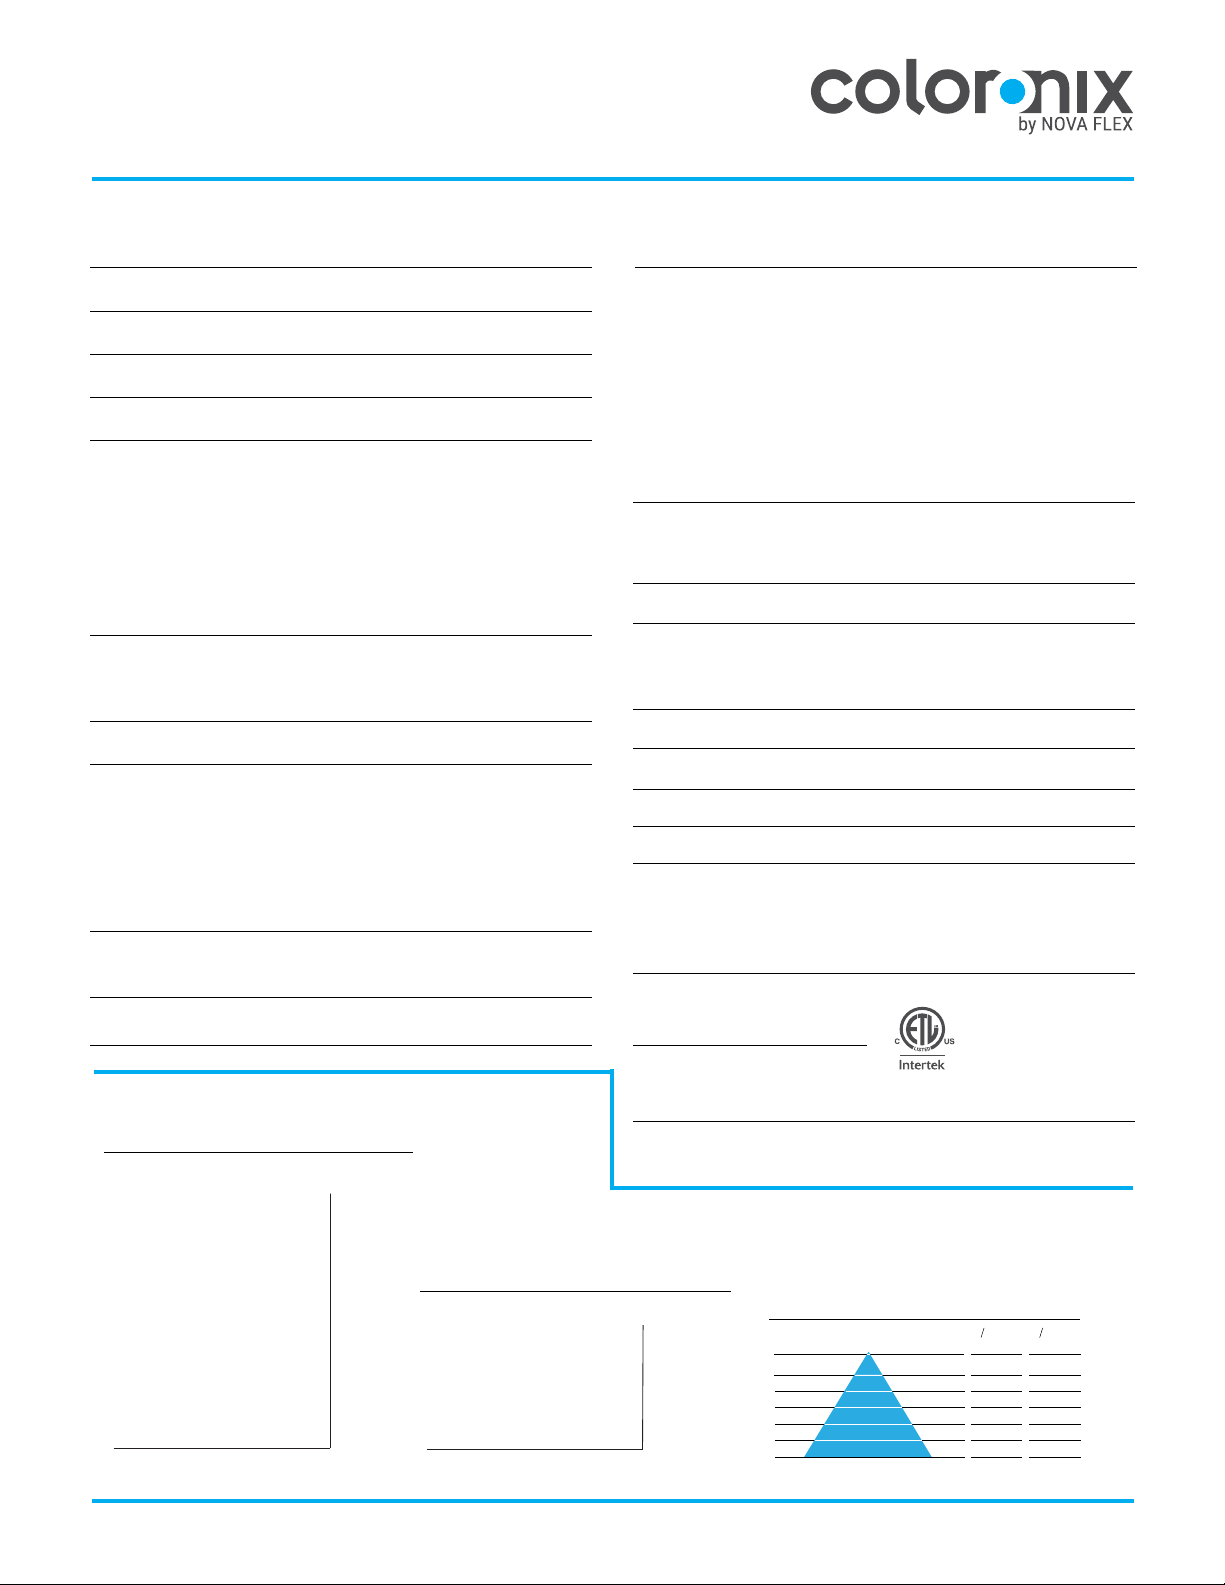
DIMENSIONS
12-33/64"
8-3/4"
6-11/16"
40-7/16"
90°90°
ColorFacade - Wall Grazing
C-SS2-RGBW-18L-18
40" Adjustable RGBW Linear Flood/
Spot DMX Light
APPLICATION
For use as linear, direct flood and/or accent lighting, installed as an
above grade fixture. Perfect for applications desiring a dynamic color
changing effect. Recommended for retail, modern residential, hospitality
and entertainment installations. RGBW design allows fine-tuned pastel
colors and saturated hues without sacrificing illumination brightness. DMX
control option allows the use of DMX512 Control Systems to individually
control and change colors, set looks, and add lighting effects which can
affect moods, feelings and atmosphere.
• 105W (16-LED) 5,250 Max. Lumen
• DMX direct via LCD display, Proprietary quick connectors included
• IP65
• 18obeam spread
• LED Die Colors: RGBW
• Using proprietary technology, colors are efficiently blended together
through an internal mixing chamber. The one-color output reduces
unsightly views of isolated rainbow like striations.
• Smooth and flicker-free dimming of all colors down to 1%
• 3 Year Warranty
Optional Glare Shield Visor
2022.03.01
ACCESSORIES
Glare Shield Visor
To direct the light & reduce glare; if ordered,
the VSR will arrive installed on fixture.
C-P-SS2-18L-18-VSR
60" Plug-In Cord (in addition to cord
included with unit)
C-SWR-PWR-WL--60-Pl
For connecting mains power to unit.
Terminated in a 15A male Edison
connector.
C-SWR-PWR-WL-8080" Power Jumper
For daisy chaining power from powered
unit to unpowered unit. No more than
9units max from main power feed.
300" (25') Data Cable Interconnect C-SWR-DMX-WL-300
For daisy chaining DMX from one
fixture to another. Pre-terminated in
4-Pin proprietary connector. Maximum
32 fixtures may be connected on any
DMX run (for bare-end at one end,
please specify -HW).
80" DMX/Data Jumper C-SWR-DMX-WL-80
For daisy chaining DMX from one fix-
ture to another. Pre-terminated in 4-Pin
proprietary connector. Maximum 32
fixtures may be connected on any DMX
run (for bare-end at one end, please
specify -HW).
Wet Location Power End Caps (in
addition to the set included with unit) C-PCL008-WL-PWR
Protective cover for use in wet location
environments for capping power
connector cable.
Wet Location DMX End Caps (in
addition to the set included with unit) C-PCL008-WL-DMX
Protective cover for use in wet location
environments to cap DMX cables. Not
a DMX terminator.
LxDxH: 40.4" x 6.7" x 8.8"
800.595.6302 coloronix.com |2Specications are subject to change without notice.
Stand Alone Control: Pre-Programmed static and dynamic scenes, as well
as specific colors, can be user activated by the integral Data Enabler's
computer eliminating the need for an external data source. On board
OLED display inside the Data Enabler allows selection of over 30 static
and dynamic color sequences. Display encased behind temperproof UV
protected glass to reduce deterioration after long exposure to outdoor
environments.
SPECIFICATIONS
ColorFacade - Wall Grazing
C-SS2-RGBW-18L-18
40" Adjustable RGBW Linear Flood/Spot DMX Light
20ò° TILT, 15®’’ OFFSET
FOOTCANDLE CALCULATION: SS2-RGBW-18L18-B15
3.5' 3.5'
60'3.5 7.6
2.6 5.8
2.0 4.6
1.5 5.6
1.2 2.8
3.5
2.6
2.0
1.5
1.2
70'
90'
90'
100'
10'4.3 8.2
7.9 16.0
8.5 17.2
6.5 13.4
4.7 10.2
4.3
7.9
8.5
6.5
4.7
20'
30'
40'
50'
DISTANCEFC FC FC
0ò° TILT, 4®’ OFFSET
FC FC FC
20ò° TILT, 15®’’ OFFSET
6' 6'
10'1.3 2.6
1.5 3.0
7.6 15.2
13.6 27.2
11.1 22.4
1.3
1.5
7.6
13.6
11.1
20'
30'
40'
50'
DISTANCE
FOOTCANDLE CALCULATION: SS2-RGBW-18L18-B15
0ò° TILT, 4®’ OFFSET
20ò° TILT, 15®’’ OFFSET
28'
30'
35'
42'
18’
20’
24’
28’
Height
210
168
118
86
FC
FOOTCANDLE CALCULATION: SS2-RGBW-18L-18
O @ 50%
of beam
50'
55'
67'
78'
50'30’ 76 85'
53'35’ 56 98'
O @ 90%
of beam
0ò° TILT, 4®’ OFFSET
PHOTOMETRY
OUTPUT
Beam Angle: 18°
Lumens: 5,250 Max. Lumen
Efficacy (lm/W): 50lm/W
LED Channels: Red/Green/Blue/White
Color Mixing: Using proprietary technology, colors are efficiently blended
together through an internal mixing chamber. The one-color output
reduces unsightly views of isolated Red, Green and Blue Diodes for a
seamless rainbow-free appearance.
ELECTRICAL
Input Voltage: Direct 120-277V input comes standard. 50/60 Hz
Power Consumption: 0-105W
CONTROL
Interface: DMX direct via LCD display
Control System: DirectDMX Color Control. Color controlled with USITT
DMX512A Standard Protocol to work with Coloronix or 3rd Party DMX
Systems. On board LCD display inside the Data Enabler allow selecting of
DMX addresses between 1-512 in a given DMX universe. DMX Data fed
to housing via proprietary 4-wire data cable. Data Input/Output ports allow
daisy-chaining of DMX Signal.
LED Die Colors: Red (620-635nm), Green (520-535nm),
Blue (450-465nm) and Neutral White (5000k)
Dimming: Smooth and flicker-free dimming of all colors down to 1%
LUMEN MAINTENANCE
L70 Life: 35,000 Hours for ambient temperatures under 100ºF.
PHYSICAL
Dimensions LxDxH: 40.4" x 6.7" x 8.8"
Housing Material: Extruded aluminum to protect light emitting diodes,
other electronics and preserve optical alignment. Painted black to
maximize color mixing and eliminate stray light leaks.
Weight: 16.8lbs.
Lens: Tempered Glass
Mounting: Mounting Brackets provided, one each side
Temperature Range: 14°F - 113°F Ambient
Luminaire Run Lengths: Maximum 6units on power daisy chain, 32 units
on DMX daisy chain
ENVIRONMENT
IP65
CERTIFICATIONS
Pending INTERTEK confirmation
WARRANTY
3-Years

•DMX512 compatible controller (optional)
•DMX extension (optional)
•DMX feed connector
•4x4 inch electrical junction box rated for the application (optional)
•Controller (DMX512 compatible)
•Proper mounting bolts, washers, and lock washers to secure the fixture to the mounting surface
SAFETY HAZARD ICON KEY
DANGER = avoiding
pending
danger will result in serious injury or death.
WARNING = avoiding this warning may result may in serious injury or death.
CAUTION = not exercising caution may result in minor to moderate injury, or property damage.
INSTALLATION
The SS2 Series are active, top-of-the-line RGBW color changing fixtures that can be used in indoor or outdoor projects.They
draw on solid-state elements, to produce highlights and washes in architectural spaces. RGBW is an acronym for Red Green
Blue and White. RGBW LED color mixing luminaires have the potential to produce 4.3 billion colors and 16.7 million white
light tones.
When installed and operated according to this manual, these fixtures will operate safely and dependably for their rated
lifespan.
These luminaries require a USITT DMX 512 control signal on four consecutive channels total. The unit includes a DATA OUT
output for connection to additional units or other DMX512 devices.
SCOPE
The purpose of this manual is to show proper use and installation of color-changing flood lights for peak performance. This
manual must be complimented by additional references, consultation from qualified professional(s), and observance of state
and local codes and regulations. This rule applies to any interior structure, exterior structure, or environment.
Therefore, it is important to: please read and comply with all instructions and warnings in this manual when installing or
using this product.
THIS MANUAL INTENDED FOR electrical contractors, electrical engineers, and licensed electricians.
ADDITIONAL SUPPLY OPTIONS
ColorFacade - Wall Grazing
C-SS2-RGBW-18L-18
40" Adjustable RGBW Linear Flood/Spot DMX Light
800.595.6302 coloronix.com | 3

SAFETY HAZARD PRECAUTIONS
DANGER: Not turning off the main power before wiring, installing, connecting, or disconnecting this product may
result in serious injury, or death.
WARNING: Not following NEC codes, local codes, or consulting a certified professional may result in property
damage, serious injury, or death.
WARNING: Not following instructions or safety labels may result in property damage, or serious injury.
WARNING: Modifying, servicing, or ignoring these safety indications may void the warranty.
WARNING: Inspect product before use. DO NOT use if damaged.
WARNING: Install safety cables per local and structural engineer’s code.
CAUTION: Hot swapping, not turning off fixtures before connection or disconnection, will void the warranty, and
damage property.
CAUTION: Do not go beyond the specified voltage, input current, maximum number of fixtures, or run length.
CAUTION: Do not use sharp tools near the reflector or lens.
CAUTION: Do not look directly into beam, with or without optical instruments.
Note: Instructions and warning referenced in this installation guide are not necessarily all-inclusive, all conceivable, or all
relevant to all applications as Coloronix by Nova Flex cannot anticipate all conceivable or unique situations.
PLANNING FOR INSTALLATION
Unpacking: Use the packing list to ensure all accessories are included. Survey the unit to make sure the data enabler/trim
are all intact—not cracked or damaged. Please recycle or appropriately discard of any packing materials.
Preparation: Before Installation, we suggest:
•Consult the provided submittal drawings to recognize layouts of luminaries, power supplies, & wiring layouts
•Drawing out a layout plan consisting of locations of luminaries and wiring
•Record DMX addresses on a mapping grid for easy reference and addressing (where applicable)
•An electrical inspector reviews all wiring plans
Points to Consider About Data:
•AC Power and DATA cables may NOT run in the same conduit or within one
•foot due to possible induced errors.
•32 DMX DATA links max per run
To Install Successfully:
1. Mount and align fixture
2. AC power connections
3. DMX connections
800.595.6302 coloronix.com | 4
C-SS2-RGBW-18L-18
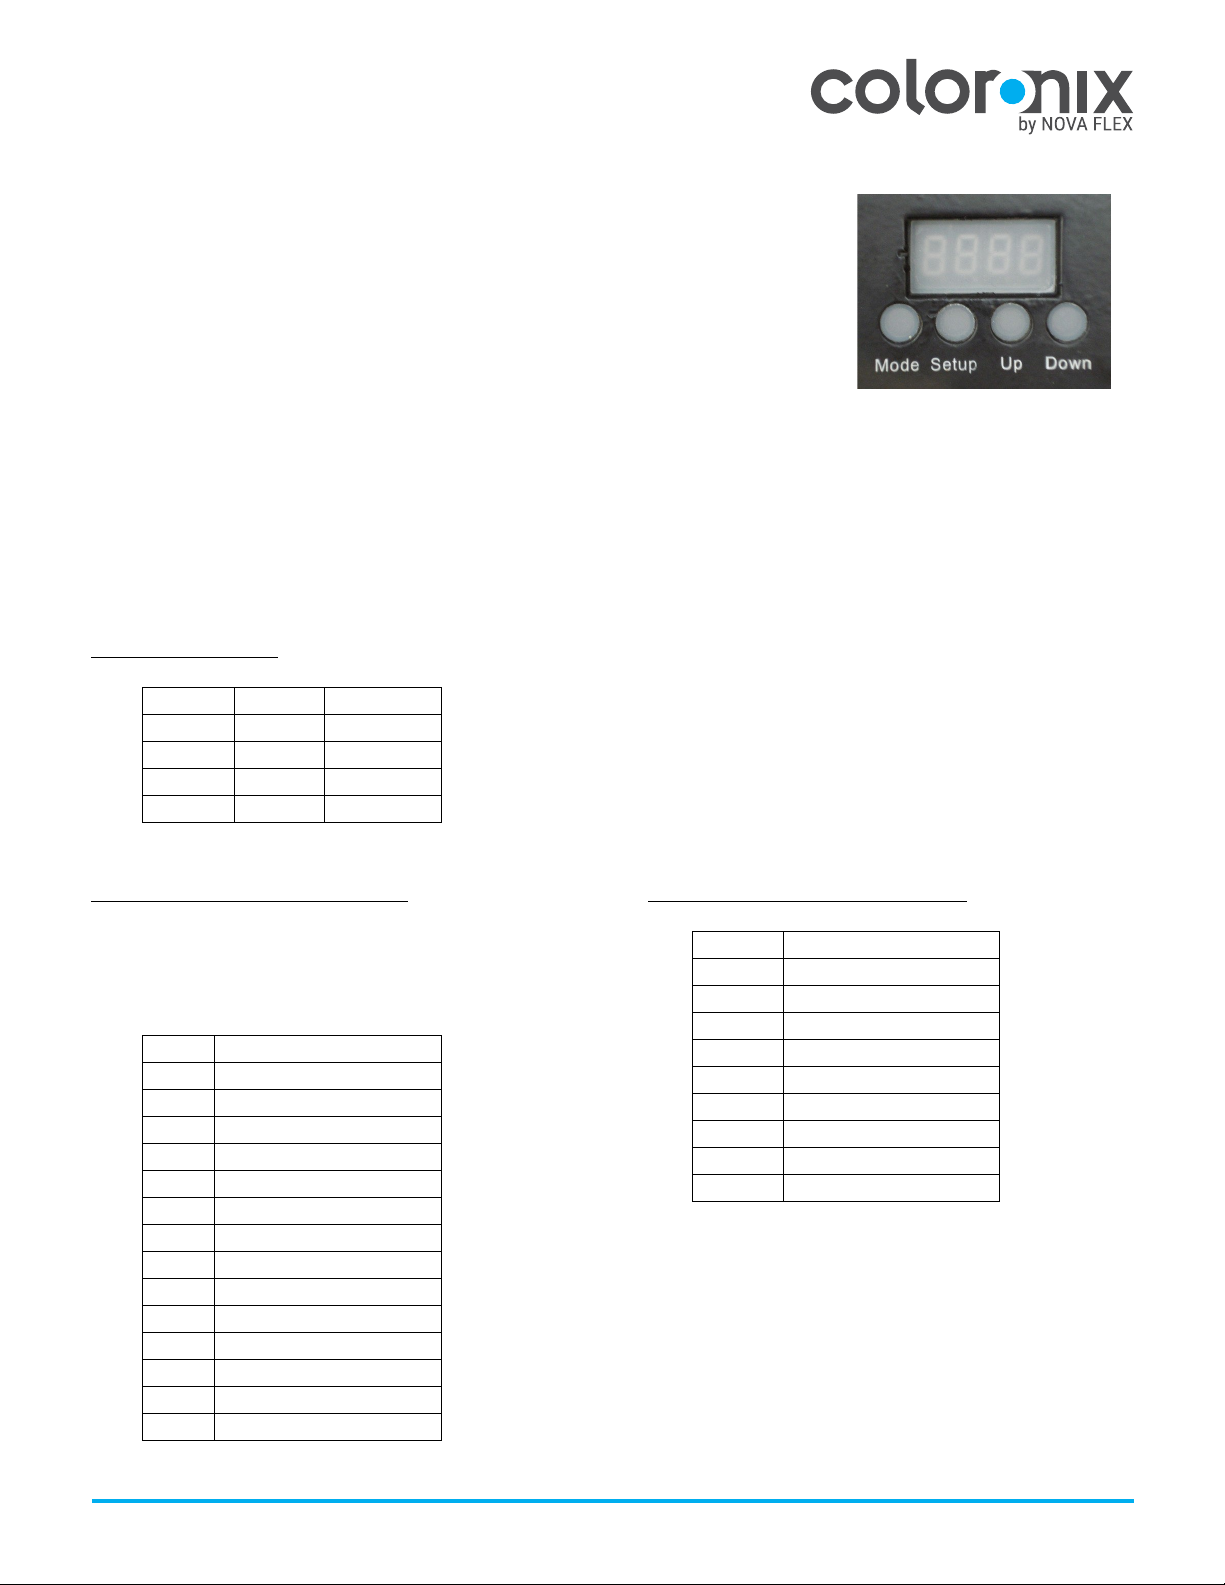
SETTING COLOR MODE
For installations requiring DMX control, set the personalized DMX address
on the LCD menu (pictured at right) using the address table below.
Note: Up to 128 unique 4-channel addresses can be set per DMX universe.
The factory default setting for this unit is 4-channels.
Lock Function: If MENU is IDLE for 20 seconds, MENU will lock.
Hold MENU and “DOWN” button to release lock.
DMX Mode
1. Press the “MODE”,enter the DMX mode “d.×××”.
2. Press the “UP” or “DOWN”,set up the DMX address value d.001-d.512
3. Press the “SETUP”, enter the DMX working mode: X-ch
4. Press the “UP” or “DOWN”,set up the DMX working mode to Mode 1
DMX Working Mode 1: 4-CHANNEL (for individual color dimming control)
Channel
Value
Function
CH1
0-255
Red
CH2
0-255
Green
CH3
0-255
Blue
CH4
0-255
Cool White
Pre-Programmed Mode (Static Color):
1. Press “MODE”, enter the mode “Prxx”
2. Enter Pr.01
3. Press “SETUP” and toggle between static color to
achieve desired show
No.
Color
1
Red
2
Lime Green
3
RGBW
4
Green
5
Light Blue
6
Blue
7
Purple
8
Magenta
9
Bright White
10
Pink
11
Light Green
12
Light Purple
13
Orange
14
RGBW
Pre-Programmed Mode (Show Mode):
Pr.01
Static color program
Pr.02
Four colors fading
Pr.03
Ten color fading
Pr.04
Four color dream
Pr.05
Four color hopping
Pr.06
Ten color hopping
Pr.07
Red fading
Pr.08
Green fading
Pr.09
Blue fading
Pr.10
White fading
800.595.6302 coloronix.com | 5
C-SS2-RGBW-18L-18
NOTES:
•Please follow the user manual to ensure safe
installation and operation.
•To prevent overheating, please use within the
acceptable ambienttemp range listed in specs
•Do not take down the light while it’s plugged in.

MOUNTING AND ALIGNMENT OF FIXTURE
1. Mount and secure each fixture into the designated position in accordance to the installation plan. Ensure there is
sufficient cable length between the fixture and junction box to allow for final alignment of the fixture.
2. Secure the fixtures to a solid mounting surface using three threaded fasteners minimum of 3/8 inch (10mm) stainless
steel complete with flat and locking washer.
3. Rotate/tilt the fixture into the desired position.
4-PIN INTERFACE
Pin 1
+
Line Voltage
Pin 2
-
Neutral
Pin 3
Shield
Ground
Pin 4
REQUIRES ELECTRICIAN TO INSTALL
NOTE: Supply lead wires should not be connected to a dimmer of any sort.
DATA CONNECTION
•Inline DMX amplifier required if run length exceeds: 125 feet between fixtures (others)
•Maximum run length from DMX controller to last fixture: 1000 feet
•DMX must be continuous from controller to last fixture in a run. A splitter is needed if signal is split
•If provided data cables won’t be used, please note that any cables must meet EIA-RS485 requirements and warranty may
be voided
•To comply with all local codes and jurisdiction, qualified communications technicians must do communications wiring
•To avoid signal transmission problems and interference, it is always advisable to connect to a DMX signal terminator
•Communication cables and AC power lines must not be run in the same conduit
oRoute Data Cables in series between fixture and any communications accessories using DATA IN and DATA OUT
oTo ensure they are easily accessed once construction is complete, secure data cables near the fixtures
800.595.6302 coloronix.com | 6
C-SS2-RGBW-18L-18
Reserved Leave Open Pin 1 Pin 4

1. Disconnect the DMX input at the junction box of the fixture needing replacement, THEN disconnect DMX output
2. Replace fixture
3. Reconnect AC negative, THEN AC positive
4. Reconnect DATA output, THEN DATA input
5. Reconnect power and make sure the replaced fixture and the entire system is in working order
If fixture does not light, check if:
•Electrical power is not connected.
•Electrical power is less than specific voltage.
•Electrical power is greater than specified voltage.
If fixture does not respond to DMX control signal, check if:
•DMX control device and RGBW are addressed differently.
•DMX cable is damaged.
•DMX control device is disconnected or not operating.
•DMX device needs to be restarted.
•
LED fixture was not restarted after address change.
•Restart fixture.
If the fixture is not responding to DMX, check if:
•
DMX addressing is incorrect:
Check Control Panel and unit addressing.
•The wrong polarity settings may be on the controller: Check polarity switch settings on the controller.
•DMX cables may be loose: Check cable connectors.
If DMX control operation flickers or is intermittent, check if:
•RGBW fixture or final DMX device in daisy chain is not terminated.
•DMX cable is damaged.
•DMX control device is operating at less than 25Hz.
If there is a loss of signal, check if:
•Non-DMX cables are being used: Use only DMX compatible cables
•Signals are bouncing:
DMX terminator is not installed as suggested.
If output is less than normal, check if:
•E
n
v
i
r
on
m
e
nt
t
e
m
p
e
r
a
tu
r
e
m
a
y
b
e
i
n
e
x
c
e
ss
o
f
114
°F/45°C
.
•Lens may be damaged or dirty.
•DMX control or RGBW channels may be set at low level.
View Nova Flex Terms & Conditions for more details.
800.595.6302 coloronix.com | 7
C-SS2-RGBW-18L-18
MAINTENANCE
We recommend periodic cleaning. Over time these components can become dirty or full of debris. This can result in lack of
cooling or can limit the capabilities of the fixture. Lens:Clean the front Lexan® as required using window cleaner or mild
soap and water. Dry with a quality paper towel to avoid scratches or streaks. Mounts/Fasteners: Check annually for
tightness and security to avoid damage to the fixture and possible liability.
TROUBLESHOOTING
If problems occur during usage, unplug the product immediately and email support@novaflexled.com or call 800-595-6302.
Replacing a Failed Fixture: “Hot Swapping” a fixture is not allowed. If a fixture needs to be replaced, the steps are to:
This manual suits for next models
2
Table of contents
Other NovaFlex Lighting Equipment manuals


Popular Lighting Equipment manuals by other brands


Equinox Systems
Equinox Systems SCORPIO EQLA11 user manual

Nuvo
Nuvo VISTOR Installation & service manual

UNILITE
UNILITE SLR-4400 quick start guide

Alladin
Alladin BI-FLEX M3 Bi-Color user manual

ML Accessories
ML Accessories OSPCKIT Installation & maintenance manual

Cree
Cree SmartCast FLEX Series installation instructions