REAL MEDIA PLAYER MP700 HD
REAL MEDIA PLAYER MP700 HD
EsPAÑOL
Conexión con el ordenador por USB
(1) Asegúrese de que el reproductor esté encendido;
(2) Conecte el conector con forma de cuadrado del cable USB al puerto USB
del reproductor;
(3) Conecte el conector rectangular del cable USB al ordenador.
Así podrá administrar el contenido del disco duro integrado en el reproductor
desde su ordenador local.
Nota: El reproductor solo puede identificar un dispositivo de almacenamiento a
la vez. Si hay más de un disco duro SATA externo o de USB conectado simultá-
neamente, extraiga el resto de dispositivos de almacenamiento y deje conec-
tado el que necesite leer/escribir.
Encender el reproductor
(1) Asegúrese de que todos los cables estén bien conectados.
(2) Encienda la televisión, cambie la señal de la televisión al estándar de inter-
conexión de entrada de la derecha.( si la televisión está conectada por HD I,
elija HD I como estándar)
(3) Conecte el enchufe de entrada de CC y pulse el botón de encendido. A con-
tinuación el reproductor entrará en la pantalla de inicio y el indicador de potencia
se volverá azul.
Nota: Si no aparece la pantalla de inicio, pulse el botón “Video out” del mando a
distancia varias veces hasta
que lo haga.
Seleccionar el dispositivo de al-
macenamiento
Pulse el botón “Device” del
mando a distancia y active la op-
ción de cambiar de un disposi-
tivo a otro.
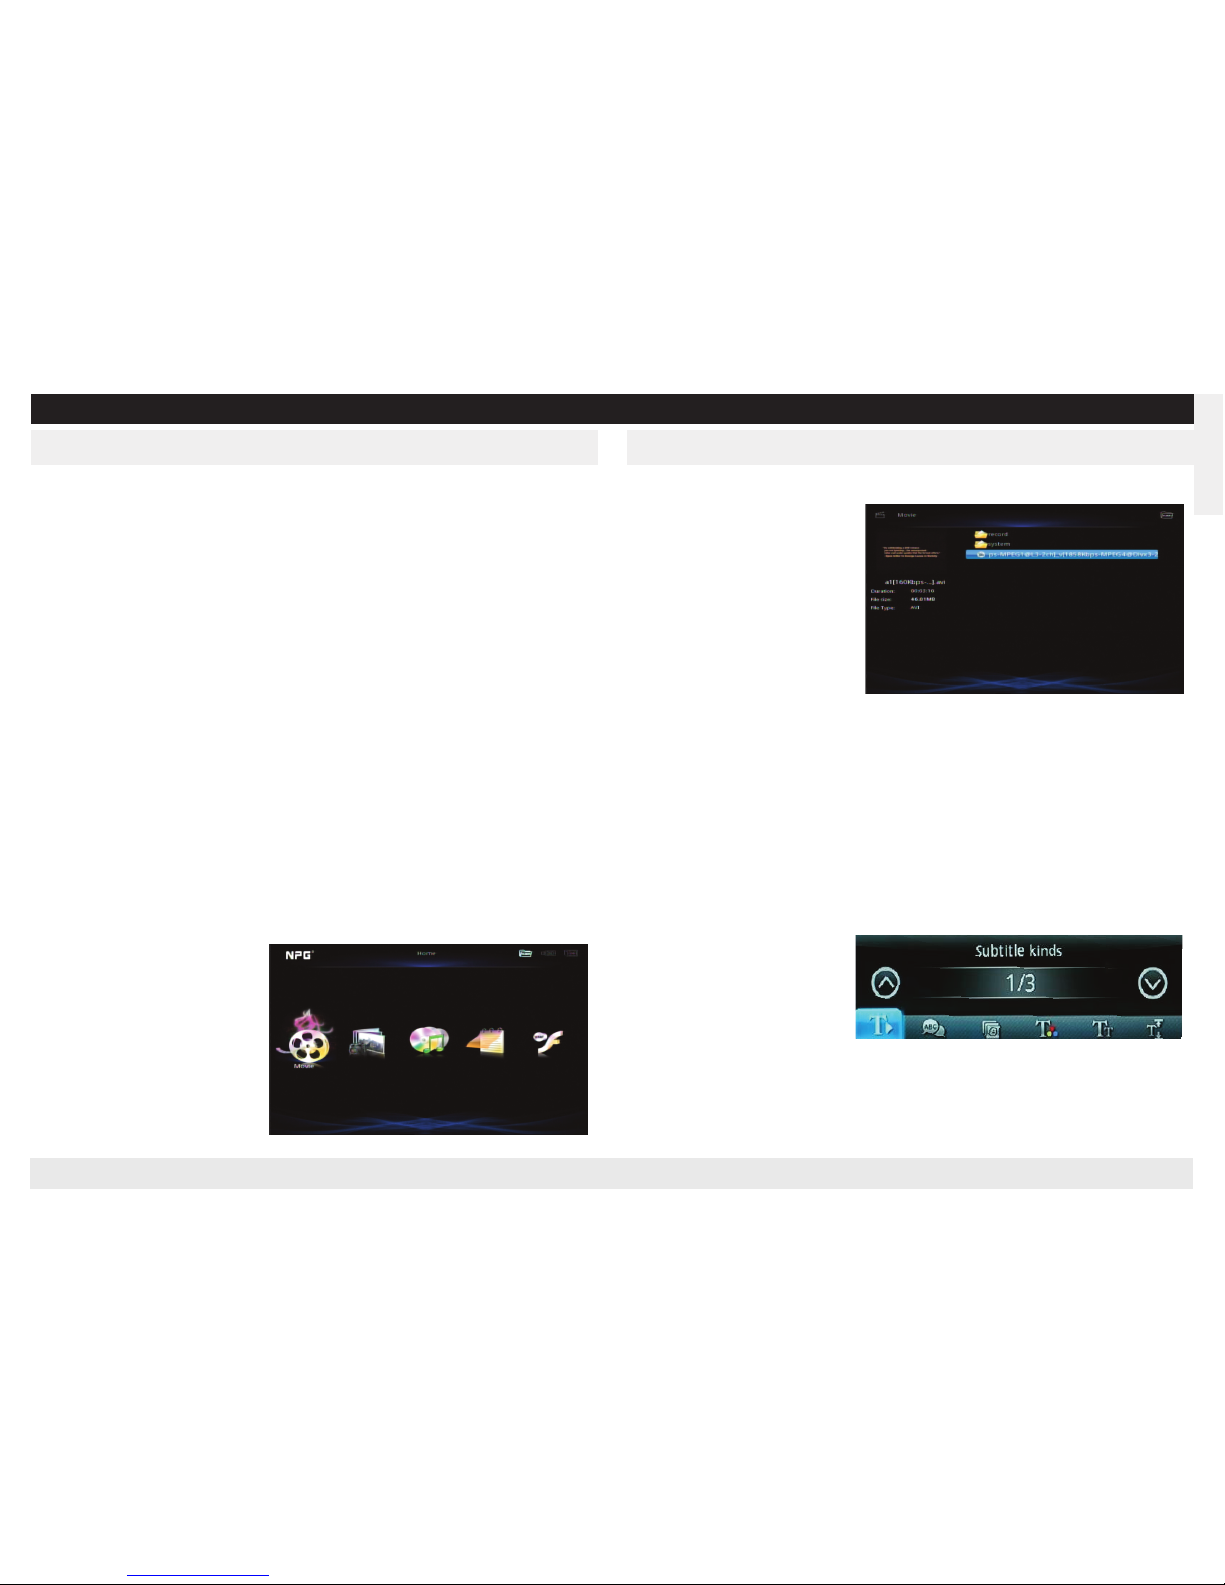
Cine
Una vez haya seleccionado el dispositivo siguiendo el apartado 6.2, seleccione
el icono de película y pulse “OK”
para entrar.
Si el dispositivo conectado tiene
más de una partición, estas
aparecerán en columnas. Selec-
cione la columna de la derecha
y pulse la tecla “OK”.
En caso de que haya varios di-
rectorios, pulse la tecla “Exit”
para volver al directorio ante-
rior.
Cuando haya seleccionado la película, aparecerán la vista previa y la información
relacionada. Pulse “OK” para reproducirla en pantalla completa.
OSD
Pulse el botón “OSD” del mando para acceder al menú OSD en el modo de pan-
talla completa.
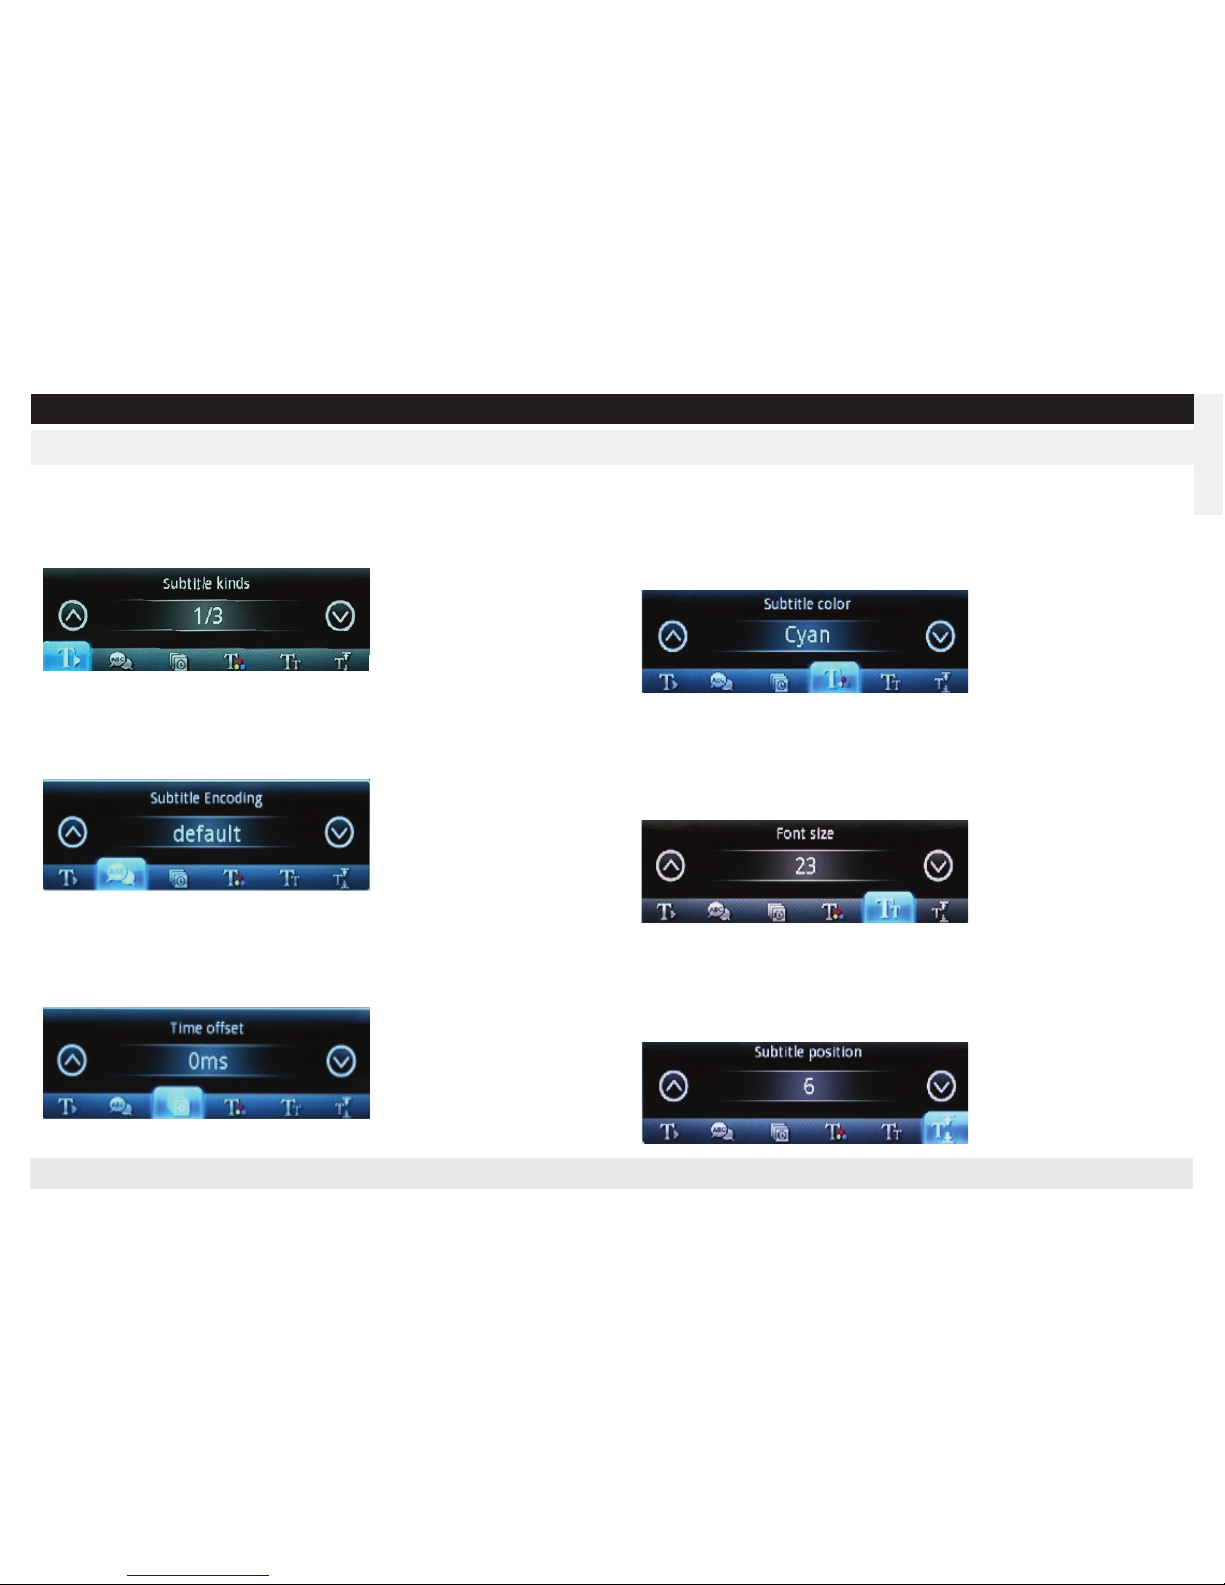
Configurar los subtítulos (Los subtítulos se descargan de una página web rela-
cionada.)
Pulse el botón “Subtitle” (Subtítulos) en el mando y aparecerá el estado actual
de los subtítulos:
Tenga en cuenta los siguientes puntos cuando haga uso de los subtítulos:
1 se recomienda que el nombre del archivo de los subtítulos coincida con el
de la película.
p.ej.: si el nombre del ar-
chivo de la película es a.xxx (xxx
es la extensión de formato de
la película) el nombre del ar-
chivo de los subtítulos debe
ser a.xxx (xxx es la extensión de formato de los subtítulos)
2 se recomienda que el nombre del archivo de los subtítulos no sea demasiado
largo ni tenga símbolos complejos.
3 el archivo de los subtítulos y el de la película deberían estar en el mismo di-
rectorio