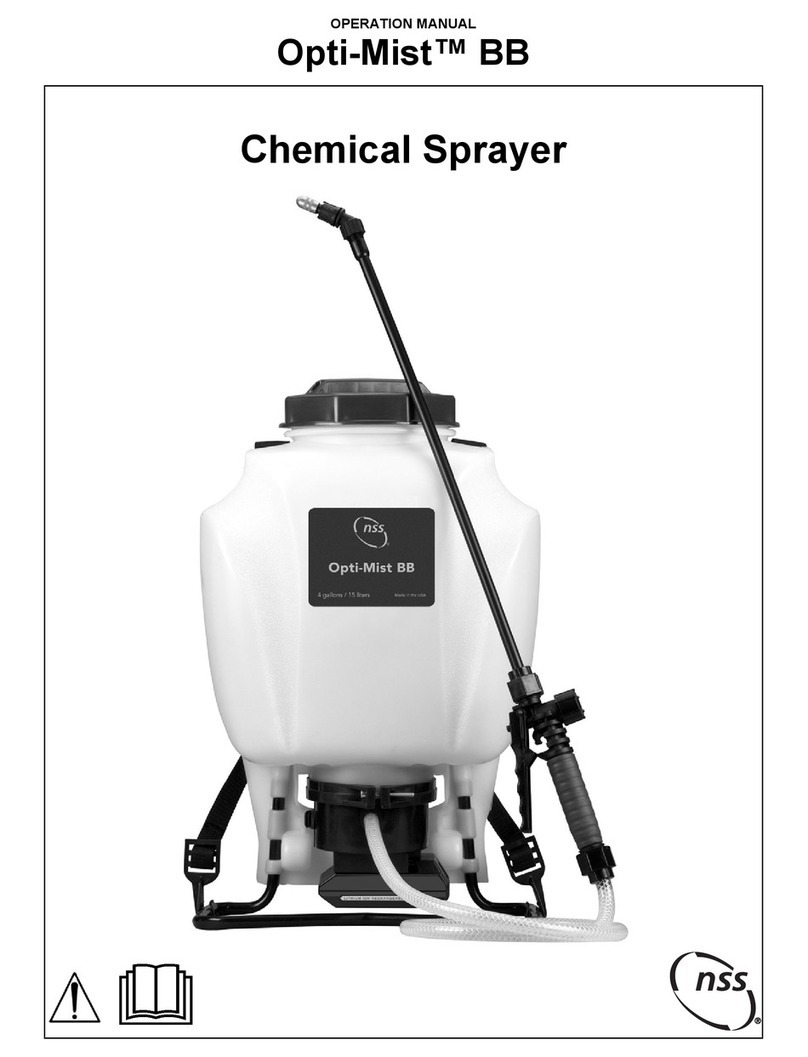
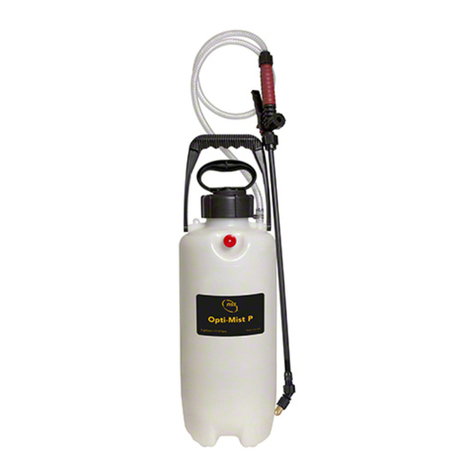
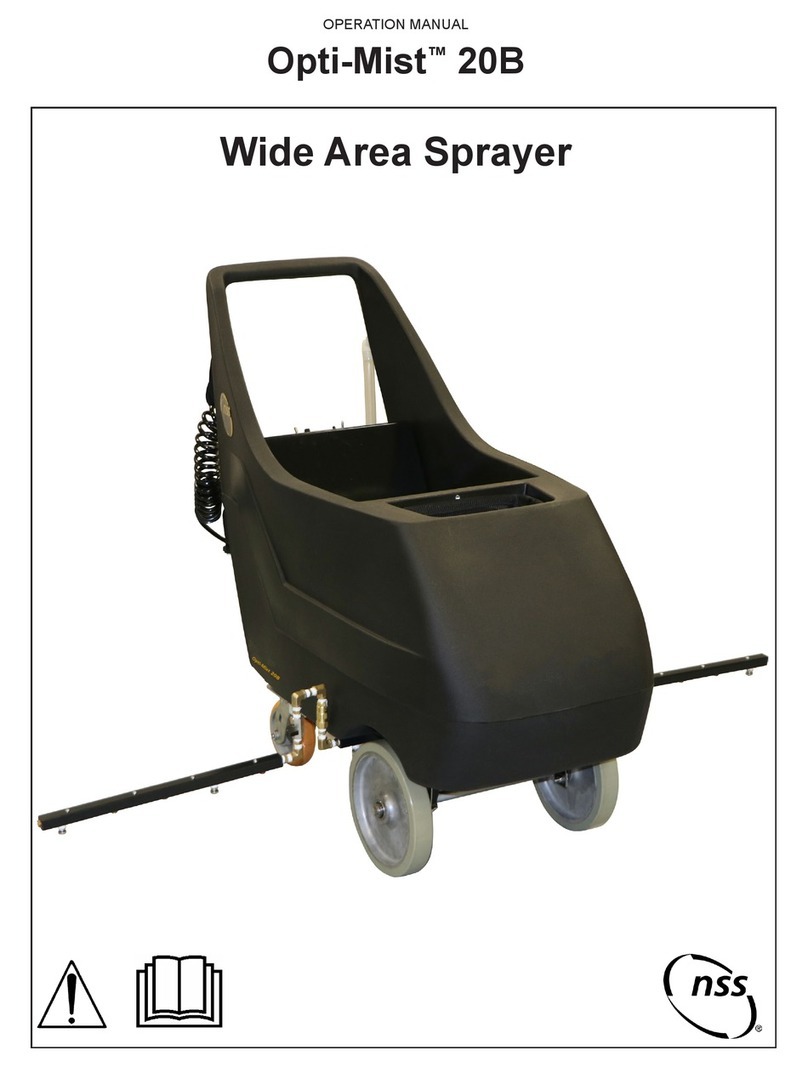
NSS Opti-Mist 3E User manual

OPERATION MANUAL
Opti-Mist™3E
3 Gallon Sprayer

NSS Chemical Use Disclaimer
WARNING: Chemical use hazard.
Each chemical, such as a disinfectant, has a unique set of hazards and needs
to be handled properly to ensure worker safety.
Read and understand the chemical product’s SDS and label prior to use.
Be aware of rst aid procedures related to the product in use.
It is a violation of Federal law to use a chemical in a manner inconsistent with its
label.
If using a disinfectant, be sure to follow the chemical manufacturer’s instructions
regarding dilution, coverage and dwell time.
Use personal protective equipment as detailed by the chemical product’s SDS.
Excessive exposure to disinfectants and other types of chemicals might be
harmful to one’s health.
For use with non-ammable, non-combustible and non-volatile uids only. Never
spray a ammable chemical (ash point less than 60˚C).
Ensure the area being sprayed has proper ventilation.
To dispose of chemical products, refer to product labels.

IMPORTANT SAFETY INSTRUCTIONS
WARNING: Read these original instructions prior to initial use of the
machine.
Safety Instructions:
Safety Equipment
This appliance is equipped with devices to protect the user, and must not be rendered inoperable or bypassed.
Symbols used in these instructions
DANGER – Immediate danger that can cause severe injury or even death.
WARNING – Possible hazard that could lead to severe injury or event death.
CAUTION – Possible hazard that could lead to mild injury or damage to property.
Electrical shock hazard.
Read the Operator Manual.
OPTI-MIST 3E SPECIFICATIONS
Capacity
Solution Tank 2.9 Gallons (11 Liters)
Solution Pump
55 PSI
Dimensions
Height 21 in (53 cm)
Length 19.5 in (50 cm)
Width 10 in (25 cm)
Weight
Opti-Mist 3E 32 lbs (14.5 kg)

ALL REPAIR SERVICE MUST BE PERFORMED BY AN NSS AUTHORIZED DISTRIBUTOR /
SERVICE STATION USING ONLY NSS ORIGINAL EQUIPMENT PARTS.
SAVE THESE INSTRUCTIONS
IMPORTANT SAFETY INSTRUCTIONS
WARNING: Failure to observe these instructions can cause
Personal injury to machine operator or bystanders.
INTENDED USE
This machine is intended for commercial spraying
applications. NSS does not recommend using this
machine for any other purpose.
FOR SAFETY:
• ALWAYS read and understand all instructions
before operating or servicing machine.
• ALWAYS use this machine ONLY as described in
this manual.
• NEVER attempt to operate this machine unless
you have been trained in its operation.
• NEVER allow an untrained person to operate this
machine.
• NEVER attempt to operate this machine if it is not
working properly or has been damaged in any
manner.
• ALWAYS wear face & eye protection, gloves, long
sleeve shirt, long pants, and full foot protection when
spraying.
• ALWAYS Unplug the power cord from the electrical
outlet before making any adjustments or repairs.
• NEVER unplug by pulling on the cord. Unplug by
grasping the plug, not the cord itself.
• NEVER disconnect or modify any switches or
safety devices.
• NEVER park the machine on an incline or decline.
Machine may roll away if not attended.
• NEVER spray this machine with water or any
liquids.
• ALWAYS inspect power cord for damage. DO NOT
operate if ground plug or cor is broken or damaged.
• NEVER pull or carry this machine by its cord. Do not
close a door on the cord or pull cord around sharp
corners or edges.
• NEVER allow this machine to be used as a toy.
Close attention is necessary when used by or near
children.
• ALWAYS wear clean tennis shoes or “non-slip”
shoes. Leather soled shoes will become extremely
slippery when wet.
• NEVER allow this machine to freeze.
• NEVER expose the machine to rain, snow, or
extreme temperatures.
• NEVER leave a pressurized machine in the (hot)
sun. Heat can cause a pressure build-up resulting
in possible explosion.
• ALWAYS store this machine indoors in a dry, cool
area.
• ALWAYS deploy “WET FLOOR” cones and other
safety equipment when using this product. Failure to
do so could create a Slip & Fall hazard.
WARNING: Do not spray ammable gases or liquids,
undiluted acids or solvents. This includes gasoline,
thinning agents or hot oil that can form an explosive
mixture when mixed with air. Do not use with acetone,
undiluted acids or solvents.
WARNING: This product can expose you to chemicals including Lead and Lead
Compounds which is know to the State of California to cause cancer,
birth defects, or other reproductive harm.
For more information go to www.P65warnings.ca.gov

GROUNDING OF ELECTRICAL
EQUIPMENT
WARNING: Improper connection of the
equipment–grounding conductor can result in a risk
of electric shock. Check with a qualied electrician or
service person if you are in doubt as to whether the
outlet is properly grounded. Do not modify the plug
provided with the equipment If outlet is not suitable for
safe use; have a properly grounded outlet installed by
a qualied electrician.
North America: Always use a properly grounded 3-wire
extension cord, which has male and female plugs. If
25 foot [7.6m] extension cords are used, the electrical
carrying capacity should be no less than 14-3 ST, 50
foot [15.2m] extension cords no less than 12-3 ST.
Grounding Instructions
This equipment shall be grounded while in use to
protect the operator from electric shock. The charger
is provided with a three-conductor cord and a three-
contact grounding type attachment plug. The plug
must be plugged into an appropriate outlet that is
properly installed and grounded in accordance with all
local codes and ordinances. The green conductor in
the cord is the ground wire. Never connect this wire to
other than the grounding pin of the attachment plug.
If the cord provided with the charger has an attachment
plug as shown in Figure A. below, it is intended for use
on a nominal, 120-volt circuit. If a properly grounded
receptacle as shown in Figure A is not available, an
adapter may be installed as shown in Figure B if the
outlet box that houses the receptacle is grounded. Be
sure to fasten the grounding tab (the green colored
rigid ear, lug or the like extending from the adapter)
with a metal faceplate screw.
If the cord provided with the charger has an attachment
plug as shown in Figure C, it is intended for use on a
nominal 240-volt circuit (single phase only). Changes
to the attachment plug or use of adapters to other
plug types must be done in accordance with local
regulations.
NOTE: In Canada, the use of a temporary adapter is not
permitted by Canadian electrical code, C22.1.
FIGURE A
FIGURE B

3 Gallon Quick Start Guide
Carrying Handle
20 Ft Certied
Cord
Non-Marking Sealed
Ball Bearing Wheels
Stainless Steel Tip
25 Ft. Hose
Brass Quick Dis-
connect
Steel Rotary
Latch
1. SWITCH
Make sure the Power
Switch is in the OFF
Position
2. WAND
Check all the
connectionon the
wand assembly. Make
sure all connections
are tight.

3. QUICK CONNECT
Connect the Spray hose to
the Machine by inserting the
quick connect end into the
mating piece on the machine.
4. ADD SOLUTION
Read the label of the liquid solu-
tion you intend to spray and ll the
appropriate amount with water in
the solution tank. Do not ll above
the lins as shown.
5. POWER
Plug the unit in to a grounded
outlet. Do not use if ground pin is
broken.
6. TURN ON
Flip the power switch to the ON
position.
7. WAND TRIGGER
Point the wand end spray tip in the
direction you wish to spray and
squeeze the hand trigger.
8. CLEAN UP
When nished, drain and rinse
the solution tank, hose and wand
assembly.

Pre-Operation
1. Carefully inspect the machine for any damage.
If damage is evident, save all boxes/packing
materials and contact the carrier immediately to
le a freight damage claim.
2. Inspect power cord for damage. Replace/
repair immediately if there is any damage.
3. Attach the solution hose. Insert the hose
end of the quick connect into the mating quick
connect piece on the machine. Make sure the
quick connects snap together rmly. Inspect the
hose for damage and replace immediately if
necessary.
4. Inspect the other end of the hose - the wand
and trigger for damage.
5. Fill solution tank with water and approved
chemical. Water must be less than 120 degrees.
Read and follow the instructions provided on the
label of any chemical solutions used with this
machine
.
When using a chemical, read the manufacturer’s
lable and mix to the dilution ratios as directed.
Use only non-ammable liquid in this machine.
6. Plug machine’s cord into a grounded outlet
(See grounding instructions).
7. Put on the recommended Personal Protective
Equipmnet prior to spraying the solution.
Follow the instructions on the chemical label.
8. Delpoy “WET FLOOR” cones and other safety
equipment when using this product. Failure to do
so could create a Slip & Fall hazard.
-
Operation Instructions for Opti-Mist 3E
Operation
1. Turn pump switch to the ON positon.
2. Point the wand in the direction you intend to
spray the solution and squeeze the tool trigger to
release air in the line. Hold until a steady ow of
solution comes out of the hand tool/wand.
3. Once pump is primed and there is pressure in
the solution line, release the tool trigger.
4. Begin spraying. Follow any instructions
provided with the chemical solution.
After Use
1. Relieve solution pressure from tool before
disconnecting hose. Squeeze trigger for ve
seconds after turning main power switch o.
2. Drain and rinse the solution tank. Partially ll
the solution tank with clean fresh water. Spray
the water through the wand to rinse the hose and
wand assenbly. Drain the solution tank and hose
& wand assembly.
3. Unplug power cord and hose. Clean and wrap
up the cord and the hose.
4. Inspect the hose and replace if damaged.
5. Store machine in a clean, dry place.

•
Maintenance Schedule Daily Weekly
Clean and Inspect Tank. X
Clean and Inspect Hose. X
Check Power Supply Cord. X
Check Spray Nozzles. X
Clean machine with all purpose cleaner
and cloth. X
Inspect Spray hose for damage and
loose ttings. X
Inspect machine for water leaks and
loose hardware. X
TROUBLESHOOTING
Symptom Cause Solution
Uneven Spray Nozzle
Pattern.
Spray nozzle tips plugged. Clean or replace.
Worn solution pump. Repair or replace as required.
No Solution From Spray
Tips On Accessory Wand.
Spray nozzle tips plugged. Remove nozzles and clean.
Solution tank empty. Rell.
Pump failed. Repair or replace as required.
Defective pump seal. Replace pump.
Kinked solution hose. Straighten hose.
Quick connect disconnected. Reconnect tting onto machine.
Pump Runs But Has Little
Or No Output.
Internal pump parts worn. Rebuild pump head or replace.
Spray nozzle tips plugged. Clean or replace.
Inline strainer plugged. Detatch bottom plate and clean
strainer or replace.
Pump Motor Will Not Run. Motor shorted out. Replace motor.
Faulty power switch. Replace power switch.
Faulty pump switch / wiring. Repair or replace.
Improper charging has lead to
damaged batteries that won’t hold
charge
Replace batteries, follow the
instructions on proper charging of
batteries.

REPLACEMENT PARTS
PART NO DESCRIPTION
4994309 Wand & Hose Assembly
The below are included in 4994309 Wand & Hose Assembly
4993151 Trigger Jet Sprayer Handle
4993161 Wand-15” Polypropylene
4993171 Spray Tip (Spray Wand)
4993181 Front End Adapter
4993191 Tip Retainer Nut
4993671 25FT Black Spray Gun Hose
w/ Female Quick Connect
4993611 Filter - In-line Strainer - 100
4994281 Pipe Thread Reducer
4994291 Coupler Insert
ALWAYS USE GENUINE NSS REPLACEMENT PARTS
NSS ® Enterprises, Inc.
3115 Frenchmens Road
Toledo, Ohio 43607
PHONE (419) 531-2121
FAX (419) 531-3761
www.nss.com
Opti-Mist™ 3E Sprayer Rev Orig 07-20 9094940
Table of contents
Other NSS Paint Sprayer manuals