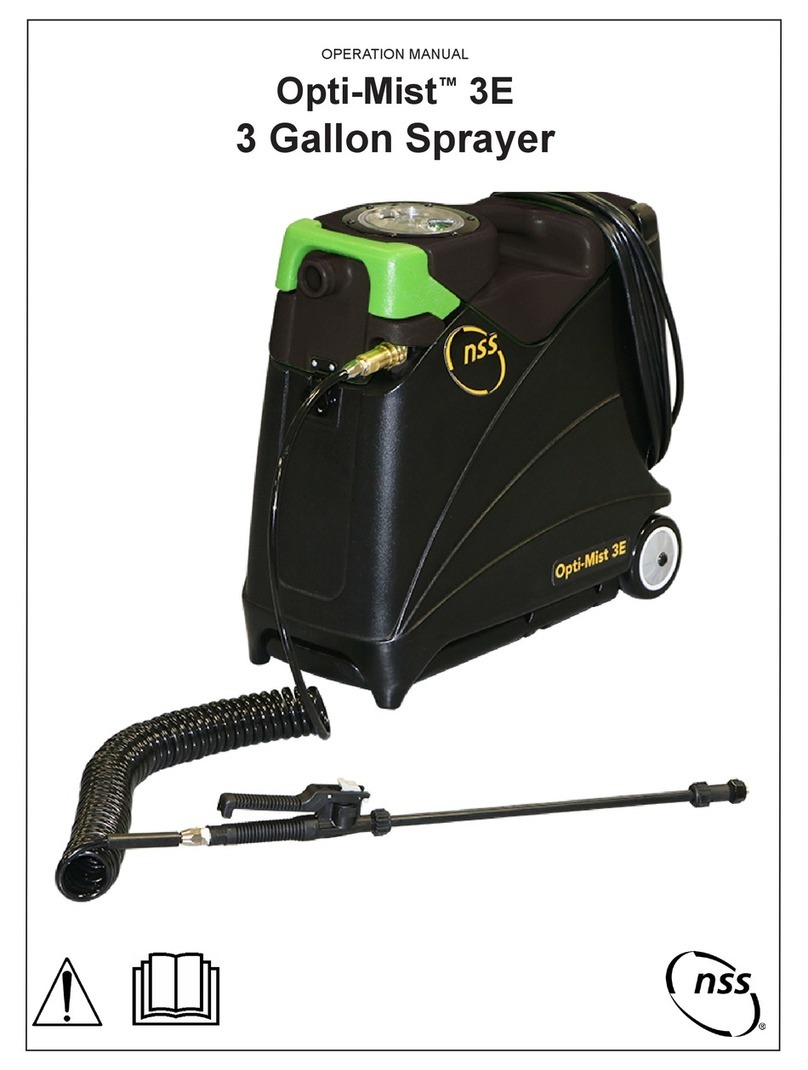
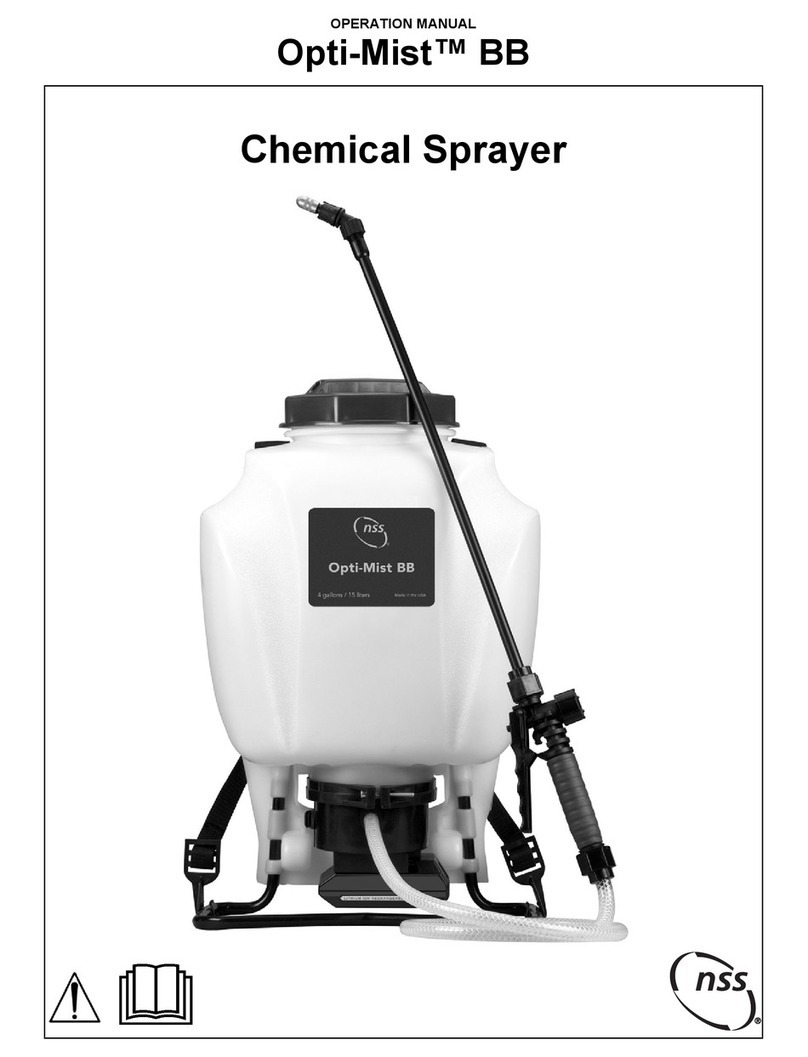
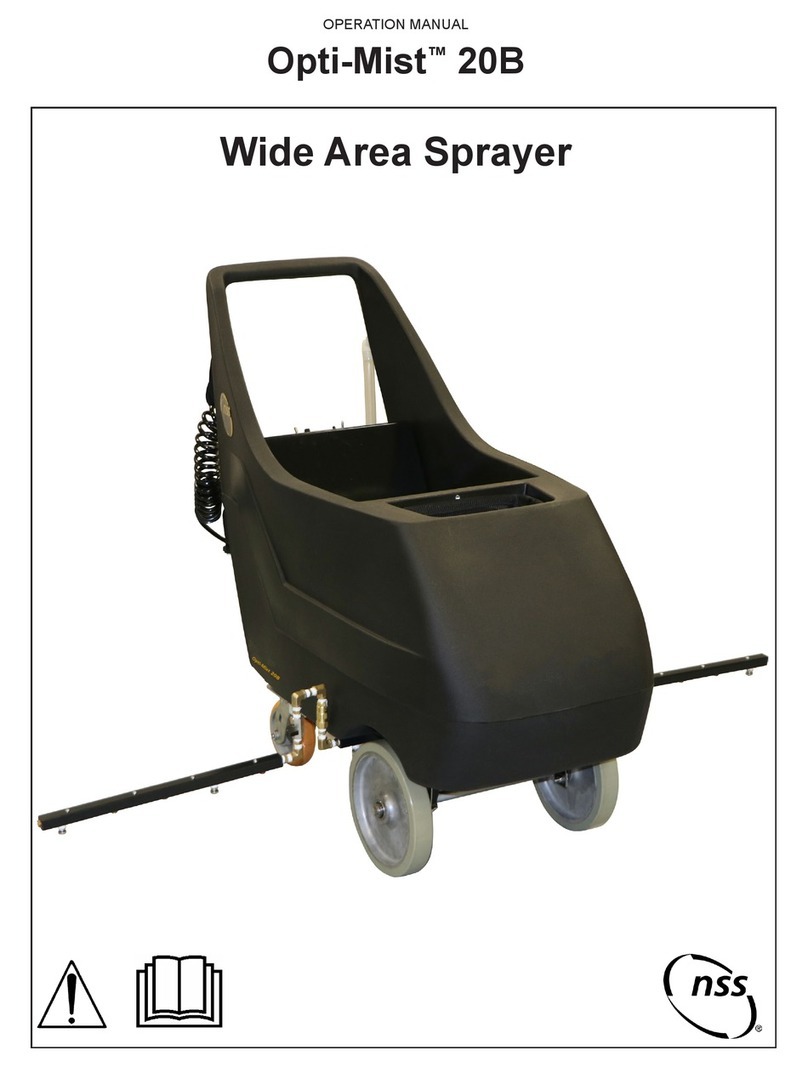
NSS Opti-Mist P User manual

OPERATION MANUAL
Opti-Mist™ P
Chemical Sprayer

OPERATION MANUAL
Opti-Mist™ P
IMPORTANT SAFETY INSTRUCTIONS
WARNING: Failure to observe these instructions can cause
personal injury to machine operator or bystanders.
WARNING: This product contains a chemical known to the state of California to cause
cancer and birth defects or other reproductive harm. Wash hands after handling.
INTENDED USE
This machine is intended for commercial use,
spraying chemical. NSS does not recommend using
this machine for any other purpose.
FOR SAFETY:
ALWAYS read and understand all instructions
before operating or servicing machine.
ALWAYS use this machine ONLY as described in
this manual.
NEVER attempt to operate this machine unless
you have been trained in its operation.
NEVER allow an untrained person to operate this
machine.
NEVER attempt to operate this machine if it is not
working properly or has been damaged in any
manner.
ALWAYS wear eye protection, gloves, long sleeve
shirt, long pants, and full foot protection when
spraying.
NEVER drop or insert any object into any machine
opening.
NEVER allow this machine to be used as a toy.
Close attention is necessary when used by or near
children.
ALWAYS wear clean tennis shoes or “non-slip”
shoes. Leather soled shoes will become extremely
slippery when wet.
ALWAYS empty the tank after use.
NEVER allow this machine to freeze.
NEVER expose the machine to rain, snow, or
extreme temperatures.
NEVER leave a pressurized machine in the (hot) sun.
Heat can cause a pressure build-up resulting in
possible explosion.
NEVER store any items on this machine.
ALWAYS store this machine indoors in a dry, cool
area.
NSS Chemical Use Disclaimer
WARNING: Chemical use hazard.
Each chemical, such as a disinfectant, has a unique set of hazards and needs to be handled
properly to ensure worker safety.
Read and understand the chemical product’s SDS and label prior to use.
Be aware of first aid procedures related to the product in use.
It is a violation of Federal law to use a chemical in a manner inconsistent with its label.
If using a disinfectant, be sure to follow the chemical manufacturer’s instructions regarding
dilution, coverage and dwell time.
Use personal protective equipment as detailed by the chemical product’s SDS. Excessive
exposure to disinfectants and other types of chemicals might be harmful to one’s health.
For use with non-flammable, non-combustible and non-volatile fluids only. Never spray a
flammable chemical (flash point less than 60˚C).
Ensure the area being sprayed has proper ventilation.
To dispose of chemical products, refer to product labels.
SAVE THESE INSTRUCTIONS
ALL REPAIR SERVICE MUST BE PERFORMED BY AN NSS AUTHORIZED DISTRIBUTOR /
SERVICE STATION USING ONLY NSS ORIGINAL EQUIPMENT PARTS.

MACHINE INSPECTION
Now that the machine is unpacked remember to
recycle all packing materials.
Inspect the machine for damage or missing
components. If damage is found, contact the local
freight company to file a freight claim.
MACHINE COMPONENTS
Solution Tank
The solution tank has a capacity of 3 gal (11.4 L).
The amount of water in the tank is measured on the
side of the tank. The solution tank is emptied by
removing the top cap and dumping out the contents.
Always dispose of the contents in accordance to local
government regulations.
Pump Assembly
The pump assembly screws onto the top of the solution
tank.
Suction Line/Filter
Inside the solution tank at the bottom end of the suction
line is a small filter to help prevent clogging while
spraying.
Pressure Relief Valve
Pull the valve out to release the pressure stored in the
solution tank.
Carrying Handle
There is a carrying handle shipped loose with this
machine. Install the carrying handle onto the solution
tank.
Spraying Wand Assembly
The spraying wand assembly includes a shut-off valve
and hose, wand assembly, and spray nozzle.
Shut-off Valve
Spray Nozzle
Wand Assembly
PREPARING THE MACHINE
Preparing the Solution Tank:
Unscrew (turn counterclockwise) the pump assembly
from the solution tank.
Fill solution tank to the desired level.
Add chemical following the directions provided on the
chemical bottle label.
The solution tank will hold 3 gallons (11.4 liters).
ALWAYS follow the chemical manufacturer’s
instructions printed on their product’s label.
Re-install the pump assembly by turning clockwise
onto the solution tank.
Push pump handle down and turn counterclockwise
1/4 turn to release it.

Installing the Spraying Wand Assembly:
Connect the wand assembly to the shut-off valve.
Connect the spray nozzle to the wand assembly.
Tighten all connections to prevent leaks.
Operating the Machine
Priming the pump:
Pull up and push down on the pump handle until
resistance is felt.
Press down handle on shut-off valve to spray solution
tank contents.
Re-pump as required to maintained the desired spray
pressure.
To release the pressure inside the solution tank, pull
out the pressure relief valve. Hold out until the air
escaping the solution tank is finished.
MACHINE MAINTENANCE
Routine maintenance is critical to ensure proper
machine operation and cleaning performance. Perform
all maintenance procedures as follows.
Daily Maintenance
Solution Tank
Empty and clean the solution tank after use.
Inspect all connections. Tighten as required.
Weekly Maintenance (20 hours)
Verify all daily maintenance has been performed.
Inspect the hose for cracks, softness, or brittleness.
Replace if any is found.
Inspect solution tank for any signs of cracks or
deterioration. A machine with signs of cracks or
deterioration should not be used as it could burst
under pressure. NEVER attempt to patch any leaks.
Test shut-off valve. Check for clogging or leaks.
Check spray nozzle for clogging or leaks.
Machine Storage
Make sure all pressure is released from the solution
tank.
Remove the pump assembly and store the solution
tank upside down.
The machine should be stored out of direct sunlight in
a warm, dry place.
If exposed to freezing temperatures, make sure to
drain all liquid from the solution tank, pump, hose,
and spraying wand assembly.
Lock the shut-off valve in the “open” position.
Periodically oil the pump assembly by dropping 10-12
drops of light weight oil down the pump rod through
the opening in the cover

TROUBLE SHOOTING
PROBLEM CAUSE SOLUTION
Shut-off
leaks.
The connection(s) is loose. Tighten (all) connections.
Shut-off is worn or damaged. Repair or replace the shut-off valve.
Wand
assembly
leaks.
Connection(s) is loose. Tighten connection(s).
O-ring and/or gasket is worn or damaged. Replace the O-ring and/or gasket.
Nozzle
assembly
leaks.
Connection(s) is loose. Tighten connection(s).
O-ring and/or gasket is worn or damaged. Replace the O-ring and/or gasket.
Leak
between the
pump
assembly
and the
solution
tank.
Pump is loose Tighten the pump.
O-ring is worn or damaged. Replace the pressure chamber O-ring.
Hose is
leaking at
the solution
tank outlet.
Hose clamp is loose. Tighten the hose clamp.
Hose is
leaking at
the shut-off.
Connection is loose. Tighten the retaining nut.
O-ring and/or gasket is worn or damaged. Replace the O-ring and/or gasket.
NOTE: If any problems remain after taking the above steps, contact your local authorized distributor / service station for further
evaluation and repai
r
.

REPLACEMENT PARTS
PART NO. DESCRIPTION
4994211 Spra
y
Nozzle Replacement
4994221 Shut-off Replacement
4994231 Repair Parts Kit
–
Shut-off
4994241 Wand Assembl
y
Replacement
4994251 Repai
r
Parts Kit
–
O-rin
g
s
ALWAYSUSEGENUINENSSREPLACEMENTPARTS
OPTI-MIST P Rev Orig 07-20 Rev A 07-20 9094942
NSS® Enterprises, Inc.
3115 Frenchmens Road
Toledo, Ohio 43607
PHONE (419) 531-2121
FAX (419) 531-3761
www.nss.com
4994231
4994251
Table of contents
Other NSS Paint Sprayer manuals
Popular Paint Sprayer manuals by other brands

Tuv nord
Tuv nord LS 280 instruction manual

ThermoFisher Scientific
ThermoFisher Scientific MaxQ 2000 CO2 Plus user manual

Pioneer Athletics
Pioneer Athletics Brite Stripper 3000SP Operating & parts manual

Makita
Makita BVF104 instruction manual

Solo
Solo Port 423 operating manual

Raven
Raven SmartBoom Spra-Coupe 7000 Series installation manual