8
MAC CONFIGURATION
1. Turn on your computer and the X1USB.
2. Use a USB cable to connect one (or both)
ports of the X1USB to your computer.
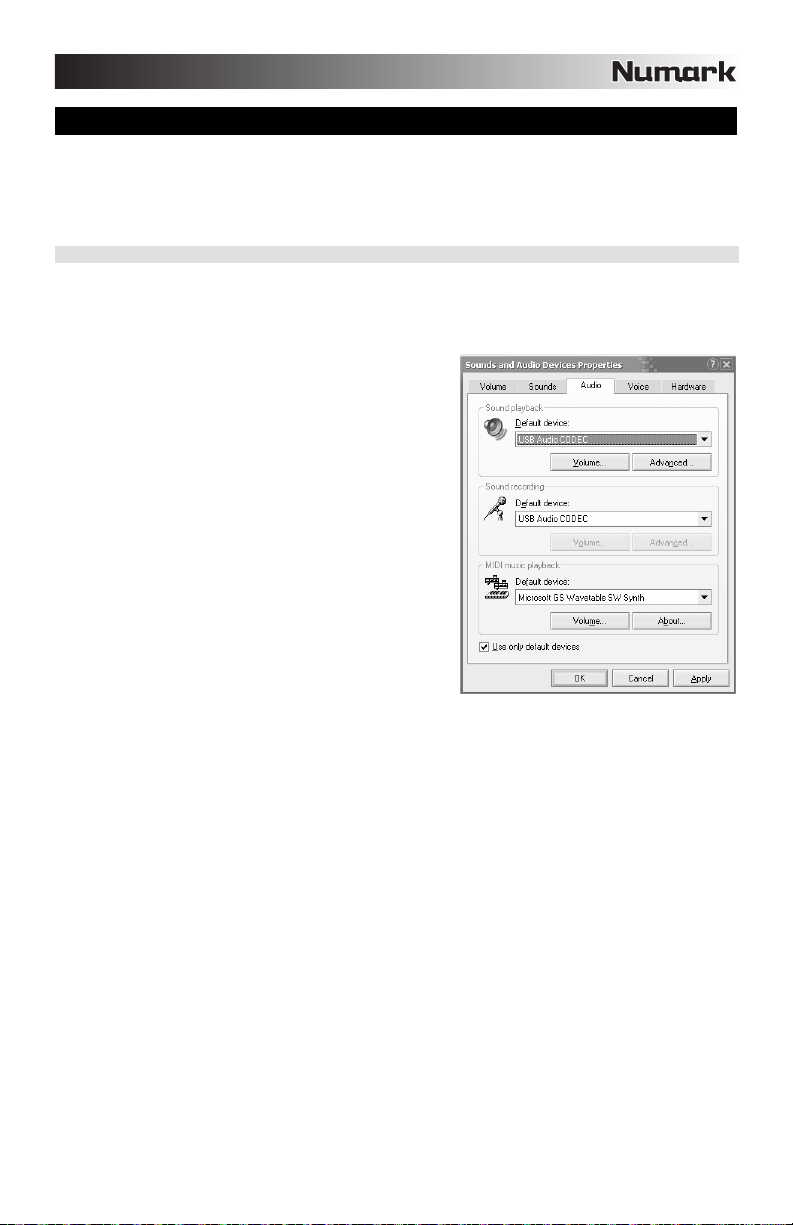
3. Windows will immediately recognize the
mixer as a “USB Audio Device” or “USB
Audio CODEC”.
To change system audio preferences on a
Mac, you will need to access the Audio MIDI
Setup preferences located in Applications
Utilities.
Note: If you have connected both USB ports to
your computer, the ports will be numbered in the
order they were connected. For example, if you
connected USB A before USB B, USB A will
appear as “USB Audio CODEC” and USB B will
appear as “USB Audio CODEC (2)”.
To send audio from your computer into the X1USB, select “USB Audio CODEC” in the Default Output field.
This allows you to play audio from your computer into one of either of the mixer channels, depending on which
USB port is used to make the connection.
To send audio from the X1USB to your computer, select “USB Audio CODEC” in the Default Input field. This
allows you to record your mix into your computer.
Tip: We recommend leaving the System Output field set to Built-in Output. This ensures that system sounds
(beeps and bleeps) will not sound through the mixer.
Note: If your sound playback or recording application does not have its own audio input and output settings (for
example, Apple iTunes), it will use the devices set in Audio MIDI Setup. Please note that these settings are loaded
upon application startup, so if you change device settings while the application is open, you will need to restart your
application for the settings to take effect.
USING BOTH USB PORTS SIMULTANEOUSLY
Since the X1USB has 2 USB ports, you can attach a different computer to each USB jack or you can connect both
jacks to a single computer. Each USB jack on the mixer will appear as a separate USB audio device to your
computer. You can play two audio files simultaneously from one computer and send both of those audio streams to
separate channels of your mixer by using two USB cables.
If you do this, we suggest using one of the many commercially available software programs that support multiple
sound cards.
However, if you don’t have software like that, you can use two separate software media players instead. To do this
you need to start the first media player, then change the Preferred Audio Device to the second USB port, then start
your second media player.
Note: Some applications (like Windows Media Player) will not allow you to have multiple instances running
simultaneously. When you try to open a second file, the first one will stop playing and the second file will be loaded.
To get around this, you can use different players to play the second file. For example, use Windows Media Player to
play channel 1, and Musicmatch Juke Box player for channel 2.
Note: Please keep in mind that not all media players will “remember” what sound card they were using at the time of
launch.