•
•
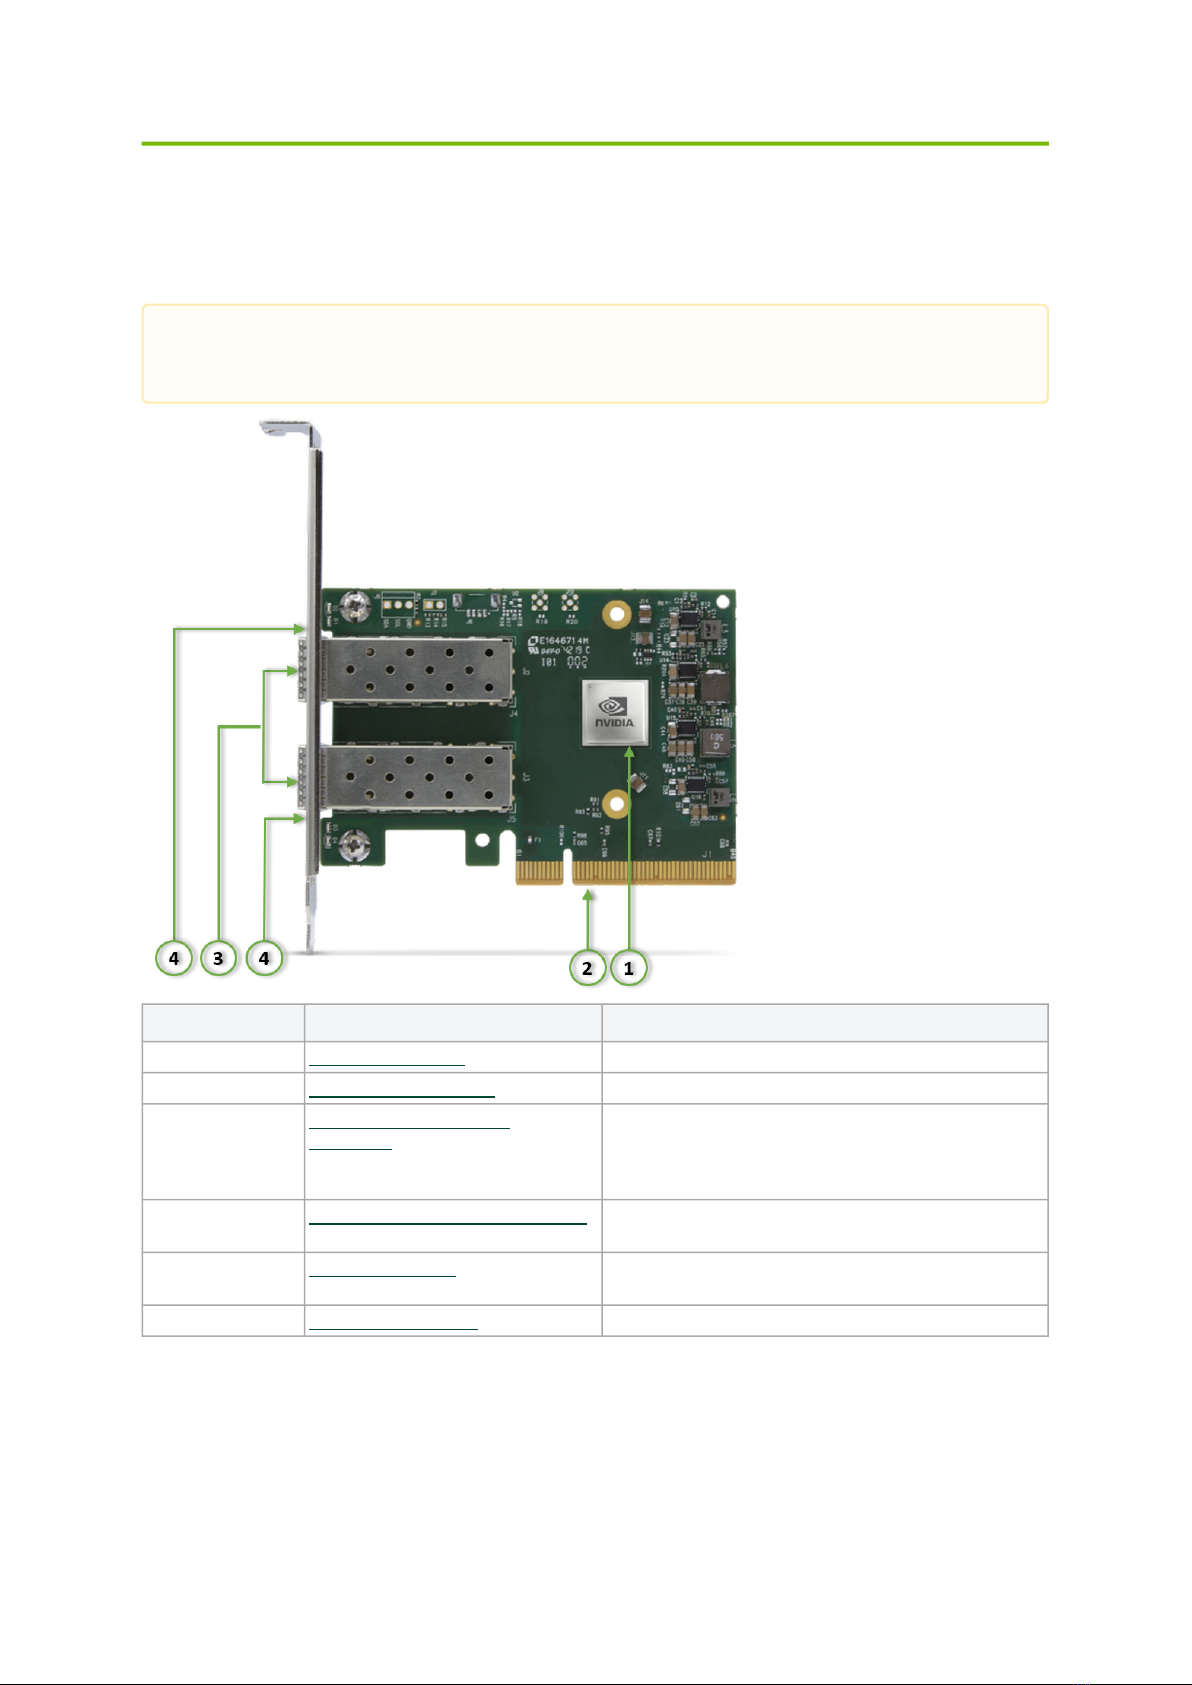
Part Number MCX631105AN-GDAT MCX631105AE-GDAT MCX631105AC-GDAT
Adapter IC Part Number MT28942A0-YCCF-AE MT28942A0-YCCF-AE MT28942A0-YCCF-AE
RoHS RoHS Compliant
For more detailed information, see Specifications.
Features and Benefits
Feature Description
PCI Express
(PCIe)
Up to
50Gb/s
Ethernet
NVIDIA adapters comply with the following IEEE 802.3 standards:
50GbE / 25GbE / 10GbE / 1GbE
– IEEE 802.3by, Ethernet Consortium25, 50 Gigabit Ethernet, supporting all FEC modes
– IEEE 802.3by 25 Gigabit Ethernet
– IEEE 802.3ae 10 Gigabit Ethernet
– IEEE 802.3ap based auto-negotiation and KR startup
– IEEE 802.3ad, 802.1AX Link Aggregation
– IEEE 802.1Q, 802.1P VLAN tags and priority
– IEEE 802.1Qau (QCN)
– Congestion Notification
– IEEE 802.1Qaz (ETS)
– IEEE 802.1Qbb (PFC)
– IEEE 802.1Qbg
– IEEE 1588v2
– Jumbo frame support (9.6KB)
Memory FRU EEPROM - Stores the parameters and personality of the card. The EEPROM capacity is
32Kbit.FRU I2C address is (0x50) and is accessible through the PCIe SMBus (Note: Address
0x58 is reserved.)
SPI Quad - includes 256Mbit SPI Quad Flash device (MX25L25645GXDI-08G device by
Macronix)
Overlay
Networks
In order to better scale their networks, data center operators often create overlay networks that
carry traffic from individual virtual machines over logical tunnels in encapsulated formats such as
NVGRE and VXLAN. While this solves network scalability issues, it hides the TCP packet from the
hardware offloading engines, placing higher loads on the host CPU. NVIDIA ConnectX-6 Lx
effectively addresses this by providing advanced NVGRE and VXLAN hardware offloading engines
that encapsulate and de-capsulate the overlay protocol.
RDMA
overConve
rged
Ethernet
(RoCE)
NVIDIA ConnectX-6 Lx, utilizing RoCE (RDMA over Converged Ethernet) technology, delivers low-
latency and high-performance over Band and Ethernet networks. Leveraging data center bridging
(DCB) capabilities, as well as NVIDIA ConnectX-6 Lx, advanced congestion control hardware
mechanisms, RoCE provides efficient low-latency RDMA services over Layer 2 and Layer 3
networks.
NVIDIA
PeerDirect
®
NVIDIA PeerDirect®communication provides high-efficiency RDMA access by eliminating
unnecessary internal data copies between components on the PCIe bus (for example, from GPU to
CPU), and therefore significantly reduces application run time. NVIDIA ConnectX-6 Lx advanced
acceleration technology enables higher cluster efficiency and scalability to tens of thousands of
nodes.
This section describes hardware features and capabilities. Please refer to the relevant
driver and/or firmware release notes for feature availability.