NZXT Whisper User manual

Whisper
User’s manual


NZXT. 1
Thank you.
Dear valued customers,
Thank you for purchasing our product. We are thankful to all our
fans for the continuing support, after just four years since entering the
computer chassis market with the Guardian in 2003, NZXT is now an
established gaming brand and manufacturer of quality hardware in the
market today. Since then, we have stayed true to our goal, which was to
continuously provide innovative next generation products. With every
product, we are still breaking more boundaries and limits. Once again, thank
you and all NZXT fans for the support and we hope to bring more amazing
products in the coming years.
After you complete your installation, please come by our community forums
at www.nzxt.com/forum and voice your opinions with thousands of NZXT
fans from around the world
Sincerely,
NZXT Team

NZXT. 2
Whisper Specifications
:: Complete low noise solution: The NZXT Whisper comes standard with
rubber grommets and a thick 10mm sound dampening foam inside the
chassis. With a 3mm thickness, the dampening foam decreases the noise
inside the system significantly. A rubberized
power supply cover is also used to dampen the noise, making the NZXT
Whisper the complete low noise solution.
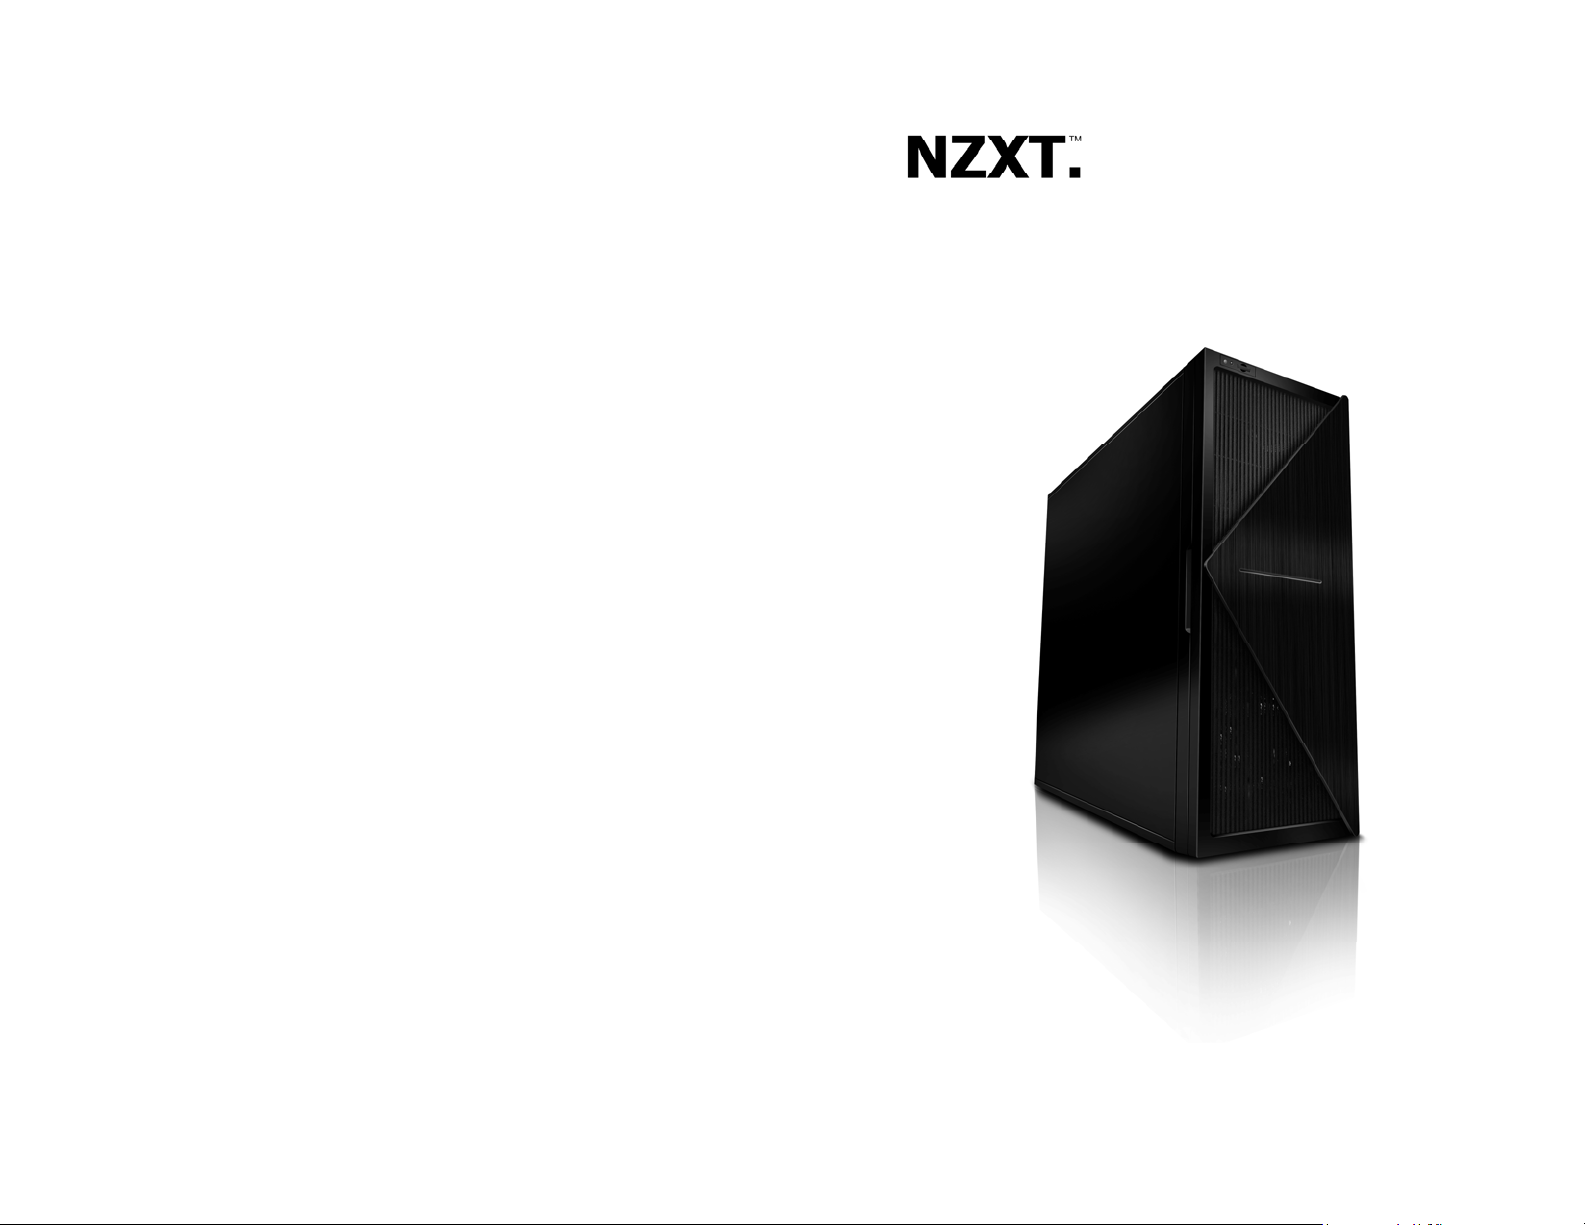
:: Modern Design and Aluminum Front panel: The Whisper was inspired
by modern and classical architecture. By studying shapes of buildings and
lines of large towers around the world, NZXT Team has again re-created a
chassis that uses simple lines to define innovation in design.
:: Immense Expandability: The Whisper can hold up to nine hard drives,
giving the users server-like expandability options and arrays.
:: Large and Spacious: A Full Tower E-ATX build allows the NZXT Whisper
to sit components comfortably with space to spare. High end video cards
and power supplies will have no problems.
:: Water Cooling ready and Air cool solutions: The Whisper comes
standard with four fans installed, three in the rear and a single 120mm in the
front, providing ample cooling to the hard drives and CPU to insure good
temperatures even at low noises. Water cooling holes are pre-drilled to allow
for outer tubes to route into the chassis.
Detailed specifications
Dimension: W211.5 *H521.5 *D562mm
Expansion slots ( 7 )
5 x 5.25” Bays ( up to 6 x 5.25” )
8 x Interal HDD bays
1 x 3.5” External Bracket
E-ATX Support, ATX, M-ATX Support
Cooling Options
1 x 120mm Blue LED Intake ( Included )
1 x 120mm Black Rear exhaust ( Included )
2 x 80mm Rear exhaust ( Included )
Weight: 12.3Kg

NZXT. 3
Table of Contents
Thank you......................................................................................1
Whisper Specifications ..................................................................2
Before Beginning...........................................................................3
Getting starting...............................................................................3
Motherboard Installation................................................................4
LED, Power and Reset Installation................................................5
External 5.25” Drive Bay Installation .............................................7
External 3.5” Drive Bay Installation..............................................10
Internal 3.5” Drive Bay Installation...............................................10
Installing the power supply with sound dampening cover...........11
Managing the cables....................................................................13
Being water cooling ready ...........................................................13
Support and Service ....................................................................14
Before Beginning..
For safety issues, it is highly recommended that all users wear
gloves during installation. Also, if you have any questions during
proceeding. Thank you.
Getting starting
For users building a new system, it is recommended that the side
panels are removed before beginning the installation. The following
NOTE: CPU, RAM and any peripheral installation are not
included in this manual. Please refer to your motherboard manual
for related mountin
g
instructions and troubleshootin
g
.

NZXT. 4
steps will outline the steps to remove the top, side panels and the
motherboard tray.
1. Remove the thumb screws securing the side panels.
2. Pull the side panel out and remove it.
Opening the side panel
Motherboard Installation
Please refer to the case interior infrastructure and secure the power
supply at the back of the case by using the screws provided.
1. Match the motherboard form factor ( E-ATX, ATX, M-
ATX, Mini-ATX ) with the holes on the motherboard tray
2. Secure the standoffs onto the holes which match your
motherboard
3. Lay the motherboard onto the standoffs and then
continue to secure the motherboard with the screws
provided.

NZXT. 5
LED, Power and Reset Installation
Please refer first to your motherboard manual to locate where the
power switch and reset pins are located. The power and reset
buttons are located at the top of the chassis. The colors following
each instruction designate the color of the wires.
USB, Audio ports, E-SATA, Reset, and Power buttons
1. Connect the reset switch (labeled RESET SW) by
connecting to your motherboard RESET connector. Make
sure you always attach the white wire to ground. (Blue/White
+/-)

NZXT. 6
2. Connect the power switch pin (labeled POWER SW) to the
PWR connector on the motherboard. (Yellow/White +/-)
3. Connect the HDD LED (labeled H.D.D LED) to the
appropriate headers on your motherboard. The HDD LED
located on the front panel should flash green when there is
activity in the hard drive. (Green/White, +/-)
4. Connect the four pin Molex leading from the front panel to
activate the single blue LED stripe on the aluminum panel.
All White and Black Pin Connectors correspond to ground.
USB Installation
1. The USB is located of the top on your front panel.
2. Refer to your motherboard manual and match the labels on
the USB port connectors with your motherboard in order to
install.
Audio Port Installation
1. Please first refer to your motherboard manual and match the
labels on the audio wires with your motherboard pins.
2. The green input is the speaker input and the pink input is the
microphone input.
Case Pins Signal Description ASUS© Pins
MIC-IN Front Microphone input Signal MIC2
MIC-POWER Front Microphone Power MICPWR
GROUND Front Audio Ground AGND
L-OUT Front Left Channel Audio Signal Line out_L

NZXT. 7
R-OUT Front Right Channel Audio Signal Line out_R
L-RET Rear Left Channel Audio Signal BLINE Line
out_L
R-RET Rear Right Channel Audio Signal BLINE Line
out_R
ASUS© Motherboard Pin Assignment
External 5.25” Drive Bay Installation
Please follow the directions below to install the 5.25” in the top 3
bays of the Tempest:
1. Remove the drive bay cover for the bay the 5.25” device is
being installed.
2. Remove the screwless mechanism so the 5.25” drive can
slide in correctly.

NZXT. 8
3. Slide the 5.25” device into the chassis from the front panel.
4. Match the holes on the 5.25” to the pins on the screwless
mechanism and re-attach it onto the steel bays. Turn the
screwless mechanism to lock the device in place. ( The user
has the option to screw on the drives manually with the ODD
screws that come in the accessory bag )

NZXT. 9
Turn to lock the device in place
5. From the other side of the bay, use screws provided to
provide more security.
Attach the screw less bracket matching the 5.25” holes
6. Turn the screw less bracket to lock the drive.

NZXT. 10
Turn and lock the device in place. User may choose to screw the
device on also.
External 3.5” Drive Bay Installation
The NZXT Whisper comes standard with one external 5.25” to 3.5”
bracket. Please follow the directions below to install the external 3.5”
devices:
1. Remove the 5.25” drive bay cover.
2. Attach the floppy drive to the bracket.
3. Slide the bracket in from the front of the chassis.
4. Secure the bracket from inside the chassis using the screw
less locks or standard screws.
Internal 3.5” Drive Bay Installation
The NZXT Whisper has the ability to fit nine 3.5” internal HDDs.
Please follow the directions below to install the device.
1. Open the side panel to gain access inside the chassis.
2. Remove the HDD tray from the hard drive cage by pushing
the two tabs inward.

NZXT. 11
3. Screw the HDD to the hard drive tray.
4. Slide the tray back into the cage to secure it.
The hard drive secured into the cage
Installing the power supply with sound dampening
cover
The NZXT Whisper power supply bracket is located at the rear
bottom of the chassis, a rubber mount is provided with your

NZXT. 12
purchase to further dampen sounds from vibration during operation.
Please follow the directions below for installation.
1. Attach the rubber mount on to the power supply, make sure
the direction is correct by aligning the holes.
2. Align the power supply with the mounting holes on the
bracket.
3. Secure the PSU using screws provided.
PSU at the bottom of the chassis
Secure from behind the chassis

NZXT. 13
Managing the cables
The NZXT Whisper allows the user to hide cables behind the
motherboard tray, simply route the cables behind the tray and out of
the holes to organize cables in the chassis. A additional hole is also
drilled to route the cables from the PSU area to the MB area.
Being water cooling ready
The NZXT Whisper is pre-drilled for water tube access and dual
radiator support.

NZXT. 14
Water tubes can be routed in from behind the case.
Support and Service
If you have any more questions or have problems with the
NZXT product you purchased, please don’t hesitate to contact
service@nzxt.com along with a detailed explanation of your problem
and your proof of purchase. You may inquire about replacement
Thank you again for purchasing an NZXT case. If you have
any more comments or questions. Please visit our website or send
us an email.
NZXT Website: www.nzxt.com
Email our design team: designer@nzxt.com
Table of contents
Other NZXT Enclosure manuals
Popular Enclosure manuals by other brands

Conceptronic
Conceptronic CH3B2E user manual

Macpower & Tytech
Macpower & Tytech MantaRay User manual & installation guide

NexWatch
NexWatch PW-5000 installation manual

CRU
CRU DataPort 4-Bay SATA Hard Drive Enclosure manual

Compaq
Compaq StorageWorks 4100 - RAID Array user guide

Rosewill
Rosewill RX35-AT-SU BLK user manual