manuals.online logo
Brands
  1. Home
  2. •
  3. Brands
  4. •
  5. Observint
  6. •
  7. Security Camera
  8. •
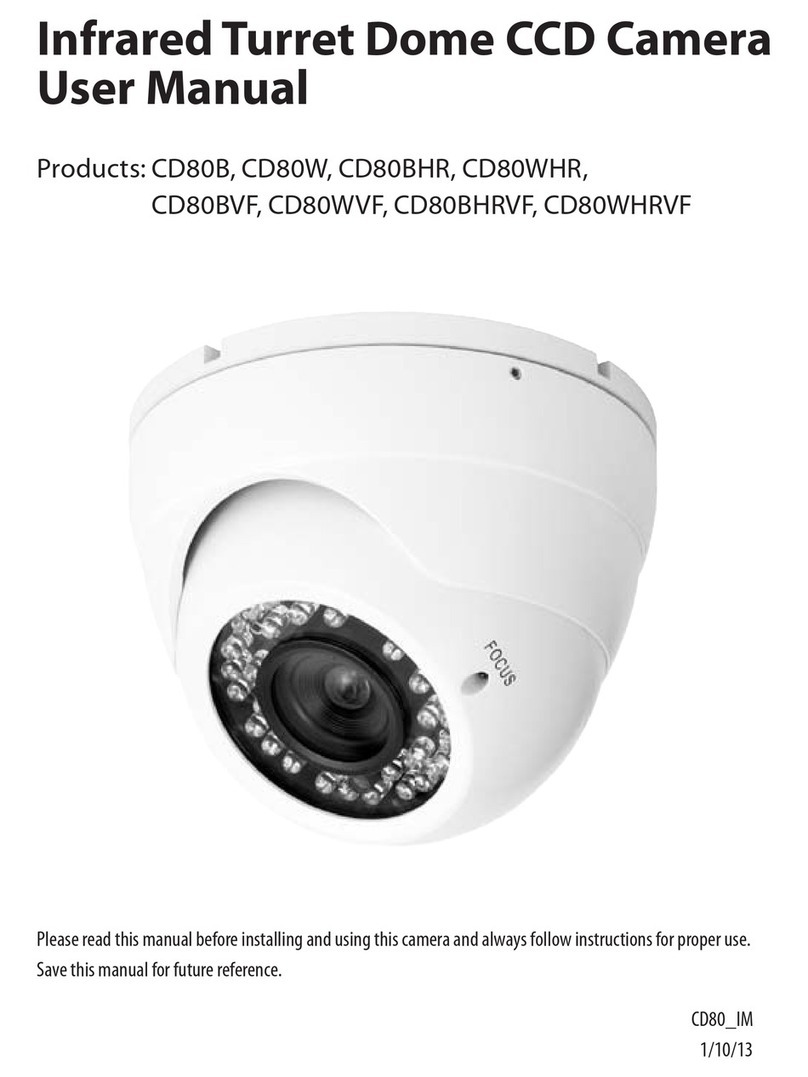
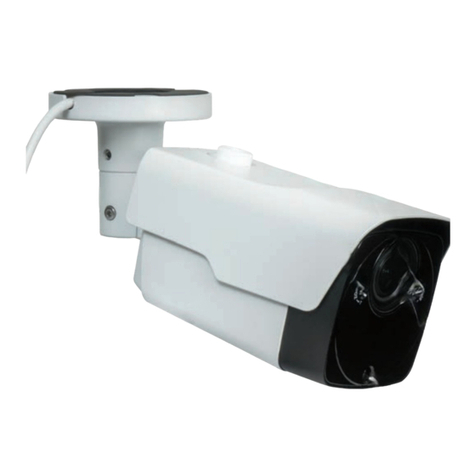
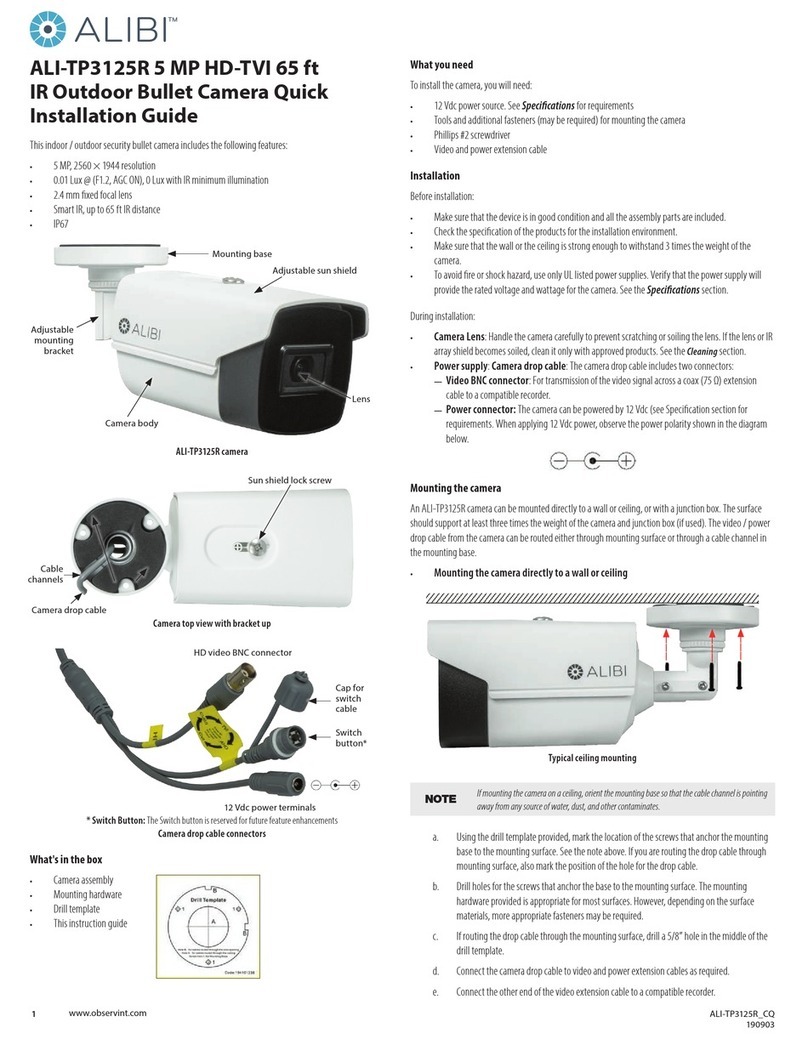
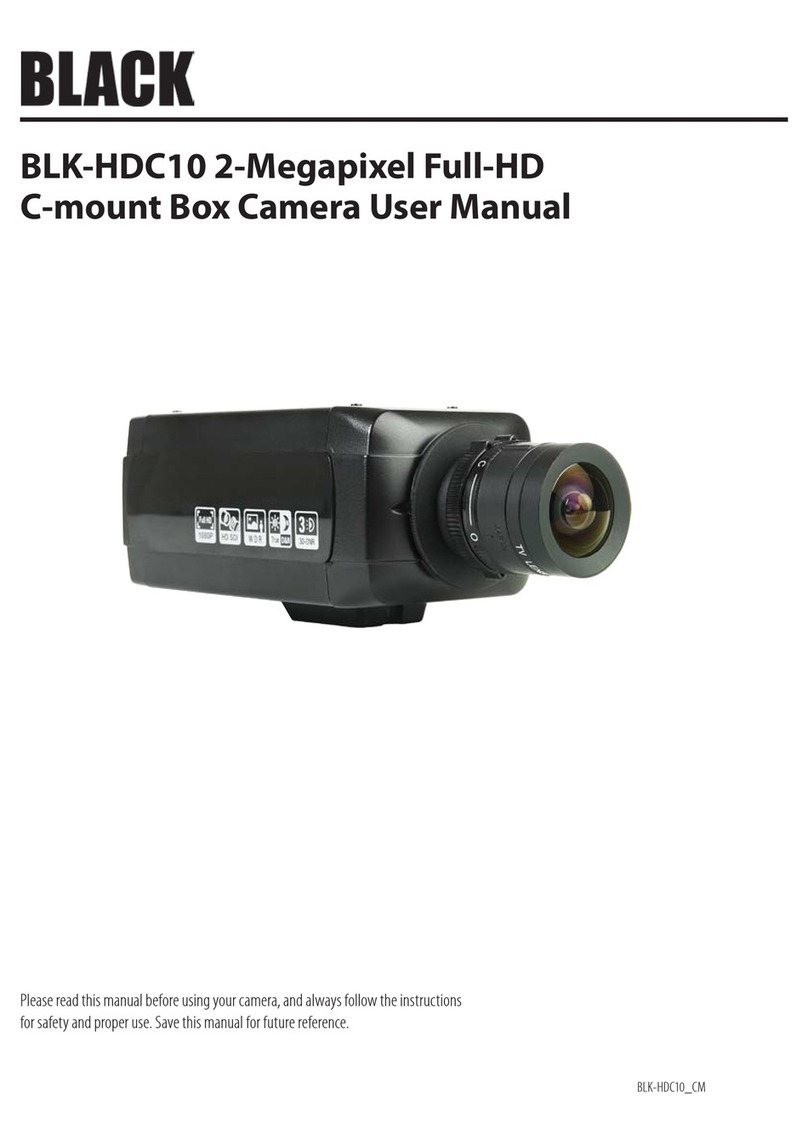
  9. Observint R5DHS 5MP HD-TVI Dome Camera User manual

Observint R5DHS 5MP HD-TVI Dome Camera User manual

1www.observint.com RS_D5_CQ
181220
What’s in the box
• Camera assembly
• Mounting hardware
• Security wrench
• Drill template
• This instruction guide
What you need
To install the camera, you will need:
• 12 Vdc power source. See Specications for wattage requirement.
• Tools and additional fasteners (may be required) for mounting the camera
• Phillips #2 screwdriver
• Video and power extension cable
• Compatible Digital Video Recorder or HD-TVI video setup monitor (optional)
Installation
Before installation:
• Make sure that the device is in good condition and all the assembly parts are included.
• Check the specication of the products for the installation environment.
• Make sure that the wall or the ceiling is strong enough to withstand 3 times the weight of the camera.
• To avoid re or shock hazard, use only UL listed power supplies. Verify that the power supply will
provide the rated voltage and wattage for the camera. See the Specications section.
During installation:
• Camera Lens: Handle the camera carefully to prevent scratching or soiling the lens. If the lens or IR
array shield becomes soiled, clean it only with approved products. See the Cleaning section.
• Power supply: Camera drop cable: The camera drop cable includes two connectors:
—Video BNC connector: For transmission of the video signal across a coax (75 Ω) extension
cable to an HD-TVI compatible recorder.
—Power connector: When applying power, observe the power polarity. See the picture to the
left for the connector polarity conguration.
Mounting the camera
A D5 camera can be mounted directly to a wall or ceiling. The surface should support at least three times
the weight of the camera. The video and power drop cables from the camera can be routed either through
mounting surface or through a cable channel in the mounting base.
1. Use the security wrench provided to loosen the dome-cover assembly screws, and then separate it
from the mounting base.
Typical ceiling mounting
R5DHS 5MP HD-TVI Dome Camera
Quick Installation Guide
The R5DHS HD-TVI dome cameras include a high sensitivity sensor with the ability to send HD video
across standard coaxial cable. This camera features:
• 5 MP Megapixel High Performance CMOS 2592 (H) × 1944 (V)
• 65’ IR range
• 2.8 mm lens with an 102.94˚eld of view
• -22° ~ +131°F temperature range
• Compatible with R4, R8 and R16 Digital Video Recorder
Cable channel Drop cable
Dome-cover
assembly
Mounting base
Cover screw (3)
Lens
IR array
D5 camera
Screw
holes for
anchoring
mounting
base (3)
Holes for
dome-cover
assembly
screws (3)
Camera
module
and
gimbal
D5 camera without dome-cover assembly (top view)
Power Connector
HD-TVI video
BNC connector
Camera drop cable connectors
2www.observint.com
2. Using the drill template provided, mark the location of the screws that anchor the mounting base
to the mounting surface. If you are routing the drop cable through mounting surface, also mark the
position of the hole for the drop cable.
3. Drill holes for the screws that anchor the base to the mounting surface. The mounting hardware
provided is appropriate for most surfaces. However, depending on the surface materials, more
appropriate fasteners may be required.
4. If routing the drop cable through the mounting surface, drill a 5/8” hole for the drop cable.
5. Route the drop cable through the hole in the mounting surface or through the cable channel in the
mounting base, then attach the camera assembly to the surface using the appropriate fasteners.
6. Connect the camera drop cable to video and power extension cables.
WARNING
!
Drop cable connectors are not waterproof. Failure of the power or video connector
due to moisture or another contaminant is considered an installation error, which
voids the warranty. If installing this camera in a location such as an overhang, shop,
garage, kitchen, etc. where high humidity or dust is present, seal these connections
adequately.
7. Connect the other end of the video extension cable to an HD-TVI compatible video monitoring
device or digital video recorder (DVR) such as the R4, R8 or R16 recorder.
8. Connect the other end of the power extension cable to a 12 Vdc power source. Observe the polarity
of the cable shown in the photo on page 1 of this guide.
Camera adjustments
Adjust the pan, tilt and rotation to point your camera at your surveillance eld of view.
1. Apply power to the camera.
2. Verify that video from the camera can be seen on the monitor.
3. Pan Adjustment: While observing video from the camera, turn the gimbal assembly to point the
camera in the direction of your surveillance eld of view.
0° ~ 360°
4. Tilt Adjustment: While observing video from the camera, rotate the camera module around the
pivot point to set the elevation of the video image.
0° ~ 90°
Pivot point
5. Rotation Adjustment: While observing video from the camera, rotate the camera module on the
gimbal to align the horizon in the video image.
0° ~ 360°
6. Re-install the dome-cover assembly.
Camera conguration customization
For conguration and customization, refer to the User Manual for your camera or recorder.
Specications
Camera Model (SKU). D5
Image Sensor 1/2.7” CMOS
Resolution 5MP: 2592 (H) × 1944 (V)
Video Output Termination 1-channel BNC video output
Minimum Illumination 0.05 lux @ F1.0 (AGC ON)
0 lux with IR ON
IR Cut Filter Yes, 850 nm
DWDR Yes
WDR N/A
IR LEDs 18
Night Vision (IR range) 65 ft (20 m)
Lens 2.8 mm
Viewing Angle (degrees) Horizontal FOV: 102.94°
Backlight Compensation OFF (default)
Mechanical Zoom Fixed-focus
Audio - Microphone No
Audio Range (Mtrs) N/A
On-screen display (OSD) Yes
Operating Power 4 W max.
Operating Temperature -22° ~ +131°F (-30° ~ +55° C)
Cleaning
Clean the camera dome with an approved glass cleaning solution and a lint free cloth.
• Dust can be removed from the unit by wiping it with a soft damp cloth. To remove stains, gently rub
the surface with a soft cloth moistened with a mild detergent solution, then rinse and dry it with a
soft cloth. Do not use benzene, thinner or other chemical products on the camera assembly; these
may dissolve the paint and promote damage of the surfaces.
• Remove all foreign particles, such as plastic or rubber materials, attached to the camera housing.
These may cause damage to the surface over time.
© 2018 Observint Technologies. All rights reserved.

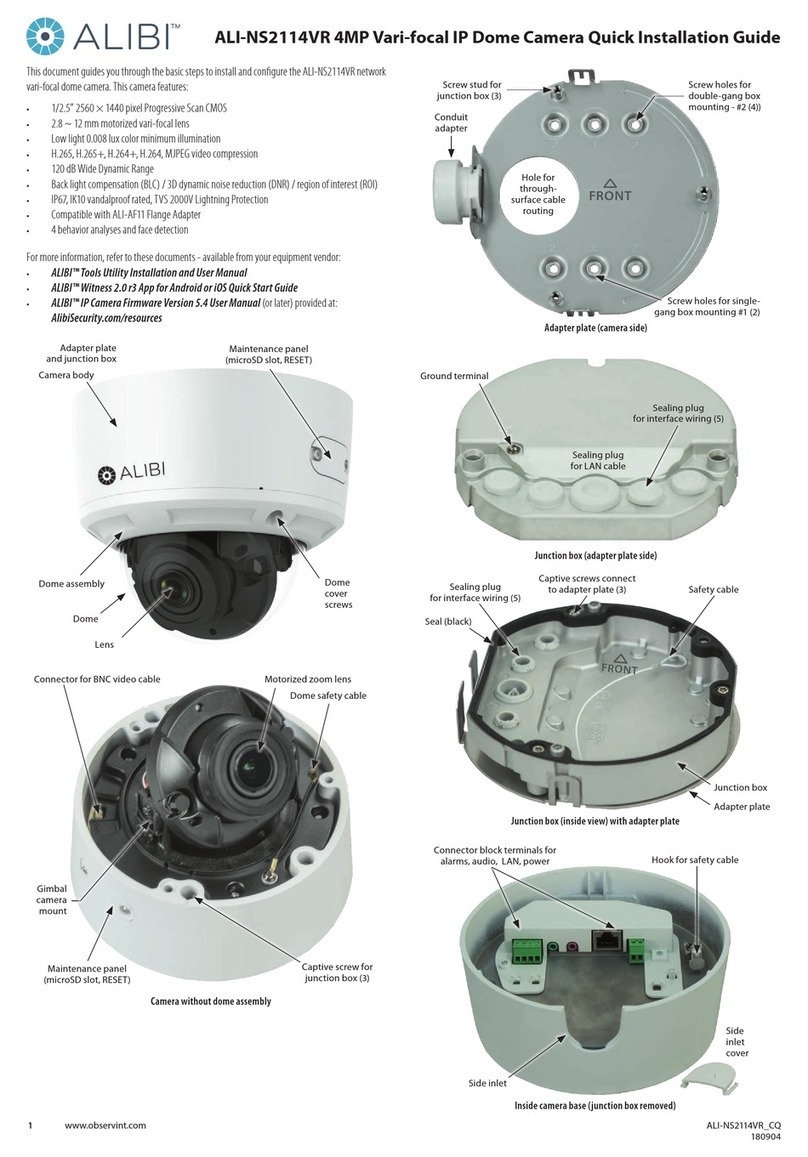
Other Observint Security Camera manuals

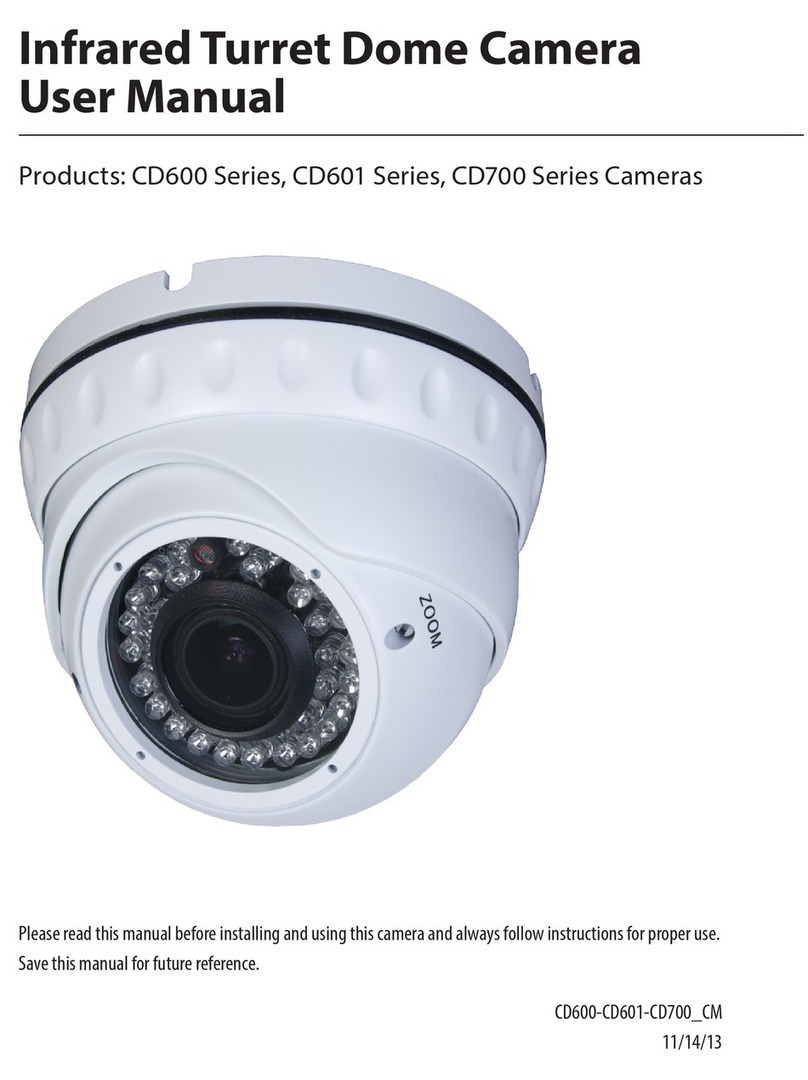
Observint CD600 Series User manual

Observint

Observint CD600 Series User manual

Observint ALIBI ALI-TP3002LE User manual

Observint

Observint ALIBI ALI-TP3002LE User manual

Observint ALIBI ALI-NS2114VR User manual

Observint

Observint ALIBI ALI-NS2114VR User manual

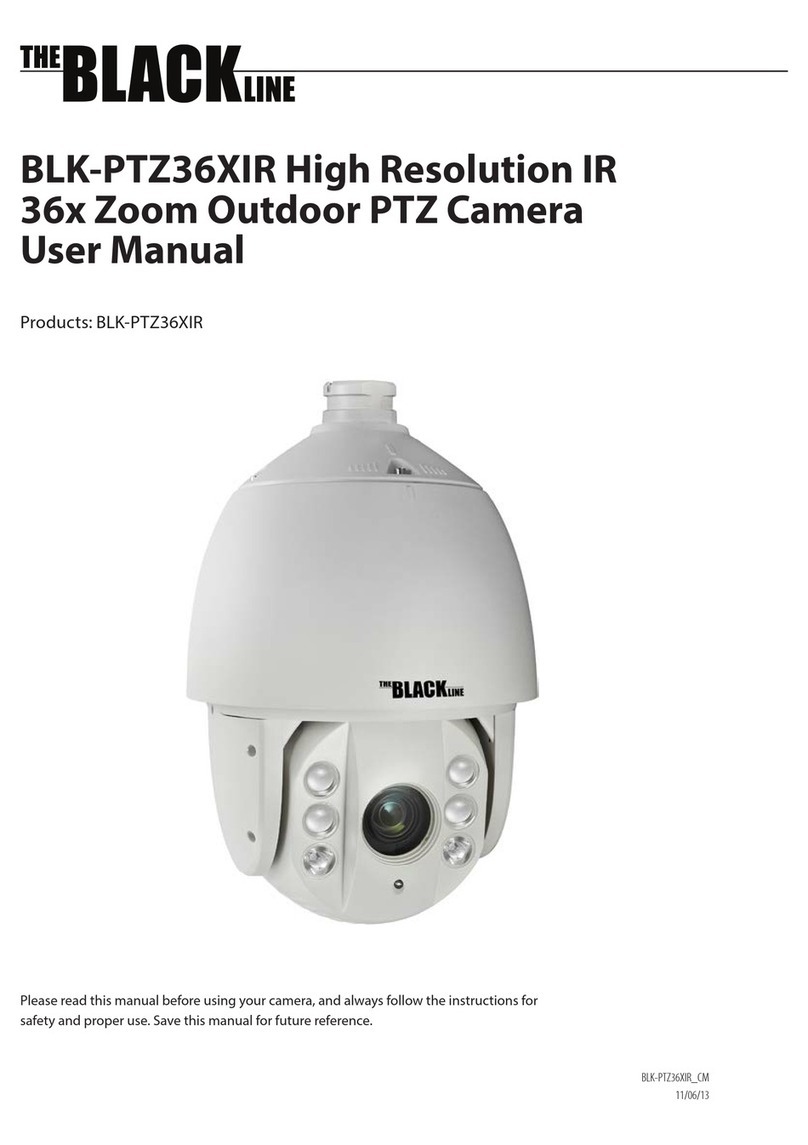
Observint BLK-PTZ36XIR User manual

Observint

Observint BLK-PTZ36XIR User manual

Observint R8VTHS User manual

Observint

Observint R8VTHS User manual

Observint R5VBHS User manual

Observint

Observint R5VBHS User manual

Observint BLK-HDM1IR User manual

Observint

Observint BLK-HDM1IR User manual

Observint ALIBI ALI-NS4014R User manual

Observint

Observint ALIBI ALI-NS4014R User manual

Observint BC600 Series User manual

Observint

Observint BC600 Series User manual

Observint Black BLK-HDC10 User manual

Observint

Observint Black BLK-HDC10 User manual

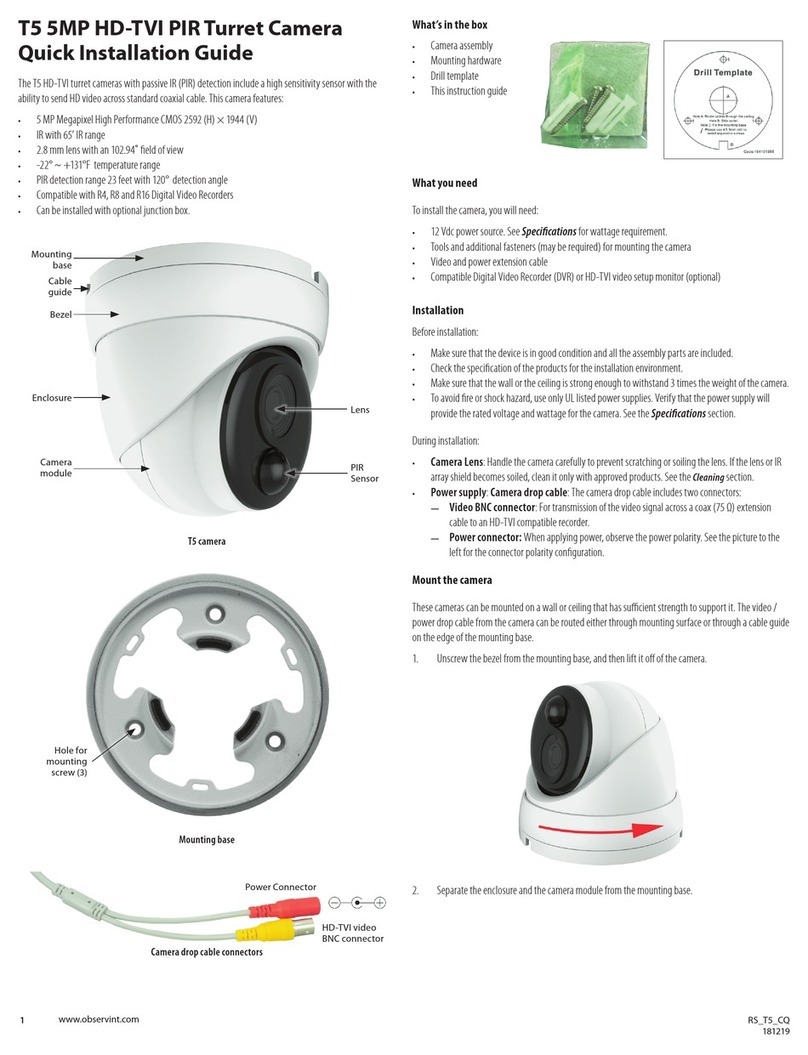
Observint T5 User manual

Observint

Observint T5 User manual

Observint Black BLK-HDC10IR User manual

Observint

Observint Black BLK-HDC10IR User manual

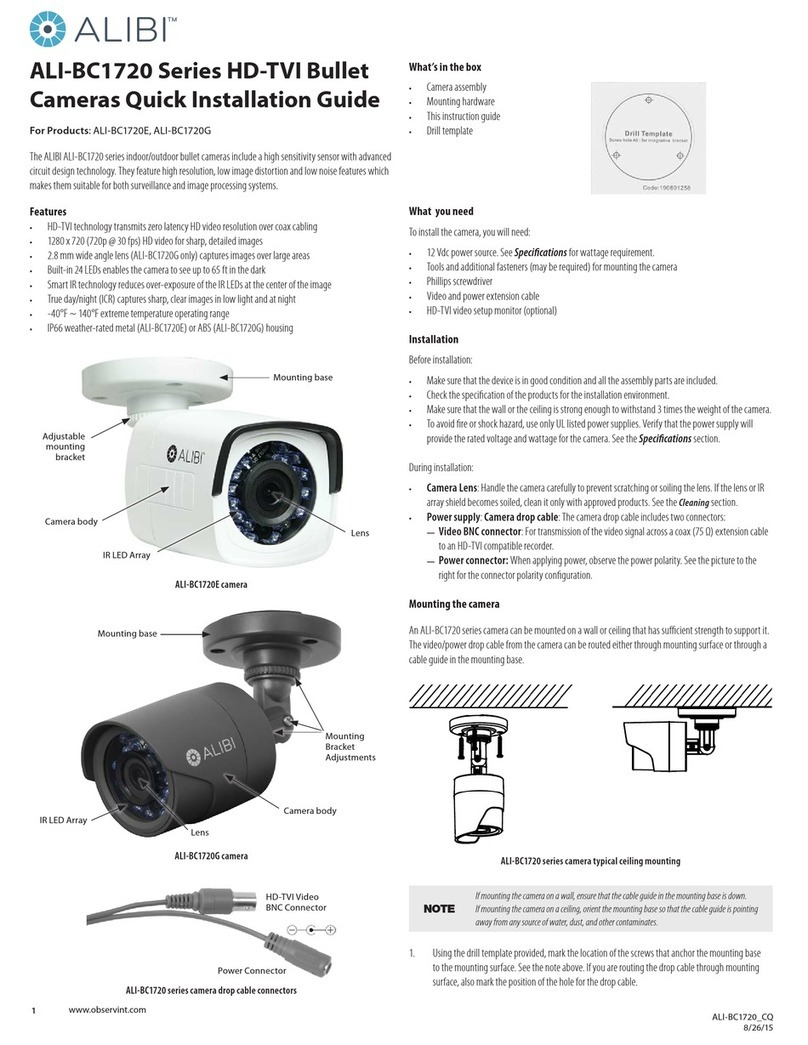
Observint ALIBI ALI-BC1720 Series User manual

Observint

Observint ALIBI ALI-BC1720 Series User manual

Observint The BLACK Line BLK-PTZ36X User manual

Observint

Observint The BLACK Line BLK-PTZ36X User manual

Observint ALIBI ALI-TP3125R User manual

Observint

Observint ALIBI ALI-TP3125R User manual

Observint CD80B User manual

Observint

Observint CD80B User manual

Popular Security Camera manuals by other brands

Axis Q6055-C manual

Axis

Axis Q6055-C manual

EverFocus ED610 Operation instructions

EverFocus

EverFocus ED610 Operation instructions

Genie Geniewatch NSD5451 user manual

Genie

Genie Geniewatch NSD5451 user manual

Avigilon H5SL Series installation guide

Avigilon

Avigilon H5SL Series installation guide

Grundig GD-CI-BC2615M quick start guide

Grundig

Grundig GD-CI-BC2615M quick start guide

Vicon V980B Series quick guide

Vicon

Vicon V980B Series quick guide

imilab C22 user manual

imilab

imilab C22 user manual

TRASSIR TR-D2B5 user manual

TRASSIR

TRASSIR TR-D2B5 user manual

urmet domus 1092/271 quick guide

urmet domus

urmet domus 1092/271 quick guide

Dahua Technology WizMind IPC-PDBW82041-B360 Operation manual

Dahua Technology

Dahua Technology WizMind IPC-PDBW82041-B360 Operation manual

Speco CVC-7445EXTP Specification sheet

Speco

Speco CVC-7445EXTP Specification sheet

Panasonic BL-C111A - Network Camera - Pan Integration notes

Panasonic

Panasonic BL-C111A - Network Camera - Pan Integration notes

Vicon Roughneck AI V2000D Series quick guide

Vicon

Vicon Roughneck AI V2000D Series quick guide

Motorola SCOUT73 user guide

Motorola

Motorola SCOUT73 user guide

GE KTC-CBH24 user manual

GE

GE KTC-CBH24 user manual

Samsung 911SNV6430 quick start guide

Samsung

Samsung 911SNV6430 quick start guide

System Q CCT513 installation instructions

System Q

System Q CCT513 installation instructions

Milesight Technology MS-C2942-B user manual

Milesight Technology

Milesight Technology MS-C2942-B user manual

manuals.online logo
manuals.online logoBrands
  • About & Mission
  • Contact us
  • Privacy Policy
  • Terms and Conditions

Copyright 2025 Manuals.Online. All Rights Reserved.