OLAKIDS TQ10130 User manual

Kids Ride-On Car
EN / FR
TQ10130

olakidsEN
About Your New Vehicle │ 1
On the purchase of your new Ride-On.
This ride-on car will provide your child with many miles of riding of
enjoyment. To help assure you and your rider a safe ride, we ask you to
please read this manual carefully, and keep it for future reference.
Follow the recommendations in this manual, they are designed to improve
the safety and operation of your ride-on car and its rider.
Specification
Battery
Charger input
12V7AH X1
12V700-1000mA
Depend on local voltage
Motor 550-12000 x2
• Suitable for 3+ Years
• Maximum user weight: 50 kg
Read and understand this entire manual before using!
Please keep this manual for future reference as it contains important
information.
Before first time use, charge the battery for at least 4-6 hours, but no more
than 10 hours.
WARNING:
Must be assembled by an adult.
01

olakidsEN
BATTERY INFORMATION
● Non-rechargeable batteries are not to be recharged.
● If removable rechargeable batteries are used, the are only to be charged
under adult supervision.
● Remove rechargeable batteries from the product before charging.
● Do not mix old and new batteries. Do not mix different types of batteries:
alkaline, standard (carbon-zinc) or rechargeable (nickel-cadmium).
● Insert batteries as indicated inside the battery compartment, anode to
anode, cathode to cathode.
● Remove batteries during long periods of non-use. Always remove
exhausted batteries from the product. Battery leakage and corrosion can
damage this product. Dispose of batteries safely.
● Never short circuit the battery terminals.
Suitable age:
Charge time:
Load capacity:
Size of car:
Speed:
3+ Years
8~12 hours
Under 50kg/110lbs
1190 x 680 x 650 mm/46.8" x 26.7" x 25.5"
3-8 km/h
02

EN olakids
Parts List │ 2
Assembly tools required (not included): Screwdriver
NO.
11
PART NAME
Vehicle body
gear box
REMARKSQTY(PCS)
22
32
Driving wheel
42
2
Normal wheel
5
Ø12 washer
64
Ø10 washer
74
Lock nut
84
Wheel cover
91
Rear axle
10 1
Front bumper
11 8
Ø4x14 screw (black)
12 1
Steering wheel
13 1
M5x40 machine screw
14 1
M5 nut
15 1
Seat
16 1
Seat back
17 1
Rear roll bar
18 1
Windshield
19 2
Mirrors
20 1
Dump gate
21 2
Spanner
22 1
Charger
23 1
Remote controller
03

EN olakids
Parts Diagram │ 3
HINT: Some parts shown are assembled on both sides of vehicle
04

EN olakids
Safety │ 4
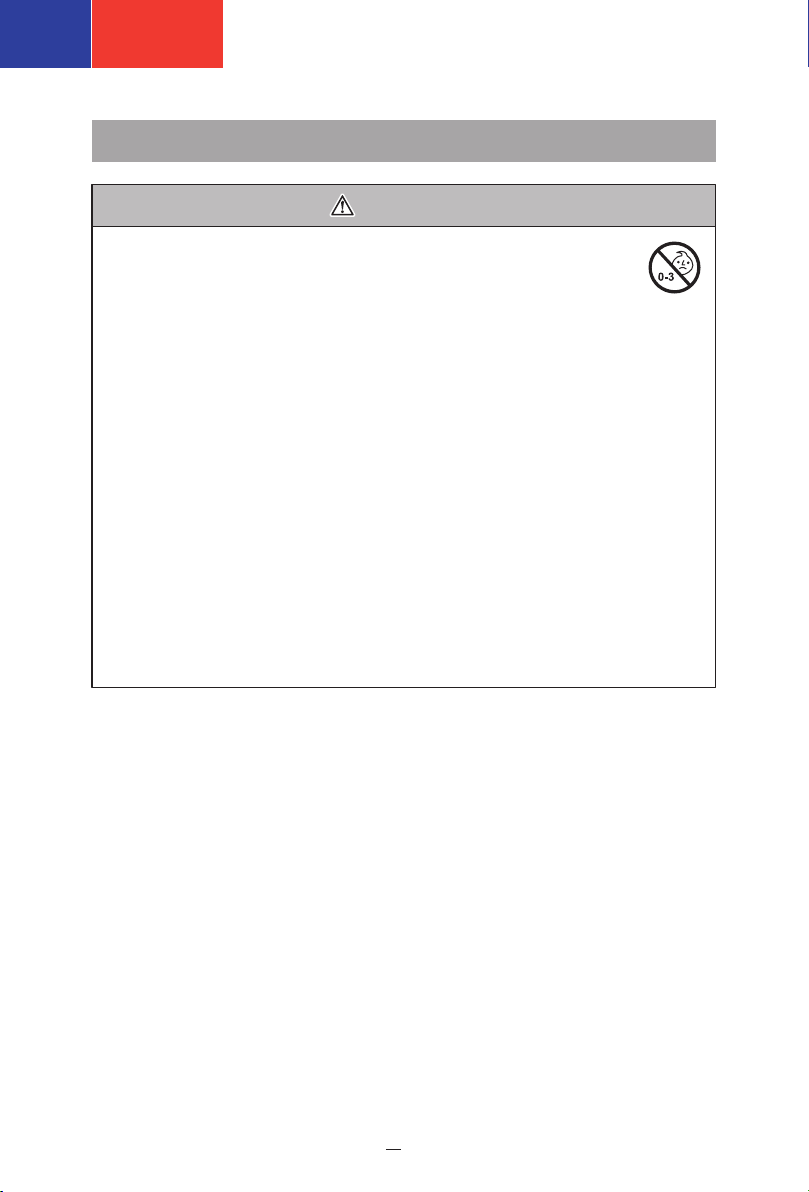
● CHOKING HAZARD! Not suitable for children under 36 months.
● Must be assembled by an adult.
● To reduce the risk of injury, adult supervision is required.
● Never use in roadways, near motor vehicles, on or near steep inclines or
steps, swimming pools or other bodies of water; always wear shoes, and never
allow more than 1 rider.
● Power supply or battery charger used with the electric toy shall be regularly
examined for damage to the supply cord, plug, enclosure or other parts, and in
the event of damage, it shall not be used not be used until the damage has been
repaired.
● Use only battery and charger specified by the manufacturer.
● The battery on the vehicle is not replaceable.
● This toy should be used with caution since skill is required to avoid falls or
collisions causing injury to the user or third parties.
● Protective equipment should be worn.
● Always wear shoes, always sit on the seat.
● Not to be used in traffic.
● This toy is unsuitable for children under 36 months due to its maximum speed;
Maximum user weight is 50kg/110lbs.
● This toy has no brake.
WARNING:
Rules for Safe Riding
• Keep Children within Safe Riding Areas.
• Use the toy only on flat surfaces. Such as inside your house, garden or
playground.
• Never use in the dark. A child could encounter unexpected obstacles and
have an accident. Operate the vehicle only in the daytime or a well-lit area.
• It is prohibited to change the circuit or add other electric parts.
• Inspect wires and connections of the vehicle periodically.
• Do not let any child touch the wheels or be near them when the car is
moving.
• This vehicle has adjustable play seat belts. Please instruct children how to
tie the safety belt before using, guarantee the security.
05

EN olakids
Attach the Front Wheels │ 5
Front botttom View
Remove all the parts from the front axle.
1. Slide a Ø12 washer onto the front axle.
2. Slide a front wheel onto the front axle.
3. Slide a Ø10 washer onto the front axle.
4. Tighten a lock nut to the end of the front axle with a spanner. DO NOT
over tighten.
5. “Snap” the hubcap to the wheel.
Repeat the above procedure to assemble the other rear wheel.
06

EN olakids
Attach the Rear Axle │ 6
1. Insert the rear axle into the correct hole on the rear side of the body.
Rear bottom View
07

EN olakids
Attach the Driving Wheels │ 7
Rear botttom View
1. Plug the connector of the rear gear box to the connector from the vehicle
body. And fit the rear gear box onto the rear axle.
2. Slide a driving wheel onto the rear axle.
3. Slide a Ø10 washer onto the rear axle.
4. Tighten a locknut to the end of the rear axle with a spanner.
Repeat for the other driving wheel.
5. “Snap” the wheel covers to the wheels.
08

EN olakids
Attach the Steering Wheel │ 8
1-2. Fit the front bumper to the vehicle body, insert four Ø4x14 black screws
and tighten.
3. Insert the handle to the holes in the dash.
4. Plug the sound unit connector on the steering wheel into the connector on
the vehicle body. Then hide the connectors and wires into the steering
wheel.
5. Fit the steering wheel to the steering wheel base on the body.
6-7. Line up the holes on the steering wheel with the holes on the steering
wheel base, insert the M5x40 machine screw. Fasten a
nut on the opposite end of the screw with a
screwdriver.
09

EN olakids
Connect the Power Supply & Attach the Seat │ 9
Bottom of seatBottom of seat
Buttons
1. Plug the connector from the
vehicle body into the connector on the
battery.
2. Fit the seat back to the vehicle body.
3-4. Press and hold the buttons on the
bottom of the seat until the seat is attached to
the body.
10

EN olakids
Attach the Windshield & Roll Bar │ 10
1-2. Insert the mirrors to the
windshield. HINT: The mirrors are
designed to fit vehicle only way.
Insert and tighten two Ø4x14 screws on each mirror.
3. Insert the tabs on the windshield into the holes on the vehicle body, push
until you hear it “click” into place.
4. Insert the tabs on the roll bar into the holes on the vehicle body, push until
you hear it “click” into place.
5. “Click” the dump gate to the dump on the vehicle body.
11

olakidsEN
Use Your New Ride-on │ 11
1. Power button: Turn the product on and off.
2. Forward/Stop/Reverse lever: Changes the direction that product moves
from forward to reverse.
● To move the product forward, shift the lever to top position.
● To move the product backward, shift the lever to down position.
● Shift the lever to middle position, the product will not move.
3. Sound button: Press for sound or horn playing.
4. Throttle pedal: Applies power (speed) to the product.
● To move the product, press the pedal down.
● To brake or slow down, release pressure from the pedal.
5. Pedal - R/C switch (If equipped): Change operating mode, throttle
control or remote control.
6. Dump switch: Press the switch once to tip the dump. Press it twice
quickly and the dump will automatically reset after tipping.
7. Mp4 (if equipped)
12

olakidsEN
Use the Audio Player │ 12
High Low
A. Previous / Long press for Volume -
B. Play / Long press for Pause
C. Next / Long press for Volume +
D. On 12V product-Rocking button: Turn rocking mode on and off. Product
cannot move under this mode.
E. Lights button: Turns the lights on and off.
F. High speed button: Operates the product to move in high speed.
G. Low speed button: Operates the product to move in low speed.
H. Mode button: Change audio input.
I. Device input 1
J. Device input 2
K. Digital voltmeter: It displays the power level of the battery when the
product is stop.
13

EN olakids
Use the Remote Controller │ 13
Speed select
button
High speed indicator
Normal speed indicator
Low speed indicator
Connection button
Forward button
Reverse button
Left button
Brake button
Right button
Insert the batteries of controller
Lift the battery compartment door on the back of the controller and insert two
AAA(LR03) batteries.
HINT: Batteries not included. Refer to the Battery Information.
1. Build connection
Press the Connection button for 2 seconds, the status indicator flashes, then
turn on the power switch located on the the vehicle dash, when the status
indicator turns off about 2 seconds and turns into long bright, means the
connection successful. If the status indicator makes no response, means the
connection failed. Replace the batteries and try again.
2. Brake button
Press the button to stop the vehicle, press it again to release the brake.
3. Speed select button
The switch operates the vehicle to move in low, normal or high speed. HINT:
This switch won’t work while your vehicle moves reverse.
NOTE:
• Leave the remote controller idling for about 10 seconds, it will shut down
automatically.
• Rebuild connection when you replace the batteries of the remote controller.
14

EN olakids
Charging │ 14
• The POWER SWITCH must be turned in OFF position when charging.
• Before the first use, you should charge the battery for 4-6 hours. Do not
recharge the battery for more than 10 hours to avoid overheating the
charger.
• When the vehicle begins to run slowly, recharge the battery.
• After each use or once a month minimum recharge time as 8 to 12 hours,
less than 20 hours at most.
• Use the only rechargeable battery and charger supplied with your vehicle.
NEVER substitute the battery or the charger with another brand. Using
another battery or charger may cause a fire or explosion.
• Do not use the battery or charger for any other product.
WARNING!
ONLY AN ADULT CAN CHARGE AND RECHARGE THE BATTERY!
WARNING!
This product with Charging Protection: when charging, all functions will
be cut off! Only an adult can charge and recharge the battery!
How to charge the battery
1. Open the charging cover (below the seat). Plug the charger port into the
charger socket.
2. Plug the charger plug into a wall outlet. The battery will begin charging.
15

EN olakids
Troubleshooting Guide │ 15
Problem Possible Cause Solution
Vehicle does
not run Battery low on
power Recharge battery.
Thermal fuse has
tripped Reset fuse, see <Fuse>
Battery connector or
wires are loose Check that the battery connectors are
firmly plugged into each other. If wires
are loose around the motor contact us
please.
Battery is dead Replace battery, contact us please.
Electrical system is
damaged Contact us please.
Motor is damaged Contact us please.
Vehicle does
not run very
long
Battery is under
charged Check that the battery connectors are
firmly plugged into each other when
recharging
Vehicle runs
sluggishly Battery low on
power Recharge battery, contact us please.
Battery is old Replace battery, contact us please.
Vehicle is overload Reduce weight on vehicle.
Vehicle is being
used in harsh
conditions
Avoid using vehicle in harsh conditions,
see <Safety>.
Battery is old Replace battery, contact usplease.
16

EN olakids
Problem Possible Cause Solution
Vehicle needs
a push to go
forward
Poor contact of
wires or Connectors Check that the battery connectors are
firmly plugged into each other. If wires
are loose around the motor, contact us
please.
Difficult shifting
from forward
to reverse or
vice-versa
Attempting to shift
while the vehicle is
motion
Completely stop the vehicle and shift,
see <Use Your New Vehicle>
Loud grinding
or clicking
noises coming
from motor or
gear box
Motor or gears are
damaged Contact us please.
“Dead Spot” on
motor A dead spot means the electric power is
not being delivered to the terminal
connection and the vehicle needs repair.
Contact us please.
Battery will not
recharge Battery connector or
adapter connector is
loose
Check that the battery connectors are
firmly plugged into each other.
Charger feels
warm when
recharging
Completely read through this manual and the troubleshooting guide table
before calling. If you still need help resolving the problem, contact us please.
This is normal and
not a cause for
concern
Charger not plugged
in Check that the battery charger is plugged
into a working wall outlet.
Charger is not
working Contact us please.
17

EN olakids
● It is parents' responsibility to check main parts of the toy before using,
must regularly examine for potential hazard, such as the battery,
charge,cable or cord, plug, screws are fastening enclosure of other parts
and that in the event of such damage, the toy must not be used until that
damage had been properly removed.
● Make sure the plastic parts of the vehicle are not cracked or broken.
● Occasionally use a lightweight oil to lubricate moving parts such as
wheels.
● Park the vehicle indoors or cover it with a tarp to protect it from wet
weather.
● Keep the vehicle away from sources of heat, such as stoves and heaters.
Plastic parts may melt.
● Recharge the battery after each use. Only an adult can handle the
battery. Recharge the battery at least once a month when the vehicle
Raider is not being used.
● Do not wash the vehicle with a hose. Do not wash the vehicle with soap
and water. Do not drive the vehicle in rainy or snowy weather. Water will
damage the motor, electric system and battery.
● Clean the vehicle with a soft, dry cloth. To restore shine to plastic parts,
use a non-wax furniture polish. Do not use car wax. Do not use abrasive
cleaners.
● Do not drive the vehicle in loose dirt, sand or fine gravel which could
damage the moving parts, motors or the electric system.
● When not using, all the electrical source should be turn off. Turn off the
power switch and disconnect the battery connection.
Maintaining │ 16
18

EN olakids
The battery features a thermal fuse with a rest fuse that will automatically trip
and cut all power to the vehicle if the motor, electric system or battery is
overloaded. The fuse will reset and power will be restored after the unit is
turned OFF for 20 seconds and then turned ON again. If the thermal fuse
trips repeatedly during normal use, the vehicle may need repair. Contact us
please.
To avoid losing power, follow these guidelines:
● Do not overload the vehicle.
● Do not tow anything behind the vehicle.
● Do not drive up steep slopes.
● Do not drive into fixed objects, which may cause the wheels to spin,
causing the motor to overheat.
● Do not drive in very hot weather, components may overheat.
● Do not allow water or other liquids to come in contact with the battery or
other electric components.
● Do not tamper with the electric system. Doing so may create a short,
causing the fuse to trip.
Disposal Of Battery
● Your sealed lead-acid battery must be recycled or disposed of in an
environmentally sound manner.
● Do not dispose of your lead-acid battery in a fire. The battery may explode
or leak.
● Do not dispose of a lead-acid battery in your regular, household trash. The
incineration, land filling or mixing of sealed lead-acid batteries with
household trash is prohibited by law.
Our products are suitable for ASTM F963; GB6675; EN71 and EN62115
standard.
Battery Fuse │ 17
19
Table of contents
Languages:
Popular Motorized Toy Car manuals by other brands

Serpent
Serpent SRX4 Gen3 instruction manual

Excalibur
Excalibur 9403 operating manual

TT RC Sport
TT RC Sport Playerunknown's Battlegrounds 4x4 American Pickup... Maintenance manual

Kyosho
Kyosho EP FAZER KOBRA instruction manual

Duratrax
Duratrax Evader EXT2.4 instruction manual

Xray
Xray X12 instruction manual