manuals.online logo
Brands
  1. Home
  2. •
  3. Brands
  4. •
  5. Olivetti
  6. •
  7. Typewriter
  8. •
  9. Olivetti ETP 630 User manual

Olivetti ETP 630 User manual

Other manuals for ETP 630

1

Other Olivetti Typewriter manuals

Olivetti MS 25 Premier plus User manual

Olivetti

Olivetti MS 25 Premier plus User manual

Olivetti LINEA 88 User manual

Olivetti

Olivetti LINEA 88 User manual

Olivetti 900X User manual

Olivetti

Olivetti 900X User manual

Olivetti ETP 630 User manual

Olivetti

Olivetti ETP 630 User manual

Olivetti Linea 198 User manual

Olivetti

Olivetti Linea 198 User manual

Popular Typewriter manuals by other brands

IBM Selectric II operating instructions

IBM

IBM Selectric II operating instructions

Panasonic KX-R530 - Electronic Typewriter operating instructions

Panasonic

Panasonic KX-R530 - Electronic Typewriter operating instructions

Brother AX-425 parts reference list

Brother

Brother AX-425 parts reference list

Remington Rand Inc. Noiseless 10 Mechanical Instructions

Remington Rand Inc.

Remington Rand Inc. Noiseless 10 Mechanical Instructions

Scheidegger TYPOMATIC-TMS Instruction handbook

Scheidegger

Scheidegger TYPOMATIC-TMS Instruction handbook

Siemens 1000 CA operating instructions

Siemens

Siemens 1000 CA operating instructions

Panasonic KX-E50 Operator's instruction manual

Panasonic

Panasonic KX-E50 Operator's instruction manual

IBM Selectric III Troubleshooting

IBM

IBM Selectric III Troubleshooting

Canon varioPRINT 135 Series Operation guide

Canon

Canon varioPRINT 135 Series Operation guide

Torpedo 18 instructions

Torpedo

Torpedo 18 instructions

Zyteq LightWRITER SL40 quick start guide

Zyteq

Zyteq LightWRITER SL40 quick start guide

Hermes 3000 user guide

Hermes

Hermes 3000 user guide

Brother COM300 Specifications

Brother

Brother COM300 Specifications

Olympia SM 5 operating instructions

Olympia

Olympia SM 5 operating instructions

Royal Linea 10 Instructions for care and use

Royal

Royal Linea 10 Instructions for care and use

Brother AX-22 user guide

Brother

Brother AX-22 user guide

Remington Quiet-Riter Instruction book

Remington

Remington Quiet-Riter Instruction book

Digital Equipment Letterwriter 100 installation guide

Digital Equipment

Digital Equipment Letterwriter 100 installation guide

manuals.online logo
manuals.online logoBrands
  • About & Mission
  • Contact us
  • Privacy Policy
  • Terms and Conditions

Copyright 2025 Manuals.Online. All Rights Reserved.

PORTABLE TYPEWRITERS
Instructions
ETP 630
1
10
11
3
4
12
13
15
7
11½
2
xxxxxxxxxxxxxxxxxxxxxxxx xxxxxxxxxxxxxxx xxxxxxxxxx
6
9
16
8
14
5
2
1
CONTENTS
BEFORE YOU BEGIN ................................................................................2
PRELIMINARY OPERATIONS....................................................................3
SETTING THE WORKING PARAMETERS.................................................3
TYPING A TEXT .........................................................................................4
CORRECTING ERRORS ............................................................................4
INDENT.......................................................................................................5
CENTRING TEXT BETWEEN THE MARGINS ...........................................5
RIGHT FLUSH ............................................................................................6
AUTOMATIC LINE INDENT........................................................................6
HYPHEN AND FIXED SPACE ....................................................................6
SUBSCRIPT AND SUPERSCRIPT.............................................................6
UNDERLINE AND BOLD FACE..................................................................6
TYPING IN CAPITALS WITH THE FULL STOP, COMMA
AND NUMBERS ACTI E............................................................................7
THE LINE FORMAT....................................................................................7
ARRANGING WORDS OR NUMBERS INTO COLUMNS...........................8
CREATING AND PRINTING TABLES.........................................................8
THE PERMANENT MEMORY.....................................................................9
LANGUAGE OF MESSAGES ...................................................................12
THE DAISY WHEEL .................................................................................12
THE RIBBON CARTRIDGE ......................................................................12
THE CORRECTING TAPE........................................................................12
REPLACING THE BATTERY....................................................................13
KEYS AND FUNCTIONS ..........................................................................13
TECHNICAL DATA, NORMS AND SAFETY REGULATIONS...................15
2
BEFORE YOU BEGIN
Before you begin, check that the transport blocks have been removed and locate the power
cable, by consulting the unpacking instructions printed on the inside of the top of the packaging.
The pull-out handle under the keyboard makes the typewriter easy to carry.
Safety: Your typewriter conforms to all the current safety regulations and requires the
precautions recommended for other electrical devices (radio, television, etc.). See the
“Technical Data, Norms and Safety Regulations” section for further details.
Accessories: the three accessories you need in order to use all the available features
are already installed on your typewriter: the daisy wheel, ribbon cartridge and correcting
tape.
The keyboard
The adhesive strip located just above the keys indicates the functions performed by
pressing the or MODE key together with the keys immediately below the strip.
Press:
I with the key below the desired function to activate the functions indicated
on the bottom line of the strip.
I MODE with the key below the desired function to activate the functions on the top
line of the strip.
I MODE with the relevant key to enter the symbols that appear in italics on the keys
(second keyboard).
When held pressed, some keys automatically repeat their function until they are
released.
The disp ay
The display has a capacity of 16 characters. It shows the text as it is typed and the
messages that will make the typewriter easy for you to use, and has the following
structure:
I the work area (13 characters), which contains the characters typed, symbols of the
commands activated and the operator messages. The character entry point,
immediately to the left of the separator, is called the work point;
I the separator ||| that separates the work area from the service area and displays
the character attributes (underline, boldface etc...)
I the service area (2 characters), which contains the character counter or certain
symbols.
The adhesive strip, located above the display, shows some symbols of functions and
operating modes. Below these symbols, the display shows an indication of the active
status of the selected function or mode.
To regulate the brightness of the display to one of the three preset levels, press
+ DISPLAY.
The memory
Your typewriter has two built-in memories: one is used for correcting errors and the
other for storing texts. The latter is called the permanent memory as, when the machine
is switched off, it is powered by a battery so that no data is lost. The battery for the
permanent memory is optional. It is not supplied with the machine.
The battery that powers the memory is not rechargeable and has a life of about five
years. We recommend you replace it when there are no texts stored as this
operation clears the memory. See the "Replacing the Battery" section for a
description of the replacement procedure.
3
Examp e of main features
Dear sir,
We are pleased to inform you of the publication of the latest volume
of:
the volume contains the latest discoveries on the topic and a report on the
1991 International Ecology Conference.
You can order this volume together with the other two by filling in and
sending us the enclosed form.
EC L GY: QUESTI NS AND METH DS
London,19th January 1995
Best regards
Vol. I: Methods
Vol. II: Diagnosis
Vol. III: Forecasts
|
|
|
|
|
|
£. 29.99
£. 22.99
£. 55.99
Automatic
underlining, page 6
Aligning words at
right margin, page 6
Centring words
between the margin
s
page 5
Changing and using
tab stops, page 11
Automatic
boldface, page 6
PRELIMINARY OPERATIONS
FIG. 1 PREPARING YOUR TYPEWRITER FOR USE
Pull the power cable out of its compartment situated at the bottom of the typewriter and
plug it into a nearby and easily accessible power socket. Open the paper support cover
and remove the keyboard cover.
FIG. 2 SWITCHING YOUR TYPEWRITER ON:
Press the on/off key . The printer unit moves to the left margin. The display shows
the print pitch, line feed, the number of characters per line and the value of the
brightness.
To switch the machine off
To switch the machine off, press and hold the key down for a few seconds.
FIG. 3 AUTOMATICALLY LOADING PAPER:
1. Place a sheet of paper on the platen with its left edge aligned with the 0 point on
the graduated scale printed on the transparent cover.
2. Press + . Having loaded paper by pressing these keys, when the
typewriter approaches the bottom of the sheet, it will beep four times.
IF...
the message CHECK BATTERIES appears:
this means that the battery that powers the permanent memory is flat or is not present in
the machine. Press the key and see the "Replacing the Battery" section.
FIG. 4 The paper is not correct y a igned:
move the paper release lever in the direction indicated by the arrow, straighten the
paper and return the lever to its original position.
PAPER FEED
I press or to move the paper, respectively down or up, one half line feed at a time;
I press + or + to move it in micrometric steps.
If these keys are held down, the paper is fed continuously.
If you use the knob instead of the paper feed keys, the machine will not beep when
it approaches the bottom of the sheet and the platen will move freely instead of in
fractions of a line feed. It is therefore advisable to learn to use the paper feed keys.
SETTING THE WORKING PARAMETERS
To access, display and select some working parameters, press . Press again to
exit from the selection mode. Any working parameters (print pitch, line feed...) are
displayed only while + is hold.
The first time the machine is switched on, the parameters set by the manufacturers are
automatically loaded. The settings, which can be viewed by pressing the key, are as
follows:
I typewriter printing mode (ST.OP=C-C)
I manual carriage return (AUTO= NO)
I minimum stroke impact ( character not present below the impact symbol on
the display)
These settings can only be changed with the printer unit at the start of a line (if it is in
any other position, the machine will display the current values for a moment but will not
allow you to change them). The new settings made will also be adopted the next time
the machine is powered on.
4
CHANGING THE WORKING PARAMETER SETTINGS
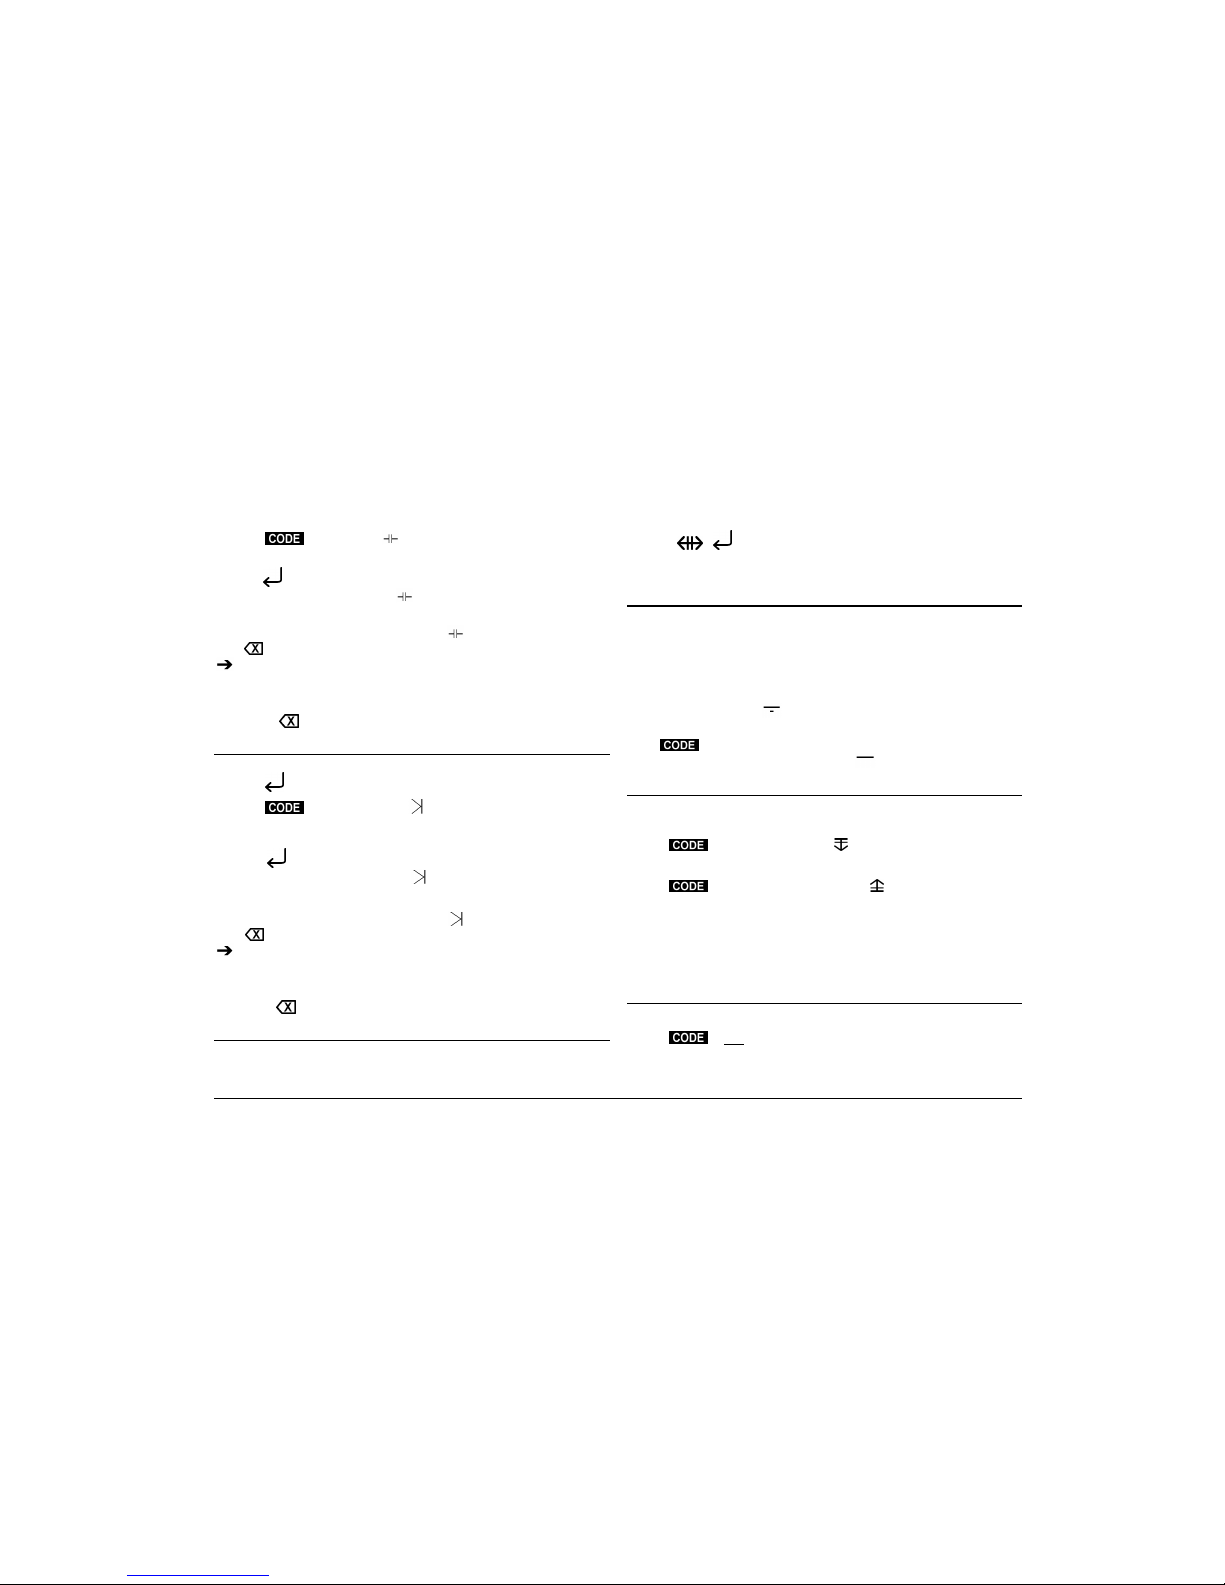
Having pressed the key, and with the above-mentioned symbols on the display,
press SPACE BAR to move the cursor to the desired parameter: S for operating status,
A for carriage return.
To change the operating status (print mode)
With the cursor positioned below the letter S, press the key to switch from one print
mode to another. The options, which may be selected cyclically, are:
I C-C = character by character
The characters typed are printed one by one on the paper. Each time a key is
pressed, the character counter on the display decreases by one.
I W-W = word by word
The word typed appears on the display first and is then printed whenever the
SPACE BAR, hyphen or key is pressed.
I L-L = ine by ine
The characters typed appear on the display first and are printed at the end of the
line, when the key is pressed.
I RTJ = ine by ine with justified right margin
Same as the previous mode but with a justified right margin. Selecting this mode
automatically activates the automatic carriage return feature (indicated by the
symbol appearing below the carriage return symbol on the keyboard strip).
To change carriage return mode
With the cursor positioned below the letter A, press the key to switch from
manual carriage return (AUTO=NO) to automatic carriage return (AUTO=YES).
To change the stroke impact
Press + IMPACT to switch from the minimum value to the maximum value
(the latter is indicated by the symbol appearing below the stroke symbol on the
keyboard strip).
To terminate the procedure
Press the key again.
TYPING A TEXT
When you switch on the typewriter, a default line format preset by the manufacturers is
presented. The format parameters are set as follows:
I line length: 15.2 cm (6")
I 5 tab stops for creating columns
I end of line signal 8 characters before the right margin
I pitch: 12
I line feed: 1
If you want to change the line format, see the corresponding section of this manual.
1. Type the text until you hear the end of line signal. The service area of the display
indicates the capacity of the line. To execute a manual carriage return, press the
key (in AUTO=YES mode, the carriage return is performed automatically
unless the key is pressed before you reach the end of the line).
2. Continue typing the text.
OVERRIDING THE MARGINS
Overriding the right margin
Having reached the right margin, to override it, press the key. The message OK appears
on the display for a moment. When the next character is typed the symbol appears. In
Line By Line with Justified Right Margin mode (RTJ), this function is not available.
Overriding the eft margin
In Character By Character (C-C) print mode, the left margin can also be overridden.
With the carriage positioned at this margin, press the key. The message OK
appears on the display for a moment. Then press to move to the left. The display
will show the symbol.
CAPITALS
To type a capital letter, press and hold down either of the shift keys (the two keys
without symbols at the bottom of the keyboard) and then press the desired character
key. To enter a series of capital letters, press the key. The yellow indicator will light
up. To deactivate the caps lock key, press either of the shift keys.
ACCENT KEYS
When an accent key is pressed, the printer unit does not move. Type the accent first
and then the character.
CORRECTING ERRORS
ON THE CURRENT LINE
The characters typed or printed on the current line are stored in the memory. So, if you
notice an error before you reach the end of a line, you can correct it by carrying out one
of the following procedures.
Correcting the ast character typed:
1. Press : If the character has already been printed, the printer unit will move one
space back and delete the character; if it is on the display, it will be removed.
Several characters can be deleted in sequence from right to left by holding the
delete key pressed.
2. Type the correct characters.
5
Correcting errors on the ine:
If you have entered a space after the last character typed or there are errors earlier on
the line, proceed as follows:
1. Move to the incorrect character by pressing (to move to the left), SPACE
BAR (to move to the right - if the characters have already been printed) or (to
move to the right - if the characters are on the display).
2. Press . The character will be deleted. Hold the key down if you want to delete
several characters from right to left.
3. Type the correct characters and, if necessary, press to return to the point
where you left off.
Erasing a or part of a word:
1. Move to one of the characters of the word containing the error by pressing (to
move to the left), SPACE BAR (to move to the right - if the characters have already
been printed) or (to move to the right - if the characters are on the display).
2. Press the key. The word is erased from right to left starting at the point where
the function was activated.
3. Type the correct characters and, if necessary, press to return to the point
where you left off.
Erasing to the start of the ine:
Press + . All the characters to the left of the point where the function was
activated are erased. If necessary, press to return to the point where you left off.
Fast return to the start of the ine
If the incorrect character is at the start of the line, you can move straight to it by
pressing + .
ON A LINE OTHER THAN THE CURRENT ONE
Incorrect characters on lines previous to the current one can be erased and corrected
manually. To carry out the procedure, the typewriter must be in C-C mode (see
"Selecting the Working Parameters").
1. Move to the incorrect character by pressing , , , SPACE BAR or
+ 1/2 BACKSPACE.
2. Press and type the incorrect character. The character will be erased.
3. Repeat steps 1 and 2 for each other character to be erased.
4. Type the correct characters, if appropriate.
IF...
the character to be erased is under ined or in bo d face, before carrying out step 2, press
+ XXX or + XXX respectively. Having made the correction, remember to
press these keys again, if necessary, to deactivate underline or bold face printing.
OVERTYPING
Characters not present in the memory, that is, those on previous lines, can be deleted
by typing over them. To carry out this procedure, the typewriter must be in C-C mode
(see the "Selecting the Working Parameters" section).
1. Move to the incorrect character by pressing , , , SPACE BAR or
+ 1/2 BACKSPACE
2. Press + . The display will show the message MANUAL
CORRECTION.
3. Type the characters to be erased as they have been printed. The characters will be
erased from left to right.
4. Press + again to terminate the procedure. The message disappears
from the display.
5. Type the correct characters.
INDENT
To temporarily move the left margin and type an indented paragraph, proceed as
follows:
1. Move to the point where you want to create the indent and press +
INDENT. The symbol will appear on the display below the indent symbol on
the keyboard strip.
2. Type the text to be indented. Each time you press the carriage return key, the
printer unit will move to the indent on the next line.
3. On the last line of the indented paragraph, press + INDENT. The next time you
press the carriage return key, the printer unit will move back to the original left margin.
IF...
You press + INDENT. at a margin or less than 2.54 cm (1") from the right
margin, the machine will emit an audible error signal.
CENTRING TEXT BETWEEN THE MARGINS
To centre text between the margins.
1. Press , if necessary, to move to the start of the line.
6
2. Press + CENTER. The symbol will appear on the display.
3. Type the text to be centred. The display will show the characters typed.
4. Press . The words will be printed in the centre between the margins. The printer unit
moves to the start of the next line. The symbol disappears from the display.
IF...
You want to abort the procedure: check that the symbol is at the work point and
press . Characters that have already been typed can be displayed by pressing the
key (except in C-C mode).
You have made a mistake: proceed as described for making corrections on the
display.
You exceed the maximum capacity of the ine: the typewriter emits an audible error
signal. Press and change as required.
RIGHT FLUSH
Text can be aligned at the right margin.
1. Press , if necessary, to move to the start of the line.
2. Press + RIGHT FLUSH. The symbol appears on the display.
3. Type the words to be aligned at the right margin. The display shows the characters
typed.
4. Press . The words are printed aligned at the right margin. The printer unit
moves to the start of the next line. The symbol disappears from the display.
IF...
You want to abort the procedure: check that the symbol is at the work point and
press . Characters that have already been typed can be viewed by pressing the
key (except in C-C mode).
You have made a mistake: proceed as described for making corrections on the
display.
You exceed the maximum capacity of the ine: the typewriter emits an audible error
signal. Press and change as required.
AUTOMATIC LINE INDENT
This function is used for indenting a line 2.54 cm (1") from the left margin. The printer
unit must be situated on the line immediately before the one that is to be indented.
1. Press + . The printer unit moves to the indent on the next line.
2. Type the text. The next time you execute a carriage return, the printer unit will
move to the original left margin.
HYPHEN AND FIXED SPACE
While working with an automatic carriage return, you may have to type a space (e.g.
Henry III) or a hyphen (e.g. London-Paris) less than eight characters from the right
margin (after the audible end of line signal), without printing the characters or executing
an automatic carriage return. The fixed space is used for keeping a space between
words or formulas unchanged while working in RTJ mode.
To enter a hyphen:
Press MODE + - to type a hyphen after the audible signal without executing a carriage
return. The display shows the symbol.
To enter a fixed space:
Press + SPACE BAR to enter a space after the audible signal without
executing a carriage return. The display shows the symbol.
SUBSCRIPT AND SUPERSCRIPT
You can enter characters in subscript or superscript (bases or exponents) by causing
the platen to rotate back or forward by half a line feed.
1. Press:
• + SUB to type a base. The symbol appears in the service area of
the display
or
• + SUPER to type an exponent. The symbol appears in the service
area of the display.
2. Type the base or exponent. The corresponding symbol appears below the
character in the work area of the display.
3. Continue typing the text.
IF...
You are working in C-C mode: the character is printed immediately.
UNDERLINE AND BOLD FACE
Characters can be printed with the underline and/or bold face attribute.
1. Press:
• + XXX to activate the underline attribute. The display shows the
symbol ||| in correspondence to the separator.
7
• + XXX to activate the bold face attribute. The display shows the
symbol ||| in correspondence to the separator.
• + XXX e + XXX to activate both attributes. The display
shows the symbol ||| in correspondence to the separator.
2. Type the text.
3. To deactivate the selected attribute, press the corresponding keys again.
In the W-W, L-L, RTJ operating statuses and in the memory, the bold face and
underline attributes will be indicated on the display as follows:
I The symbol indicates the selected attribute as in C-C mode.
I Running through the characters on the display (using the and keys) the
symbol is deactivated/activated as the characters pass the work point (|||), thus
indicating the exact attributes of each character.
CHANGING THE CHARACTER ATTRIBUTE ON THE DISPLAY
The attribute assigned to the characters (normal, underline and/or bold face) can be
changed on the display by carrying out the procedure described below. The same
procedure can also be used for changing a base or exponent.
1. Press until the first character to be changed leaves the work area.
2. Press the relevant key sequence for activating or deactivating the desired attribute
(to deactivate a base or exponent command, do not press any keys; skip to the
next step).
3. Press + CHANGE ATTRIBUTE for each character to be changed.
TYPING IN CAPITALS WITH THE FULL STOP, COMMA
AND NUMBERS ACTIVE
This feature enables you to type in capitals without losing the full stop, comma and
numbers irrespective of their position on the keys.
1. Press + . The green indicator will light up. To deactivate the feature,
press the same keys again. The green indicator will go off.
THE LINE FORMAT
The line format is defined by the left and right margins, any tab stops present, the print
pitch and line feed values. Each time you switch on the typewriter, the line format
presented is the one defined in the previous work session (the first time the machine is
switched on, the line format presented is the one set by the manufacturers).
ACCESSING THE LINE FORMAT PARAMETERS
1. Press , if necessary, to move to the start of the line.
2. Press the key. The display shows the message LINE FORMAT.
3. Make the desired changes (see the procedures described below).
4. Press the key to terminate the procedure. The message disappears from
the display.
FIG. 6 SELECTING THE PRINT PITCH
Press the key until the desired value appears on the display (10, 12 or 15).
The pitch selected must correspond to the pitch of the daisy wheel used.
FIG. 6 SELECTING THE LINE FEED
Press + until the desired line feed value appears on the display
(1, 1 ½ or 2).
SETTING THE MARGINS
1. Move to the point where the new margin is to be set by pressing the key or
SPACE BAR (to override a margin that has already been set, with the printer unit
positioned at the margin, press the key and move to the desired point).
2. Press:
• to set the left margin
or
• + to set the right margin
SETTING TAB STOPS
You can set tab stops with or without vertical lines for arranging words or numbers into
columns.
1. Press the key or SPACE BAR to move to the point where the tab stop is to
be set.
2. Press:
• to set an ordinary tab stop. The symbol will appear on the display.
or
• + to set a tab stop with a vertical line. The symbol will appear
on the display.
Repeat steps 1 and 2 for each tab stop to be set.
To check the position of a tab stop
Press the key. The printer unit will move on the tab stop. The symbol for the tab
stop set will appear on the display.