0
9
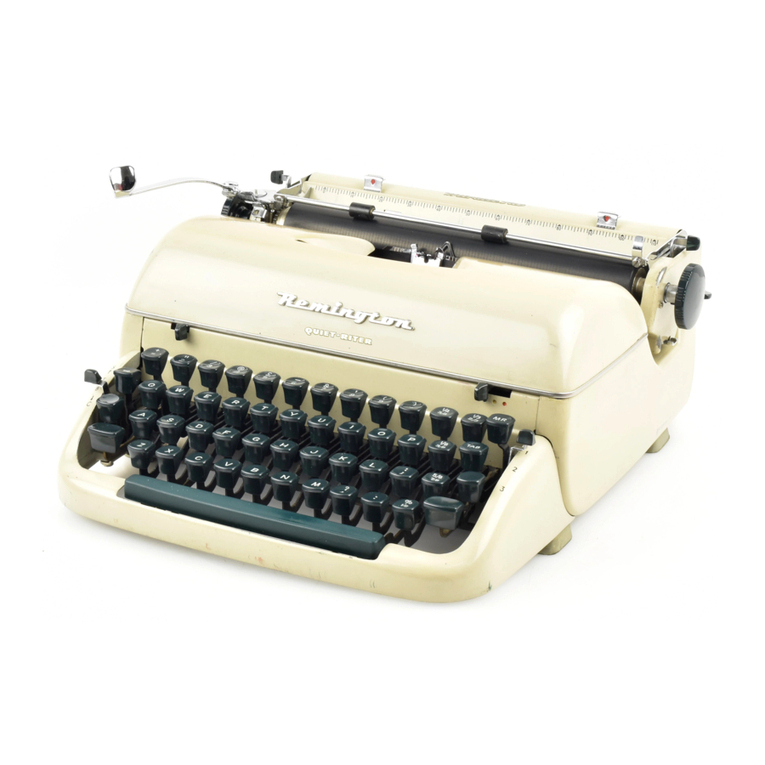
KEY
FUNCTIONS
4.
Paper Back Support.
Paper support can be raised to holdsheet upright in full
view while typing.
5.
Paper Release Lever.
If when introducingthe paper, it is tilted, by pushingthis
lever back the paper may bestraightened.To continue
typing it is necessaryto put the lever back in its original
position.
6.
Carriage Release.
Pull the lever forwardto allow the carriageto run freely.
7.
Platen Knobs.
By
turning these knobs,paper may be introducedor
1.
LineSpacing Lever.
By usingthis lever thecarriage movesto the rightat the
same time thatthe paper moves forwardone line.
2.
Variable Line Spacing Selector.
Ithas3 line spacing positions:
1.
1
-
and
2.
Inthe
O
position
it stays blocked.
3.
MarginFixing Knob.
When pressed,the margin knob stopcan be movedto the
leftor rightto set the desiredtyping width. Fivespaces
before the stopis reached a bel1will makea warningsound.
(Alsosee
"15).
removediromthe typewriter.
7.A
Carriage
Lock
Lever.-
Move carriageto the right, pres:
the lever and thentake carriage al1the way to the right until
..
it locks.The levercannot be pressedwhen the shift lock is
down.
8.
Spool Cover.
To removethe cover that protectsthe ribbonspool, simply
lift it bythe back edge and lift it.
9.
Ribbon selector
Put the selector in the desired color (black or red).
10.
BackSpace.
8
Pressingthis key movesthe carriage back one space.
11.
Tab Key.
The tabulator key has
7
default positions.
12.
Space Barwith Automatic Repetition.
BypressingtheAUTOMATIC key, the carriage will move
more quicklyto the desired position.
13.
Space Bar.
The carriagemovesone space every time the space bar is
pressed.
.
14.
Shift Lock.
To type capitalletters or symbols, simply press the desired
capitalletter
of
the keys of shift.The shift keycan be locked
bypressingshift lock.To returnto lower case letters press
aciain anv of the shift kevs.
15.
~arginRelease.
-
Pressingthis key allowsfor typing past the set margins,
either to the leftor right side.
RIBBONREPLACEMENT
Step
1
Lift the spool cover.
Step
2
Liftboth ribbon spools upwards, be carefulnotto pullthem.
Step
3
Rernovethe ribbontowards the top of the "ribbon guide".
Step
4
Remove old ribbon from only one spool, keepingthe other. the
same usedfor the new tape.
Step
5
Place the new ribbon inthe rnachineby puttingthe full spool
onto the left postwith the black section of the ribbon on top.
Step
6
Placethe ribbonin the "ribbonguide
E",
insuch away that the
eyebolts of the ribbon remainbetween itscorresponding
"ribbonguide"and spool.
Step
7
Putthe spoolcover back in place on the typewriter.
