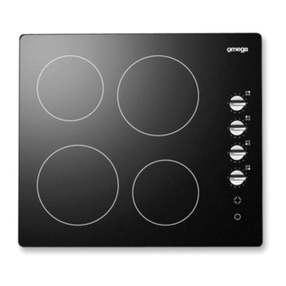
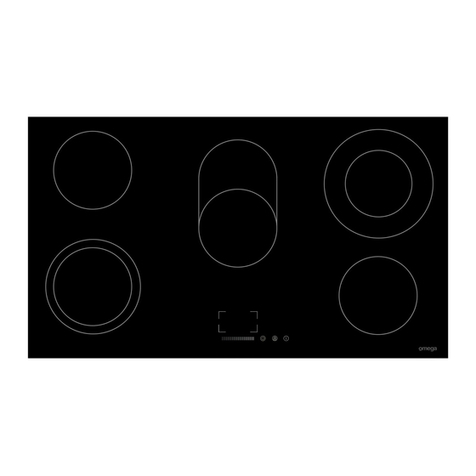
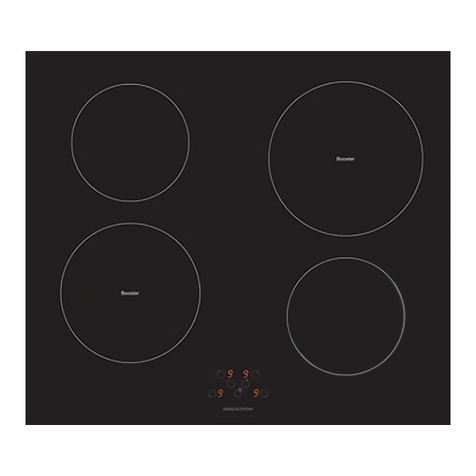
Omega OC64KZ User manual

Instruction Manual for
Cooktop
OC64KZ

Thank you for introducing our family to yours
At Omega, we understand that cooking, cleaning and washing may not be your
favourite things in the world. That's why we created a range of no-nonsense, reliable
products that always get the job done for you. With the features you need and
nothing you don't. What's more, they're made to fit perfectly into your home life and
your wallet.
We aim to simplify any further appliance purchases. When researching our products
you will find a range of icons that visually represent our products key features. Visit
our website to learn more about these icons and the features and benefits of our
products.
You are welcoming an Omega appliance into your place and you can be sure it'll
always serve you well.
For important information about your Omega such as warranty registration, online
manuals, specifications and catalogues, please visit
www.omegaappliances.com.au/customer (if you are in Australia) or
www.omegaappliances.co.nz/customer (if you are in New Zealand).
Make sure you activate your product warranty on our websites on the links above.
If you want to know more about promotions, to receive cool tips and tailor made
content, like us on www.facebook.com/omegaappliances and follow us on
www.instagram.com/omegaappliances_aus.
We hope you love this product as much as we do!
www.omegaappliances.com.au / www.omegaappliances.co.nz
omegaappliances
omegaappliances_aus


3
DESCRIPTION OF THE HOB
OVAL ZONE
HEATER
VITROCERAMIC
SURFACE
KNOB CONTROL
PANEL
SINGLE ZONE
HEATER
Dear Customer,
It is important that you should read this manual for best performance and
to extend the life of your appliance. We recommend you to keep this manual
for future reference.
Your ne hob is guaranteed and ill give lasting service. This guarantee
is only applicable if the appliance has been installed and operated in
accordance ith the operating and installation instructions detailed in this
manual.
Note: Appearance of your hob maybe different than the model sho n above
due to its configuration.
HOB
FRAME
RESIDUAL
HEAT INDICATOR

4
SAFETY INSTRUCTIONS
Please comply w th these nstruct ons. If you do not, any damage
result ng from mproper, ncorrect or negl gent use or mproper
connect on or nstallat on s not covered by the warranty.
· This appliance should be used only for normal domestic use.
· This appliance must only be used for the purpose of heating or cooking
food, any other use, for example heating rooms, orking surface or storage
surface, is dangerous.
· Additions or modifications to the appliance are not permitted.
· Do not place or store flammable liquids, highly inflammable materials or
fusible objects on or near the appliance.
· Small children must be kept a ay from the appliance.
· The appliance may only be installed and connected by an authorised
service personal.
· The electrical safety of this hob is guaranteed only if it is connected to a
properly earthed system, hich complies ith the electrical safety standards.
· Built-in appliances may only be used after they have been built in to
suitable built-in units and ork surfaces that meet the standards.
· Do not put pressure on the po er supply cable hile fitting the hob.
· Po er supply cable length should not exceed 2m for isolation safety.
· In the event of faults ith the appliance or damage to the glass ceramic
(cracks, scratches or splits), the appliance must be s itched off and
disconnected from the electrical supply to prevent the possibility of an electric
shock.
· Repairs to the appliance must only be carried out by authorised service
personal.
· Make sure all the packaging has been removed before you use the
appliance.
· Cables from electrical appliances must not touch the hot surface of the
appliance or hot cook are.

5
. Never leave the the appliance hob unattended hen cooking ith fat or
oil. They can rapidly catch fire if overheated.
· Do not cut any food on the glass of the vitroceramic hob. Glass panels
should not be used as orking surfaces.
· Be careful hen using small household appliances, such as irons, near
the elements.
· Do not use the cooking zones ith empty cook are or ithout cook are.
· Make sure all the controls are in the off position hen not in use.
· For cleaning, the appliance must be s itched off and cooled do n.
· For safety reasons, the cleaning of the appliance ith steam jet or high-
pressure cleaning equipment is not permitted.
· Use only stable flat-based pans.
· The appliance is not intended for use by persons (including children) ith
reduced pyhsical, sensory or mental capabilities, or lack of experience and
kno ledge, unless they have been given supervision or instruction concerning
use of the appliance by a person responsible for their safety.
· Children should be supervised to ensure that they do not play ith appliance.

· Create an opening ith the dimensions sho n in the picture on next
picture. The distance bet een the rear edge of the hob and any adjacent
all is depend on all surface. please dont use easily combustible material
like curtain, paper at nearby hob.
6
INSTALLATION
The electr cal connect on of th s hob should be carr ed out by an
author sed serv ce personal or a qual f ed electr c an, accord ng to the
nstruct ons n th s gu de and n compl ance w th the current regulat ons.
· Prior to installation, ensure that the local distribution conditions and the
adjustment of the appliance are compatible.
· The la s, ordinances, directives and standards in force in the country of
use are to be follo ed (safety regulations, proper recycling in accordance
ith the regulations, etc.)
Locat ng your bu lt- n hob
After removing the packaging material from the appliance and its accessories,
ensure that the hob is not damaged. If you suspect any damage, do not use
the appliance and contact an authorised service personal or a qualified
electrician immediately.
· This built-in hob is to be inserted into a cut out of a orktop. It ill be
electrically connected ith the s itch box belo , especially provided for this
purpose.

7
· Apply the one-sided self-adhesive sealing tape supplied all the ay round
the lo er edge of the cooking surface along the outer edge of the glass
ceramic panel. Do not stretch it.
orktop mounting bracket
· Scre the 4 orktop mounting brackets on the side alls of product.
520mm
590mm
47.5mm
Neighboorhood alls A [mm] B [mm]
Combustible 60 150
Non-combustible 25 40
560mm
490mm
Min. A
Min. B
Min.
130mm
Min.
25mm

5connection
Terminal Block
6 connection
Terminal Block

9
· During installation, please insure that isolated cables are used. An incorrect
connection might damage your appliance. The guarantee ill not cover such
damages.
· All repairs must be carried out by an authorised service personal or a
qualified electrician.
· Unplug your appliance before each maintenance. For reconnection, follo
the connection diagrams strictly.
· Cooking hobs not provided ith supply cord.

Knob controlled cooker is designed for
operating at 6 heat levels:
1 Keeping arm position
2-3 Heating position at lo heat
4-5-6 Cooking roasting and boiling
position
Dual and oval heaters have t o heating
zones. To activate the outer zone of a
dual/oval heater, turn the knob to
position once. In this ay both outer
zones s itches on.
To deactivate the outer zone of a
dual/oval heater, turn the knob to
position once. In this ay, both outer
zones s itches off.
Res dual Heat Funct ons
After all cooking processes there is some
heat stored in the vitroceramic glass
called residual heat. The control can
calculate roughly ho hot the glass is
in the orst case. If the calculated
temperature is higher than + 60 ° C,
then this ill be indicated in the related
residual heat indicator lamp. The residual
heat display is sho n as long as the
calculated heater temperature is > + 60
° C.
10
USAGE
The appliance is operated by using knob control and the heat stored is
confirmed by residual heat indicator lamp on the vitroceramic surface.
After reapplying the supply voltage to the hob control after an interruption of
the supply voltage occurred, causes that the residual heat display flashes,
if the corresponding heater had a residual heat of greater + 60 ° C before
the po er interruption occurred. The display ill flash until the max. residual
heat time has expired or the heater ill be selected and activated.

11
CLEANING AND CARE
Cook are ith rough bottoms should not be used since these can scratch
the glass ceramic surface. The bottom of the good cook ares should be as
thick and flat as possible. Before use, make sure that cook are bottoms are
clean and dry.
Al ays place the cook are on the cooking zone before it is s itched on. If
possible, al ays place the lids on the cook are. Bottom of cook ares must
not be smaller or larger than the cooking zones, they should be at the proper
size as indicated belo , not to aste energy.
Before cleaning the hob, first remove the plug from the electrical supply
socket. Then ensure that there is no residual heat stored in the appliance.
Vitroceramic glass is very resistant to high temperature and overheating. If
there is residual heat stored in the appliance, the related residual heat
indicator lamp is on. In order to avoid burns, let the appliance cool do n.
Remove all split food and fat ith a indo scrape. Then ipe the hob ith
a suitable ashing up liquid and a clean damp cloth. Rub the appliance
using a clean dry cloth.
If aluminium foil or plastic items are accidentally melt on the hob surface,
they should be immediately removed from the hot cooking area ith a scraper.
This ill avoid any possible damage to the surface. This also applies to sugar
or food containing sugar may be spilled on the hob.
In the event of other food melt on the hob surface, remove the dirt hen the
appliance has cooled do n. Use cleaner for glass ceramic or stainless steel
hen cleaning the surface.
Do not use dishcloth or abrasive sponge to clean the vitroceramic surface.
These materials may damage the surface.
Do not use chemical detergents, sprays or spot removers on the vitroceramic
surface. These materials may cause fire or vitroceramic color fade. Clean
ith ater and ashing up liquid.
CORRECT FALSE FALSE FALSE
Table of contents
Other Omega Cooktop manuals