8
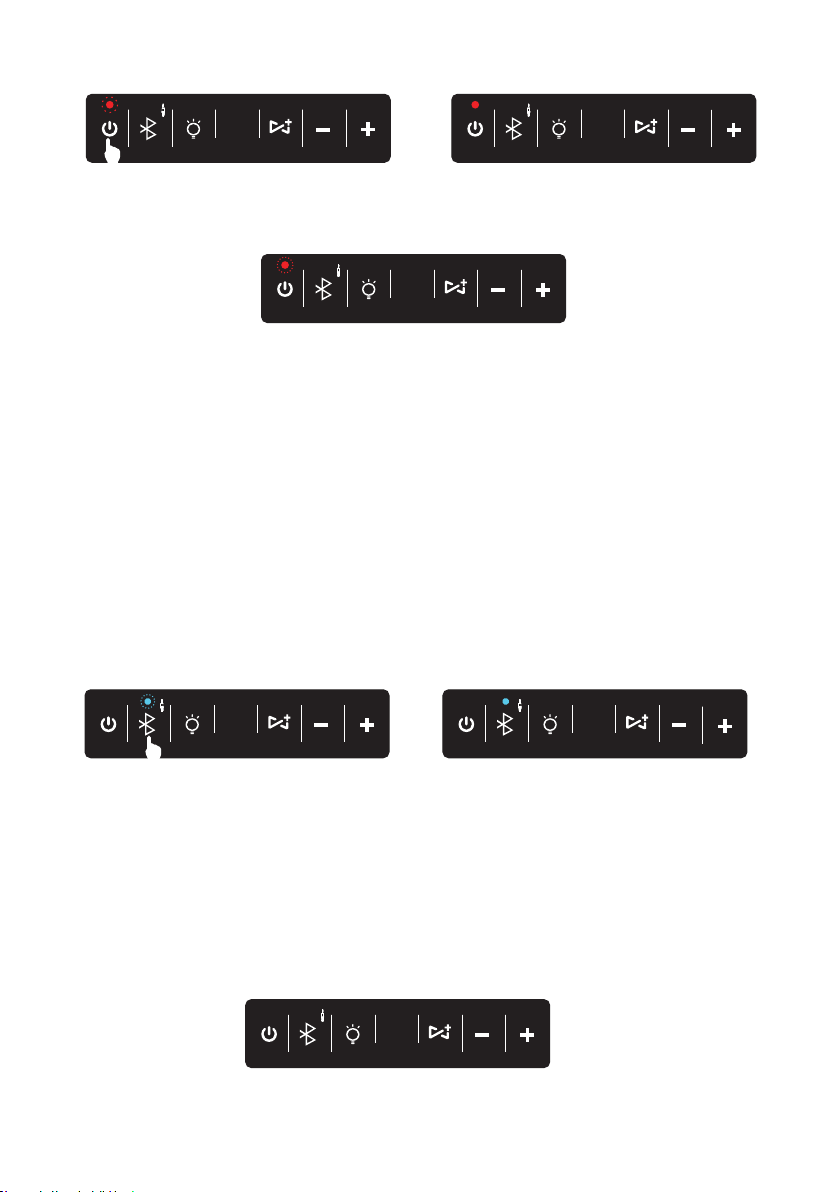
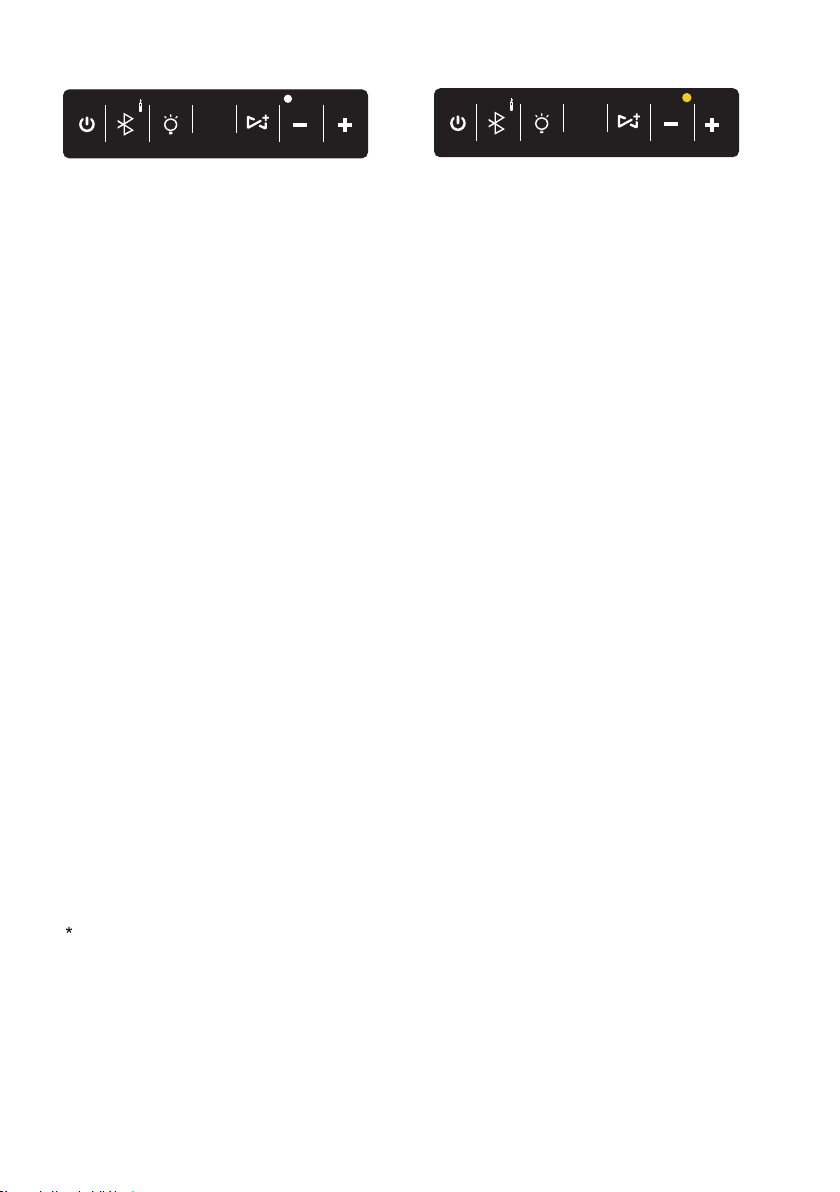
NOTE: WHEN THE SPEAKERS ARE SYNCED, THE TX INDICATOR LIGHT OF MAIN
SPEAKER AND THE RX INDICATOR LIGHT OF RECEIVERS WILL STAY ON ALL THE TIME.
Main Speaker (first speaker turned on)
NOTE: PLEASE ALWAYS TURN MIAIN SPEAKER OFF AND ON FIRST
If you experience any difficulty syncing your speakers, please refer to the "Sync Tips" below.
SYNC TIPS
Please read the below tips to enhance your multi-sync experience!
1. DURING SETUP, THE SYNC SIGNAL ONLY TRANSMITS FOR 90 SECONDS.
If you do not complete sync steps 1-4 within 90 seconds, speakers you try to sync will not sync
after 90 seconds. If you need more than 90 seconds to complete the sync process, simply
press the SYNC button on the first speaker again to reactivate the sync signal (Step 3 in the last
section: SAYNC SPEAKERS) and continue to syn more speakers.
2. WHEN TURNING SYNCED SPEAKERS ON, TURN ON MAIN SPEAKER FIRST.
When you sync speakers, they stay synced. Namely, even after you power synced speakers off,
they will automatically sync with each other again when powered on*. But you should turn off and
on the main speakers first.
3. CHOOSE A LOCATION FOR THE MAIN SPEAKER.
When you power off the main speaker (first speaker), receivers which are synced will also power off.
For this reason, position the main speaker in a convenient location where you can easily turn it
on and off.
4. CHANGE A MAIN SPEAKER TO A RECEIVER.
Whichever of your synced speakers is turned on first becomes the main speaker. If you turn
on a receiver first, you will need to reconfigure your sync connections by following the steps on
the previous page.
Previously synced receiving speakers need to be powered on within 90 seconds If more than
90 seconds pass between turning on synced speakers, simply press the SYNC button on the
transmitting speaker to re-engage sync on all linked speakers.
If you cannot establish sync connection, please contact customer service
( Please refer to the cover and contact )
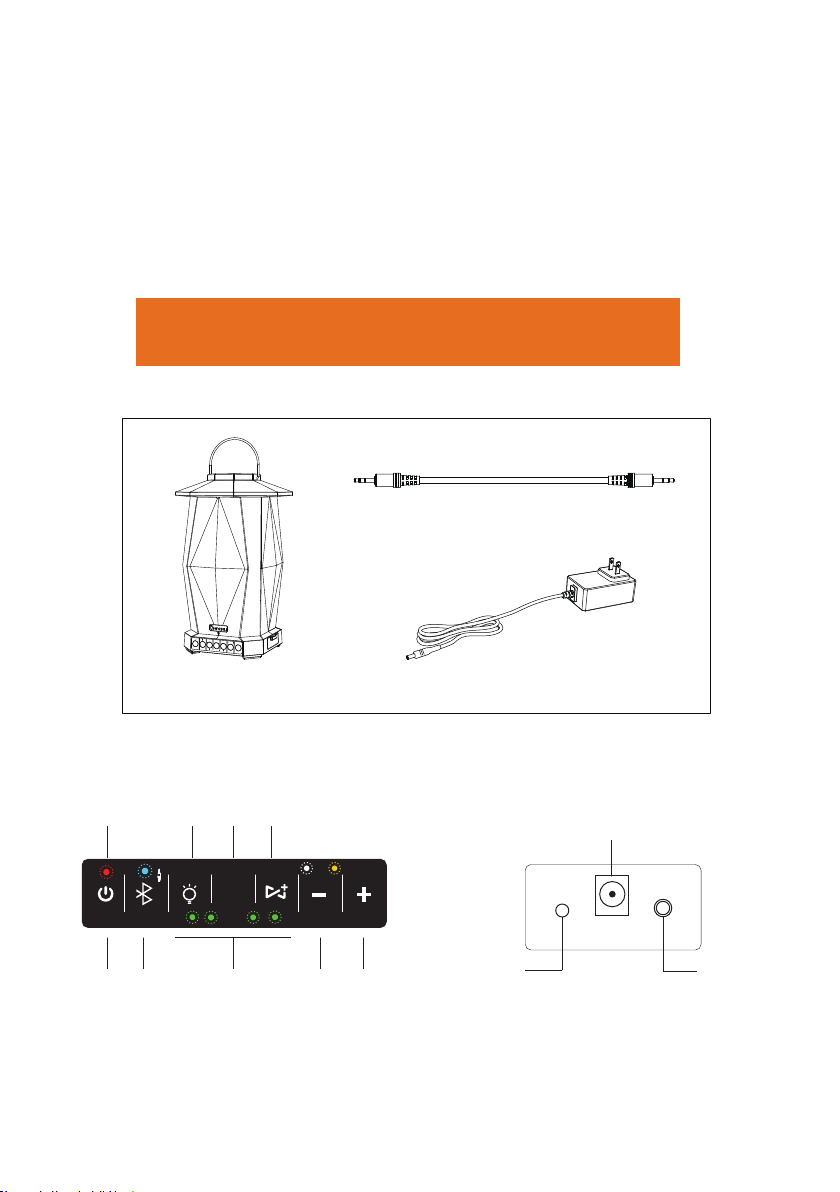
2H 4H 6H 8H
COLOR
TIMER
TX RX
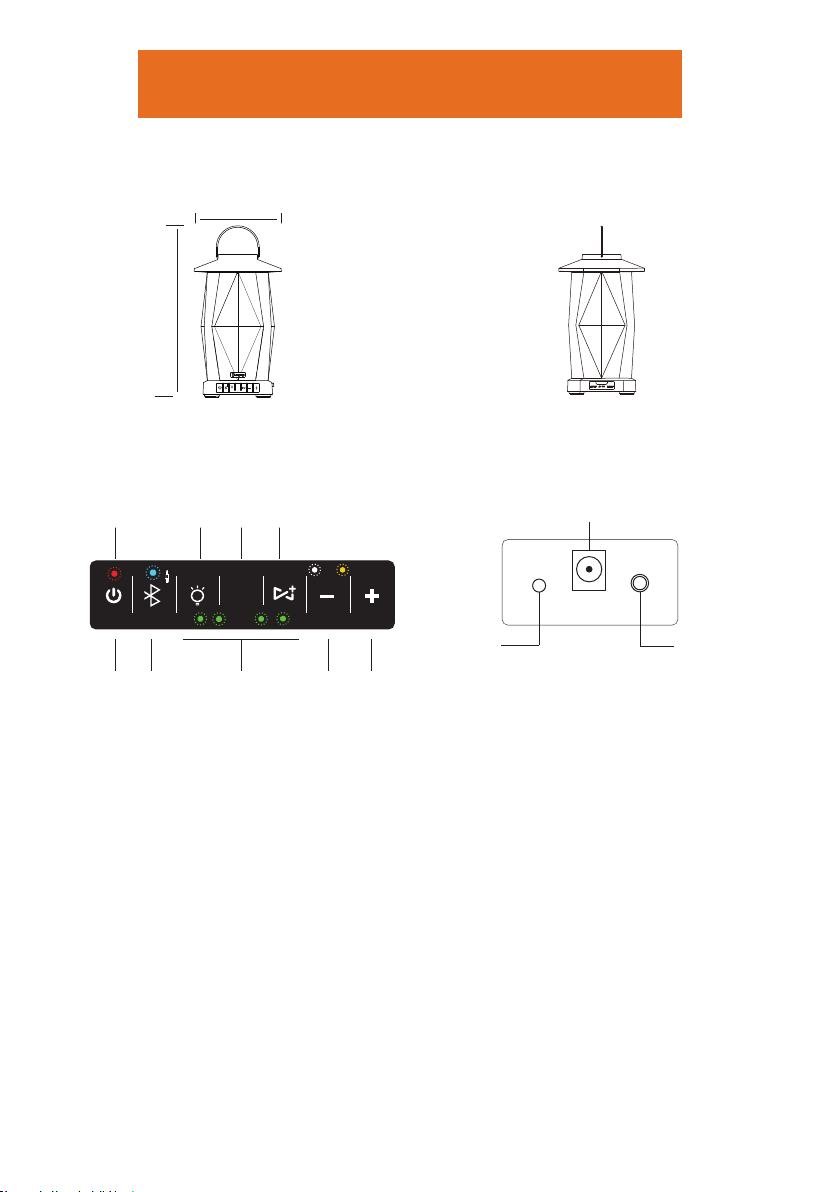
2H 4H 6H 8H
COLOR
TIMER
TX RX
Receiver (the rest speakers)