manuals.online logo
Brands
  1. Home
  2. •
  3. Brands
  4. •
  5. OpenEye
  6. •
  7. Media Converter
  8. •
  9. OpenEye OE-CAE16HD User manual

OpenEye OE-CAE16HD User manual

2 3
QUICK START GUIDE
OE-CAE16HD Analog to IP Encoder
This quick start guide is a reference for users to install and operate
their OpenEye encoder and provides basic information on the
encoder’s settings and operation. Before attempting to connect,
configure and operate the encoder, please read this document
thoroughly.
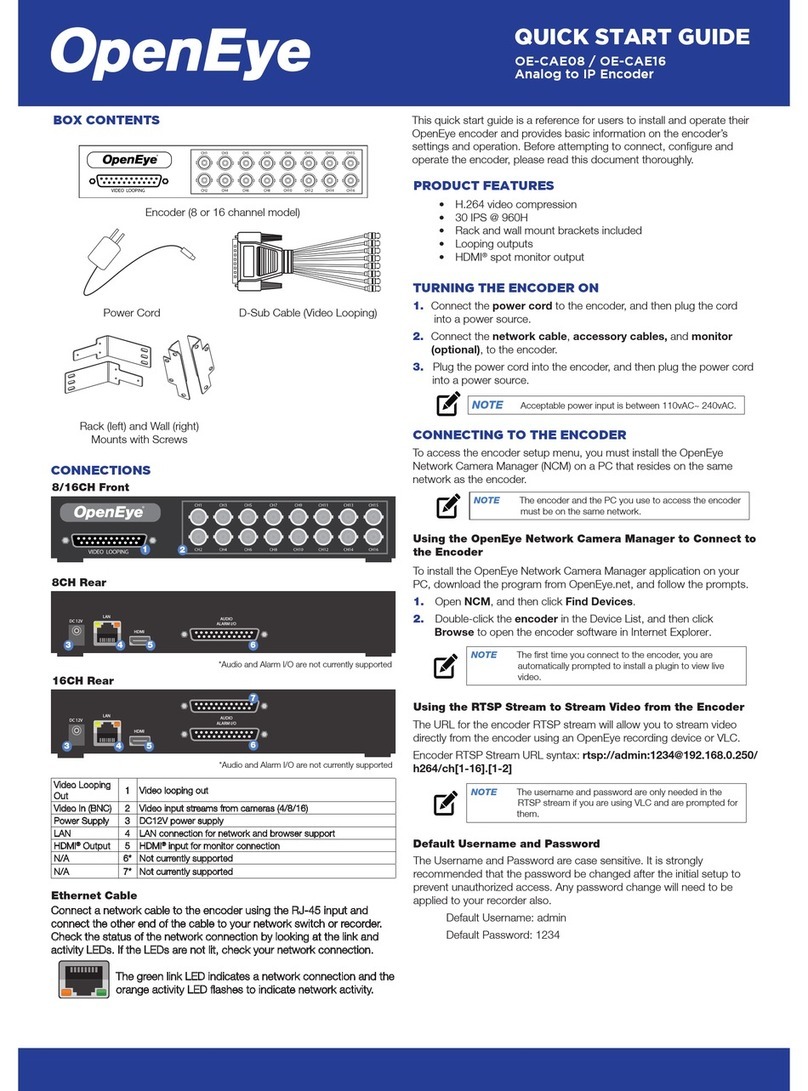
Video In (BNC) 1 Video input streams from cameras
Power Supply 2 DC12V power supply (included)
LAN 3 LAN connection for network and browser support
HDMI Output 4 For HDMI Monitors
Audio I/O 5 Audio currently not supported
Alarm, PTZ I/O 6 Alarm, PTZ currently not supported
• H.264 video compression
• 15 IPS @ 1080p and up to 30IPS @ 720p
• Rack and wall mount brackets included
• HDMI spot monitor output
CONNECTIONS
Front
Rear
BOX CONTENTS
Encoder
Power Cord Audio / Alarm IO Block
PRODUCT FEATURES
Ethernet Cable
Connect a network cable to the encoder using the RJ-45 input
and connect the other end of the cable to your network switch or
recorder. Check the status of the network connection by looking at
the link and activity LEDs. If the LEDs are not lit, check your network
connection.
The green link LED indicates a network connection
and the orange activity LED flashes to indicate network
activity.
1
TURNING THE ENCODER ON
1. Connect the power cord to the encoder, and then plug the
cord into a power source.
2. Connect the network cable, accessory cables, and monitor
(optional), to the encoder.
3. Plug the power cord into the encoder, and then plug the power
cord into a power source.
NOTE Acceptable power input is between 110vAC~ 240vAC.
Rack (left) and Wall (right)
Mounts with Screws CONNECTING TO THE ENCODER
To access the encoder setup menu, you must install the OpenEye
Network Camera Manager (NCM) on a PC that resides on the same
network as the encoder.
Using the OpenEye Network Camera Manager to
Connect to the Encoder
To install the OpenEye Network Camera Manager application on
your PC, download the program from OpenEye.net, and follow the
prompts.
1. Open NCM, and then click Find Devices.
2. Double-click the encoder in the Device List, and then click
Browse to open the encoder software in Internet Explorer.
NOTE The first time you connect to the encoder, you are
automatically prompted to install a plugin to view live
video.
Default Username and Password
The Username and Password are case sensitive. It is strongly
recommended that the password be changed after the initial setup
to prevent unauthorized access. Any password change will need to
be applied to your recorder also.
Default Username: admin
Default Password: 1234
Using the RTSP Stream to Stream Video from
the Encoder
The URL for the encoder RTSP stream will allow you to stream
video directly from the encoder using an OpenEye recording device
or VLC.
Encoder RTSP Stream URL syntax: rtsp://admin:1234@
192.168.51.2/h264/ch[1-16].[1-2]
NOTE The username and password are only needed in the
RTSP stream if you are using VLC and are prompted for
them.
NOTE The encoder and the PC you use to access the encoder
must be on the same network.
6
4
5
CH1C H3 CH5C H7 CH9C H11C H13C H15
CH2C H4 CH6C H8 CH10 CH12 CH14 CH16
36724AC
Copyright ©2019 OpenEye.
All Rights Reserved. Information contained in this document is
subject to change without prior notice. OpenEye does its best to
provide accurate information but cannot be held responsible for
typos or mistakes.
23221 E Knox Ave
Liberty Lake, WA 99019
509.232.5261
www.openeye.net
1. To set all channels, select Circular in the channel selection box.
- or - Select a single channel from the channel selection box.
2. Select the position you desire the channel to appear in the
sequence.
3. Type the sequence duration time (in seconds) you want each
channel to display.
4. Set sequence activate to ON.
5. Click Save.
NOTE Sequence Setup is only relevant to spot monitor or local
view only.
Sequence Setup
1. Click Setup, and then click Software.
2. Click Upgrade, and then navigate to the desired upgrade file,
and then click OK.
The encoder firmware will update, and then encoder will reboot
upon completion.
Firmware Update
1. Click Setup, and then click Maintenance.
2. Select Reboot or a method of Restore.
• Reboot- restart the encoder.
• Full Restore - restore the encoder to factory default
settings, including network settings.
• Partial Restore - restore the encoder to factory default
settings, excluding network settings.
3. Click Yes (or OK) to accept the Restore or Reboot.
Factory Restore and Reboot
1. Click Setup, and then click Network Setup.
2. To use the encoder default IP address, select Use Fixed IP
Address (recommended).
a. Enter the default IP address.
b. Verify the subnet mask, default gateway, primary
DNS, and mac address for the encoder.
c. Click Save.
3. To automatically assign an IP address, select Get IP Address
Automatically.
ENCODER SETUP
Network Settings
Date / Time Settings
1. Click Setup.
2. Select the appropriate Time Zone, and then select the desired
date format.
3. Select a method of date and time sync.
4. Click Save to apply the changes.
• Sync with NTP Server - use a specified NTP server and
update interval for the date and time.
• Sync with computer time - use the PC date and time.
• Manual - manually enter the date and time.
NOTE: Sync with NTP Server is the recommended
Date / Time setting. The NTP server address is
pool.ntp.org.
Resolution Sets the resolution of Stream 1 and Stream 2
Bit Rate Sets the bit rate of Stream 1 and Stream 2
Frame Rate Sets the frame rate of Stream 1 and Stream 2
GOP Sets the GOP of Stream 1 and Stream 2
Stream Settings
Video Adjust
Brightness
Contrast
Saturation
Hue
Termination ON or OFF
Camera Setup
Picture Settings
1. Click Encoder Setup.
2. In the Monitor Resolution tab, select a resolution.
3. Click Yes to accept the resolution change and restart the
Encoder.
Monitor Resolution
NOTE HDMI spot-out resolution options include 1024 x 768,
1280 x 1024, 720p, and 1080p.
NOTE The Monitor Resolution section applies to spot-out
only.

Other OpenEye Media Converter manuals

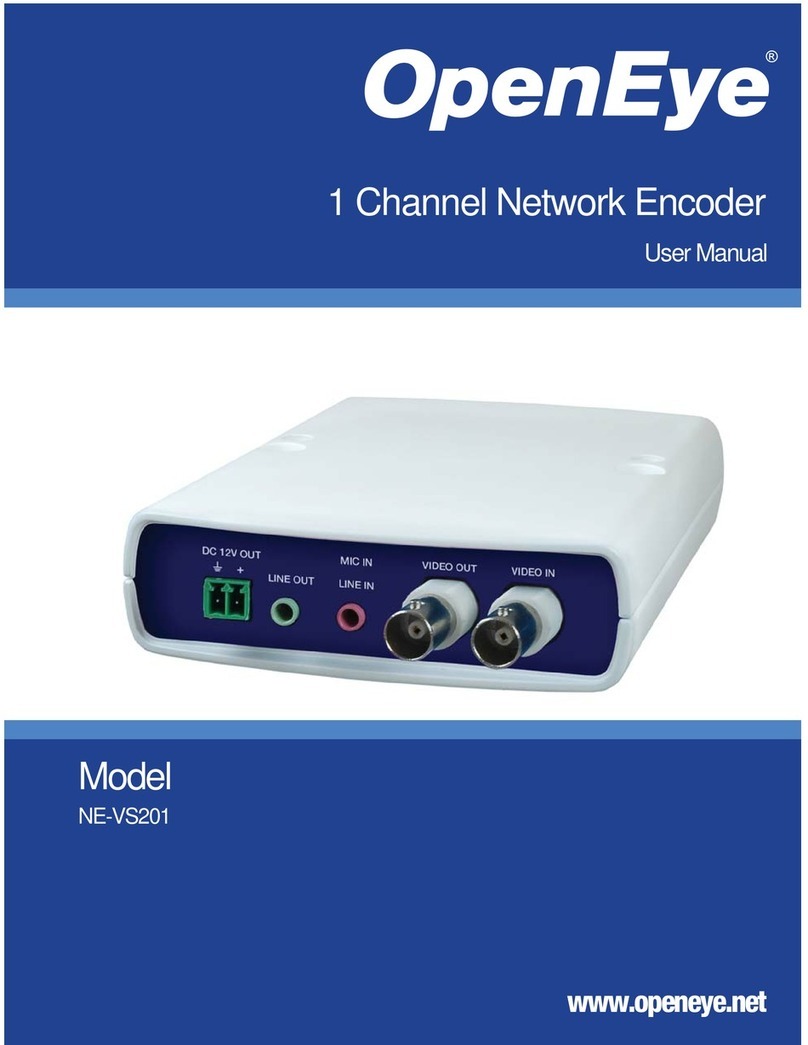
OpenEye NE-VS201 User manual

OpenEye

OpenEye NE-VS201 User manual

OpenEye OE-CAE16 User manual

OpenEye

OpenEye OE-CAE16 User manual

Popular Media Converter manuals by other brands

Relay PadPuls M1 user manual

Relay

Relay PadPuls M1 user manual

Kramer FC-42 user manual

Kramer

Kramer FC-42 user manual

tams elektronik LD-G-42 manual

tams elektronik

tams elektronik LD-G-42 manual

Microchip Technology MCP1661 Reference design

Microchip Technology

Microchip Technology MCP1661 Reference design

Kramer VP-428H2 quick start guide

Kramer

Kramer VP-428H2 quick start guide

ORTEC 567 Operating and service manual

ORTEC

ORTEC 567 Operating and service manual

Apexera A'PEXi S-AFCII Wiring diagram

Apexera

Apexera A'PEXi S-AFCII Wiring diagram

ACO CDNVS-60 Installer manual

ACO

ACO CDNVS-60 Installer manual

TR-Electronic Profibus 582 Series user manual

TR-Electronic

TR-Electronic Profibus 582 Series user manual

Nidec Unidrive M200 quick start guide

Nidec

Nidec Unidrive M200 quick start guide

C2G 89030 manual

C2G

C2G 89030 manual

DVIGear DVI-3531a user guide

DVIGear

DVIGear DVI-3531a user guide

Axis P7224 installation guide

Axis

Axis P7224 installation guide

Crestron DigitalMedia DM-NVX-350 product manual

Crestron

Crestron DigitalMedia DM-NVX-350 product manual

Sony HD-SD Down HKDW-702 installation manual

Sony

Sony HD-SD Down HKDW-702 installation manual

Speaka Professional 2348982 operating instructions

Speaka Professional

Speaka Professional 2348982 operating instructions

Moxa Technologies IMC-21 Quick installation guide

Moxa Technologies

Moxa Technologies IMC-21 Quick installation guide

Harman AMX N1122A Series quick start guide

Harman

Harman AMX N1122A Series quick start guide

manuals.online logo
manuals.online logoBrands
  • About & Mission
  • Contact us
  • Privacy Policy
  • Terms and Conditions

Copyright 2025 Manuals.Online. All Rights Reserved.