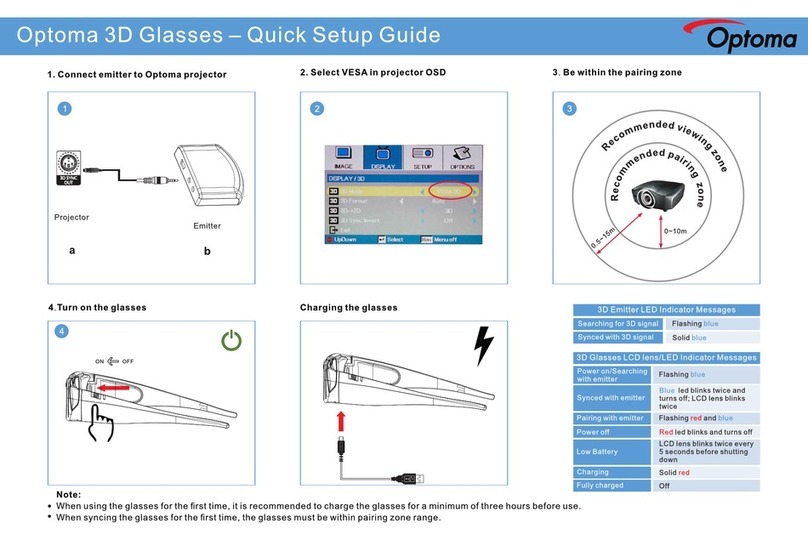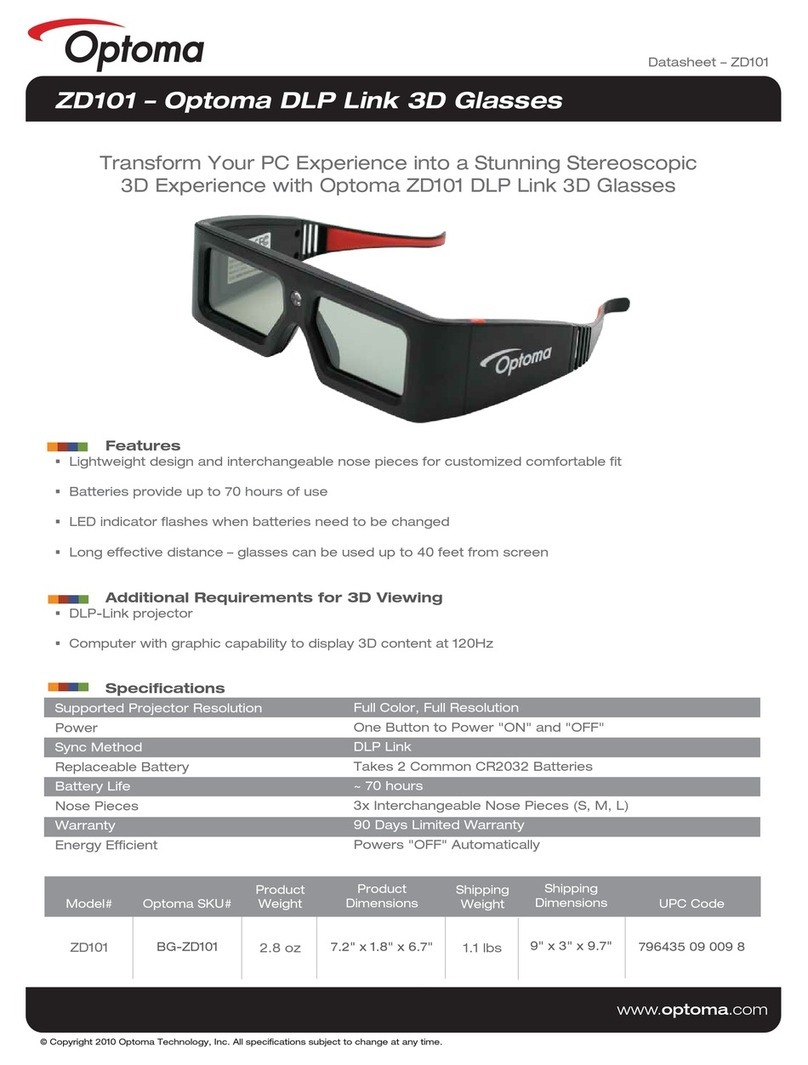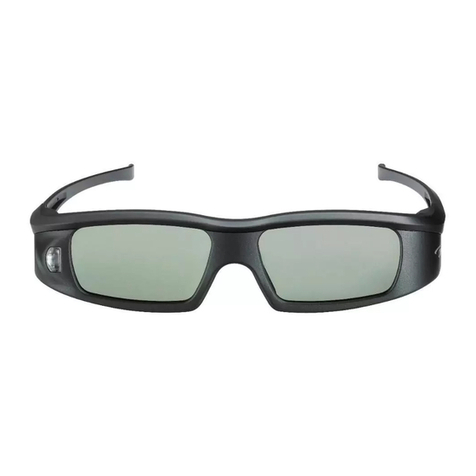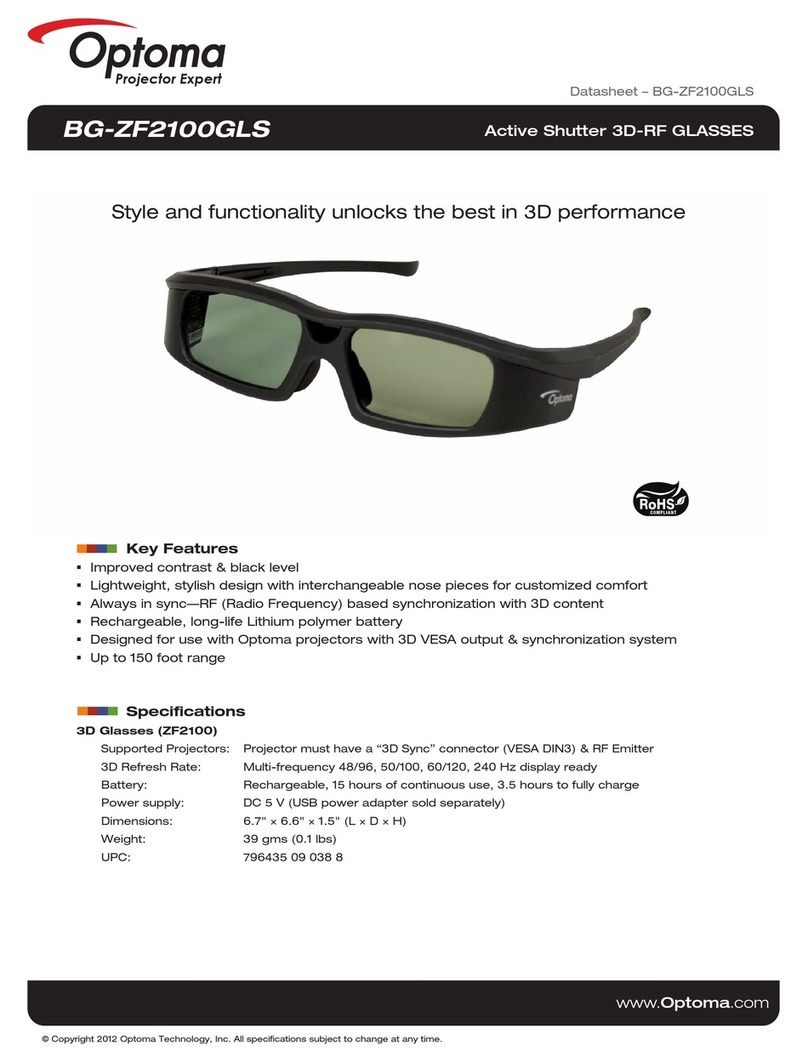
QUICK START GUIDE
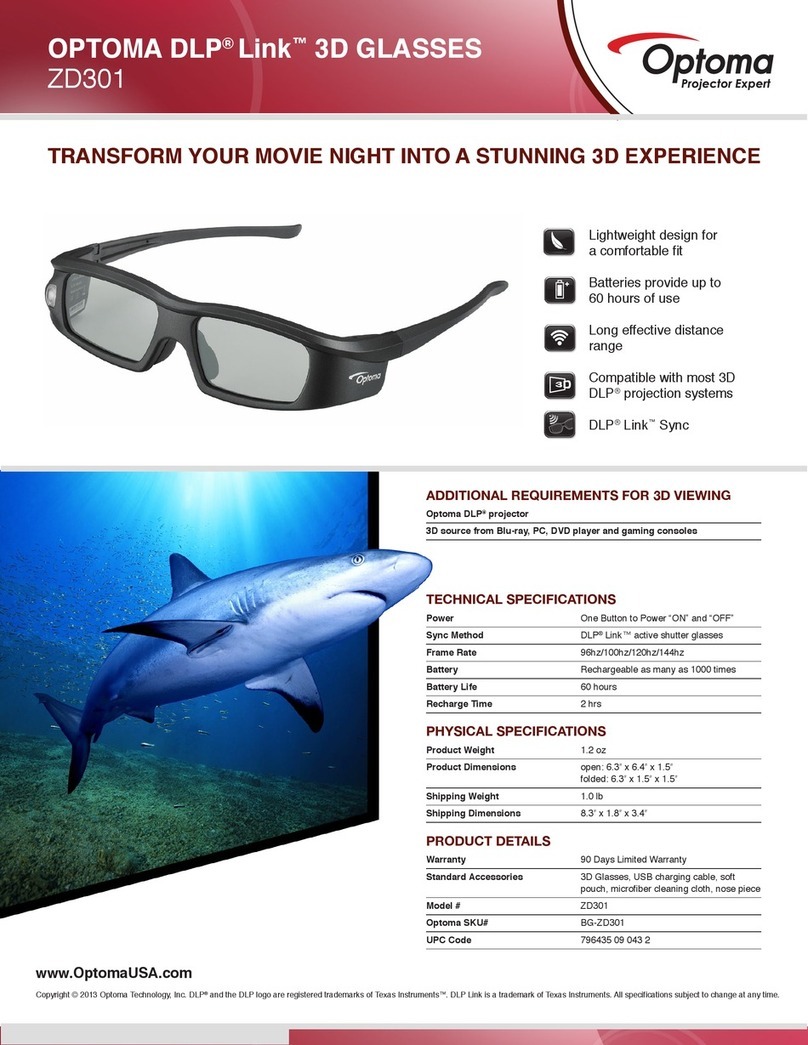
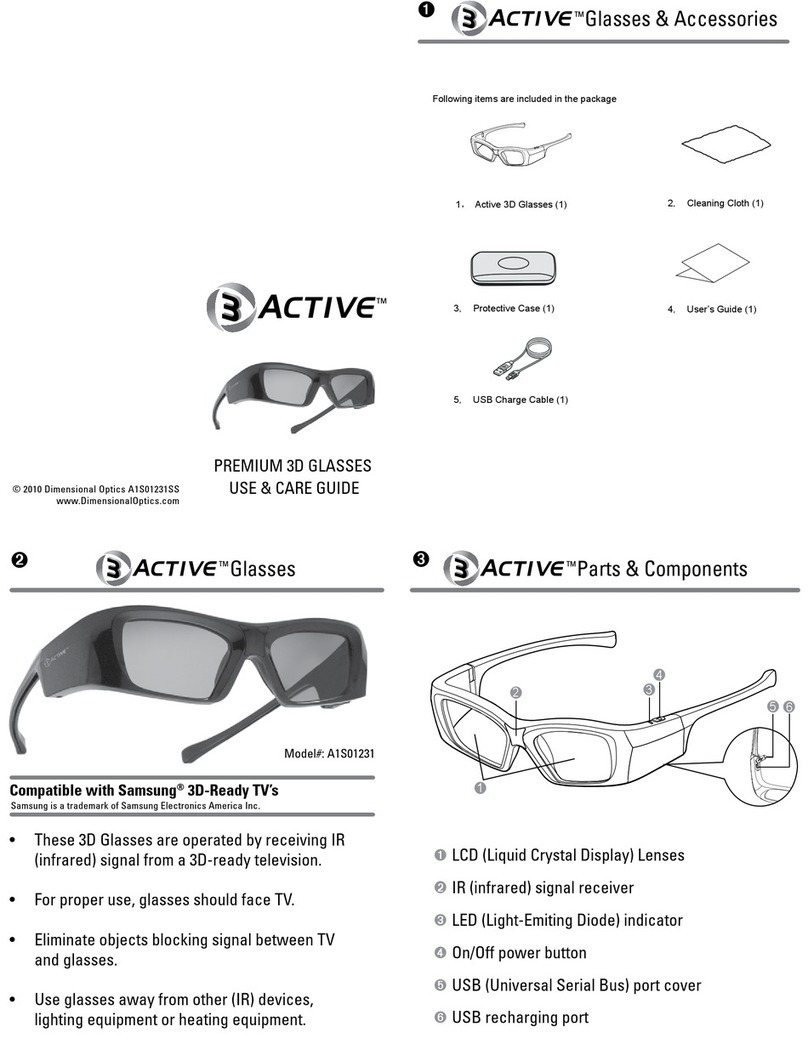
Optoma 3D-RF System: Optoma 3D-RF Glasses and Optoma 3D-RF Emitter
Contains Patent Pending software and technology from it Cauldron Corporation
Contient les logitiels de brevet en instance et la technologie de la compagnie it Cauldron
It is recommended that you charge the
Glasses with the supplied US cable for 3 hours prior
to first use. (Glasses can be used while charging)
Converter ox using the supplied VESA/TRRS
cable.
A
ttach the Optoma 3D-RF Emitter to the IR
Emitter Port of 3D-XL Converter ox.
2. Put your Projector into 3D mode
your projector manual for details)
3. Turn on the 3D glasses
Tap the power button and the red LED light
will come on and blink.
Red LED indicates battery charge state:
Short, Slow blink = Higher battery charge
Long, Fast blink = Low battery charge
4. After use, charge the 3D glasses with the supplied
US cable.
5. Future FW upgrades (optional). Connect the
Optoma 3D-RFEmitter to a computer using the
supplied US cable. The Optoma 3D-RF System
Management and Utilitycan be used to upgrade the
Optoma 3D-RF Emitter. The FW on Optoma 3D-RF
Glasses will be automatically upgraded by the Optoma
s on the emitter will display a red moving pattern
until a 3D signal is found. The LEDs will then turn
green.You are now ready to watch 3D. (Projector must
be in 3D mode playing 3D content and connected to 3D-
