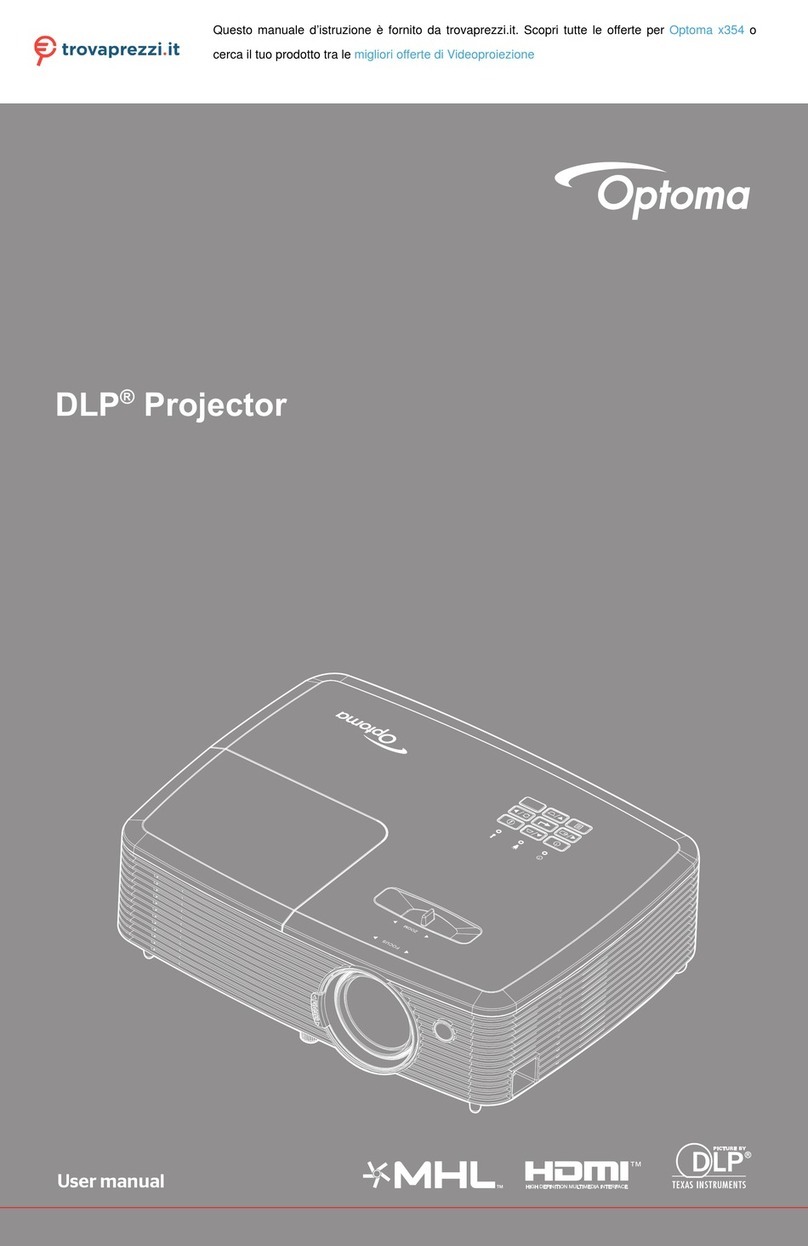
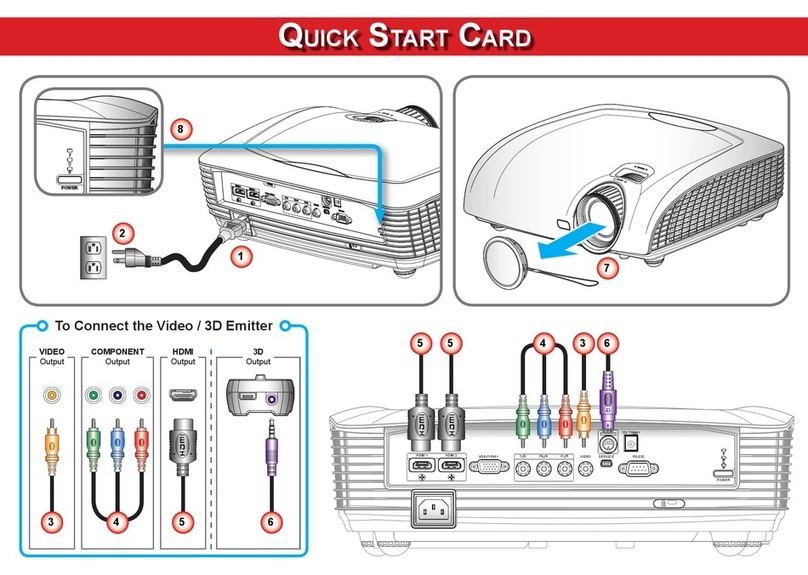
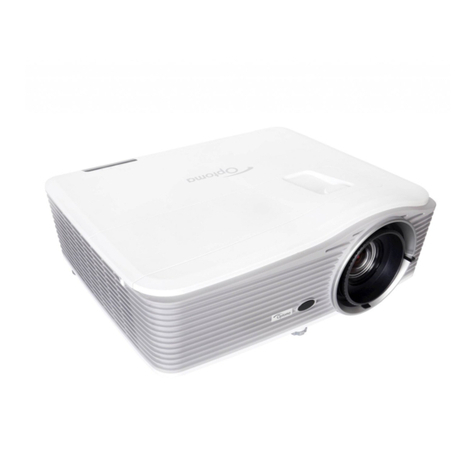
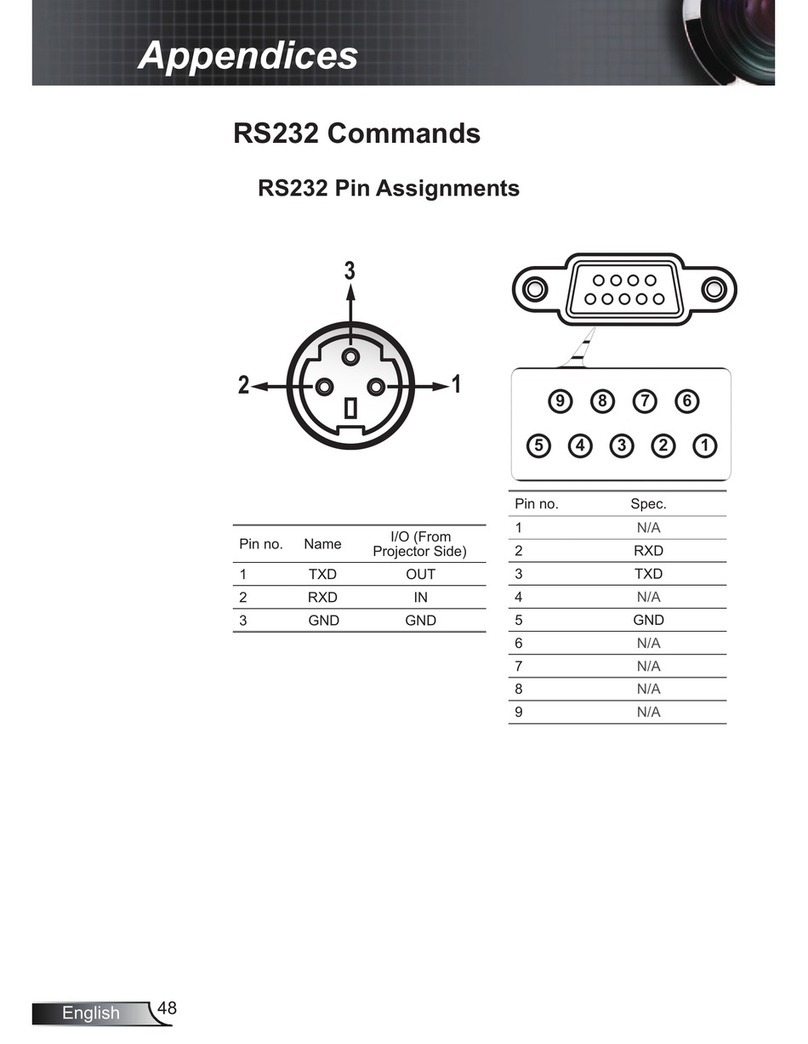
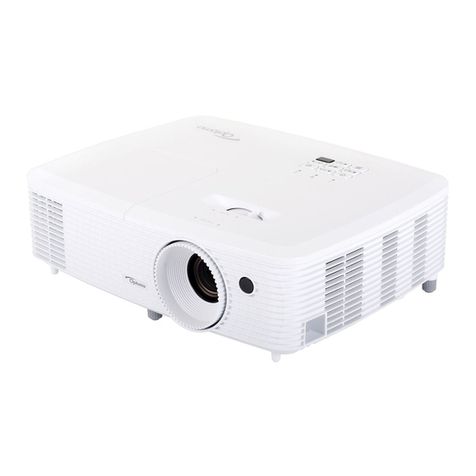
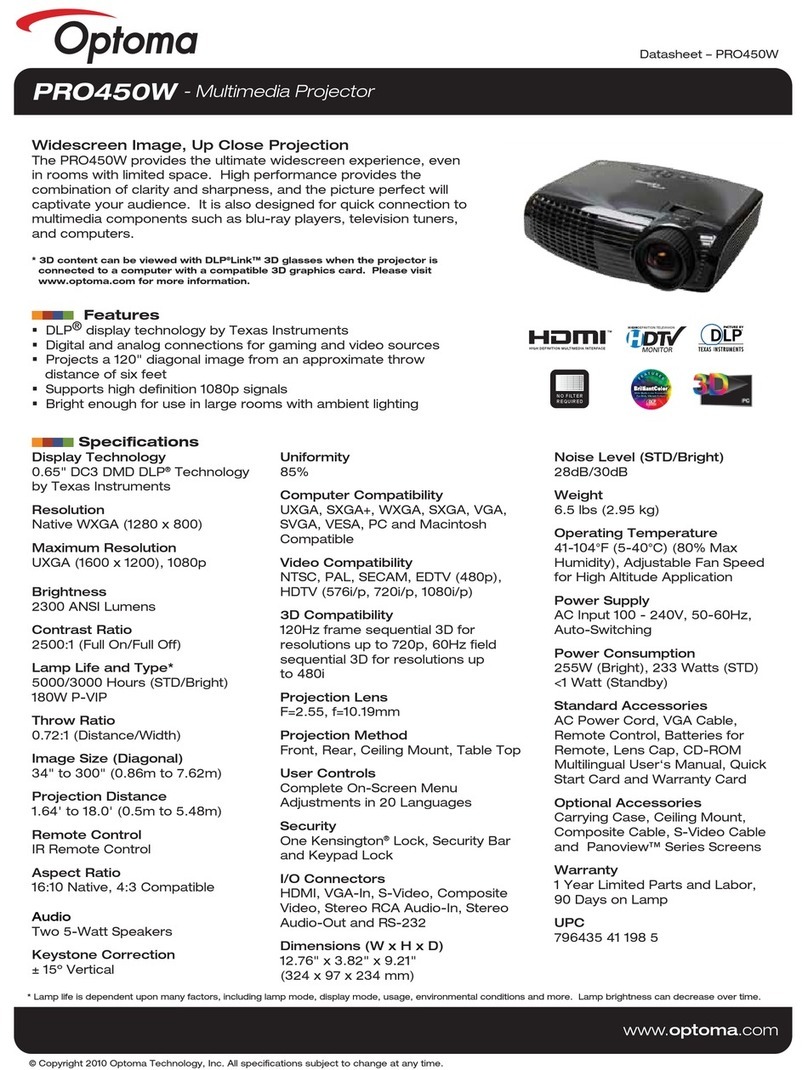
Optoma S310e User manual

SERVICE MANUAL
Prepared: Mina Checked: Amy Approved: Alick
Copyright Nov.2014 All Rights Reserved
S310e/X312
Date Revise Version Description
2014/11/5 V1.0 Initial Issue

X312/S310e Condential i
Preface
This manual is applied to S310e/X312 projection system.The manual gives you a brief
description of basic technical information to help in service and maintain the product.
Your customers will appreciate the quick response time when you immediately identify
problems that occur with our products.We expect your customers will appreciate the
service that you offer them.
This manual is for technicians and people who have an electronic background. Please
send the product back to the distributor for repairing and do not attempt to do anything
that is complex or not mentioned in the troubleshooting.
Note: The information found in this manual is subject to change without prior notice.Any
subsequent changes made to the data herein will be incorporated in future edition.
S310e/X312 Service Manual
Copyright Nov.2014
All Rights Reserved
Manual Version Rev1.0

X312/S310e Condential ii
S310e/X312 Comparison List
Parts S310e X312
Speaker NA 49.8KU01G001
DMD CHIP 48.8EH01G003 48.8CQ01G008
IO Cover 70.73605GR01 70.73711GR01
Daughter Board 80.73606G001 80.73706G001
Main Board 80.73606G002 80.73706G002

X312/S310e Condential iii
Table of Content
Chapter 1 Introduction
Highlight 1-1
Compatible Mode 1-2
Chapter 2 Disassembly Process & Assembly Process
Equipment Needed & Product Overview 2-1
Disassemble Lamp Cover Module 2-2
Disassemble Lamp Module 2-2
Disassemble Top Cover Module 2-3
Disassemble Keypad Board and Zoom Ring 2-4
Disassemble Speaker(Only for X312) 2-5
Disassemble Lamp Housing 2-5
Disassemble System Fan 2-6
Disassemble Interlock Switch 2-6
Disassemble LVPS 2-7
Disassemble Engine Module and Main Board Module 2-8
Disassemble Lens 2-15
Disassemble Bottom Cover Module 2-16
Rod Adustment 2-17
Screw Torque 2-18
Repair Action 2-19
Chapter 3 Troubleshooting
LED Lighting Message 3-1
Main Procedure 3-2

X312/S310e Condential iv
Chapter 4 Test & Inspection
Test Equipment Needed 4-1
Test Condition 4-1
Fan Calibration 4-2
ADC Calibration 4-2
I/O Port Test 4-3
Run in Test 4-15
Test Inspection Procedure 4-15
Re-write Lamp Hours Usage 4-16
Chapter 5 Firmware Upgrade
Equipment Needed 5-1
DLP Composer Lite Setup Procedure 5-2
Get into Firmware Download Mode 5-4
USB Driver Upgrade Procedure 5-4
Firmware Upgrade Procedure 5-5
MCU Firmware Upgrade Procedure 5-9
Equipment Needed 5-9
Setup Procedure 5-10
Upgrade Procedure 5-14
Chapter 6 EDID Upgrade
EDID Introduction 6-1
Equipment Needed 6-2
Setup Procedure(VGA) 6-3
EDID Key-In Procedure 6-3
Setup Procedure(HDMI)(Only for X312) 6-6
EDID Key-In Procedure 6-6

X312/S310e Condential v
Appendix A Exploded Image I
Appendix B
Serial Number Denition I
PCBA Code Denition II

S310e/X312 Condential 1-1
Chapter 1
Introduction
1-1 Highlight
No Item Description
1Dimensions (WxDxH) ● 314.3x223.6x88.2 mm (with feet)
● 314.3x223.6 x101.7 mm (w/o feet)
2Weight ● 2.5±0.5Kg
3Power Supply ● Universal AC 100V-240V±10%, 50-60Hz
4 Power Consumption
● Bright mode:
Typical 254W MAX 280W @110VAC
Typical 249W MAX 274W @220VAC
● ECO mode:
Typical 196W MAX 216W @110VAC
Typical 194W MAX 213W @220VAC
● Standby< 0.5W@110V/220VAC
5 Keystone correction ● +/-40 degree
6 Throw ratio ● 1.95~2.15(D/W)@60”
7 Projection lens ● YM99
8 Offset ● 115%±5%
9 Lamp life
Normal Mode:
● 5000 hours Standard @190W,50% survival rate5000 hours Standard @190W,50% survival rate
ECO Mode:
● 6000 hours Typical @160W,50% survival rate6000 hours Typical @160W,50% survival rate
Bright Mode w/ Dynamic Eco+:
●10K Hours 100%~30% dynamic eco cycle, 50% Survival
Rate
10 DMD Chip&Number of
active dots
For X312
● 0.55”, XGA DMD,S450, Dark Chip 3
● Number of active dots:1024x768
For S310e
● 0.65”, SVGA DMD,S450, Dark Chip 3
● Number of active dots:800x600
11 System controller ● TI DDP 4421
12 Video compatibility
● NTSC: M/J,3.58MHz,4.43MHz
● PAL: B, D, G, H, I, M, N,4.43MHz
● SECAM: B, D, G, K, K1, L,4.25/4.4MHz
● SDTV: 480i/p, 576i/p,
● HDTV: 720p(50/60Hz), 1080i(50/60Hz),1080p(50/60Hz)

Condential 1-2
S310e/X312
No Item Description
13 Aspect ration ● 4:3,16:9,Native, Auto
14 Input signal spec
● VGA-in x1
● Composite Video x1
● S-Video x1
● RS232(9 pin) x1
● USB x1
● HDMI V1.4 x 1(for X312)
● Audio In(stereo),3.5mm x1(for X312)
15 Temperature
● Non-operation: Sea Level to 40,000 feet
Operating: Sea Level to 10,000 feet (@23°C); manual
switch to high altitude mode @5000 feet & above
● Operating: 5 ~ 40°C in bright(normal) mode and ECO
mode; Tolerance +/- 2°C
● Non-operation: -10°C ~ 60°C
16 Altitude&Temperature
● Operating: 0~2,500 ft 5°C~40°C
2,500~5,000 ft 5°C~35°C
5,000~10,000 ft 5°C~30°C
1-2 Compatible Mode
Computer Compatibility
Compatibility Resolution Refresh Rate [Hz]
VGA
640x480 60
640x480 67
640x480 72
640x480 85

Condential 1-3
S310e/X312
Compatibility Resolution Refresh Rate [Hz]
SVGA
800x600 56
800x600 60(*2)
800x600 72
800x600 85
800x600 120(*2)
XGA
1024x768 48
1024x768 50(*4)
1024x768 60(*2)
1024x768 70
1024x768 75
1024x768 85
1024x768 120(*2)
HDTV(720P)
1280x720 50
1280x720 60(*2)
1280x720 120(*2)
WXGA
1280x768 60
1280x768 75
1280x768 85
1280x800 48
1280x800 50(*4)
1280x800 60
WXGA(*3) 1366x768 60
WXGA(*5) 1366x768 60
SXGA
1280x1024 60
1280x1024 75
1280x1024 85
SXGA+ 1400x1050 60
UXGA 1600x1200 60
HDTV(1080p)
1920x1080 24
1920x1080 50
1920x1080 60
WUXGA 1920x1200 60
1920x1200 50(*4)

Condential 1-4
S310e/X312
Note: If the Computer Compatibility supportive signal is different from User’s Manual,
please refer to User’s Manual.
Compatibility Resolution Refresh Rate [Hz]
WSVGA 1024x600 60(3)
SDTV(480i) 720x480 60
SDTV(480P) 720x480 60
SDTV(576i) 720x576 50
SDTV(576P) 720x576 50
WSVGA 1024x600 60(*3)
WXGA
1280x800 60(*2)
1280x800 120(*2)
1366x768 60
WXGA+ 1440x900 60
SXGA
1280x1024 60
1280x1024 75
1280x1024 85
1440x900 60
SXGA+ 1400x1050 60
UXGA 1600x1200 60
HDTV(1080I) 1920x1080 50
1920x1080 60
HDTV(1080p)
1920x1080 24
1920x1080 30
1920x1080 50
1920x1080 60

S310e/X312 Condential 2-1
Chapter 2
Disassembly & Assembly Process
2-1 Equipment Needed & Product Overview
1. Screw Bit (+): 105
2. Screw Bit (+): 107
3. Screw Bit (-): 107
4. Hex Sleeves 5mm
5. Long Nose Nipper
6. Tweezers
7. Projector
* Before you start: This process is protective level II.Operators should wear electrostatic chains.
* Note: - If you need to replace the main board, you have to get into service mode and record the
lamp usage hour, please refer to section 4-8.
- As the process of X312 disassembling is the same as S310e, we take S310e for example
here.

S310e/X312 Condential 2-2
2-2 Disassemble Lamp
Cover Module
1. Loosen 1 M3*8.5 screw (as red circle) on
the lamp cover.
2. Disassemble the lamp cover module.
Lamp Cover
2-3 Disassemble Lamp
Module
1. Loosen 1 M3.5*8.5 screw (as red circle)
on the lamp module.
2. Take off the lamp module.

S310e/X312 Condential 2-3
2-4 Disassemble Top Cover
Module
1. Unscrew 6 M3*8 screws (as blue circle)
from the bottom cover.
2.Unplug FFC cable(as green square)
3. Remove the top cover module.

S310e/X312 Condential 2-4
2-5 Disassemble Keypad
Board and Zoom Ring
1. Unplug 2 connectors(as yellow square).
2.Unfasten 3 tenons (as green square) to
disassemble the IR sensor board.
3.Unscrew 4 M2.6*5 screws (as red
circle).
4. Remove the keypad board.
5. Unscrew 1 M3*6 screw(as blue circle).
6. Remove the zoom ring from top cover
module.
Keypad Board IR Board
Zoom Ring Top Cover

S310e/X312 Condential 2-5
2-6 Disassemble
Speaker(Only for X312)
1.Unplug 1 connector(as green square).
2.Remove the speaker(as red square).
3 .Separate rubber and the speaker.
2-7 Disassemble Lamp
Housing
1.Unplug 3 connectors(as red square).
2.Unscrew 3 M2.6*6 screws (as red circle)
to disassemble the lamp housing.
3.Unscrew 1 M3*4 screw (as blue circle).
Lamp cable

S310e/X312 Condential 2-6
2-9 Disassemble Interlock
Switch
1. Unscrew 1 M2.6*7 screw (as red circle)
to disassemble the Interlock switch.
2-8 Disassemble System
Fan
1. Unscrew 4 M3*10 screws (as red circle)
to disassemble the System Fan.
Note: - Take the fan module as the right
gesture.
the right gesture the wrong gesture
Interlock Switch

S310e/X312 Condential 2-7
2-10 Disassemble LVPS
1. Unplug 2 connector(as red square).
2. Unscrew 4 M2.6*6 screws (as green
circle) to disassemble the LVPS and
holder .
3. Unplug 2 connectors(as blue spuare).
4. Unscrew 5 M3*8 NI screws (as red
circle) to disassemble the LVPS .
LVPS

S310e/X312 Condential 2-8
2-11 Disassemble Engine
Module and Main Board
Module
Please refer to the table as below for
details of each connector.
Item Male Conector on
Main Board The key feature Figure
ASpeaker
(Only for X312)
Compose of Red/Black
Wire (2 pin)
B Photo Sensor Compose of Red/White/
Black Wire (3 pin)
C LVPS A Red wire tube (10 pin)
D LVPS B Black wire tube (5 pin)
E Fan Compose of Red/Blue/
Black Wire (3 pin)
AD
C
BE

S310e/X312 Condential 2-9
1. Unscrew 8 M2.6*8 screws (as blue circle)
2. Unscrew 4 H4*L8 hex screws (as
green circle) and 1 M2.6*8 screw to
disassemble IO cover .
3. Remove IO cover

S310e/X312 Condential 2-10
4.Unscrew 2 M2.6*6 Ni screws(as green
circle)
5.Unplug 1 connector(as yellow square) to
disassemble photo sensor board.
6.Unscrew 1 screw M1.7*4(as red
circle)and unfasten 2 tenons (as green
square) to push out the focus ring (as
red arrow).
7. Remove the zoom ring.
Photo Sensor Board
Focus Ring
This manual suits for next models
1
Table of contents
Other Optoma Projector manuals

Optoma
Optoma EX612 User manual

Optoma
Optoma Optoma EP7155 Instruction manual

Optoma
Optoma HD146X User manual

Optoma
Optoma TS526 User manual

Optoma
Optoma DS316 User manual

Optoma
Optoma DS325 User manual

Optoma
Optoma EH415ST User manual

Optoma
Optoma DC552 User manual

Optoma
Optoma S321 User manual

Optoma
Optoma ES520 Instruction manual

Optoma
Optoma TX7156 Administrator guide

Optoma
Optoma EX330 User manual

Optoma
Optoma TX765W User manual

Optoma
Optoma EX762 User manual

Optoma
Optoma EP735 User manual

Optoma
Optoma DX617 User manual

Optoma
Optoma ZH300UW User manual

Optoma
Optoma Optoma PRO150S User manual

Optoma
Optoma EP725 User manual

Optoma
Optoma W320ust User manual