COMPACT-E version 5.0.001
COMPACT system
expansion unit
6) EXTERNAL DIP SWITCHES
It allows configuring the occupied position in the CAN bus
(final element or intermediate element) and the CAN
address of the equipment:
CAN Bus position
Configure external DIP switches 5 and 6 to indicate the
position on the CAN bus occupied by the COMPACT-E (end
element or intermediate element). See figure 10.
CAN Address
Each COMPACT-E that is connected to the CAN bus must
have a different address. This DIP switches b0, b1, b2 and
b3 allows assigning this communication address.
Each COMPACT audio matrix may be expanded with a
maximum of 10 COMPACT-E units and if this were to
happen, then 10 different CAN addresses would be used.
Figure 11 shows the DIP switches b0, b1, b2 and b3
combinations to assign the CAN addresses for 1 through
10.
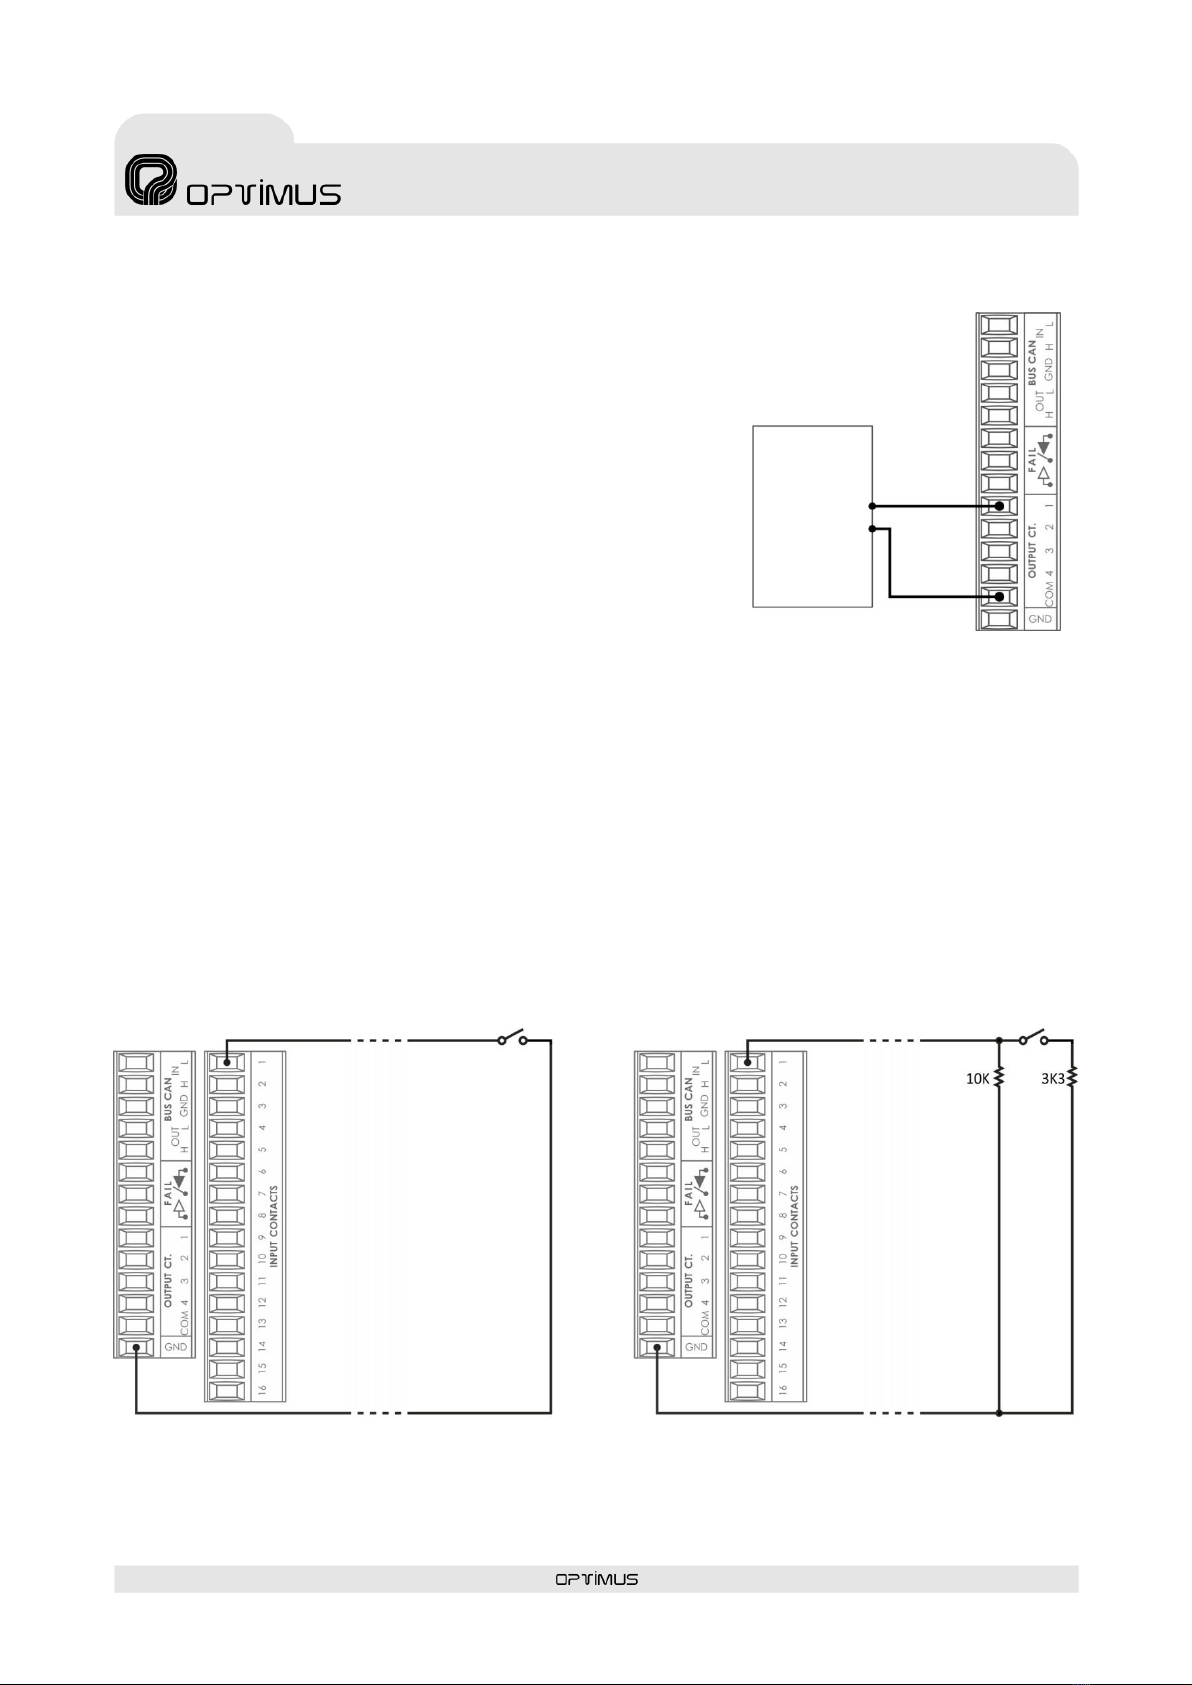
7) AUDIO LINK BUS
Audio bus expansion connector. It is used in the connection
between the COMPACT-E and the COMPACT or between
different COMPACT-E units.
To make the connection use a 34 way flat ribbon cable with
2x17, 2.54 mm IDC connectors When installing the cable be
careful to install the connectors in the same position and
side of the flat ribbon cable (see figure 17).
8) POWER SUPPLY 1
24 VDC Primary power input (see figure 12).
9) POWER SUPPLY 2
24 VDC Secondary power input (see figure 13). The power
supply inputs have been doubled; therefore, if required by
the safety standards, two independent power supplies may
be connected.
10) FUSE 1.
2.5 A Primary power fuse.
11) FUSE 2.
2.5 A Secondary power fuse.
12) Ground connection.
Figure 13
SECONDARY
POWER
Figure 11. CAN BUS ADDRESSES
Figure 10. CAN BUS POSITION
BUS END ELEMENT
(FACTORY SETUP)