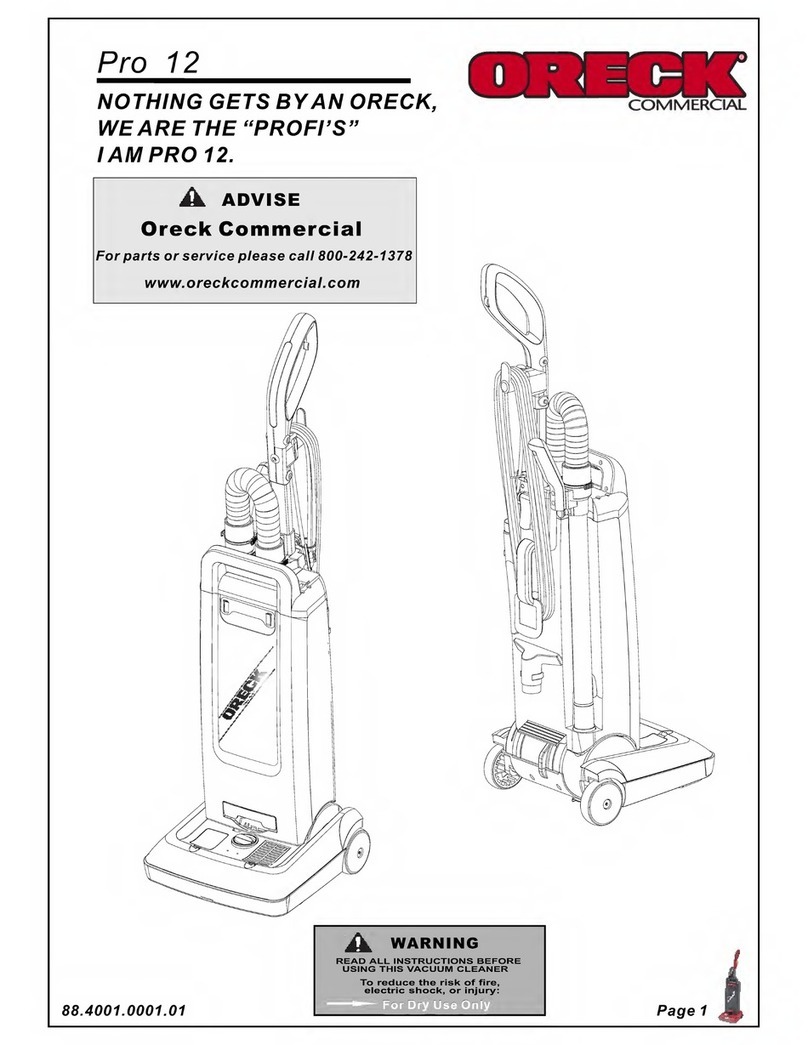
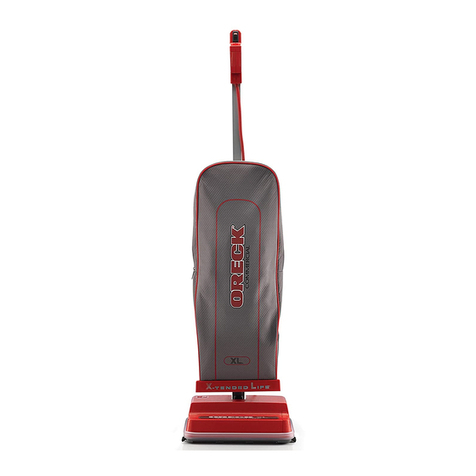
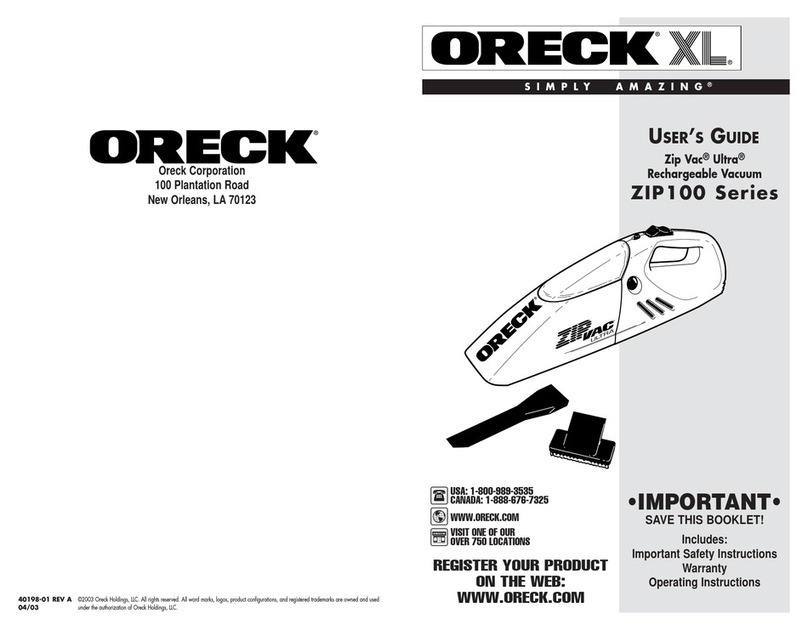
Oreck XL2100RHS User manual

user’sGuiDe
•IMPO TANT•
SAVE THIS BOOKLET!
CoMMerCial
Xl2100rHs
HIGH SPEED UP IGHT VACUUM
CLEANE WITH
CLEANING SYSTEM
®
s i M p l Y a M a Z i G ®
Includ s:
• Saf ty Warnings
• Warranty
• Op rating Instructions
• Troubl Diagnosis
• Acc ssori s
E N G L I S H
USA: 1-888-768-2014
WWW.ORECKCOMMERCIAL.COM

2
When using n electric l ppli nce, b sic
prec utions should lw ys be followed,
including the following:
READ ALL INSTR CTIONS BEFORE
SING THIS VAC M CLEANER
WARNING
To reduce the risk of fire,
electric shock, or injury:
• Do not le ve ppli nce un ttended when plugged in. Unplug
from outlet when not in use nd before servicing.
• Do not use outdoors or on wet surf ces.
• Do not oper te the unit while in the upright nd locked position.
• Do not let the unit run while in ny one st tion ry position for ny
period of time. Keep the unit moving while in oper tion.
• Do not llow to be used s toy. Close ttention is necess ry
when used by or ne r children.
• Use only s described in this m nu l. Use only m nuf cturer’s
recommended tt chments.
• Do not use with d m ged cord or plug. If ppli nce is not
working s it should, h s been dropped, d m ged, left outdoors,
or dropped into w ter, return it to service center or c ll
customer service t
US: 1-888-768-2014
• Do not pull or c rry by cord, use cord s h ndle, close door on
cord, or pull cord round sh rp edges or corners. Keep cord
w y from he ted surf ces.
• Do not run ppli nce over cord.
• Do not unplug by pulling on cord. To unplug, gr sp the plug, not
the cord.
• Do not h ndle plug or ppli nce with wet h nds.
• Do not put ny object into openings. Do not use with ny opening
blocked; keep free of dust, lint, h ir nd nything th t m y reduce
ir flow.
• Keep h ir, loose clothing, fingers nd ll p rts of body w y from
openings nd moving p rts.
• Do not use to pick up nything th t is burning or smoking, such s
cig rettes, m tches, or hot shes.
• Do not use without filter b g ssembly in pl ce.
• Turn off ll controls before unplugging.
• Use extr c re when cle ning on st irs.
• Do not use to pick up fl mm ble or combustible liquids, such s
g soline or lighter fluid, or use in re s where they m y be
present.
• Do not use ppli nce in n enclosed sp ce where fl mm ble,
explosive or toxic v pors re given off by oil b se p int, p int
thinner, some mothproofing subst nces, or in n re where
fl mm ble dust is present.
• Do not pick up toxic m teri l such s chlorine ble ch, dr in
cle ner, g soline, etc. with this ppli nce.
• Use c ution when v cuuming over re rug edges nd fringe.
•
Product cont ins chemic ls known to the St te of C liforni
to c use c ncer nd birth defects or other reproductive
h rm.
•
Keep cord w y from he ted surf ces.
%(&% %&$'&! %
;>;991>/5-8'?1
E N G L I S H
Table of Co te ts
BEFORE OPERATING
CLEANER, READ ALL
INSTR CTIONS IN THIS
MAN AL CAREF LLY.
M inten nce nd Customer Service,
Import nt S fety Instructions . . . . . . . . p ge 2
W rr nty,
Troubleshooting Guide . . . . . . . . . . . p ge 3
Assembly,
Oper ting Instructions . . . . . . . . . . . . p ge 4
Oper ting Instructions cont.,
To Repl ce P per Filter Dust B g . . . p ge 5
How to Repl ce Worn Belt,
Stuffing or Block ge . . . . . . . . . . . . . p ge 6
Using n Oreck Fresh Air T b®,
Grounding Instructions,
To Adjust or Repl ce Brush . . . . . . . . p ge 7
>-:J-5?A501ZA@585?-@5;:
?<-P;8A5-18'?A->5;
Your ORECK v cuum cle ner is product of precise engineering.
The motor be rings re perm nently lubric ted nd should not be
oiled. If you require ddition l inform tion or h ve problems with
your ORECK ppli nce, you m y c ll ORECK commerci l customer
service t: '% 1-888-768-2014
Ple se specify the model number nd seri l/code number which
c n be found on the d t pl te on the b ck of the v cuum.
S ve your s les or purch se slip. Should your ORECK ppli nce
require w rr nty service in the U.S.A., present this slip to the
Authorized Service Center s your proof of purch se d te or, in
C n d , c ll customer service.
Mai te a ce a d
Customer Service
Accessories
Sold Separately
& "$&
1. Dust B g, P ck, Regul r PK800025
2. Belts, 3 P ck 0300604
3. Oreck Fresh Air®T bs AIRTABS
IMPO TANT
SAfETY INST UCTIONS

3
E N G L I S H
Warra ty
1 Year LIMITED WARRANTY
WHAT THIS WARRANTY COVERS
When used and maintained in normal Commercial use and in
accordance with the Userʼs Manual, your Royal Appliance
Manufacturing Company product is warranted against original
defects in material and workmanship for a full one year from
date of purchase (the “Warranty Period”). During the
Warranty Period, as described in this Warranty, Royal
Appliance Manufacturing Company will provide labor and
parts, at no cost to you, to correct any such defect in products
purchased in the United States, U.S. Military Exchanges and
Canada.
HOW TO MAKE A WARRANTY CLAIM
If this product is not as warranted, take or send the product to
an Authorized Warranty Service Dealer along with proof of
purchase. If the batteries are not as warranted, either take or
send the batteries along with proof of purchase to an
authorized dealer or contact Oreck Commercial Customer
Services at 1-888-768-2014.
WHAT THIS WARRANTY DOES NOT COVER
This warranty does not cover filters, improper maintenance of
the product, damage due to misuse, acts of God, nature,
vandalism or other acts beyond the control of Royal Appliance
Manufacturing Company, ownerʼs acts or omissions, use
outside the country in which the product was initially purchased
and resales of the product by the original owner. This warranty
does not cover pick up, delivery, transportation or house calls.
However, if you mail your product to a Service Center for
warranty service, cost of shipping will be paid one way. Please
call Oreck Commercial Customer Services at 1-888-768-2014
for instructions on how to ship this product. This warranty does
not apply to products purchased outside the United States
(including its territories and possessions), a U.S. Military
Exchange and Canada.
OTHER IMPORTANT TERMS
This warranty is not transferable and may not be assigned. This
Warranty shall be governed and construed under the laws of
the state of Ohio. The Warranty Period will not be extended by
any replacement of batteries or parts or repair performed
under this Warranty. THIS WARRANTY IS THE EXCLUSIVE
WARRANTY AND REMEDY ALL OTHER WARRANTIES,
EXPRESSED OR IMPLIED, INCLUDING WARRANTIES OF
MERCHANTABILITY OR FITNESS FOR PARTICULAR PURPOSE,
ARE DISCLAIMED. IN NO EVENT WILL Oreck Commercial BE
LIABLE FOR ANY SPECIAL, INDIRECT, INCIDENTAL OR
CONSEQUENTIAL DAMAGES OF ANY KIND OR NATURE TO
OWNER OR ANY PARTY CLAIMING THROUGH OWNER,
WHETHER BASED IN CONTRACT, NEGLIGENCE, TORT OR
STRICT PRODUCTS LIABILITY OR ARISING FROM ANY CAUSE
WHATSOEVER. Some states do not allow the exclusion of
consequential damages, so the above exclusion may not apply
to you. This warranty gives you specific rights; you may also
have others that vary from state to state.
SAVE SERVICE CALLS...CHECK THESE FIRST:
• Is the dispos ble filter dust b g full?
• Are pores of filter dust b g clogged with powder or fine dust?
• Is nything clogging the revolving brush, lower tube, int ke
opening, f n housing or connector ssembly opening?
• Is the belt in pl ce nd turning the brush?
• Are the brush ends in the proper loc tion?
• Does the brush turn freely? Are h ir, string or rug fibers wound
round the brush?
Troubleshooti g Guide
Clea er
will ot ru
Clea er
Does ot piCK up
Not plugged in
properly.
No electricity in
w ll outlet.
Filter b g is full.
Nozzle or int ke
pivot clogged.
Belt is broken or
stretched.
Brush is worn.
B g tube clogged.
B g pores re
clogged with fine
dust.
Impeller f n is
broken.
Revolving brush is
not even t both
ends.
Be sure cle ner is
firmly plugged
into w ll outlet.
Check electric l
source–fuse or
circuit bre ker.
Repl ce filter b g.
See “To Inst ll
P per Filter Dust
B g.”
Cle r obstruction.
Repl ce belt.
See “ To Adjust or
Repl ce Brush.”
Cle r obstruction.
Ch nge b g.
Return to Service
Center for rep ir.
Check brush roll
end c rds. M ke
sure words “old”
or “new” m tch t
e ch end.
proBleM possiBle sourCe areas to CHeCK
Whenever c lling, ple se be sure to h ve your model nd
seri l number from d t pl te.
CALL COMMERCIAL C STOMER SERVICE HOT LINE
S: 1-888-768-2014
all otHer serViCi G sHoulD Be Do e BY a
oreCK autHoriZeD serViCe Ce ter.
WA NING: Unplug cord from
electrical outlet before servicing.

E N G L I S H
4
Operati g Istructio s
&;!<1>-@1
M ke sure dispos ble p per filter dust b g is in pl ce. DO NOT
oper te the cle ner without p per filter dust b g. Plug the
power cord into n electric l outlet nd press the On (l) - OFF (O)
switch on Helping H ndle Assembly.
1:1>-8:2;>9-@5;:
The perform nce of your new cle ner gre tly depends upon c re
nd m inten nce. The instructions in this m nu l will guide you in
performing b sic c re nd m inten nce. To obt in the most
s tisfying ye rs of service, re d the instructions nd keep them
h ndy for future reference.
!<1>-@5:3$1/;991:0-@5;:?
This new ORECK XL High-Speed Upright is one of the finest,
f stest, nd strongest units in its cl ss. You’ll love the w y it
cle ns, gets under things, nd it’s SO lightweight nd e sy to
use.
The following re few simple suggestions reg rding its
oper tion:
1. When inserting new dispos ble p per filter dust b g—
FIRST PUFF OUT nd OPEN THE BAG.
2. When the dispos ble filter dust b g is full, REPLACE IT.
3. If t ny time the m chine does not pick up properly or
m kes n unusu l noise, STOP OPERATION nd service.
4. Although your upright will pick up pins, p per clips, nd
other sm ll objects, it is recommended th t these be
removed from the floor before you v cuum. F ilure to do so
m y result in perm nent d m ge to the motor suction f n
nd its housing.
5. )$ Do not use your v cuum cle ner on d mp or
wet surf ces. This will c use d m ge to the v cuum cle ner
nd is d ngerous to the user. D m ge c used by use on wet
or d mp surf ces is not covered under w rr nty.
Assembly
1
2
3
4
9
10
11
14 15
12
13
5
6
7
8
To ssist you in identifying
components of your v cuum,
the p rts h ve been numbered
s follows
:
1 H ndle section, upper
2 Tube, lower
3 Power he d
4 Outer b g
5 P per filter dust b g
6 Power cord
7 Ret ining spring
8 B g tension b r
9 Zip f stener
10 On/off switch
11 Cord hook
12 Pl stic loop/c ble cl mp
13 Connector ssembly/
cord wr p
14 F n housing
15 Cord ssembly
'<<1>
-:081
;::1/@;>
??19.8E
With ON/OFF switch f cing
the front of the unit, slide
upper h ndle section over
m tching section of the
connector ssembly. Hold
h ndle br ce g inst upper
h ndle nd lign screw
holes. Insert one screw into
top hole nd one screw into
the bottom hole then tighten
firmly until h ndle is no
longer loose.
1Before ssembling ppli nce,
remove two screws from the
connector ssembly. Remove
pl stic insert by pulling
upw rd.
2
Att ch cord to cord clip by
pressing cord bove nd
below clip ensuring the cord
is fully rested in clip.
3

5
E N G L I S H
6. REPLACE THE BELT EVERY 6 MONTHS.
7. Ch nge the dispos ble filter dust b g t le st once
month—even if it is not full! The collected dust in the dust
filter c n c use odor, ttr ct moisture, ct s breeding
re nd c n ffect the efficiency of the cle ner.
8. ! !&run the vacuum cleaner over the cord. The
revolving brush could damage the cord.
9. Use c ution when v cuuming over re rug edges nd
fringe.
5?<;?-.81"-<1>58@1>A?@-3?
Dispos ble p per filter dust b gs pl y very import nt role in
the efficiency of your ORECK v cuum cle ner. The purpose of
the filter b g is to tr p dirt, but t the s me time it must be
porous enough to llow ir to p ss through. If the filter b g
becomes clogged, no ir c n p ss through the cle ner nd
cle ning c nnot t ke pl ce, reg rdless of the cle ner’s power.
To keep your cle ner oper ting t m ximum efficiency, ch nge
the dust b g frequently. DO NOT FILL ABOVE THE LINE
INDICATED ON THE DUST BAG.
Be sure the dispos ble p per filter dust b g is inst lled properly.
88<-<1>0A?@.-3?->1:;@@41?-91+;A>!$
05?<;?-.810A?@.-3?4-B1.11:01?53:10@;.1A?10C5@4
@41!$/81-:1>'?5:3.-3?;@41>@4-:31:A5:1!$
05?<;?-.81.-3?C588-221/@@41/81-:5:3-.585@E;2E;A>
/81-:1>-:0/;A80/-A?10-9-31@;5@
&4118@
The belt on your v cuum cle ner controls the speed of the
revolving brush nd is very import nt for the effective oper tion
of the cle ner. If the belt becomes stretched or cut, it will c use
the revolving brush to stop completely or slow down. See
instructions in the m nu l for repl cing belt.
:1D@>-.18@5??@;>105:@41.-?1<8-@1;2E;A>/81-:1>
)41:.AE5:3>1<8-/191:@.18@?A?1! +!$31:A5:1
.18@?18@?;@41>@4-:!$ .18@?C588:;@;<1>-@1@41
>1B;8B5:3.>A?4/;>>1/@8E-:09-E/>1-@1A:0A1?@>1??
C45/4C588/-A?10-9-31@;@419;@;>-:0.>A?4.1->5:3?
'?5:3.18@?;@41>@4-:!$.18@?C588B;50@41C->>-:@E
A.>5/-@5;:
The v cuum cle ner motor be rings re f ctory lubric ted nd
se led. Further lubric tion is not required.
1:1>-881-:1>->1 At le st once month, check for
nd remove excessive lint, string
or h ir from the revolving brush.
Wipe the outside of the cle ner
with d mp cloth. Also, cle n
the connector deflector ssembly
re , b se of cle ner nd f n
housing re . If there is dust in
the outer b g, v cuum it or
sh ke it out.
A little prevent tive m inten nce
will keep your cle ner looking
new nd will ensure continued
cle ning effectiveness.
'&! V);;08;;>?%;2@(5:E8?<4-8@&5811@/
8;;>%A>2-/1?-:0";85?4108;;>5:5?41?
Use floor nd floor finish m nuf cturer’s recommended methods
of cle ning. The met l strip on the b se of the cle ner could be
d m ged if used on concrete or br sive surf ces, nd,
therefore, c use d m ge to wood floors, soft (vinyl, sph lt tile,
etc.) floor surf ces nd polished floor finishes. The roller brush
m y lso scuff very soft finishes. Do not oper te the unit while
To Replace Filter
Dust Bag
%&&!
1. Hook bottom of b g coll r
opening under lip “B” of
connector ssembly. Pull up
on b g coll r nd sn p over
lip “A” of connector.
2. Press on edges of b g coll r
to insure b g is completely
inst lled.
"!$& & Check to m ke
sure b g coll r is behind lips
“A” nd “B”. If it is not, dust
will le k into outer b g.
When filter b g is in pl ce,
close outer b g with zipper
f stener.
WA NING: Unplug cord from
electrical outlet before servicing.
A
B
in the upright nd locked position. Do not let the unit run while
in ny one st tion ry position for ny period of time. Keep the
unit moving while in oper tion.
Other manuals for XL2100RHS
1
Table of contents
Languages:
Other Oreck Vacuum Cleaner manuals

Oreck
Oreck Edge User manual

Oreck
Oreck XL 2635RH User manual

Oreck
Oreck BK95519 User manual

Oreck
Oreck XL3600RH User manual

Oreck
Oreck XL U2510RH User manual

Oreck
Oreck UK2200 User manual

Oreck
Oreck XL U2000RB2L-1 User manual

Oreck
Oreck Quest Pro Canister FC1000 User manual

Oreck
Oreck XL36R7HH User manual

Oreck
Oreck RXL21ANY User manual

Oreck
Oreck BB1000DC Guide

Oreck
Oreck XL3900H2 User manual

Oreck
Oreck 2635RH User manual

Oreck
Oreck XL2090RHM User manual

Oreck
Oreck XL7705ECB User manual

Oreck
Oreck XL21-600ECC Guide

Oreck
Oreck duchTech DTX 1200A User manual

Oreck
Oreck XL3600HH Guide

Oreck
Oreck elevate control User manual

Oreck
Oreck UK30200 User manual