5
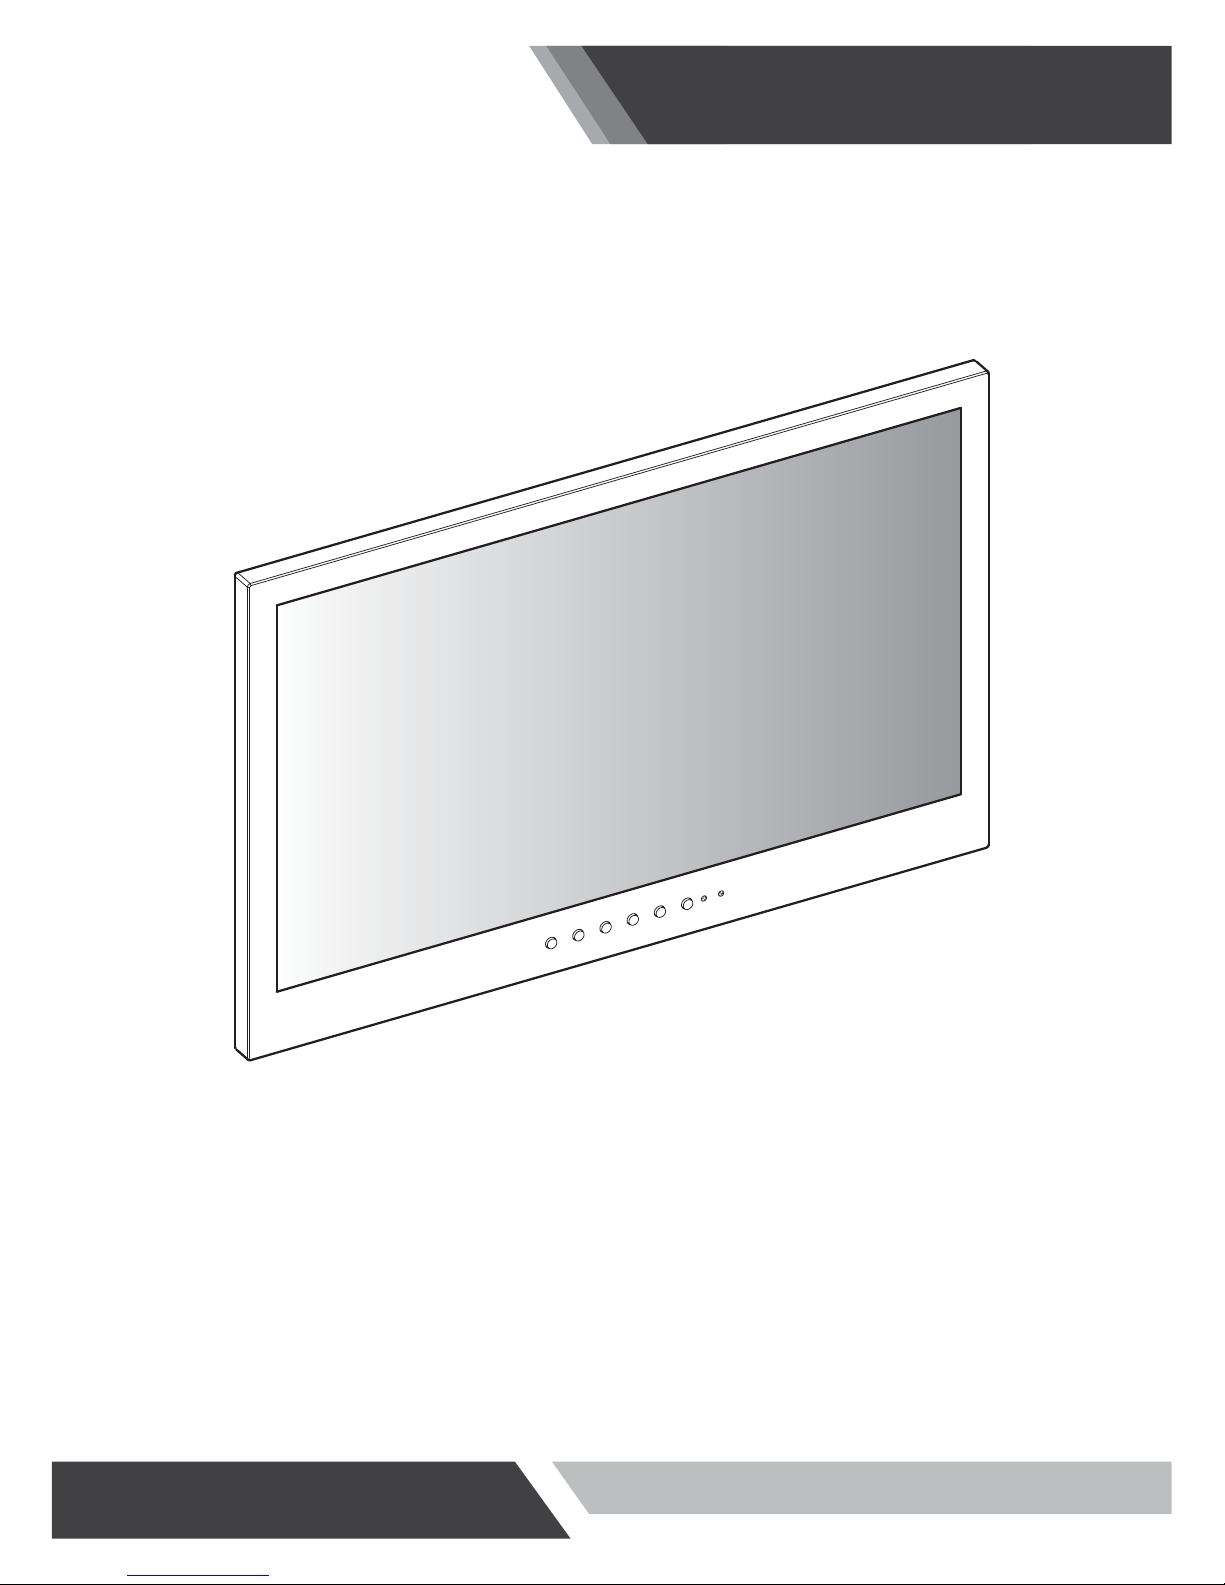
Installation and User's Guide
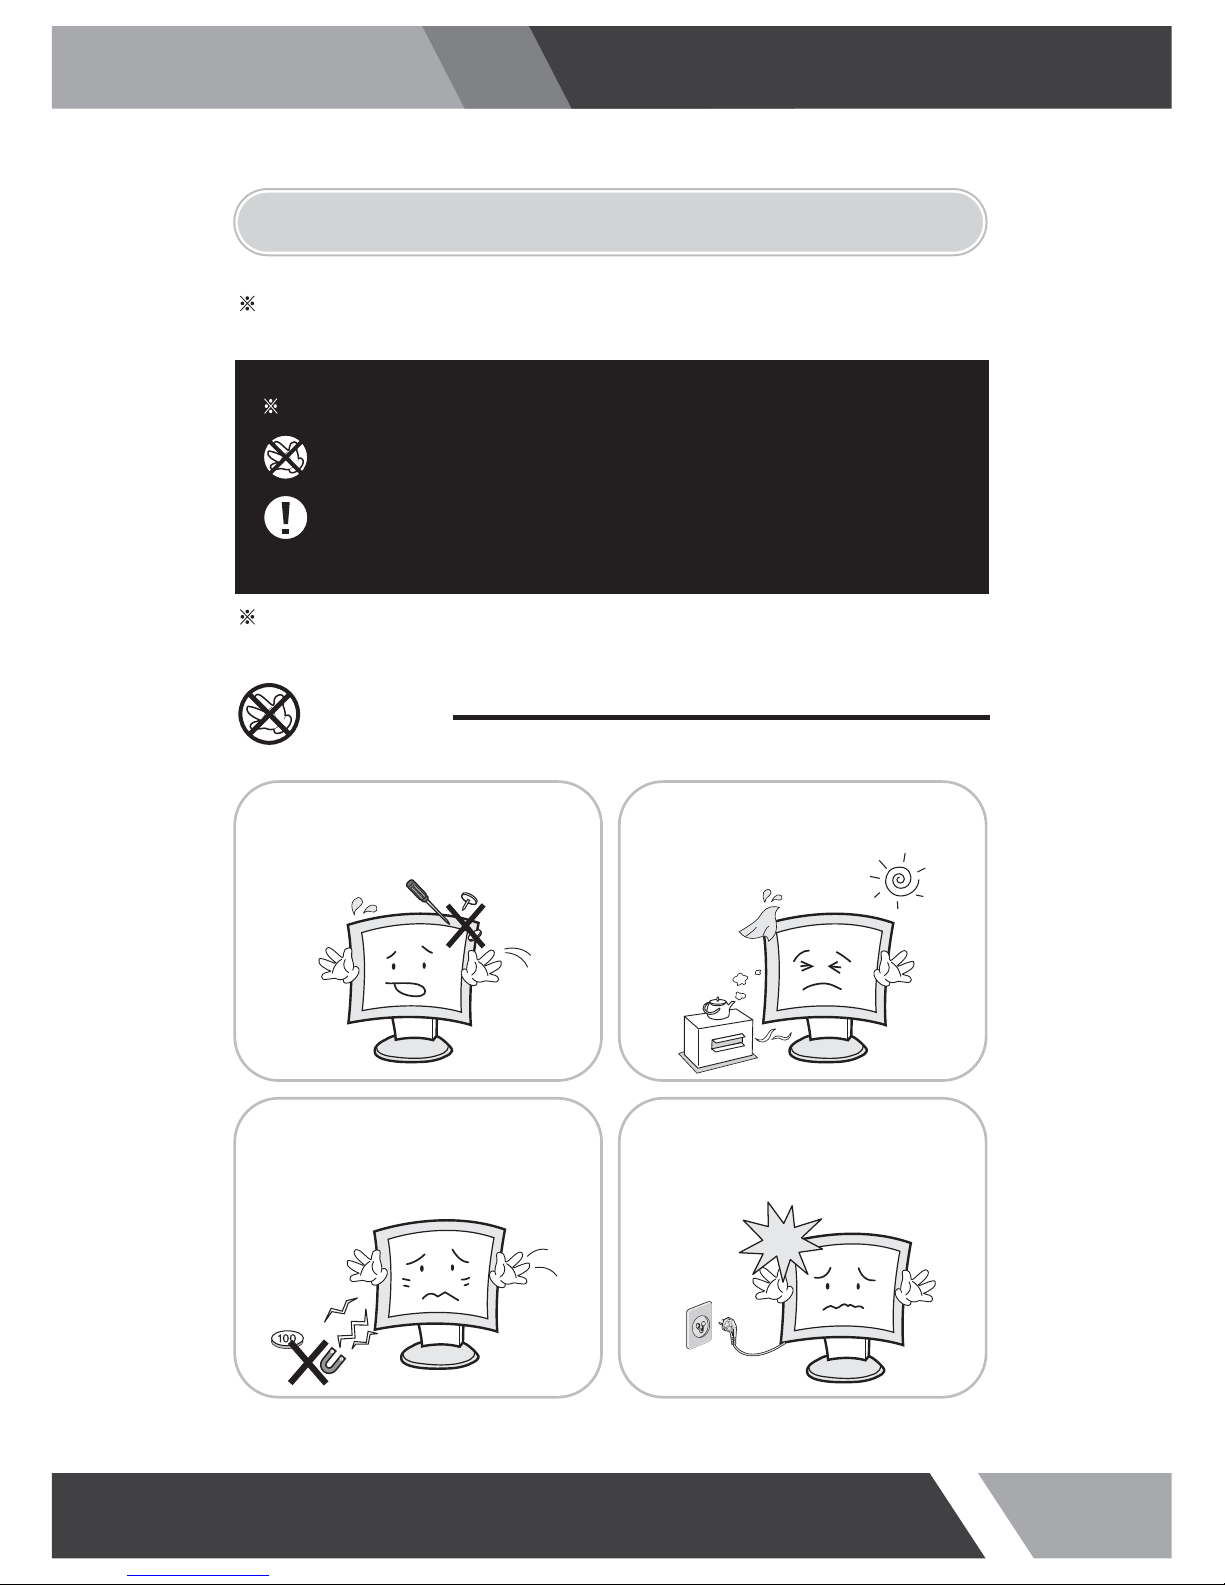
Cautions
Install this monitor about 50cm far from
the eyes and an angle of 0~15 degrees
below eyes. Too close installation may
cause having weak sight.
Do not press the LCD panel with hands or
the sharpened material hardly.
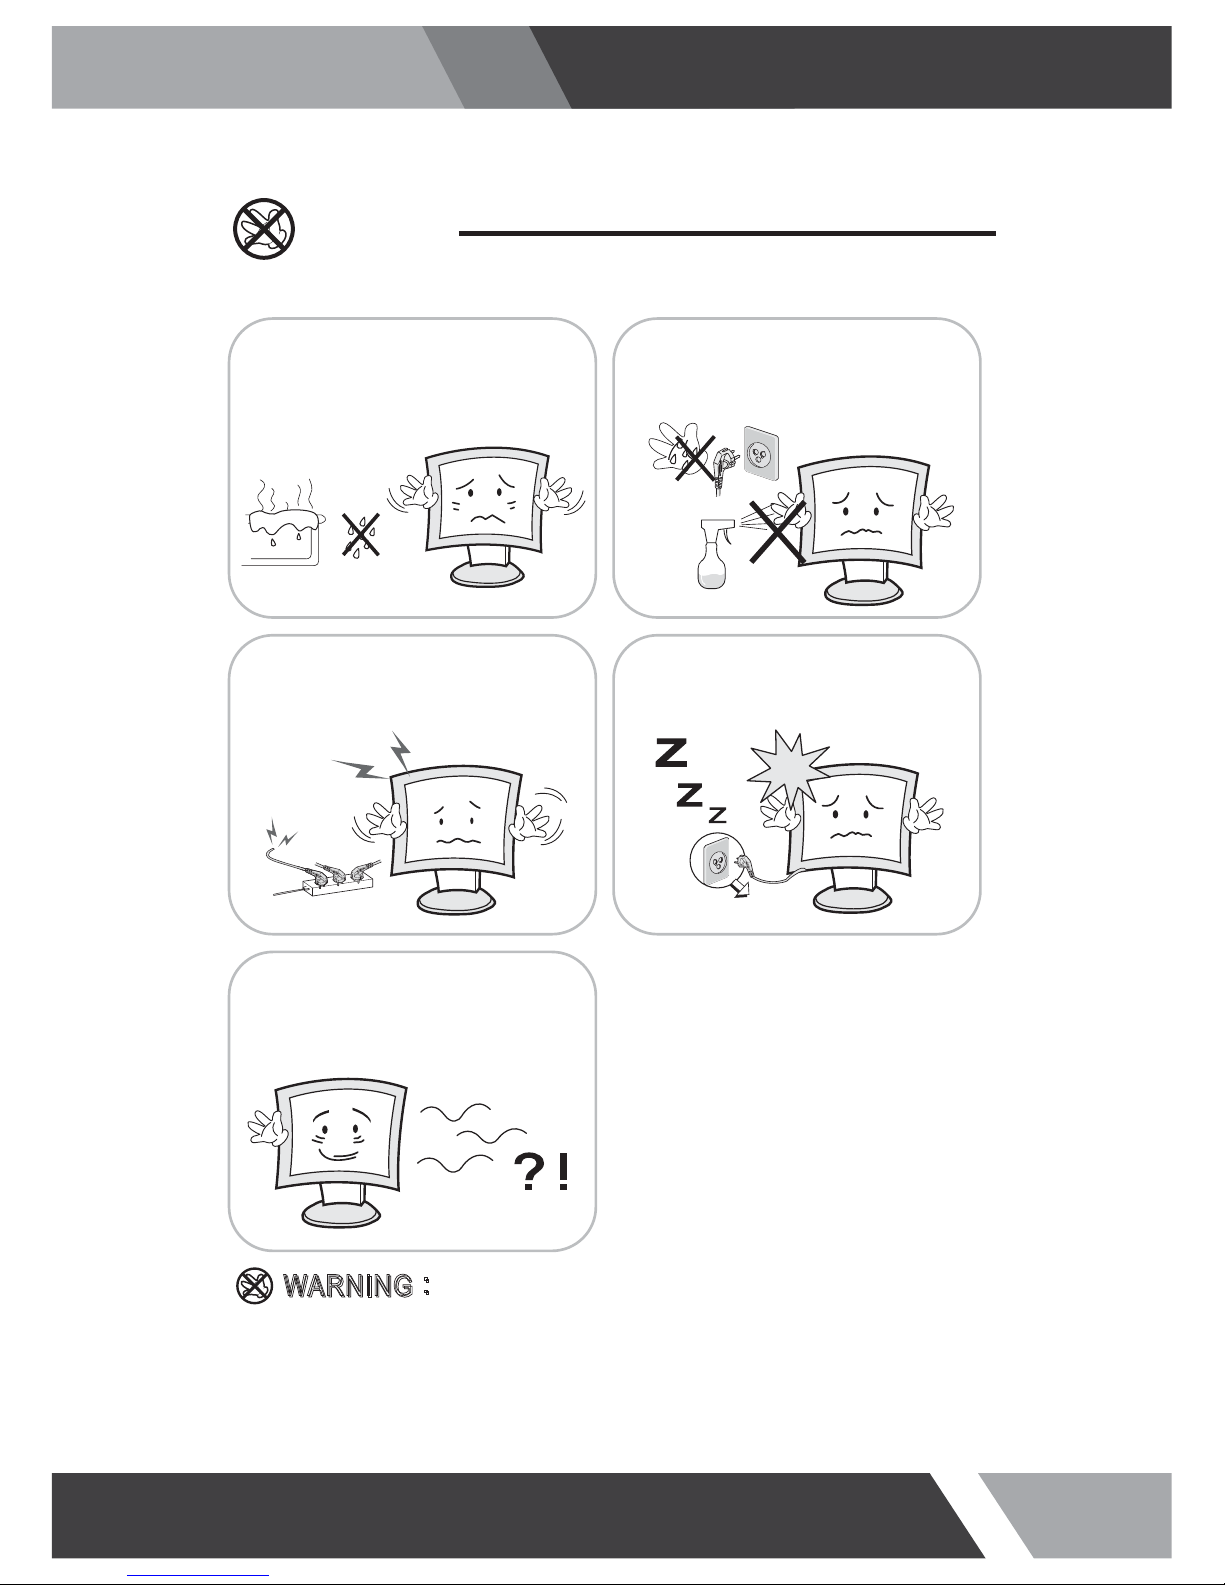
Do not use the chemical liquid for cleaning.
It may cause fading and breakage.
For cleaning, unplug the monitor from the
Wall outlet. Do net use the liquid cloth.
Use the soft cloth.
WARNING: TO REDUCE THE RISK OF ELECTRIC SHOCK, DO NOT EXPOSE
THIS EQUIPMENT TO RAIN OR WATER.
Instructions for Disposal of Electrical and Electronic Equipment in Private
Households
Disposal of used Electrical and Electronic Equipment
(Applicable in the European Union and other European countries with garbage separate
disposal and collection methods)
This symbol on the product, or in the related documents in the package, indicates that this
product shall not be treated as normal household waste. Instead, it should be taken to a proper
applicable collection point or depot for the recycling of electrical and electronic equipment.
By ensuring this product is disposed of correctly, you will help prevent possible negative consequences for
the environment and human health, which could otherwise be caused by inappropriate waste handling of
this product. The recycling of materials will help to conserve natural resources.
For more detailed information about recycling of this product, please contact your local city authority, your
household waste disposal service or the place where you purchased the product.