Orion 9130 User manual

INSTRUCTION MANUAL
Orion®
130mm f/5 Reflector
#9130
IN 311 Rev. B 05/09
Customer Support (800)-676-1343
E-mail: [email protected]
Corporate Offices (831)-763-7000
89 Hangar Way, Watsonville, CA 95076
OrionTelescopes.com
Providing Exceptional Consumer Optical Products Since 1975

2
WARNING: Never look at the sun with your telescope
(or even with just your eyes) without a professionally
made solar filter. Permanent eye damage or blindness
could result. Young children should use this telescope
only with adult supervision.
Avoid using the type of solar filter that screws into an
eyepiece. They are susceptible to cracking under the
intense heat that builds up near the focus point, and
could cause severe retinal damage. Use only the type of
solar filter that covers the front of the telescope. Also, be
sure to leave the cover caps on the finder scope when
solar observing. Better yet, remove the finder scope alto-
gether when viewing the sun.
Figure 1. The 130mm f/5 reflector
Dovetail tube ring mounting plate
Finder scope
Welcome to a new world of adventure! Your Orion 130mm f/5 Reflector is a fine-quality instrument designed for high resolu-
tion nighttime stargazing. This versatile scope will provide many hours of enjoyment for the whole family.
These instructions will help you set up and properly use and care for your telescope. Please read them over thoroughly before
getting started.
Parts List
Qty. Description
1 Optical tube assembly
1 25mm Sirius Plössl eyepiece (26x)
1 10mm Sirius Plössl eyepiece (65x)
1 6x30 Finder scope
1 Finderscope bracket with O-ring
1 Dovetail tube ring mounting plate
2 Tube rings with mounting hardware
1 Objective lens cap
Finder scope bracket
Piggyback camera adapter
Tube rings
Focus wheels
Eyepiece (25mm)

3
Getting Started
The 130mm f/5 reflector comes nearly fully assembled from
the factory. Open the box and inspect the contents to make
sure all of the items in the parts list are present.
Please keep the original shipping box. In the unlikely event
you should need to ship the telescope back to Orion for war-
ranty repair service, you should use the original packaging.
The box also makes a very good container for storing the
telescope when it is not in use.
Installing the Finder Scope
To place the finder scope in the finder scope bracket (Figure
2a.), first unthread the two black nylon thumbscrews until
the screw ends are flush with the inside diameter of the
bracket. Place the O-ring that comes on the base of the
bracket over the body of the finder scope until it seats into
the slot on the middle of the finder scope. Slide the eye-
piece end (narrow end) of the finder scope into the end of
the bracket’s cylinder opposite the adjustment screws while
pulling the chrome, spring-loaded tensioner on the bracket
with your fingers (Figure 2b.) Push the finder scope through
the bracket until the O-ring seats just inside the front open-
ing of the bracket’s cylinder. Now, release the tensioner and
tighten the two black nylon screws a couple of turns each to
secure the finder scope in place. Secure the bracket to the
dovetail mount on the optical tube with the knurled thumb-
screw on the dovetail mount.
Mounting the Telescope
The 130mm f/5 reflector can be easily mounted on altazimuth
mounts like the Orion VersaGo which utilize a dovetail holder.
Attach the included tube rings to the dovetail mounting plate
with the included hex head screws. Be sure to first place a
lock washer and then a flat washer onto each screw. Insert
the screws (with washers) through the holes in the plate
and thread them into the base of the tube rings (Figure 2c).
Tightening the screws requires a 10mm crescent wrench or
an adjustable crescent wrench. Place the optical tube into the
open rings. Close the rings, and use the tube ring clamping
knob on each tube ring to secure the telescope. The dovetail
mounting plate now connected to the 130mm reflector con-
nects to the VersaGo’s dovetail holder. If you wish to alter
the focuser or finder scope position once the telescope is
mounted, simply loosen the tube ring clamping knobs by a
few turns each and gently rotate the telescope until the pre-
ferred focuser/finder scope position is achieved. Retighten the
clamping knobs when done.
The 130mm reflector can also be mounted on Orion equatorial
mounts using the dovetail mounting plate. Follow the previous
directions to couple the telescope to the mounting plate with
the tube rings. The mounting plate connects directly to the
equatorial mount’s dovetail holder.
An equatorial mount is desirable for astronomical viewing
as it allows easy manual and/or motorized tracking of celes-
tial objects as the Earth rotates. Setting circles on equato-
rial mounts also enable you to locate objects by their celestial
coordinates (right ascension and declination), which can be
found in many observing books and star atlases.
Figure 2b. Inserting the finder scope into the finder scope bracket.
Figure 2c. Attaching the dovetail mounting plate.
Dovetail
mounting
plate
Flat washer
Lock washer
Hex head screws
Tube ring
clamping knobs
Focus lock
ring
Objective lens Alignment
thumb screws
Spring-loaded
tensioner Eyepiece
Figure 2a. The 6x30 finder scope and bracket

4
Note: If you are using an Orion EQ-2 equatorial mount, the
dovetail mounting plate is not needed for attaching the tele-
scope. Simply mount the telescope to your EQ-2 mount by
attaching the tube rings directly to the mount head and then
placing the telescope into the tube rings. Be sure to tighten
the silver tube ring clamping knobs to secure the telescope.
Focusing
The 130mm reflector is equipped with a precision rack-
and-pinion focuser. When you first look in the eyepiece, the
image you see may be fuzzy, or out of focus. If so, gently
turn one of the focusing wheels with your fingers until the
image becomes sharp. You will have to readjust the focus
when aiming at subjects of varying distances, or after
changing eyepieces.
Note: The image in the telescope and finder scope will
appear upside down and backwards (rotated 180°). This
is normal for finder scopes and reflector telescopes (see
Figure 2d).
Do You Wear Eyeglasses?
If you wear eyeglasses, you may be able to keep them on
while you observe, if your eyepieces have enough “eye
relief” to allow you to see the whole field of view. You can
find out by looking through the eyepiece first with your
glasses on and then with them off, and see if the glasses
restrict the view to only a portion of the full field. If they do,
you can easily observe with your glasses off by just refocus-
ing the telescope the needed amount.
Aligning the Finder Scope
The 130mm reflector comes with a 6x30 achromatic finder
scope. (The 6x means six-times magnification, and the 30
indicates a 30mm aperture.) The finder scope makes it
easier to locate the subject you want to observe in the tele-
scope, because the finder scope has a much wider field of
view.
Before you use the finder scope, it must be precisely aligned
with the telescope, so they both point to exactly the same
spot. Alignment is easiest to do in daylight, rather than at
night under the stars. First, insert the lowest-power (25mm)
eyepiece into the main telescope’s focuser. Then point the
telescope at a discrete object such as the top of a telephone
pole or a street sign that is at least a quarter-mile away.
Move the telescope so the target object appears in the very
center of the field of view when you look into the eyepiece.
Now look through the finder scope. Is the object centered
in the finder scope’s field of view, i.e., on the crosshairs?
If not, hopefully it will be visible somewhere in the field of
view, so only fine adjustment of the two black nylon align-
ment screws will be needed. Otherwise you’ll have to make
coarser adjustments to the alignment screws to redirect the
aim of the finder scope.
Use the two alignment screws to center the object on the
crosshairs of the finder scope. Then look again into the main
telescope’s eyepiece and see if it is still centered there as
well. If it isn’t, repeat the entire process, making sure not to
move the main telescope while adjusting the alignment of
the finder scope.
Finder scopes can come out of alignment during trans-
port of the telescope, so check the alignment before each
observing session.
Focusing the Finder Scope
If, when looking through the finder scope, you notice that
the images appear somewhat out of focus, you will need to
refocus the finder scope for your eyes. First loosen the lock
ring located behind the objective lens cell on the body of the
finder scope (see Figure 2a). Back the lock ring off by a few
turns, for now. Refocus the finder scope on a distant object
by threading the objective lens cell in or out of the finder
scope body. Precise focusing will be achieved by focusing the
finder scope on a bright star. Once the image appears sharp,
retighten the lock ring behind the objective lens cell. The find-
er scope’s focus should not need to be adjusted again.
Astronomical Viewing
The 130mm reflector excels for astronomical observation.
Its 130mm aperture and 650mm focal length (f/5) provide
bright, expansive views of star fields and celestial objects
residing within our solar system and beyond.
Once the Sun sets, there are literally thousands of objects in
the night sky that can be inspected more closely. For casual
stargazing, an altazimuth mount will do the job just fine. But
an equatorial mount is designed to make it easier to manu-
ally “track” the motion of celestial objects (due to the rotation
of the Earth) with just one slow-motion cable. Furthermore,
with an equatorial mount you can add an optional motor
drive to track the stars automatically—a great convenience.
When selecting a location for nighttime stargazing, make
it as far away from city lights as possible. Light-polluted
skies greatly reduce what can be seen with the telescope.
Also, give your eyes at least 20 minutes to dark-adapt to the
night sky. You’ll be surprised at how many more stars you
will see! Use a red flashlight to see what you’re doing at the
Naked-eye view
Figure 2d. Images through the 130mm reflector and the
standard finder scope will appear upside-down and backwards
(rotated 180°).
View through finder scope and telescope

5
telescope, or to read star charts. Red light will not spoil your
dark-adapted night vision as readily as white light will.
To find celestial objects with your telescope, you first need
to become reasonably familiar with the night sky. Unless you
know how to recognize the constellation Orion, for instance,
you won’t have much luck locating the Orion Nebula. A
simple planisphere, or star wheel, can be a valuable tool for
learning the constellations and seeing which ones are vis-
ible in the sky on a given night.
A good star chart or atlas can come in handy for helping
locate interesting objects among the dizzying multitude
of stars overhead. Except for the Moon and the brighter
planets, it is pretty time-consuming and frustrating to hunt
for objects randomly, without knowing where to look. It is
best to have specific targets in mind before you begin look-
ing through the eyepiece.
Observing the Night Sky
The 130mm f/5 reflector is designed to provide excellent
views of deep sky objects as well as our solar system. You’ll
see galaxies, nebulae, star clusters, the Moon, Sun, and
planets like never before! The following information will help
you get the most out of an observing session.
A. The Moon
The Moon, with its rocky, cratered surface, is one of the
easiest and most interesting subjects to observe with your
telescope. The myriad craters, rilles, and jagged moun-
tain formations offer endless fascination. The best time to
observe the Moon is during a partial phase, that is, when
the Moon is not full. During partial phases, shadows cast by
crater walls and mountain peaks along the border between
the dark and light portions of the lunar disk highlight the
surface relief. A full Moon is too bright and devoid of surface
shadows to yield a pleasing view. Try using a Moon filter to
dim the Moon when it is too bright; it simply threads onto the
bottom of the eyepiece.
B. The Sun
You can change your nighttime telescope into a daytime
Sun viewer by installing an optional solar filter over the front
opening of the 130mm reflector. The primary attraction is
sunspots, which change shape, appearance, and location
daily. Sunspots are directly related to magnetic activity in the
Sun. Many observers like to make drawings of sunspots to
monitor how the Sun is changing from day to day.
Important Note: Do not look at the Sun with any optical
instrument without a professionally made solar filter, or per-
manent eye damage could result. Also, remember to cover
or remove the finder scope.
C. The Planets
The planets don’t stay put like stars do (planets don’t have
fixed R.A. and Dec. coordinates), so you will have to refer to
Sky Calendar at our website, www.OrionTelescope.com, or
to charts published monthly in Astronomy, Sky & Telescope,
or other astronomy references to locate them. Venus, Mars,
Jupiter, and Saturn are the brightest objects in the sky after
the Sun and the Moon. All four of these planets are not nor-
mally visible in the sky at one time, but chances are one or
two of them will be.
D. Stars
Stars will appear like twinkling points of light in the tele-
scope. Even the largest telescopes cannot magnify stars
to appear as anything more than points of light! You can,
however, enjoy the different colors of the stars and locate
many pretty double and multiple stars. The famous “Double-
Double” in the constellation Lyra and the gorgeous two-color
double star Albireo in Cygnus are favorites. Defocusing the
image of a star slightly can help bring out its color.
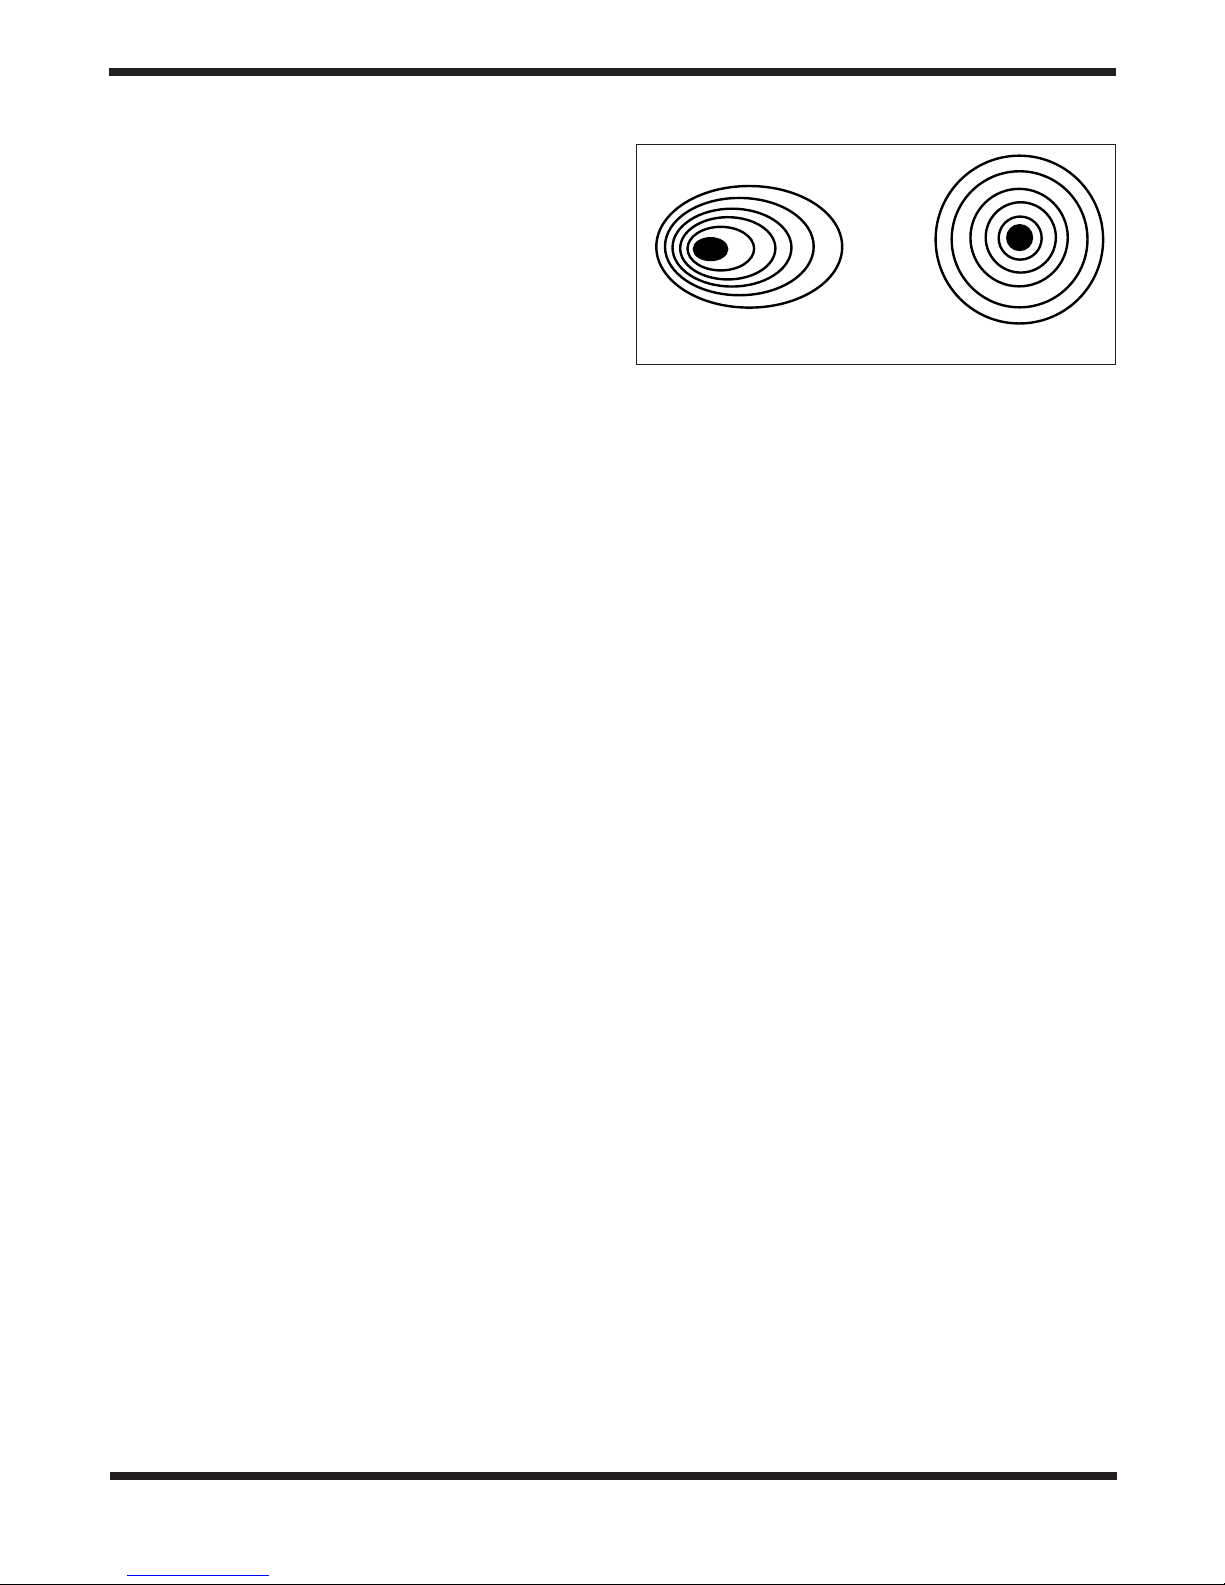
E. Deep-Sky Objects
Under dark skies, you can observe a number of brighter
deep-sky objects with your 130mm reflector, including gas-
eous nebulas, open and globular star clusters, and the
brighter galaxies. Most deep-sky objects are very faint, so it
is important that you find an observing site well away from
light pollution. Take plenty of time to let your eyes adjust
to the darkness. Don’t expect these objects to appear like
the photographs you see in books and magazines; most
will look like dim gray “ghosts.” (Our eyes are not sensitive
enough to see color in deep-sky objects except in few of the
brightest ones.) But as you become more experienced and
your observing skills improve, you will be able to coax out
more and more intricate details.
Calculating Magnification
(Power)
It is desirable to have a range of eyepieces of different focal
lengths, to allow viewing over a range of magnifications. To
calculate the magnification, or power, of a telescope, simply
divide the focal length of the telescope by the focal length of
the eyepiece:
Telescope F.L. ÷ Eyepiece F.L.=Magnification
For example, the 130mm reflector, which has a focal length
of 650mm, used in combination with the supplied 25mm
eyepiece, yields a magnification of
650 ÷ 25 = 26x
Every telescope has a useful limit of magnification of about
45x-60x per inch of aperture, which is 230x-307x for the
130mm reflector. Claims of higher power by some telescope
manufacturers are a misleading advertising gimmick and
should be dismissed. Keep in mind that at higher powers,
an image will always be dimmer and less sharp (this is a
fundamental law of optics). The steadiness of the air (the
“seeing”) can also limit how much magnification an image
can tolerate.
Always start viewing with your lowest-power (longest focal
length) eyepiece in the telescope. After you have located
and looked at the object with it, you can try switching to a
higher-power eyepiece, like the supplied 10mm Sirius Plössl
eyepiece, to ferret out more detail. If the image you see is not
crisp and steady, reduce the magnification by switching to a
longer-focal-length eyepiece. As a general rule, a small but

6
well-resolved image will show more detail and provide a more
enjoyable view than a dim and fuzzy, overmagnified image.
Collimating the Optics
(Aligning the Mirrors)
Collimating is the process of adjusting the mirrors so they
are aligned with one another. Your telescope’s optics were
aligned at the factory, and should not need much adjustment
unless the telescope is handled roughly. Accurate mirror
alignment is important to ensure the peak performance of
your telescope, so it should be checked regularly. Collimating
is relatively easy to do and can be done in daylight.
To check collimation, remove the eyepiece and look down
the focuser drawtube. You should see the secondary mirror
centered in the drawtube, as well as the reflection of the pri-
mary mirror centered in the secondary mirror, and the reflec-
tion of the secondary mirror (and your eye) centered in the
reflection of the primary mirror, as in Figure 3a. If anything is
off-center, proceed with the following collimating procedure.
The Collimation Cap and Mirror Center Mark
Your 130mm reflector comes with a collimation cap. This is
a simple cap that fits on the focuser drawtube like a dust
cap, but has a hole in the center and a silver bottom. This
helps center your eye so that collimating is easy to perform.
Figures 3b through 3e assume you have the collimation cap
in place.
In addition to providing the collimation cap, you’ll notice a tiny
ring (sticker) in the exact center of the primary mirror. This
“center mark” allows you to achieve a very precise collima-
tion of the primary mirror; you don’t have to guess where the
center of the mirror is. You simply adjust the mirror position
(described below) until the reflection of the hole in the col-
limation cap is centered inside the ring.
Note: The center ring sticker need not ever be removed from
the primary mirror. Because it lies directly in the shadow
of the secondary mirror, its presence in no way adversely
affects the optical performance of the telescope or the
image quality. That might seem counterintuitive, but it’s true!
Aligning the Secondary Mirror
With the collimation cap in place, look through the hole in
the cap at the secondary (diagonal) mirror. Ignore the reflec-
tions for the time being. The secondary mirror itself should
be centered in the focuser drawtube, in the direction parallel
to the length of the telescope. If it isn’t, as in Figure 3b, it
must be adjusted. Typically, this adjustment will rarely, if ever,
need to be done. It helps to adjust the secondary mirror in a
brightly lit room with the telescope pointed toward a bright
surface, such as white paper or wall. Placing a piece of white
paper in the telescope tube opposite the focuser (i.e., on the
other side of the secondary mirror) will also be helpful in col-
limating the secondary mirror. Using a 2mm Allen wrench,
Figure 3. Collimating the optics. (a) When the mirrors are
properly aligned, the view down the focuser drawtube should
look like this (b) With the collimation cap in place, if the
optics are out of alignment, the view might look something
like this. (c) Here, the secondary mirror is centered under
the focuser, but it needs to be adjusted (tilted) so that the
entire primary mirror is visible. (d) The secondary mirror is correctly aligned, but the primary mirror still needs adjustment. When the primary
mirror is correctly aligned, the “dot” will be centered, as in (e).
drawtube
Reflection
of primary
mirror clip
a.
Primary mirror
center mark
Reflective surface
of collimation
cap
b. c.
d. e.

7
loosen the three small alignment setscrews in the center
hub of the 4-vaned spider several turns. Now hold the mirror
holder stationary (be careful not to touch the surface of the
mirrors), while turning the center screw with a Phillips head
screwdriver (Figure 4). Turning the screw clockwise will move
the secondary mirror toward the front opening of the optical
tube, while turning the screw counter-clockwise will move the
secondary mirror toward the primary mirror.
Note: Be careful not to bend the spider vanes when making
adjustments to the secondary mirror.
When the secondary mirror is centered in the focuser draw-
tube, rotate the secondary mirror holder until the reflection
of the primary mirror is as centered in the secondary mirror
as possible. It may not be perfectly centered, but that is OK.
Now tighten the three small alignment set screws equally to
secure the secondary mirror in that position.
If the entire primary mirror reflection is not visible in the sec-
ondary mirror, as in Figure 3c, you will need to adjust the tilt
of the secondary mirror. This is done by alternately loosen-
ing one of the three alignment setscrews while tightening the
other two, as depicted in Figure 5. The goal is to center the
primary mirror reflection in the secondary mirror, as in Figure
3d. Don’t worry that the reflection of the secondary mirror
(the smallest circle, with the collimation cap “dot” in the cen-
ter) is off-center. You will fix that in the next step.
Aligning the Primary Mirror
The final adjustment is made to the primary mirror. It will
need adjustment if, as in Figure 3d, the secondary mirror is
centered under the focuser and the reflection of the prima-
ry mirror is centered in the secondary mirror, but the small
reflection of the secondary mirror (with the “dot” of the col-
limation cap) is off-center.
To access the primary mirror collimation screws, remove
the cover plate on the rear end of the optical by unthread-
ing the three Phillips-head screws with a screwdriver. The
tilt of the mirror is adjusted with three pairs of collimation
screws (Figure 6). The collimation screws can be turned with
a Phillips head screwdriver and a 2.5mm Allen wrench.
Each pair of collimation screws work together to adjust the
tilt of the primary mirror. The set screw pushes the mirror for-
ward while the Phillips head screw pulls the mirror cell back.
One must be loosened and the other tightened by the same
amount in order to adjust the tilt. Try tightening and loosening
one of the pairs of collimation screws one turn. Look into the
focuser and see if the secondary mirror reflection has moved
closer to the center of the primary.You can tell this easily with
the collimation cap and mirror center mark by simply watch-
ing to see of the “dot” of the collimation cap is moving closer
or farther away from the ring on the center of the primary mir-
ror. Repeat this process on the other two pairs of collimation
screws, if necessary. It will take a little trial and error to get a
feel for how to adjust the mirror to center the “dot” of the col-
limation cap in the ring of the mirror mark.
When you have the dot centered as much as possible in the
ring, your primary mirror is collimated. The view through the
collimation cap should resemble Figure 3e. Make sure all
the collimation screws are tight (but do not overtighten), to
secure the mirror tilt.
A simple star test will tell you whether the optics are accu-
rately collimated.
Figure 5. Adjust the tilt of the secondary mirror by loosening or
tightening the three alignment set screws with a 2mm Allen wrench.
Figure 4. To center the secondary mirror under the focuser, hold
the secondary mirror holder in place with one hand while adjusting
the center screw with a Phillips screwdriver. Do not touch the mirror's
surface
Figure 6. The back end of the optical tube (bottom of the primary
mirror cell). The three pairs of set screws and Phillips-head screws
adjust the tilt of the primary mirror.
Phillips-head
screw
Set screw

8
Star-Testing the Telescope
When it is dark, point the telescope at a bright star and accu-
rately center it in the eyepiece’s field of view. Slowly de-focus
the image with the focusing knob. If the telescope is correctly
collimated, the expanding disk should be a perfect circle
(Figure 7). If the image is unsymmetrical, the scope is out of
collimation. The dark shadow cast by the secondary mirror
should appear in the very center of the out-of-focus circle,
like the hole in a donut. If the “hole” appears off-center, the
telescope is out of collimation.
If you try the star test and the bright star you have selected
is not accurately centered in the eyepiece, the optics will
always appear out of collimation, even though they may
be perfectly aligned. It is critical to keep the star centered,
so over time you will need to make slight corrections to
the telescope’s position in order to account for the sky’s
apparent motion.
Care & Maintenance
Give your telescope reasonable care and it will last a life-
time. Store it indoors or in a dry garage. Do not leave the
telescope outside except when using it. The optical tube is
aluminum and has a smooth painted surface that should
resist scratches and smudges. If a scratch does appear on
the tube, it will not harm the telescope. If you wish, you can
apply some auto touch-up paint to the scratch. Smudges on
the tube can be wiped off with standard household cleaning
fluid.
Cleaning Lenses
Any quality optical lens tissue and cleaning fluid specifi-
cally designed for multi-coated optics can be used to clean
the exposed lenses of the eyepieces and finder scope.
Never use regular glass cleaner or cleaning fluid designed
for eyeglasses. Before cleaning with fluid and tissue, blow
any loose particles off the lens with a blower bulb or com-
pressed air, or lightly brush the lens with a soft camel hair
brush. Apply some cleaning fluid to a tissue, never directly
on the optics. Wipe the lens gently in a circular motion, then
remove any excess fluid with a fresh lens tissue. Oily fin-
gerprints and smudges may be removed using this method.
Use caution; rubbing too hard may scratch the lens! On
larger lenses, clean only a small area at a time, using a
fresh lens tissue on each area. Never reuse tissues.
Cleaning Mirrors
You should not have to clean your telescope’s mirrors very
often; normally once every year or so. Covering your tele-
scope when it is not in use will prevent dust from accumu-
lating on the mirrors. Improper cleaning can scratch mirror
coatings, so the fewer times you have to clean the mirrors,
the better. Small specks of dust or flecks of paint have virtu-
ally no effect on the visual performance of the telescope.
The large primary mirror and the elliptical secondary mir-
ror of your telescope are front-surface aluminized and over-
coated with hard silicon dioxide, which prevents the alumi-
num from oxidizing. These coatings normally last through
many, many years of use before requiring re-coating (which
is easily done).
To clean the secondary mirror, remove the mirror in its holder
from the 4-vaned spider in the tube. Do this by grasping the
secondary mirror holder with your fingertips while turning
the central bolt on the spider’s central hub counterclockwise.
Position the telescope tube horizontally so that nothing can
fall onto the primary mirror. Handle the mirror holder only;
do not touch the mirror surface. Then follow the same pro-
cedure described below for cleaning the primary mirror. The
secondary mirror is glued onto its holder, and should not be
removed from the holder for cleaning.
To clean the primary mirror, carefully remove the mirror cell
from the telescope. This is done by first removing the three
Phillips-head screws indicated in Figure 6. Next, remove the
primary mirror from the mirror cell; you will need to remove
the three mirror clips to do this. Completely unthread the two
Phillips head screws in each clip, and carefully lift the mirror
from its cell. Be careful not to touch the front surface of the
mirror with your fingers! Set the mirror on a clean, soft towel.
Fill a clean sink, free of abrasive cleanser, with room-tem-
perature water, a few drops of liquid dishwashing detergent,
and if possible, a cap-full of rubbing alcohol. Submerge the
mirror (aluminized face up) in the water and let it soak for
several minutes (or hours if it’s a very dirty mirror). Wipe the
mirror under water with clean cotton balls, using extremely
light pressure and stroking in straight lines across the sur-
face. Use one ball for each wipe across the mirror. Then rinse
the mirror under a stream of lukewarm water. Any particles
on the surface can be swabbed gently with a series of clean
cotton balls, each used just one time. Dry the mirror in a
stream of air (a “blower bulb” works great), or remove any
stray drops of water with the corner of a paper towel. Cover
the mirror surface with tissue, and leave the entire assembly
in a warm area until it is completely dry before reassembling
the telescope.
Figure 7. A star test will determine if a telescope’s optics are properly
collimated. An unfocused view of a bright star through the eyepiece
should appear as illustrated on the right if the optics are perfectly
collimated. If circle is unsymmetrical, as in the illustration on the left, the
telescope needs collimation.
Out of collimation Collimated

9
Specifications
Telescope type: Newtonian reflector
Primary mirror diameter: 130mm
Primary mirror coating: Aluminum with silicon
dioxide overcoat
Primary mirror figure: Parabolic
Secondary mirror minor axis: 37mm
Focal length: 650mm
Focal ratio: f/5.0
Focuser: Rack-and-pinion,
accepts 1.25"
eyepieces
Finder scope: 6x Magnification, 30mm
aperture, achromatic,
crosshairs
Eyepieces: 25mm (26x)and 10mm
(65x) Sirius Plössl,
1.25" barrel diameter
1.25" fully coated with
multi-coatings,
threaded for Orion
filters
Optical tube: Steel, internally
blackened
Optical tube length: 15"
Weight: 9lbs. 5oz.

10
One-Year Limited Warranty
The Orion 130mm f/5 Reflector is warranted against defects in materials or workmanship for a period of one
year from the date of purchase. This warranty is for the benefit of the original retail purchaser only. During this
warranty period Orion Telescopes & Binoculars will repair or replace, at Orion’s option, any warranted instru-
ment that proves to be defective, provided it is returned postage paid to: Orion Warranty Repair, 89 Hangar
Way, Watsonville, CA 95076. Proof of purchase (such as a copy of the original receipt) is required.
This warranty does not apply if, in Orion’s judgment, the instrument has been abused, mishandled, or modified,
nor does it apply to normal wear and tear. This warranty gives you specific legal rights, and you may also have
other rights, which vary from state to state. For further warranty service information, contact: Customer Service
Department, Orion Telescopes & Binoculars, 89 Hangar Way, Watsonville, CA 95076; (800) 676-1343.
Table of contents
Other Orion Telescope manuals

Orion
Orion Argonaut 150mm 9073 User manual

Orion
Orion StarBlast 62CTR User manual

Orion
Orion SPACEPROBE 130mm EQ User manual

Orion
Orion OBSERVER 70MM AZ User manual

Orion
Orion OMC-140 User manual

Orion
Orion SKYLINE 52062 User manual

Orion
Orion 9895 User manual

Orion
Orion GiantView BT100 User manual

Orion
Orion Observer 60mm EQ 9032 User manual

Orion
Orion STARSEEK 5685 User manual

Orion
Orion 10012 SkyScanner User manual

Orion
Orion 7220 User manual

Orion
Orion STARMAX 127mm EQ User manual

Orion
Orion ED80T CF User manual

Orion
Orion STARBLAST User manual

Orion
Orion GOSCOPE 70 User manual

Orion
Orion Observer 70 EQ User manual

Orion
Orion 8 EQ User manual

Orion
Orion 9786 User manual

Orion
Orion 10269 User manual