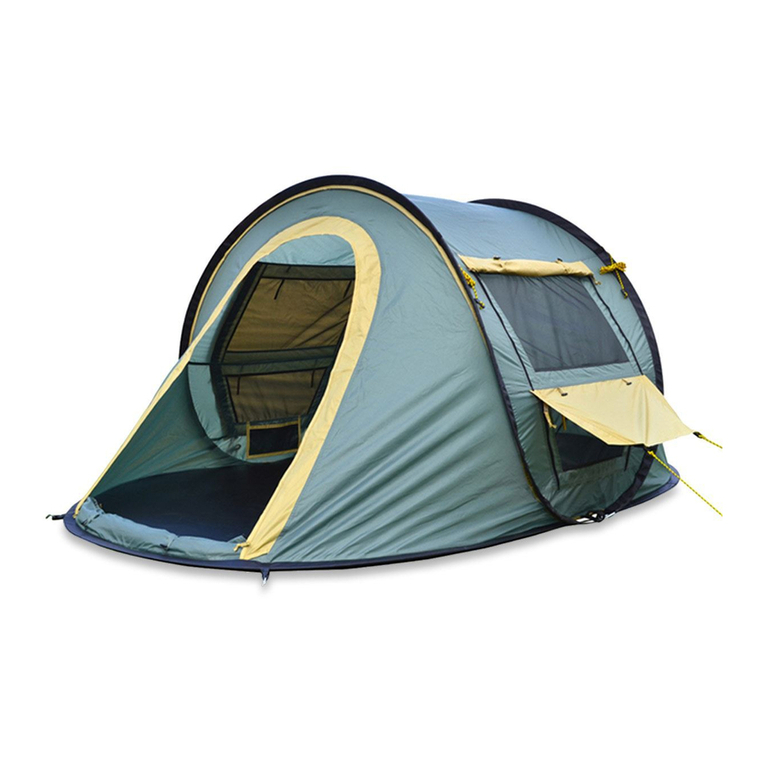
QUALITY YOU CAN SEE FEEL AND TRUST
CARE INSTRUCTIONS FOR YOUR TENT
- KEEP ALL HEAT AND FLAME SOURCES AWAY FROM TENT,
***NEVER*** use any gas, flame or heat appliances inside your tent.
- The pre-tied guy ropes must be used at all times to help stabilize and help prevent any damage to your tent (your tent is not covered under warranty
from wind and/or storm damage).
- Your tent must be stored away DRY and CLEAN; it also must be kept in a dry area off the ground to help prevent any moisture build-up and/or
mildew developing.
- When erecting your tent, try to maintain the gap between your fly and the inner of your tent. This will increase ventilation within the tent and help
reduce condensation build-up.
- An Outdoor Connection Durarig tarpaulin or Duramesh mesh tarp on the ground under your tent will help protect the floor and keep it clean.
- Where possible, erect your tent under a tarpaulin to help protect from the elements.
-At the first sign of bird droppings or sap from a tree, clean off straight away using water and a soft cloth only; if left, this may damage the fabric of
your fly.
-DO NOT use cleaning agents, bleaches or sharp instruments to clean your tent; this may not only affect the waterproofing treatment of the fabric,
you may also accidentally damage the tent which would NOT be covered under the warranty. If soap is needed use only a small amount of pure
soap.
-When dismantling the tent, take the extra time to wipe down the fibreglass poles along with your pegs. This will help keep them all free of dirt and
debris and help extend their usage.
- If not regularly used, erect the tent every 3 months, this will help in the detection of any mould or mildew that may have been previously
undetected (if accidentally put away damp, or has had moisture build-up whilst stored), or any damage that may have been unsighted when last
used.
- If the tent has been used near the sea hose down the entire tent to remove salt spray residue (particularly zip slides and any metal parts) and dry
thoroughly before storing.
3 YEAR WARRANTY
Our goods come with guarantees that cannot be excluded under the Australian Consumer Law. You are entitled to a replacement or a refund for a major failure and for
compensation for any other reasonably foreseeable loss or damage. You are also entitled to have the goods repaired or replaced if the goods fail to be of acceptable
quality and the failure does not amount to a major failure. This product is guaranteed by Outdoor Connection to be free of faults in material or workmanship for a period of
three years from the purchase date. The product may be repaired or replaced if it is found to be defective within the warranty period. If the product is no longer available
and cannot be repaired it will be replaced with one of an equal or greater value. The guarantee is valid only to the original purchaser on presentation of the original
purchase receipt. Any claim, including the return of the defective merchandise, should be made to the retailer from whom the goods were purchased. Any expenses in
returning the goods to the retailer shall borne by the purchaser. The guarantee does not cover the normal wear and tear of parts nor exposure to the weather. Misuse of or
negligent use of the product or any alteration or repair other than by Outdoor Connection or its agents will void this warranty.
Outdoor
Connection
NZ,
1
7
Grasslands
Pl,
Frankton,
Hamilton
3204
Ne
w
Zealand,
[email protected] 


