4
TIPS AND SAFETY INSTRUCTIONS
Depending on the location and surface area, construction may be subject to
building permits. Make sure you have checked with your local authorities to
obtain the needed information before the assembly.
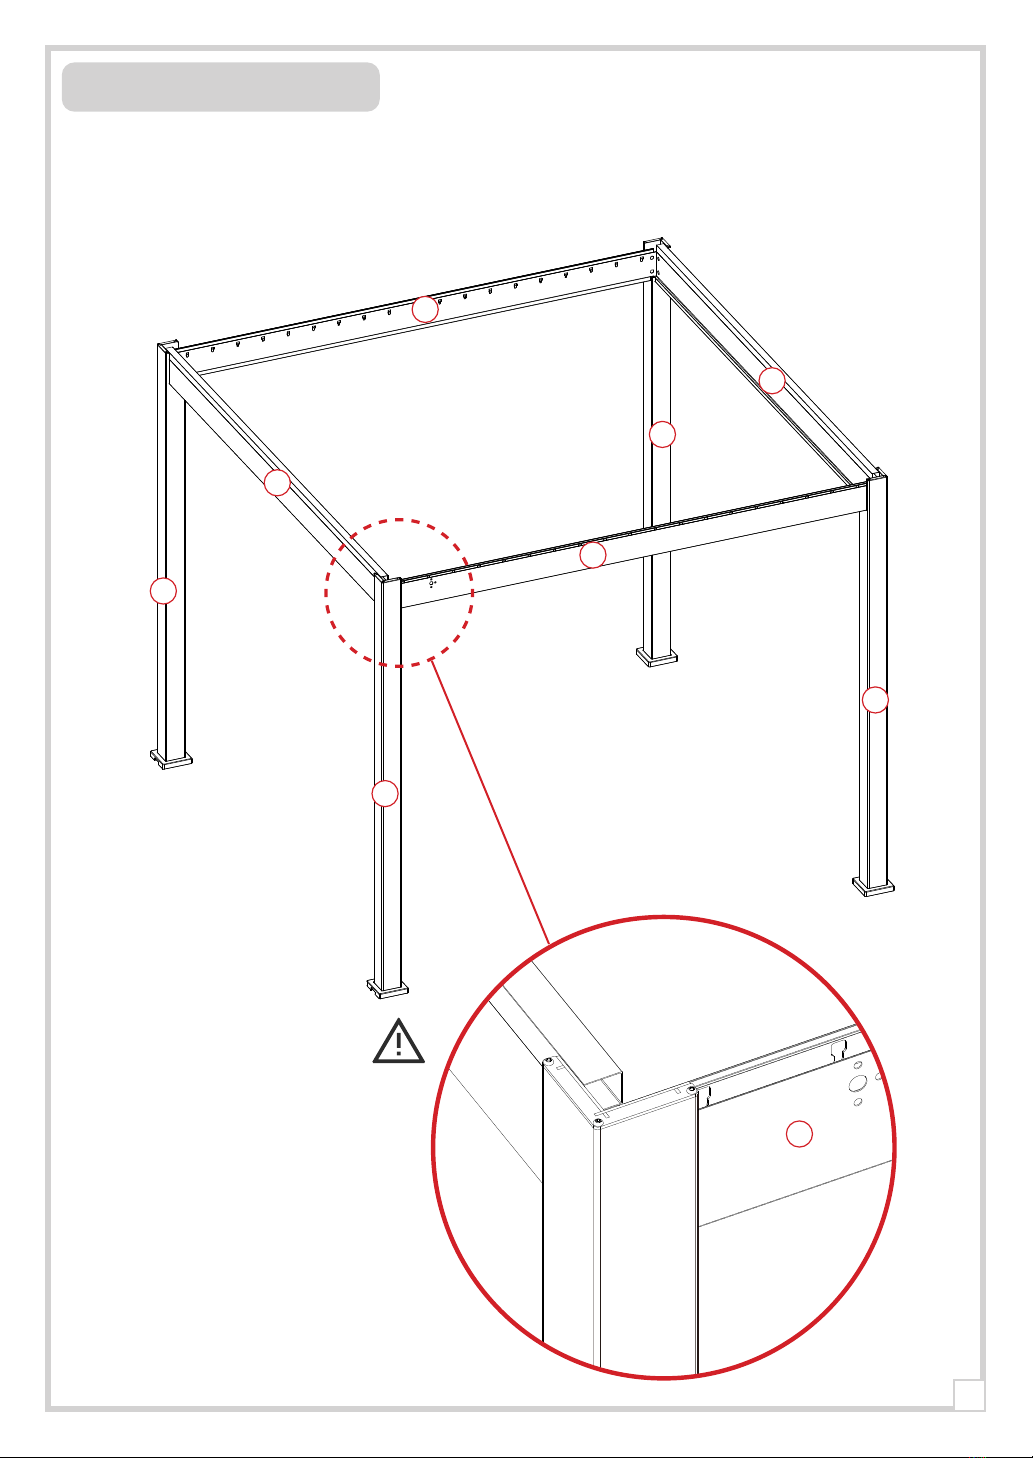
Product assembly :
• At least 2/3 people required
• Remove protective film (around 1 hour needed)
• Do not keep children near the assembly area
• Beware of the risk of pinching
• Do not tighten the screws before assembling the whole product
• All assembly steps must be carefully followed
• Check the level of the structure on all sides
• Do not anchor the pergola before assembling the whole product
No changes can be made to the product. Products tampered with by the user are
not covered by the warranty, thus being declared as void.
The location should be chosen carefully. It is recommended to avoid mounting
your pergola on a rainy day, facing the prevailing winds, and under an
overhanging tree.
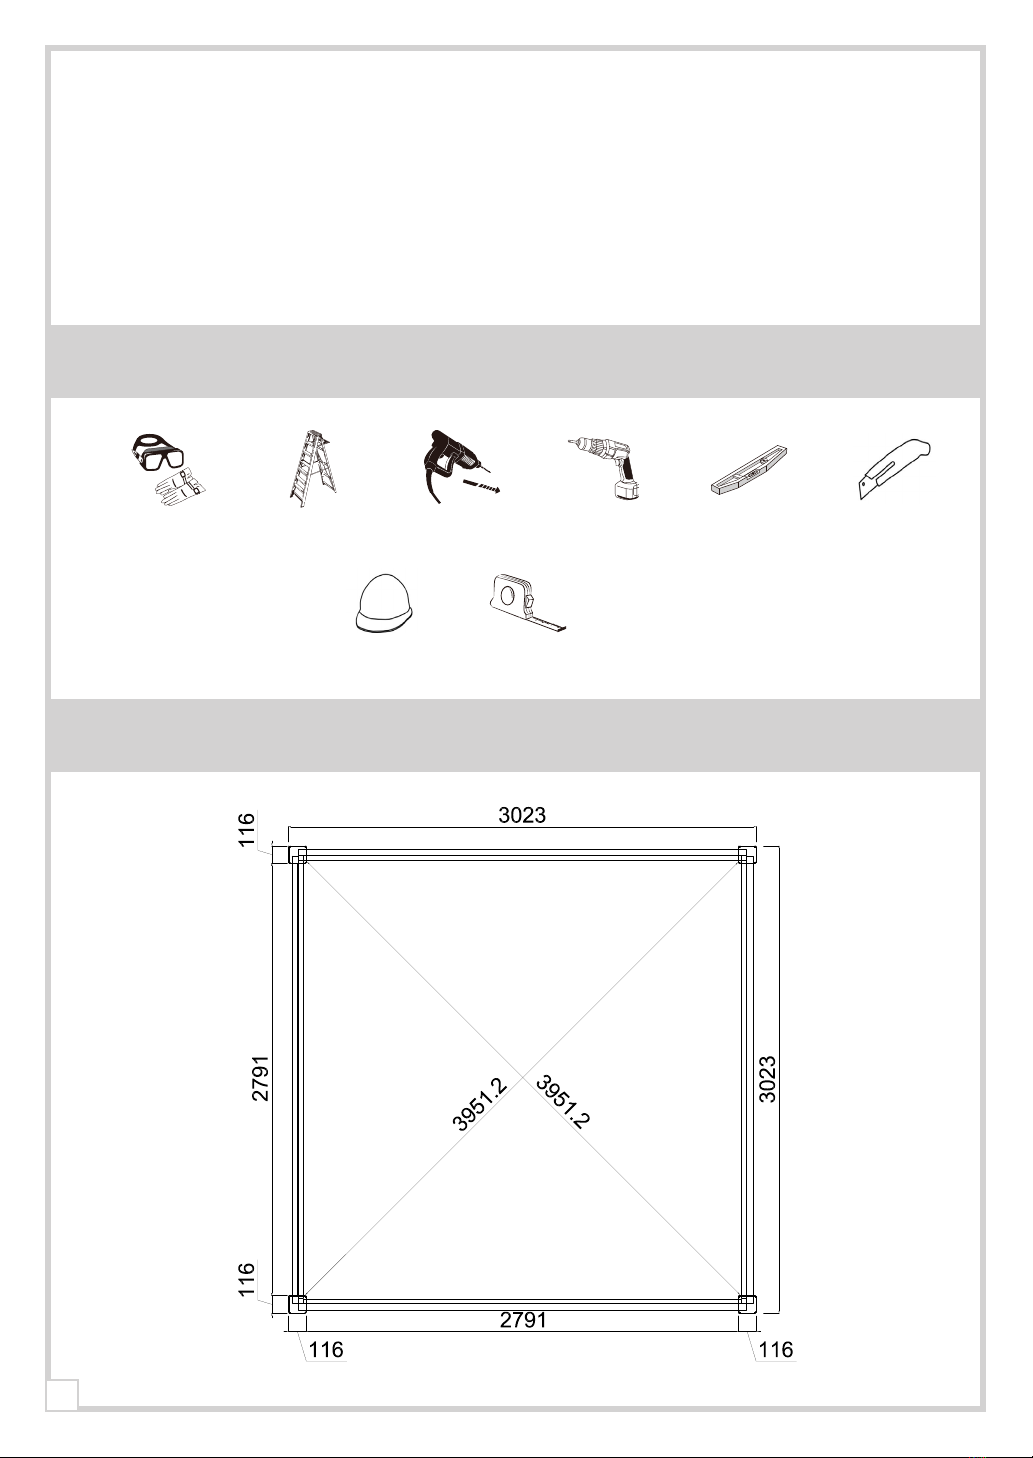
The pergola must be mounted on a flat-level foundation. It is recommended to
install it on a concrete slab or 25x25 cm concrete pads at each post. Please,
anchor the pergola properly to the ground using expansion screw.
If you would like to mount your pergola near your house or a building, please
check the presence of gutters for water drainage.
Should these instructions not be followed or only partially, the warranty will be
voided by the seller.
5
MAINTENANCE
MAINTENANCE
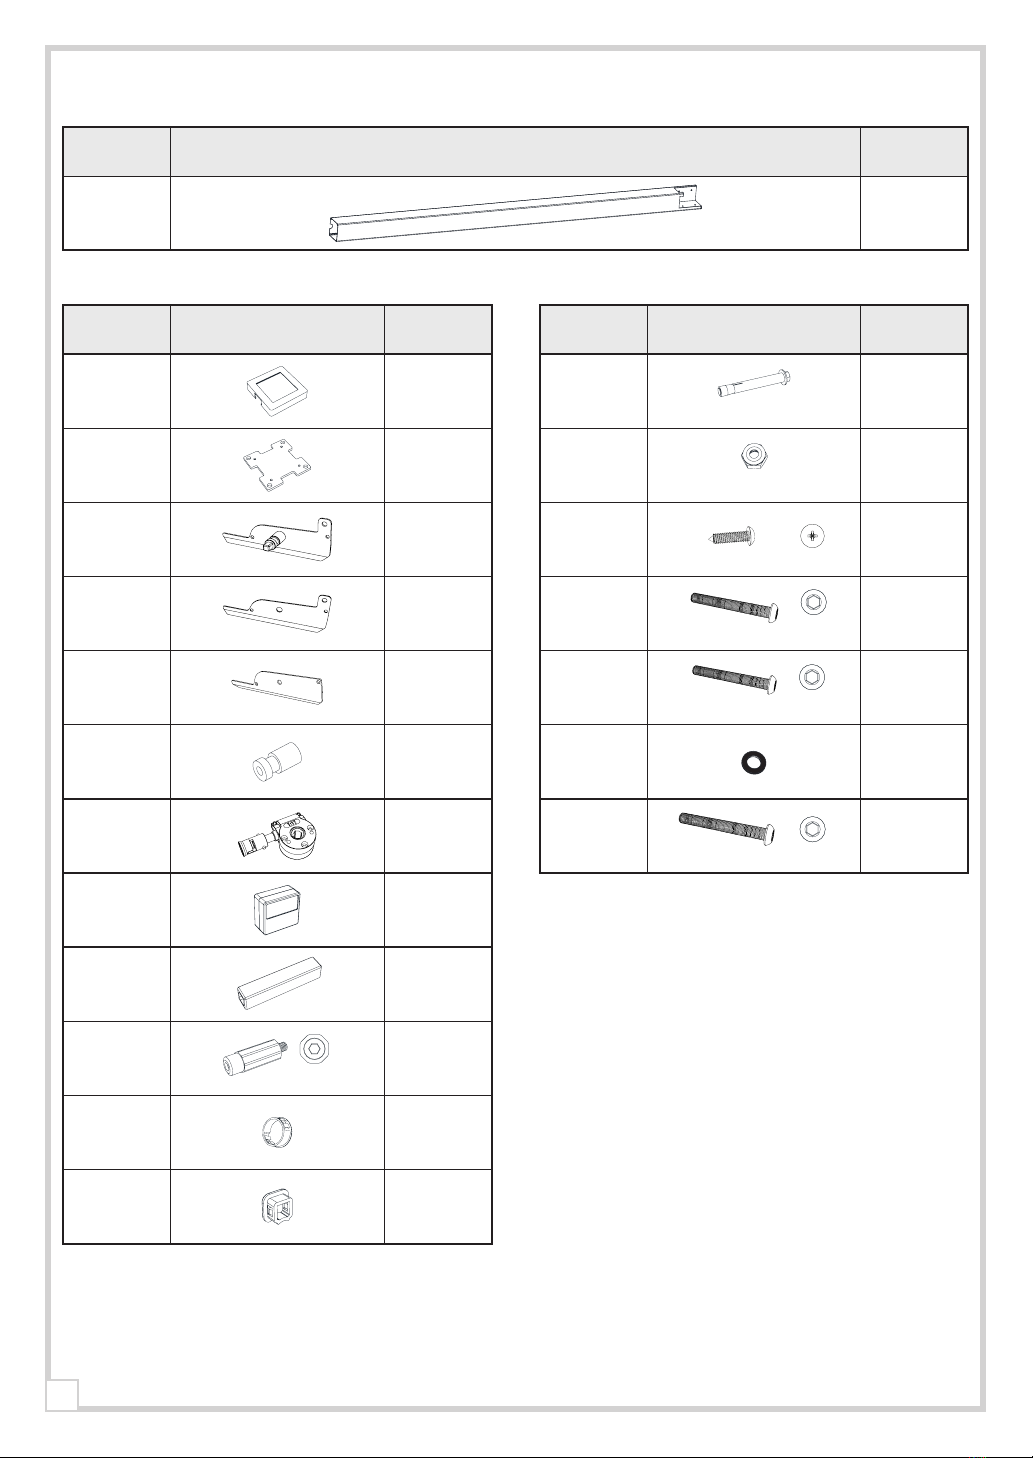
PARTS LISTS (PER CARTON)
Regular maintenance is necessary to ensure its longevity and aesthetic
appearance.
We recommend to :
• Clean your pergola once or twice a year with fresh water using a sponge or
cloth.
• Do not use detergent or an abrasive material.
• Check the tightness of the screws regularly (at least once a year).
• Oil fastening regularly (at least once a year).
• Make sure that nothing hinders the water flow in the gutters (leaves,
branches...).
• Remove any water that might stagnate around the legs of the pergola (lift the
posts skirts).
This warranty does not cover :
• Normal wear and tear inherent from the products.
• Loss or breakage of any part during unpacking or installation.
• Lack of care, neglect, vandalism, impact with foreign body, force, contact with
a brasives material, product aesthetics, disassembly, rebuilding or relocation.
• Force majeure: hail, high winds, storms, snow, floods, lightning etc...
• Product tampered with by the user.
The warranty only takes in account the replacement of spare parts or the
provided product, no refund will be issued.
All warranty claims must be made at the sales outlet (store or website) where
the product has been purchased.
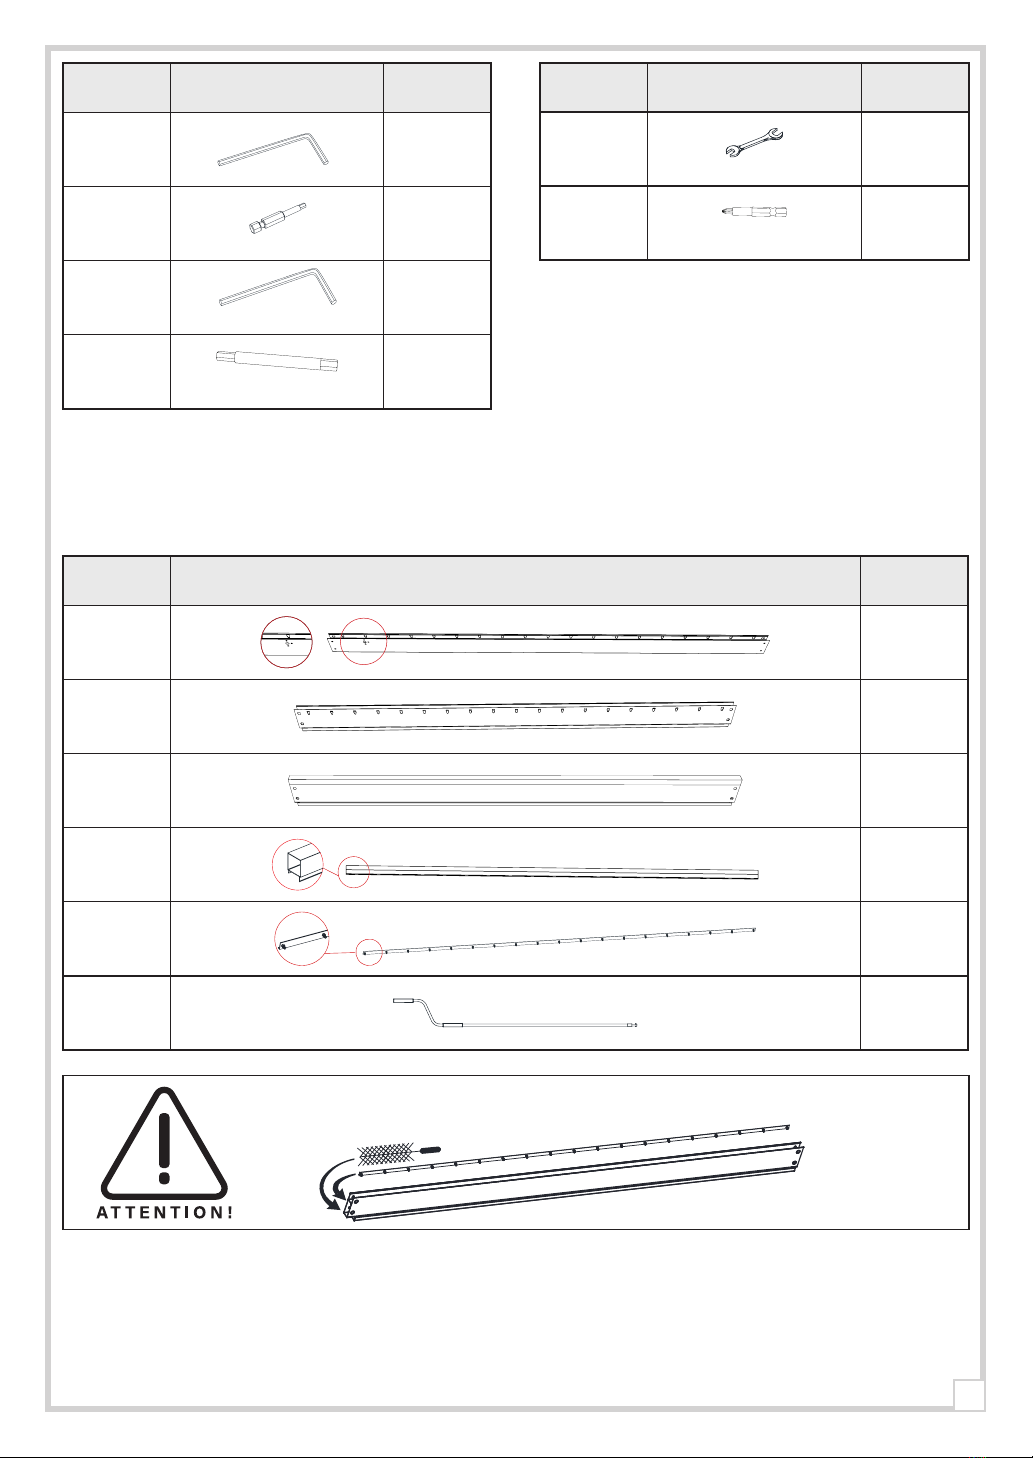
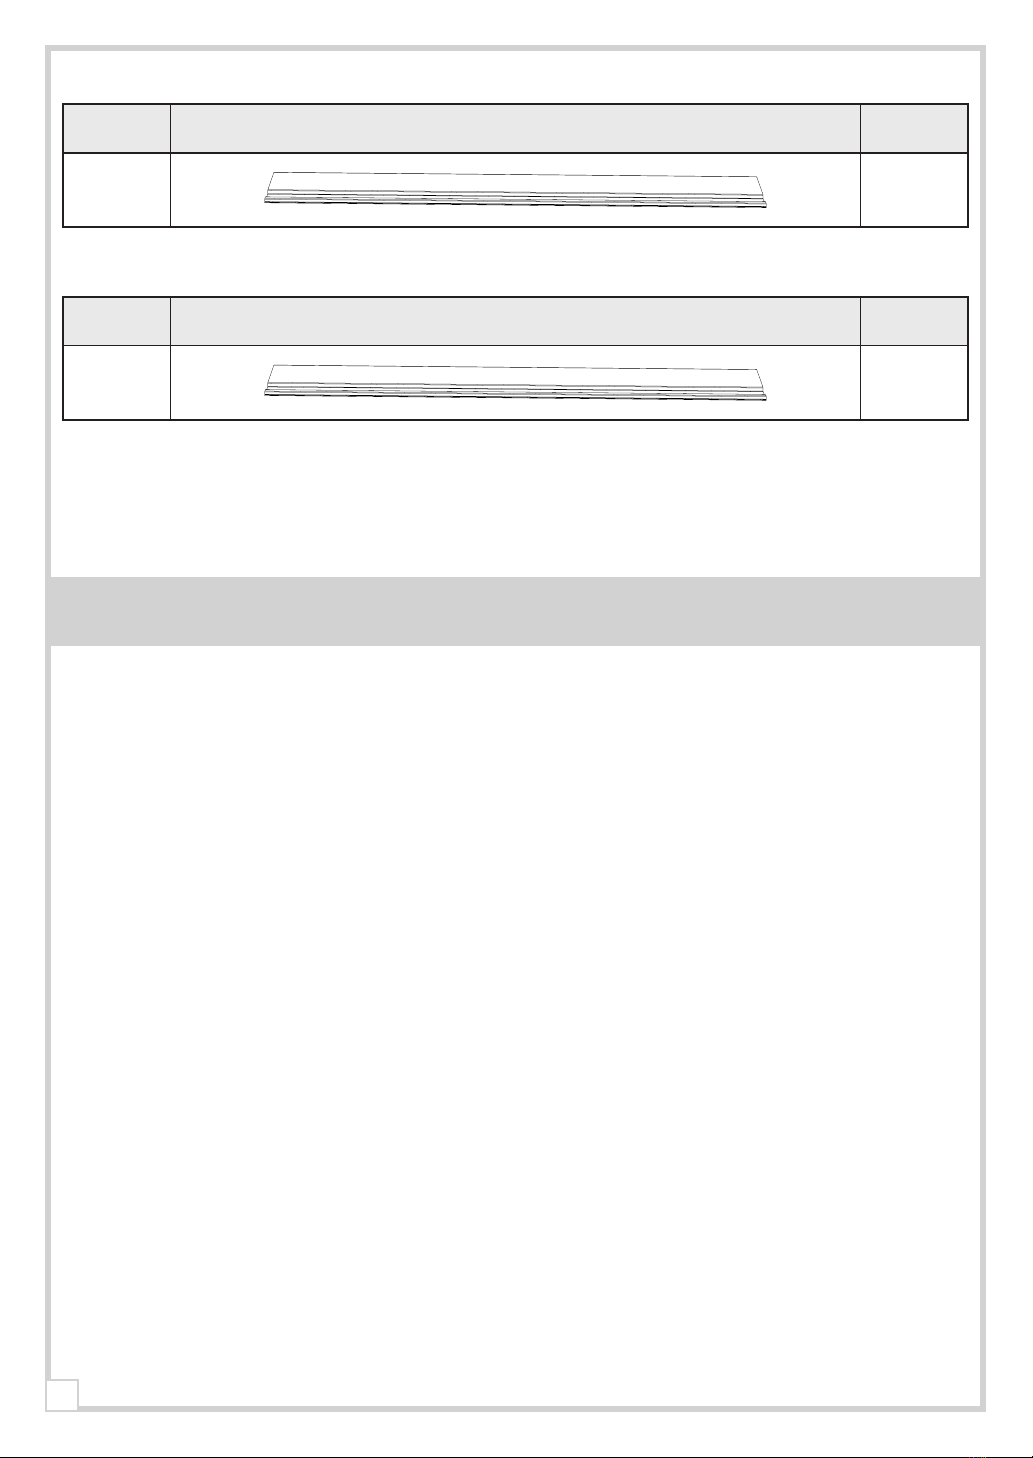
Before proceeding with the assembly of your louvered pergola, it is necessary to
check that all parts listed are supplied and not damaged.
Any missing part must be reported within 10 days of delivery.
You can either go through your local outlet store or make the request directly on
our website.
Do not discard the packaging without ensuring that the product is functioning
properly.