PHONE: (909) 460-5579 | THEOUTDOORPLUS.COM | 235 E MAIN ST. ONTARIO, CA 91761 6
OLYMPIAN INSTALLATION
INSTALLATION INSTRUCTIONS
1. Position the pump so they can be accessed in the future.
2. Prepare the site.
a. Make sure the area is stable and level.
b. Ensure adequate drainage to allow for periodic
maintenance and winterization that will not result in
damage to the surrounding area.
c. Ensure electric is run to site on GFI circuit and complies
with all codes by the authority having jurisdiction.
d. For re option ensure there is correct gas type,
plumbed to site, of sucient BTU, install by a certied
installer and inspected by the authority having
jurisdiction. Refer to the correct re pit instructions.
3. Open the crate of your water feature being careful not to
damage the unit.
a. Clean the water reservoir all debris left from the
shipping crate.
4. Inspect your water reservoir for any visual damage or
defect.
5. Set water reservoir in place. This will require at least 2
people.
6. Mount your water feature to the basin tower when
applicable.
7. Level your water feature
a. The adjustable legs may also be used for minor height
adjustments. Do not adjust out more than 6.25” from
the bottom of the ange to the bottom of the foot or
the feature may collapse.(Figure 7)
b. Make major height adjustments with block that is
larger than the feet and suciently sturdy that there
is not risk the unit will fall.
c. Adjust the basin to level condition rst.
d. After the basin is level check the water feature for
level.
i. If your water feature is made of copper it may be
possible to make some leveling adjustment by
carefully adjusting the bowl itself.
ii. If it is not possible to adjust the water feature, then
make the water feature level adjustments using
the adjustable legs.
8. Hook up the basin drain and the overow drain to the
onsite drainage system.
a. Your system will require regular service and or
winterization.
b. Include a shuto valve for the water reservoir drain
that is convenient to access.
9. 24 Hour Circulation Pump (Water) - 120 VAC
10. Lights – 110 VAC LED
11. Turn on lights to ensure they work properly.
12. Hook up water to auto rell.
a. Take care not to damage the unit by over torqueing.
b. Use plumber tape or appropriate sealer for PVC.
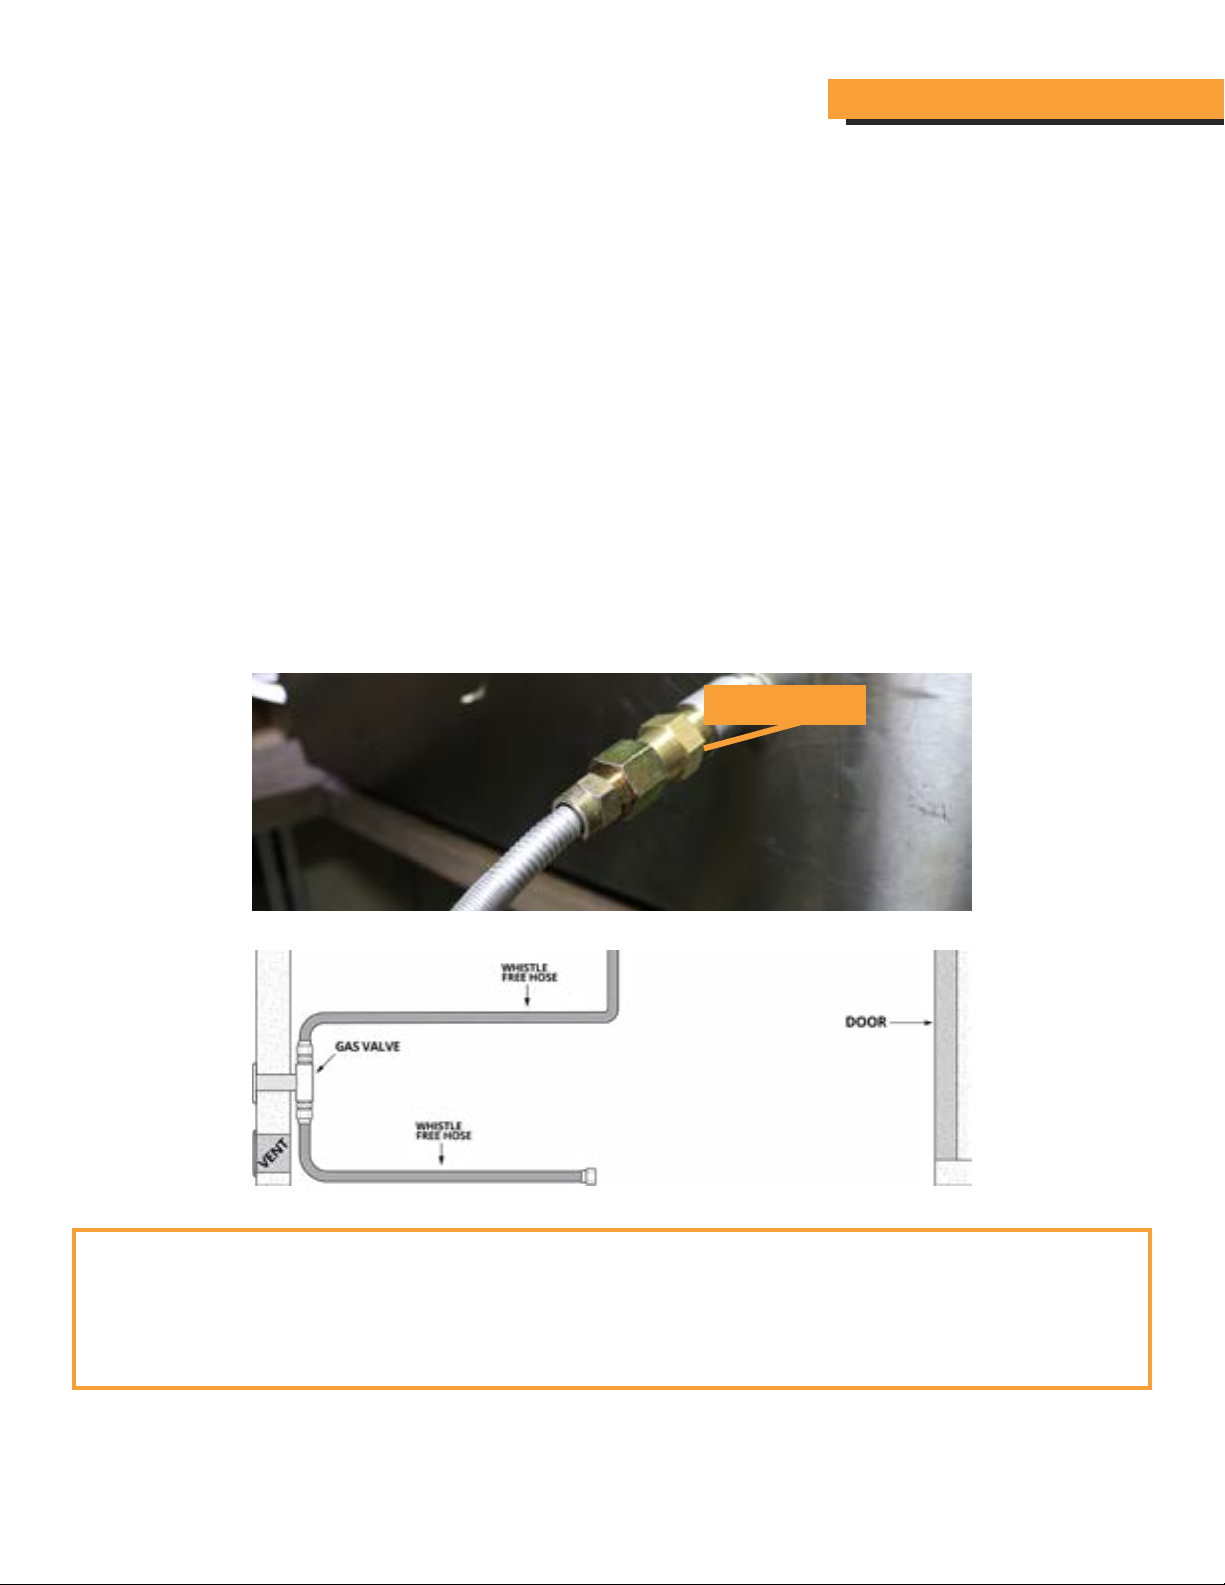
13. Hook up gas supply for water basins with the re option.
a. Follow all re pit instructions provided in the re pit
instruction.
b. Use appropriate gas rated sealer.
c. Do not use any sealers on are ttings
d. Ensure all ttings are leak tested with leak reactor or
gas detector.
14. Fill your water basin with water ½ full by pouring water
into water features above.
a. Recommended to ll with external water source
watching for leaks as the basin lls.
b. TOP does not warranty against minor leaks. Your
water feature has been assembled and thoroughly
inspected prior to shipping. There are many
connections and in some cases handmade water
features
c. Repair leaks as necessary.
15. Once your feature is ½ full turn on the water feature and
make any necessary adjustments.
a. Adjust the ow of your feature using the ball valve
provided.
i. It is recommended to not close o the ball valve
more than ¼ turn. This may reduce the life of the
water pump.
16. Turn on the water supply to the water basin.
a. Allow the auto ll to nish lling the water basin.
b. Check the rell system for leaks and repair as needed.
c. Ensure the rell system turns o the water about 1 to
1.5” below the top of the basin.
17. Turn on the optional re feature if applicable.
18. Finish your project as desired keeping in mind accessibility
for maintenance and winterization.
OLYMPIAN | FIRE PIT