76
UK: INSTRUCTION MANUAL
2. Operating the Outwell Nightlight System
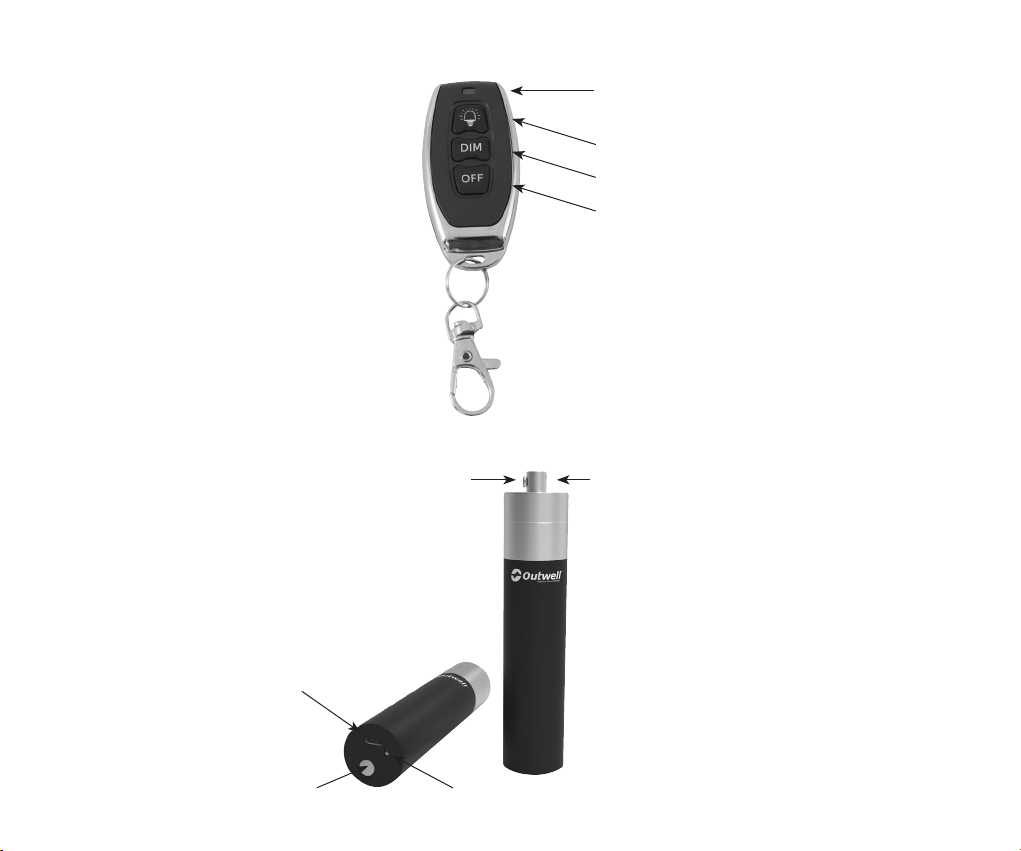
To operate the Outwell Nightlight System press the ON button (5) to switch on the light. Press the DIM button (6) to toggle between the three
brightness levels. Press the OFF button (7) to switch off the light. The Light Units will remember the last selected brightness level when you
switch them off by the remote. When you switch them on again, using the remote, they will start at that same selected brightness level.
3. Charging the light units
Insert the USB C end of the charging cables (3) into the USB C charge port (13) on the light units. Connect the other end of the charging cables
to a suitable USB power source.
The charging LED (12) will light red when charging. It will change to green light, when fully charged.
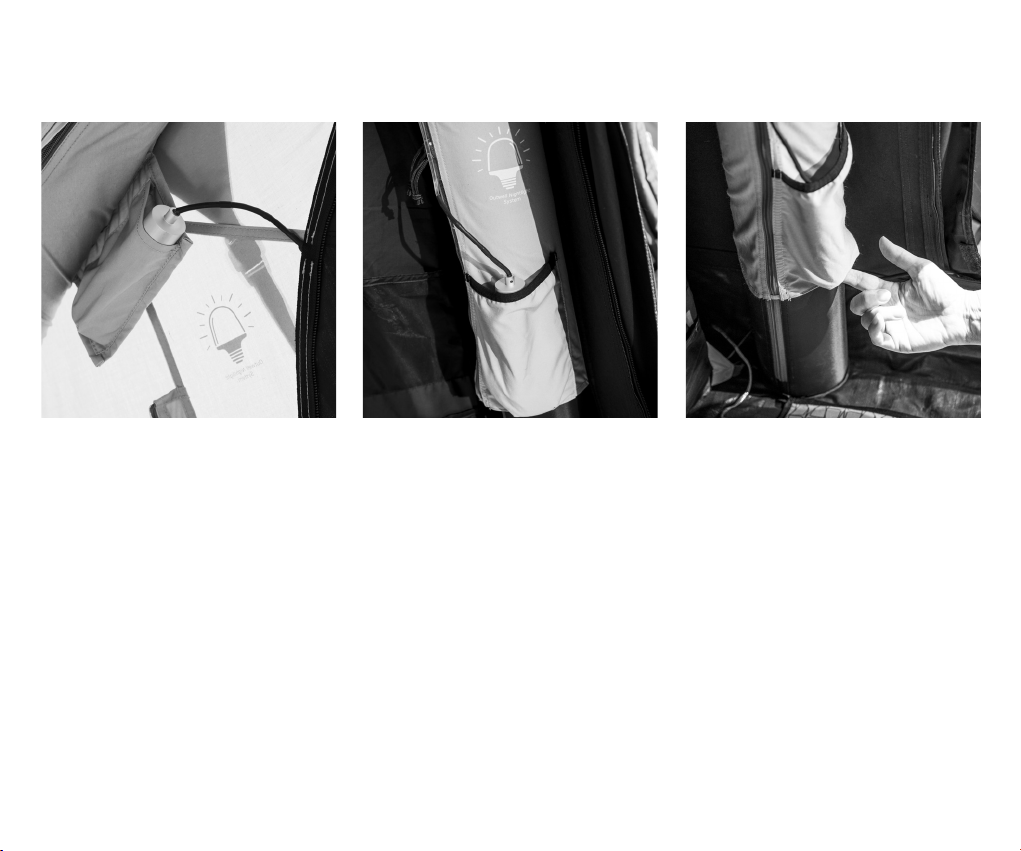
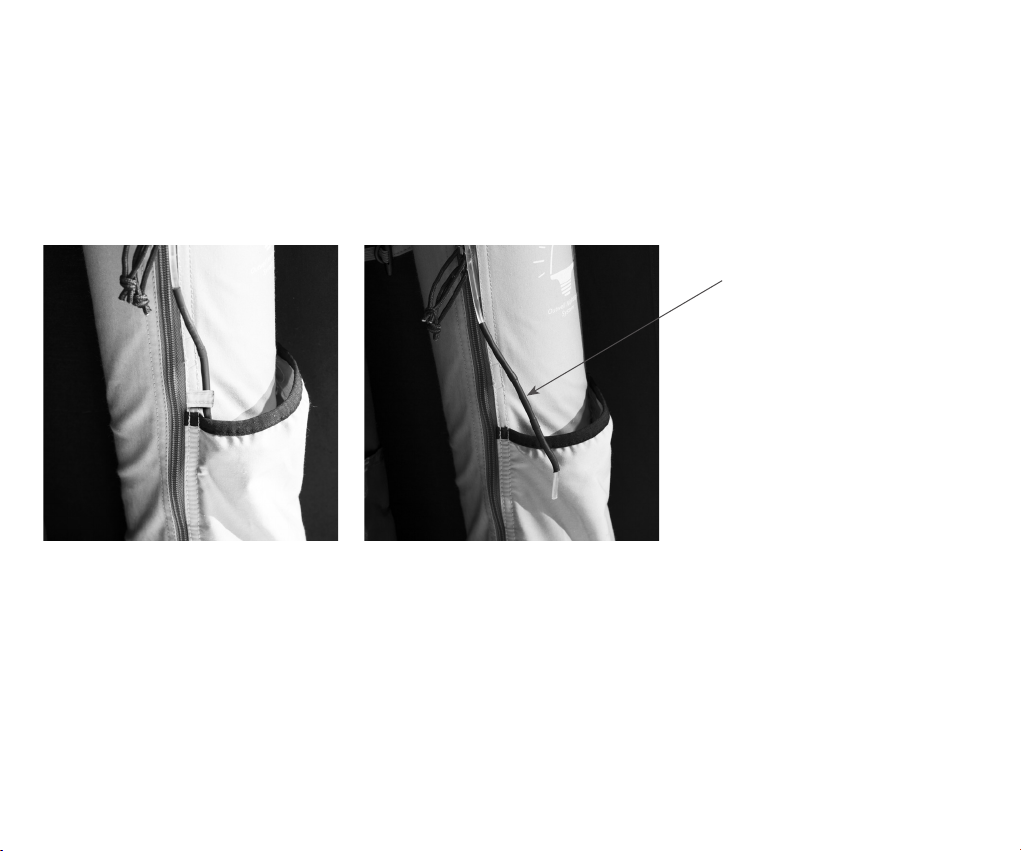
If desired, the light units can be charged while installed in the tent/awning. To do so, insert the charging cable (3) through the opening in the
bottom of the light unit pockets (16), and follow the charging instructions above.
4. Troubleshooting
Problem: Solution:
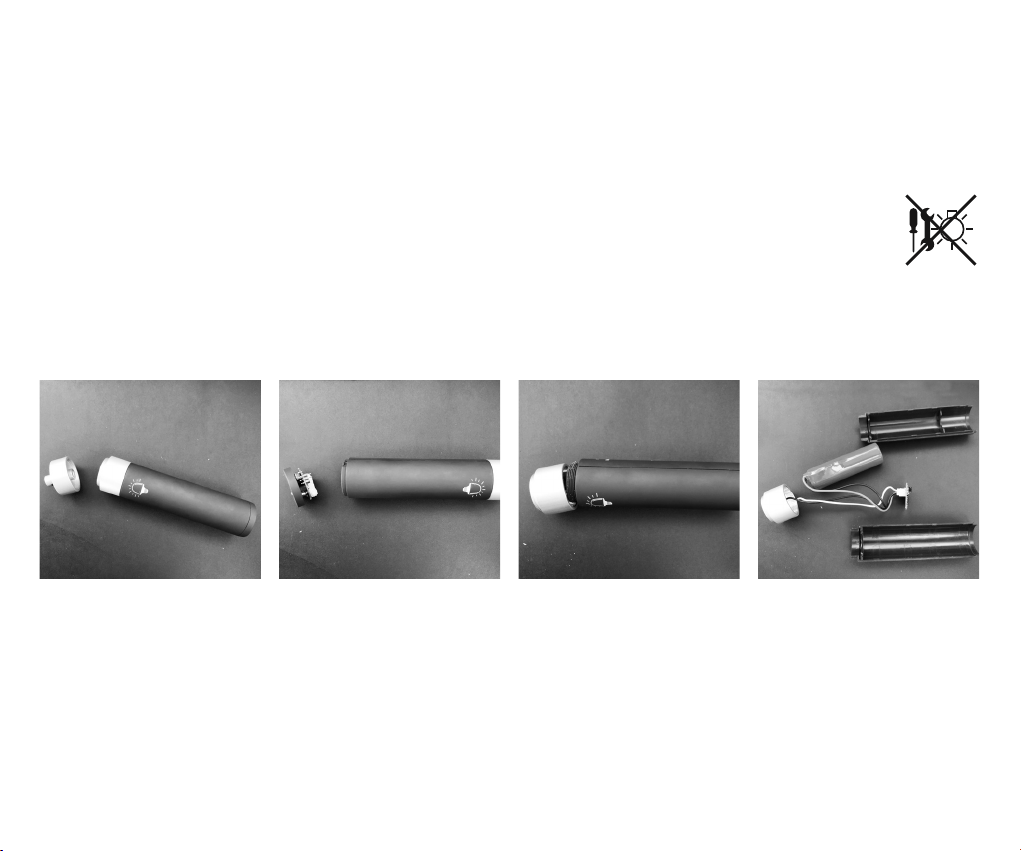
The lamps do not light when switched on by the remote: Check if the light unit can be switched on using the operating
button (11) on the bottom of the light unit. If this doesn’t work,
recharge the light units.
The remote doesn’t work. The indicator LED (8) is not flashing,
when pressing the buttons on the remote:
Replace the batteries in the remote.
See section 5.
The range of the remote have decreased,
or the buttons of the remote needs to be pressed hard
to operate:
Replace the batteries in the remote.
See section 5.
The two light units have come out of sync. Eg. one is on the
brightest setting, the other on a dimmed setting (this happens
when one light unit receives a signal from the remote,
but the other unit doesn’t):
Set one light unit to the brightest setting using the remote.
Set the other unit to the brightest setting using the operating
button (11) on the bottom of the unit.
The units are now in sync. again.