Manual Issue 046 Ovation Systems Ltd. Page 2
Time-Lapse DVD Recorder
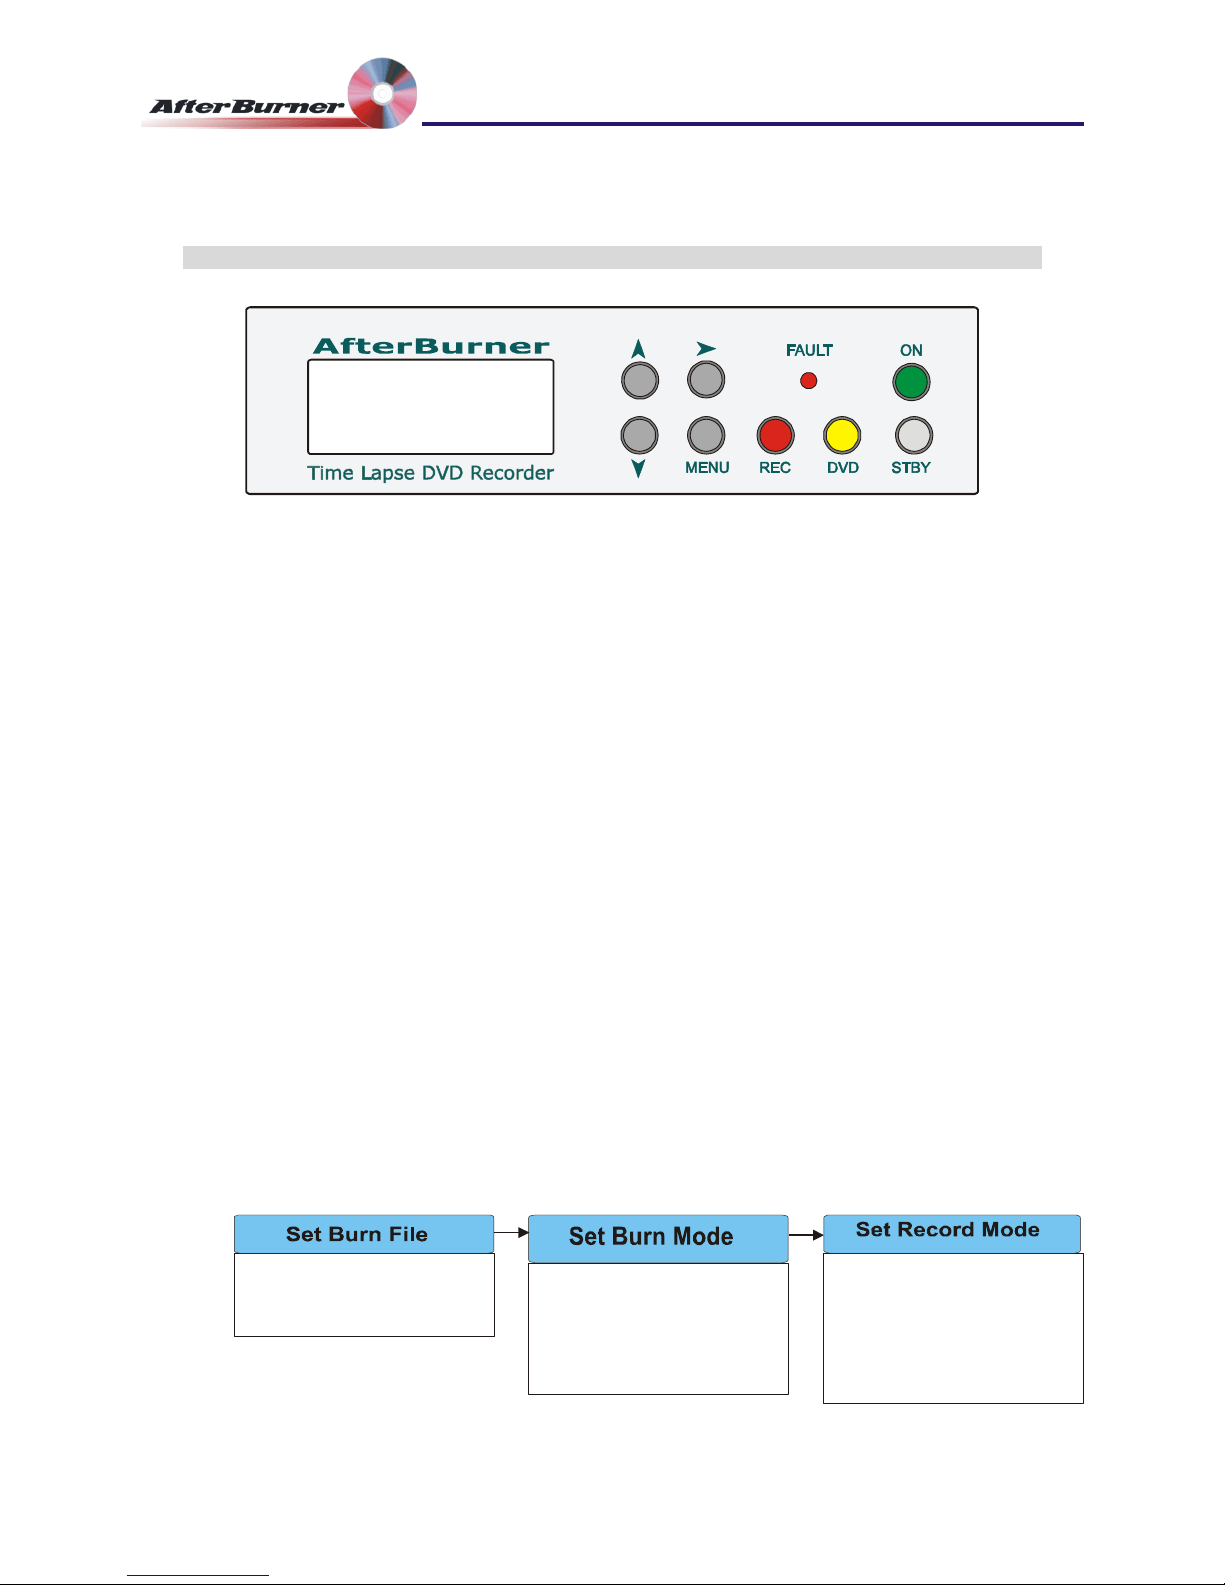
User Guide
1Introduction.......................................................................................................................3
2Hardware Installation........................................................................................................4
2.1 Hardware Set-Up...................................................................................................................... 4
3Basic Operation & Configuration ....................................................................................5
3.1 Front Panel Controls................................................................................................................. 6
3.2 Record Set-up .......................................................................................................................... 7
3.3 Set The Burn Mode .................................................................................................................. 8
3.4 Start / Stop Recording .............................................................................................................. 9
3.5 Burning a DVD........................................................................................................................ 10
3.6 Playing DVDs ......................................................................................................................... 11
4Advanced Menus ............................................................................................................12
4.1 Set Disk Options..................................................................................................................... 13
4.2 Burn Options........................................................................................................................... 14
4.3 Set Record Timer ................................................................................................................... 15
4.4 Set Alarm Options .................................................................................................................. 16
4.5 Set Video Options................................................................................................................... 17
4.6 Set Onscreen Display (OSD) Format ..................................................................................... 18
4.7 Set Time & Date ..................................................................................................................... 20
4.8 Set Comms Options ............................................................................................................... 20
4.9 Set Active Keyes .................................................................................................................... 21
4.10 Set Fault Enables ................................................................................................................... 21
4.11 Set Configuration.................................................................................................................... 22
4.12 System Information:................................................................................................................ 22
5Rear Panel Interfaces:....................................................................................................23
5.1 External I/O & Control............................................................................................................. 24
5.2 Examples of External Control................................................................................................. 26
5.3 Rear Panel Configuration Switches........................................................................................ 27
6Appendix1: AfterBurner Operation Hits & Tips ...........................................................28
6.1 Reviewing The Unit’s Configuration ....................................................................................... 28
6.2 Reset to Factory Defaults....................................................................................................... 28
6.3 Transferring AfterBurner Configuration to Other Units........................................................... 28
6.4 Join a Number Of Small Files Together ................................................................................. 29
6.5 Create one DVD file per day starting midnight....................................................................... 29
6.6 Record only alarms................................................................................................................. 29
6.7 Enable Record Pause............................................................................................................. 29
7Appendix 2: User Firmware Upgrades..........................................................................30
7.1 Download Latest AfterBurner Firmware ................................................................................. 30
8Appendix 4: Specification..............................................................................................32
Afterburner firmware .046 www.ovation.co.uk