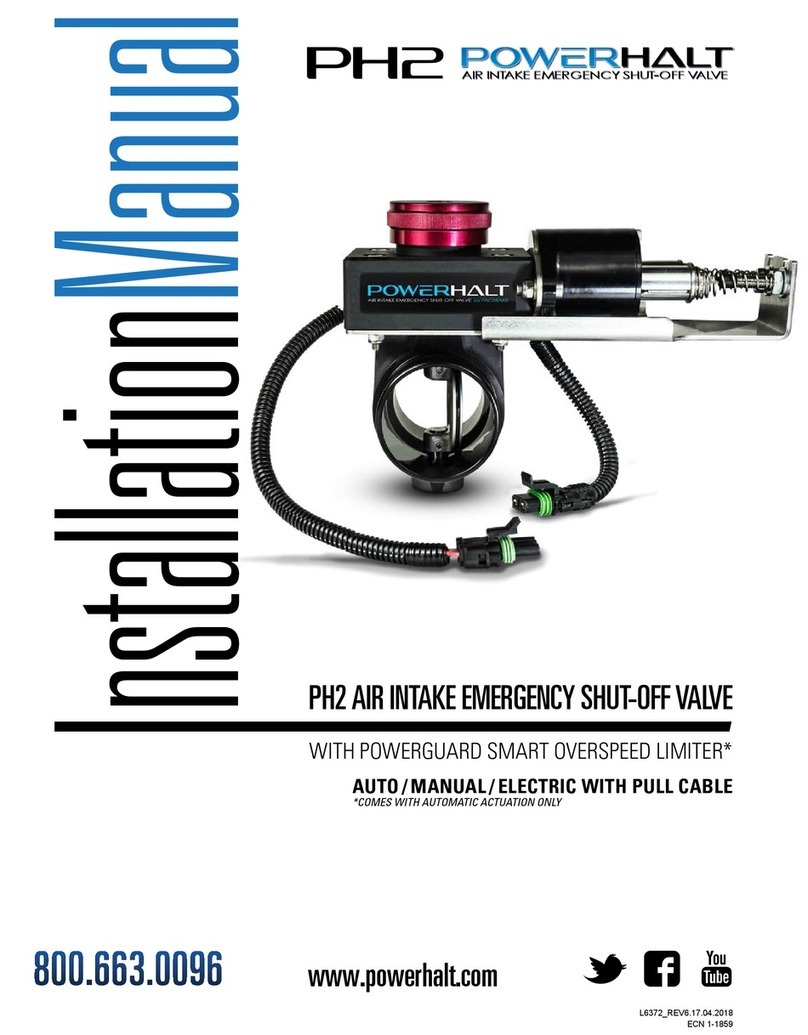
Pacbrake Powerhalt PH3 User manual

InstallationManual
AIR INTAKE EMERGENCY SHUT-OFF VALVE
www.powerhalt.com
PH3 AIR INTAKE EMERGENCYSHUT-OFFVALVE
AUTO ELECTRIC WITH AUTO RESET
For LTW20 / 20KW / BV-4LEZ Engines
WITH POWERGUARD SMART OVERSPEED LIMITER

PowerHalt is a registered trademark of Pacbrake Co. 2
PH3 ELECTRIC + AUTOMATIC ACTUATION L6319
INSTALLATION REQUIREMENTS & RECOMMENDATIONS:
Prior to the installation, please read through the requirements and recommendations listed below so you have
a clear understanding of your system and the location you plan to install the shut-off valve.
If you cannot meet these requirements, or are unsure of your system, please contact your dealer or PowerHalt
representative and we can work with you to overcome your installation constraints and challenges.
A PowerHalt Technical Representative can be reached Monday-Friday 6:00-4:30 (PST) at 800.663.0096
• A 1" clearance is required from the valve to any other components. The valve can be in any orientation.
• Maximum ambient air temperature at the valve should not exceed 120°C.
• Allhoses,adapters,andttingsmustbesuitableforthevibrationoftheengineapplication,andof
reinforced type. *If unsure of your vibration requirement, contact Pacbrake.
• Flexible hose gaps should be kept to a minimum and the overall pipe quality and integrity from the shut-off
valvetotheintakemanifoldshouldbeconrmed.
NOTE: - Failure to ensure this may result in hose collapse during valve activation and
possible system leaks, preventing engine shutdown
- For excessive vibration applications, and installations with long pipe runs,
additional support brackets may be required.
• Ifanairintakeametrapisused,thevalvemustbeinstalledupstreamofthetrap.
• Crankcase breather connections in the intake system between the valve and engine
(or in engine intake parts) must be sealed and replaced by an external breather.
• If you need to cut the existing intake piping to allow for the shut-off valve installation, please make sure to
cut the pipe off of the engine and that it is cleaned thoroughly to ensure no shavings are present.
NOTE: Failure to do so may result in engine damage caused by foreign debris ingesting into
the engine.
• Itishighlyrecommendedthatthepipeisrolledwithabeadtoensurehosettingretentiononboththeinlet
and outlet sides of the shut-off valve.
• If more than one shut-off valve is installed on one engine it is imperative that the control method is
consistent with this requirement, ensuring valve activation is simultaneous for both valves.

PowerHalt is a registered trademark of Pacbrake Co. 3
PH3 ELECTRIC + AUTOMATIC ACTUATION L6319
KIT LAYOUT
Please ensure that you have all the parts shown in this kit before you start the installation.
•Drill
•¼" Drill Bit
•Ratchet with 7
⁄16" & ½" Sockets
(a 14″extension is ideal)
•Utility Knife
• 11
⁄8" Metal Unibit
• 1
⁄8" Hex Allen Key
REQUIRED TOOLS
KIT CONTENTS
A
B
C
D
E
F
G
Air Intake Shut-Off Valve (1)
Tie Straps (12)
Clamps (4)
Wiring Harness (1)
PowerGuard Controller (1)
Membrane Switch (1)
2" Silicone Hose (2)
A
E
F
D
C
G
B

PowerHalt is a registered trademark of Pacbrake Co. 4
PH3 ELECTRIC + AUTOMATIC ACTUATION L6319
Thank you for your purchase of a PowerHalt Air Intake Emergency Shut-Off Valve by Pacbrake.
Please read the entire manual before you begin to ensure that you can complete the installation once started.
Should you have any issues during the installation, please call technical support at 800.663.0096.
1VALVE INSTALLATION
• Open light tower door panels on both sides.
• Remove the stock hump hose and 2 clamps from the air
cleaner and intake manifold.
• Install the (2) 2" silicone hoses provided in your kit and (2)
2" pretension clamps onto the PH3 2" Shut off-valve. Adjust
clamps and tighten to 70-80 in-lbs (7.9-9 N•m).
• Insert 2 stock clamps onto the valve assembly inlet and outlet
ensuring clamps are loose.
• Install the valve assembly onto the intake manifold and air
cleaner ensuring the valve connector is facing the intake
manifold.
• Adjust the valve assembly to ensure proper valve position then
tightenclampstoOEMclampspecications.
2POWERGUARD INSTALLATION
• Open the control panel on your LTW20 light tower.
• Use 2 self-tapping screws or 2 cap screws (not provided) to
fastenthecontrollerrmlyinplaceontherightsideofthe
inside of the control panel (see picture 2).
1
2

PowerHalt is a registered trademark of Pacbrake Co. 5
PH3 ELECTRIC + AUTOMATIC ACTUATION L6319
3SWITCH INSTALLATION
• Use the layout template provided below (picture 3C) and cut
out and mark drill locations for the switch to ensure accuracy.
Refer to picture 3A for reference for the
switch location.
Caution: Ensure control wiring is moved so it is not damaged
during drilling (see picture 3B)
• Drill a 1 1⁄8" hole for the wire connector and drill two ¼" holes
for fasteners (as per template layout, picture 3C).
• De-burr the holes to ensure that no wires will be damaged
• Install the switch to the panel location with the supplied button
head cap screws, washers, and nuts.
• Torque the nuts on the backside of the panel of both bolts to
15-25 in-lbf (1.7-2.8) N•m.
CAUTION: Do not over-torque nuts.
4MAGNETIC PICK UP INSTALLATION
• On your LTW20 / BV- 4LEZ light tower locate the factory
installed magnetic pick connector in your control panel and
disconnect from the panel connection.
5WIRING HARNESS
INSTALLATION
• Connect the wiring harness to the
PowerGuard controller.
• Run the Power leads to the battery
location and connect.
• Connect the tee-tap harness between
the existing harness and existing
connector, as per option 4 of the wiring
schematic (at the end of this manual)
• Run the Valve wiring and connect to
valve location.
Note: For detailed wiring refer to wiring
schematic provided at back of this
installation manual.
3A
3B
3C
DRILL TEMPLATE
1.7"
2.7"
2.05"
0.9"
1⁄4" Hole
1⁄4" Hole
1 1⁄8" Hole
NOTE: When printing out the drill template for use make sure
your printer is not scaling the image or stretching it. Open your
print dialogue box and select print at 100% scale.

PowerHalt is a registered trademark of Pacbrake Co. 6
PH3 ELECTRIC + AUTOMATIC ACTUATION L6319
6VALVE OPERATION
POWERGUARD CONTROLLER FUNCTIONAL STATES
The PowerGuard is a smart controller and has the following three states:
STATE 1 – Pre Set-Up:Whenyourstpurchaseyourkitthecontrollerdoesnothaveanrpm trip point set
within its memory.
• The red and green ledsalternatelyash
STATE 2 – Normal Operation: When the controller has a stored RPM trip point, it will behave in the
following way:
• When the engine is running: the green ledwillashevery5secondsindicatingthesystemisactiveand
rpm is being monitored
• When the engine is not running: no ledlightswillash
• When RPM drops to zero (during normal key-off engine shutdown), the valve will perform an anti-foul
cycle (closing 0.25 sec then opening) which keeps the valve free of debris and corrosion. This results in
an extended valve life.
• If the valve is tripped manually or automatically, the valve will close and the red led will illuminate.
When 0 rpm is detected and 30 seconds has elapsed, the valve will automatically re-open and red led
light will go out.
STATE 3 – System Error: If there is a system error detected during the initial power-up of the
PowerGuard controller, the ledswillashanerrorcodeasperthebelowsequence;
1. Rapid alternating illumination of the red and green led lights indicates a system error
2.Aonesecondpauseisfollowedbyaashcodewherethenumberofashesistheerrorcodeasper
Flash Error Codes, as shown on page 7.
3.Thiscyclerepeatsuntiltheerrorisxedandthepowertothecontrolleriscycled.
SWITCH FEATURES
RESET Used during the setup procedure.
(Has a red LED indicator above the button)
TRIP Used for a manual activation (override).
TEST Used to test the automatic function and
during the setup procedures. (Has a green
LED indicator above the button)

PowerHalt is a registered trademark of Pacbrake Co. 7
PH3 ELECTRIC + AUTOMATIC ACTUATION L6319
FLASH ERROR CODES:
1. Valve failed to close or motor position is not read
• Ensure all connectors are fully installed and latched, then cycle power
• Ifthisfails,ensurecontinuityfromthevepinconnectorattheshut-offvalvetothecontroller,
then cycle power
2. Valve failed to open or motor position is not read
• Ensure the shut-off valve connector is fully installed and latched, then cycle power
3. Valve closes too slowly or not all the way
• Inspecttheshut-offvalveforobstructions,andattempttomanuallypresstheapclosedandopen
(feeling for any binding). If the valve does not operate smoothly, contact Pacbrake support
at 800.663.0096.
4. Valve opens too slowly or not all the way
• Inspecttheshut-offvalveforobstructions,andattempttomanuallypresstheapclosedandopen
(feeling for any binding). If the valve does not operate smoothly, contact Pacbrake support
at 800.663.0096.
5. Shut-off valve pulls too much current
• Ensurecontinuityfromtheve-pinconnectorattheshut-offvalvetothecontrolleronthetwolarge
power wires (red and black). Check for damage to the wires causing shorts, then cycle power.
6-9. Internal controller error
• Contact Pacbrake support at 800.663.0096
7POWERGUARD SET-UP & TEST PROCEDURE
TO SETUP RPM:
With the engine running, hold the reset and test buttons together for 5 seconds until both led lights start
ashing,andthenreleasebothbuttons
The controller is now in the set/test mode with 3 options (see below)
FIRST: Ifyourcontrollerisalreadysetforaspecic rpm, and you want to change the rpm trip point, press
and hold reset for 5 seconds to remove the rpm limit, then the controller will revert to Functional State 1
(from step 6)
SECOND: If your controller has not been set up, pressing and releasing the RESET button will set the trip
point based on number of presses, as described below
1. Press 1x = Creates a trip point at 10% over the current rpm
2. Press 2x = Creates a trip point at 20% over the current rpm
3. Press 3x = Creates a trip point at 30% over the current rpm
4. Press 4x = Creates a trip point at double the current rpm
There must be less than 2 seconds between presses
After presses are complete, the red ledwillashcorrespondingtothenumberofpressesdetectedfor
conrmationofnewtrippoint
If there was no RPM detected when pressing the RESET button, the controller will remove the existing
RPM trip point and change to Functional State 1 (from step 6)
If no action is taken while in the set/test mode, after 60 seconds the controller will timeout and return to
normal function.

PowerHalt is a registered trademark of Pacbrake Co. 8
PH3 ELECTRIC + AUTOMATIC ACTUATION L6319
8POWERGUARD TEST PROCEEDURE
TO ENTER TEST MODE:
With the engine running, hold the reset and test buttons together for 5 seconds until both led lights start
ashing,andthenreleasebothbuttons
Press and release the TEST button to enter test mode, where the trip point will be reduced to a lower limit
based on number of presses from prior set-up procedure.
1. 90% of original rpm, or 82% of trip point
2. 90% of original rpm, or 75% of trip point
3. 90% of original rpm, or 69% of trip point
4. 100% of original rpm, or 50% of trip point
The controller will wait for 60 seconds before reverting back if trip point is not reached.
If the RPM trip point is reached, the valve will close and the red led will illuminate until 0 rpm is detected
and either 30 seconds elapses or the TEST button is pressed
Next, the valve will automatically re-open and the red led will extinguish
9POST INSTALLATION TESTING
Once the installation is complete, ensuring all steps, schematics and recommendations have been
followed, it is now time to test your system
1.PresstheredTRIPbuttonandconrmtheredled is illuminated. Wait 30 seconds for the valve to
auto reset
2. Start the engine
3. Press the red TRIP button and ensure:
• The engine stops within a few seconds
• Hose collapse is not severe
• No excessive leaks are present in the system
NOTE: if the engine does not fully shut down check all intake piping and hoses for leaks between
the valve and intake system. If the system is sealed and the valve still fails to shut down the engine
consult your Pacbrake service representative for support
4. Once the engine stops wait 30 seconds until the valve automatically re-opens and the red led
turns off
5. Utilize the test mode as per PowerGuard Test Procedure to ensure that the automatic overspeed is
functioning properly

PowerHalt is a registered trademark of Pacbrake Co. 9
PH3 ELECTRIC + AUTOMATIC ACTUATION L6319
10 NORMAL VALVE OPERATION
Automatic function or manual override can be used to shut down the engine during an over speed event
CAUTION: Do not attempt to start the engine after an over speed condition occurs until the cause is
understood and shared with the necessary safety parties.
NOTE: Please reference your organizations specic operation procedures and ensure they are in line with
the PowerHalt operating instructions and requirements. If there is a discrepancy always follow your site
requirements rst.
11 VALVE MAINTENANCE REQUIREMENTS
AsthePH3isamaintenancefreeandself-checkingvalve,itdoesnotrequireanyspecicoperator
involvement. The PH3 performs an anti-foul cycle every time the engine comes to a stop after a period of
running. However if the unit is stored for extended periods, or run for extended periods without pause, it
is imperative that the engine run and shut down monthly so that the PH3 valve can perform its anti-foul
cycle.
12 MONTHLY INSPECTION REQUIREMENTS
• Inspect all fasteners and clamps to ensure proper torque.
• Inspect all hoses and pipes for signs of wear or vibration related issues.
• Inspect all wiring connections and routing to ensure correct strapping.
• Inspect the PowerGuard controller with unit running to ensure the green ledlightisashing
every 5 seconds.

PowerHalt is a registered trademark of Pacbrake Co. 10
PH3 ELECTRIC + AUTOMATIC ACTUATION L6319
Patents pending. Pacbrake is a registered trademark of Pacbrake Company. Other trademarks used herein are property of their respective holders. Printed in Canada L6325 RE7 16.09.2016
CUSTOMER SERVICE HOURS
MONDAY TO FRIDAY FROM 6:00 AM TO 4:30 PM PST
BUSINESS HOURS OF OPERATION
MONDAY TO FRIDAY FROM 7:30 AM TO 4:00 PM PST
CORPORATE HEADQUARTERS / R&D CENTER
19594 96TH AVENUE
SURREY, BRITISH COLUMBIA
WIRING SCHEMATIC
PIN 2 RED
PIN 3 RED
PIN 15 RED
POWERGUARD
PIN 1 BLACK
PIN 13 BLACK
PIN 14 BLACK
PIN 24 WHITE
PIN 24 BROWN
PIN 23 BLUE
PIN 6 GREEN
PIN 7 BROWN
PIN 8 BLACK
PIN 18 BLUE
PIN 19 WHITE
PIN 20 RED
PIN 12 ORANGE
PIN 11 PINK
PIN 10 YELLOW
PIN B RED
PIN A BLACK
PIN 24 WHITE
PIN 21 BLACK
PIN 22 RED
BATTERY
2 PIN CONNECTOR
3 PIN CONNECTOR
PH3 POWERGUARD
PUSH BUTTON CONTROL
TO MAGNETIC PICKUP
TO VR PICKUP
TO EXISTING PICKUP
TO EXISTING HARNESS
TO EXISTING PICKUP
TO POWERHALT
SHUT-OFF VALVE
+
RED BLACK
Y
OPTION 1
OPTION 2
OPTION 3
OPTION 4
POWERGUARD
Table of contents
Other Pacbrake Control Unit manuals
Popular Control Unit manuals by other brands

WABCO
WABCO MICO ACV-SMO Product Explanation, Operating Information, and Service Instructions

WEG
WEG CFW500-IOR-B instruction manual

Viessmann
Viessmann 5547 Operation manual

evertz
evertz 7700ACO-HD user manual

ICP
ICP FEM2X Technical support manual

National Instruments
National Instruments NI 9870 Operating instructions and specifications