pagertec BMTX-1000 User manual

Matrix- Stand Alone with BMTX
Guide

Installing the Matrix Pagers
The first consideration in the placement of the transmitter is convenience. It should be
readily accessible in a central location within the paging area. Pay close attention to
nearby obstructions such as walls, pipes, ducts, mirrored glass, or other similar barriers
that may weaken or misdirect transmitted signals. Certain materials and construction,
especially metal, have the potential to partially or completely block the paging signal.
The next consideration involves safety.
Ensure the unit is securely mounted or set in an area away from liquids, extreme heat
and possible physical damage. Also remember that the transmitting unit requires a
110V AC power outlet. Ideally the transmitter should be centrally located within the area
where paging is to occur. See the special function section of this guide entitled ‘Range
Test’ for more information. Also consult your Sales Consultant for additional information.
Once the Transmitter has been installed, plug in the power adapter. Once powered, the
transmitter will display “Enter Number’’ indicating it is ready to send a page. We
recommend some type of surge suppressor on the power supply for protection. Power
surges are not covered under system warranty!
The Matrix Pagers are used in conjunction with several of the Pagertec transmitters.
The guest pagers are used as an on-premise paging system to increase efficiency by
alerting customers who are waiting, usually for services or goods.
CHARGER INSTALLATION
1. Install the charging base per the directions received with the charger kits.
2. Charge pagers for 24 hours prior to first use. Note: Keep rechargeable pagers on
charge even during extremely long periods of inactivity.
WARNING: Do not connect more than 2 charger base stations to a single power supply.

Only use the power supply that came with your charger. Damage caused from improper
electrical connection including but not limited to the incorrect power supply is not
covered under the standard warranty. If you’re uncertain about which power supply to
use, contact our customer support department.
OPERATION
1. When a guest arrives, remove a pager from the charging station. Pagers will light
up for 1 second.
2. Record the pager number and hand to your guest.
3. Page the pager by entering the number into the transmitter.
4. Pagertec Matrix Pagers will flash or vibrate (if enabled) depending on the page
mode that is selected.
5. Transmitters can also send predefined time limits for each of the pager alert
modes.
CLEANING
Pagertec pagers are made from industrial-strength, polycarbonate material. However,
this material is susceptible to hairline cracking if non-approved cleaners are used. When
cleaning Pagertec pagers, you should only use ETHYL ALCOHOL (ethanol) or
ISOPROPYL ALCOHOL-BASED CLEANERS. We have done extensive testing with
available cleaning materials and have not found any issues with either ethyl alcohol
(ethanol) or isopropyl alcohol (IPA). ALL other cleaners are not recommended for use
on any of our pagers. To clean the equipment:
1. Take a clean cloth and an isopropyl-alcohol based cleaner
2. Wet the clean cloth with the isopropyl alcohol cleaner
3. Wipe down the pagers or equipment
4. When dry, place rechargeable pagers back on charge

Setting the time display on your BMTX-1000 Transmitter
Your BMTX-1000 Transmitter conveniently displays a24-hour clock when the
transmitter is idle. To set the correct current time on the transmitter, please follow the
following steps:
1. Press the first icon button on the top row of buttons on the transmitter. The icon
looks like a clock and calendar.
2. The display will then ask for a password. Enter 9513.
3. Press the orange Enter key above the green Send key.
4. Your transmitter will now display “Set Date/Time '' Please enter the current date
and time in the format of DD-MM-YY for date, and HH'MM for the 24 hour time.
5. Press the orange Enter button when finished.
6. You will then be returned to the main idle screen.
Changing the Type of Alert on your Customer Pagers
There may be atime where it would be convenient to change the type of the alert
your Pagers use. For example, if you have aquiet function where you would like to
keep noise to aminimum, you could set your pagers to Vibrate and Flash only,
forgoing the beep to keep ambient noise down, and the evening more enjoyable
for your customers.
These changes are done from your transmitter. It is also highly recommended to
make sure that all of the pagers are collected in from your floor before changing
this feature, as not to alert customers that may be waiting to be called.
To perform this procedure, all pagers must be in the charging base with power. and
using the alert type you changed it to. This tone will let you know that the pagers
received the instruc- tions correctly. To reset the pagers, simply re-plup the racks
into the wall.

1. Press the second icon button on the top row of buttons on the transmitter.
The icon looks like a musical note.
2. The display will then ask for a password. Enter 9513.
3. Press the orange “Enter” key.
4. Your transmitter will now display “Set Alert Style”
5. Use the * and the # to scroll between options.
6. Press the green send button to transmit the new settings to the pagers.
At this point, all of the pagers in your system should tone with the alert that you
selected.
Changing the length of time that a pager alerts
There may be a situation where you would like to change the length of time that a
Pager alerts for. By default, the Customer Pager will tone continuously for 15 seconds
but this option can be changed. This may be needed if your pagers are not immediately
returned to the charging rack after they are paged, or if the pager is not returned back to
the charger until after an appointment is completed. These changes are done from your
transmitter. It is also highly recommended to make sure that all of the pagers are
collected in from your floor before changing this feature as all the pagers will buzz when
they receive this command.
To perform this procedure, all charging racks must be plugged to the power. After this
procedure is complete, all of your pagers will alert at the same time for the amount of
time you changed it to.
Press the third icon button on the top row of buttons on the transmitter. The icon looks
like an alarm clock..
1. The display will then ask for a password. Enter 9513.
2. Press the orange “Enter” key.
3. Your transmitter will now display “Set Alert Time”
4. Use the * and the # to scroll between options.

5. When you come to the option you would like to choose, Press the green send
button to transmit the new settings to the pagers.
You will then be returned to the main idle screen. At this point, all of the pagers in
your system should tone for the amount of time that you selected.
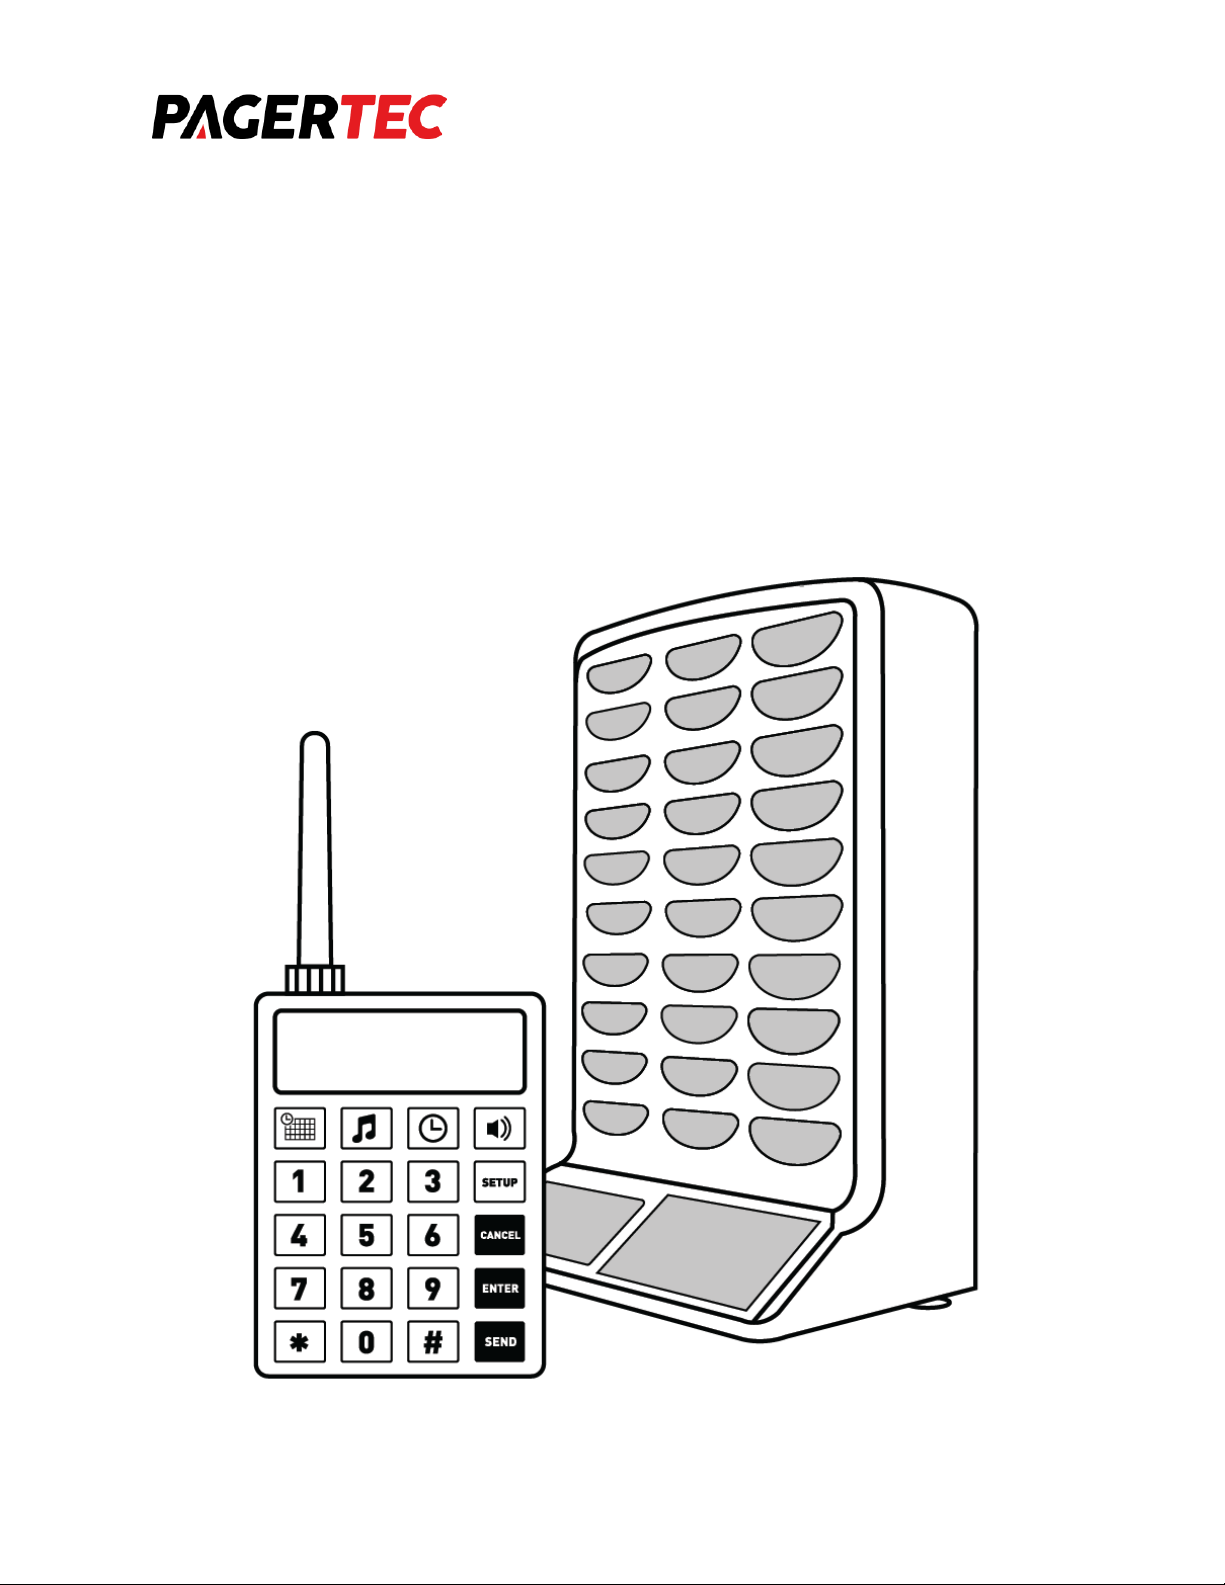
Putting Pagers to Sleep
If your Pagers serve an area that is not used very often, such as conference rooms, or
reception halls, you may find it beneficial to put the pagers to sleep. Putting the pagers
to sleep simply means setting the pagers to turn off. When pagers are asleep, they do
not tone when they are page. This may also prove helpful if you move your Pager
System from site to site as a catering company may.
This command is sent from your transmitter. It is also highly recommended to make
sure that all of the pagers are collected in from your floor before changing this feature,
as not to alert customers that may be waiting to be called.
1. At the standard idle screen, enter 9513 into the To: area on your transmitter.
2. Press the orange “Enter” key.
3. The transmitter will now wait for you to input a message.
a. Enter “MusicKey” + “5”+ “#” + “*”. The screen will show on the LCD screen
as D5BA. This is normal
4. Press the green “Send” button to transmit the sleep command to the pagers.
Shortly after sending the command, all of your Pagers will go to sleep. To wake them
back up again, simply plug the charging racks back into the power.
FCC COMPLIANCE AND ADVISORY STATEMENT
This device complies with Part 15 of the FCC rules. Operation is subject to the following
two conditions: (1) this device may not cause harmful interference, and (2) this device

must accept any interference received, including interference that may cause undesired
operation.
This equipment has been tested and found to comply with the limits for a Class B digital
device, according to Part 15 of the FCC rules. These limits are designed to provide
reasonable protection against harmful interference in a residential installation. This
equipment generates, uses and can radiate radio frequency energy and if not installed
and used in accordance with the instructions, may cause harmful interference to radio
communications. However, there is no guarantee that interference will not occur in a
particular installation. If this equipment does cause harmful interference to radio or
television reception, which can be determined by turning the equipment off and on, the
user is encouraged to try correct the interference by one or more of the following
measures:
1. Reorient the receiving antenna.
2. Increase the separation between the equipment and receiver.
3. Connect the equipment into and outlet on a circuit different from that to which the
the receiver is connected.
4. Consult the dealer or an experienced radio/TV technician for help.
Any special accessories needed for compliance must be specified in the instruction
manual.
WARNING: A shielded-type power cord is required in order to meet FCC emission limits
and also to prevent interference to the nearby radio and television reception. It is
essential that only the supplied power cord be used. Use only shielded cables to
connect I/O devices to this equipment.
CAUTION: Any changes or modifications not expressly approved by the party
responsible for compliance could void your authority to operate the equipment.

Table of contents
Popular Transmitter manuals by other brands

GF
GF Signet 9950 operating instructions

WT sensor
WT sensor PCT220 quick start guide

Siemens
Siemens 7MF03 Series Compact operating instructions

Williams Sound
Williams Sound PPA T46 Instructions for use and care

AlzaPower
AlzaPower APW-FMTV2 user manual

National Semiconductor
National Semiconductor VAB100T user manual